Hello friends, I hope you all are doing great. In today's tutorial, we are gonna have a look at How to Setup 7 inch HDMI LCD with Raspberry Pi 3. In our previous tutorials, first we have seen the basic Introduction to Raspberry Pi 3 ...
Hello friends, I hope you all are doing great. In today's tutorial, we are gonna have a look at How to Setup 7 inch HDMI LCD with Raspberry Pi 3. It's our second tutorial in Raspberry Pi 3 series. In our previous tutorials, first we have seen the basic Introduction to Raspberry Pi 3 and after that in our first tutorial, we have had a look at How to Install Raspbian on SD Card for Raspberry Pi 3.
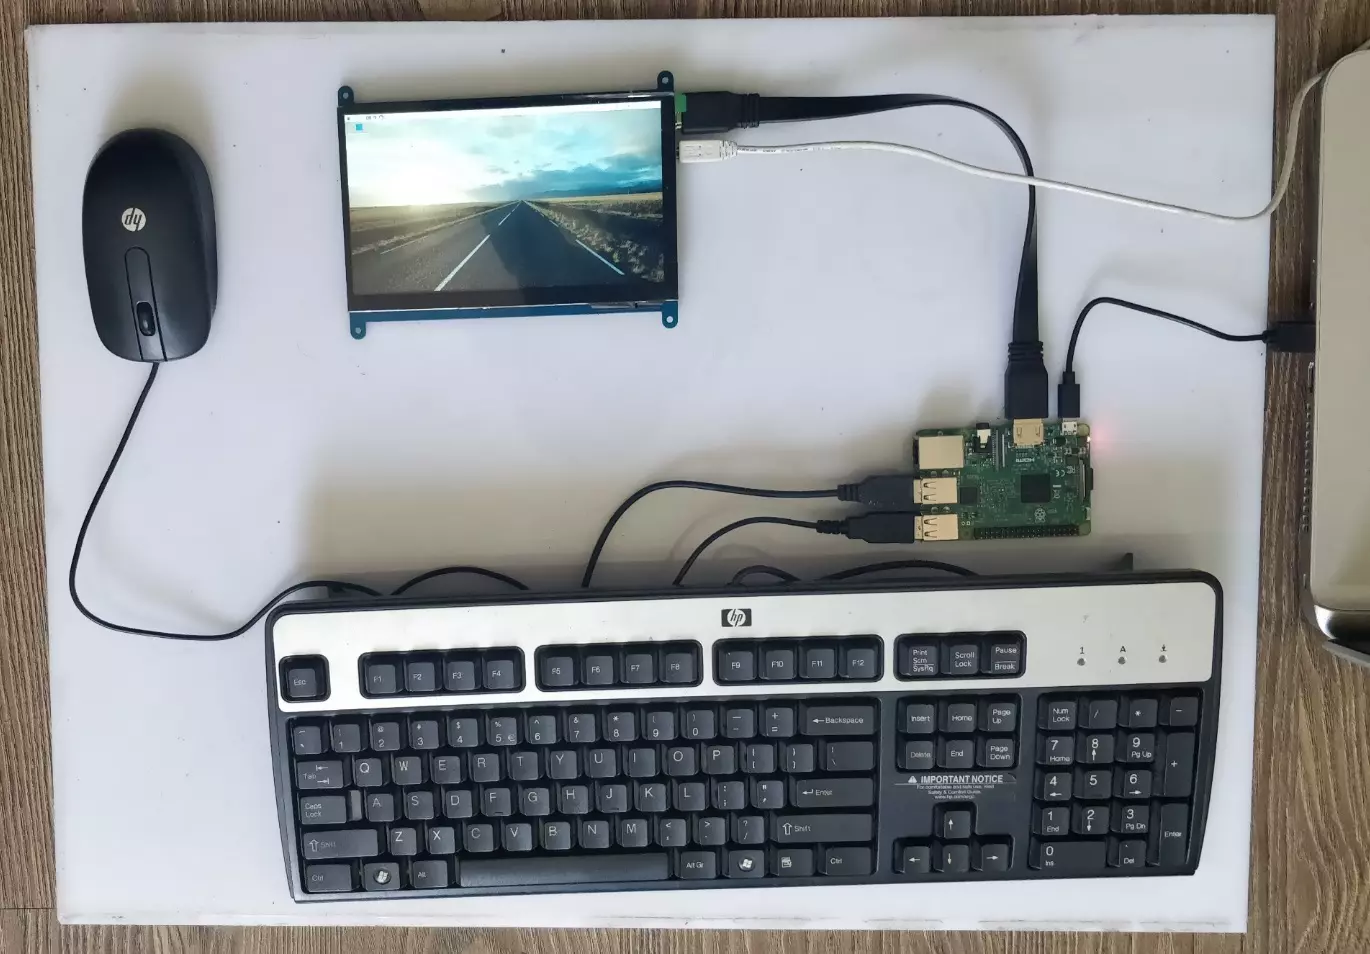
Now we are ready to Setup 7 inch HDMI LCD with Raspberry Pi3 and then will start our raspbian for the first time on Raspberry Pi 3. We will also connect keyboard and mouse. In simple words, we are developing our own simple computer. So, let's get started with How to Setup 7 inch HDMI LCD with Raspberry Pi3:
How to Setup 7 inch HDMI LCD with Raspberry Pi3 ???
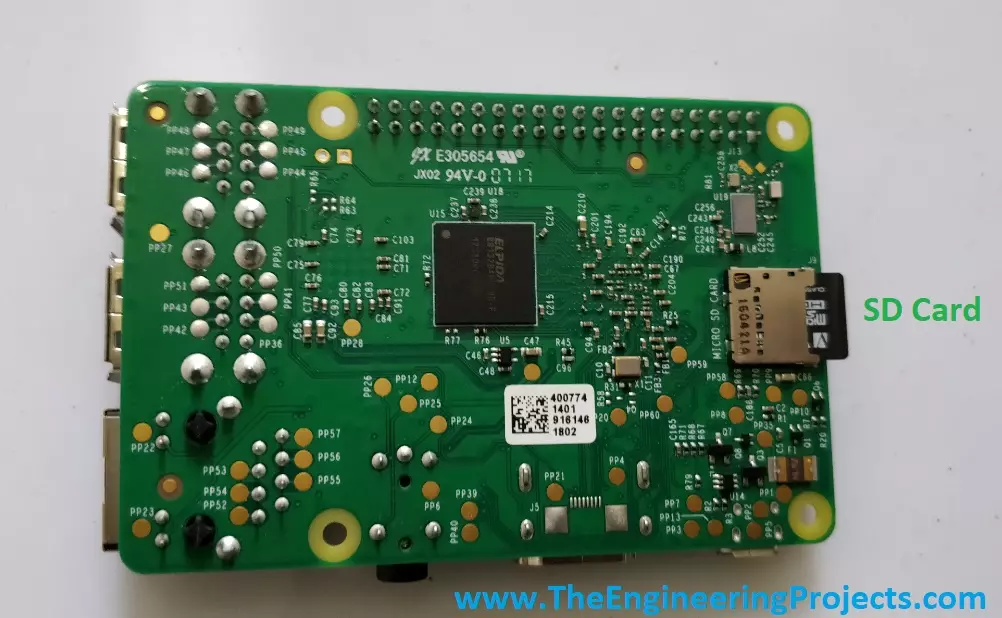
In our previous tutorial, we have Installed Raspbian on our SD card, so I hope you have done the same.
You will also need to buy this 7 inch TFT LCD which I have already bought.
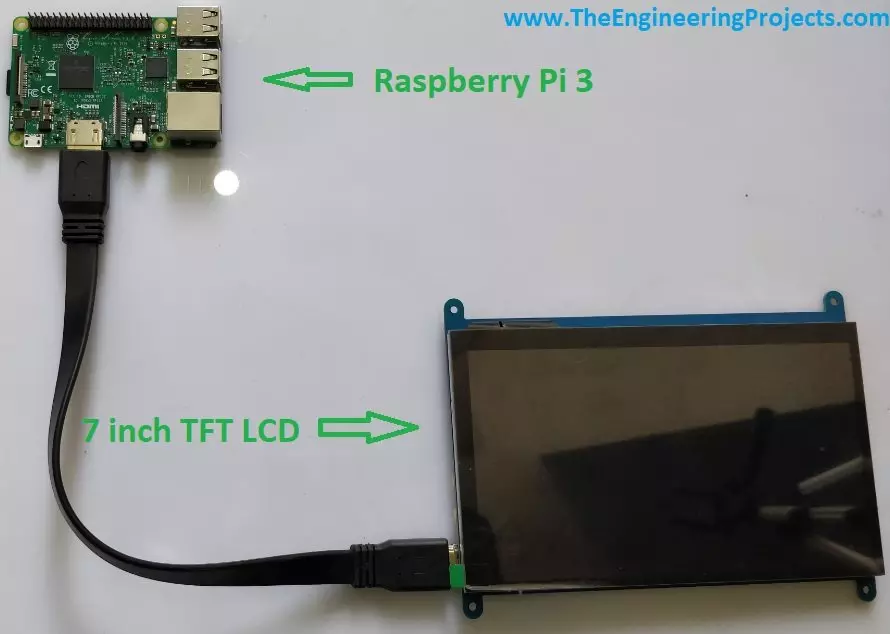
You will also get HDMI cable along with this TFT LCD, so we have to connect our TFT LCD with our Raspberry Pi 3 via HDMI cable, as shown in below figure:
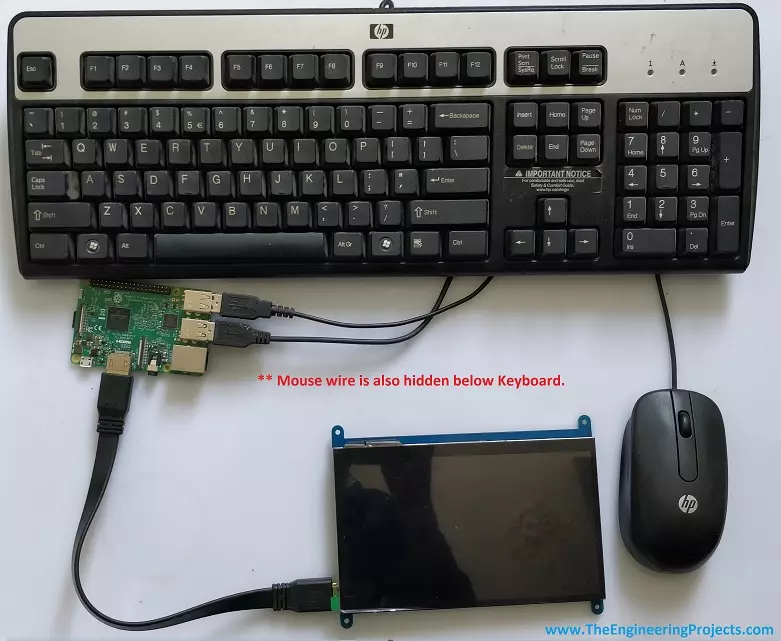
Now we also need Keyboard and mouse, I would recommend you to buy any usb mouse and keyboard.
You have to plug them in the USB Ports of raspberry Pi 3.
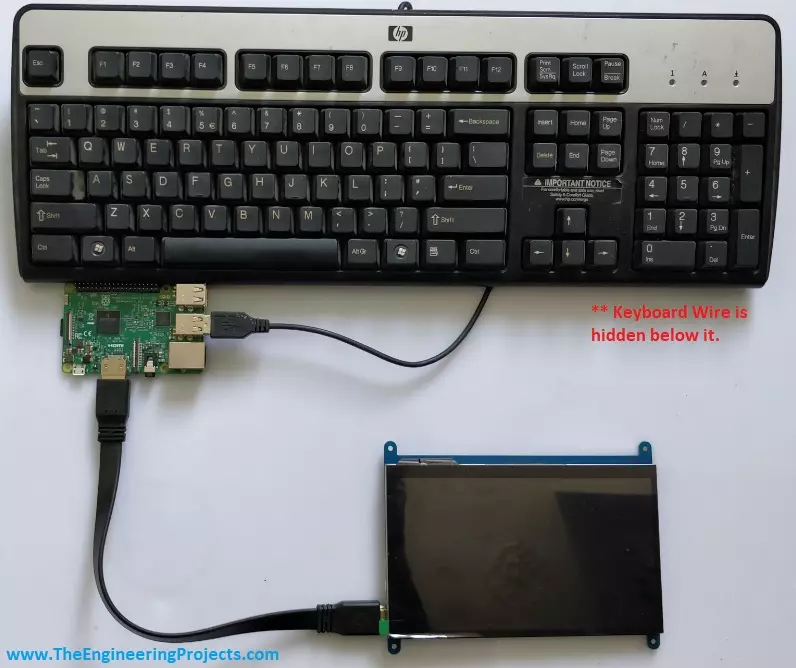
Let's first plug keyboard's USB in our raspberry Pi 3, as shown in below figure:
The last thing, I need to plug is our USB Mouse. Here's the screenshot:
Let me summarize it, till now we have connected following four things with our raspberry Pi 3:
16GB SD Card.
7 inch TFT LCD.
USB Keyboard.
USB Mouse.
Now we have to power up our raspberry Pi 3 and TFT LCD, so you will need two USB type B cables which are simple Android power cables.
Plug one usb cable in your raspberry Pi 3 as shown in below figure:
Plug the 2nd USB cable in your TFT LCD as shown in below figure:
First I am plugging USB Power cable of TFT LCD in my Laptop. Here's the screenshot:
As we haven't yet powered up our raspberry Pi 3, that's why our LCD is showing No Signal.
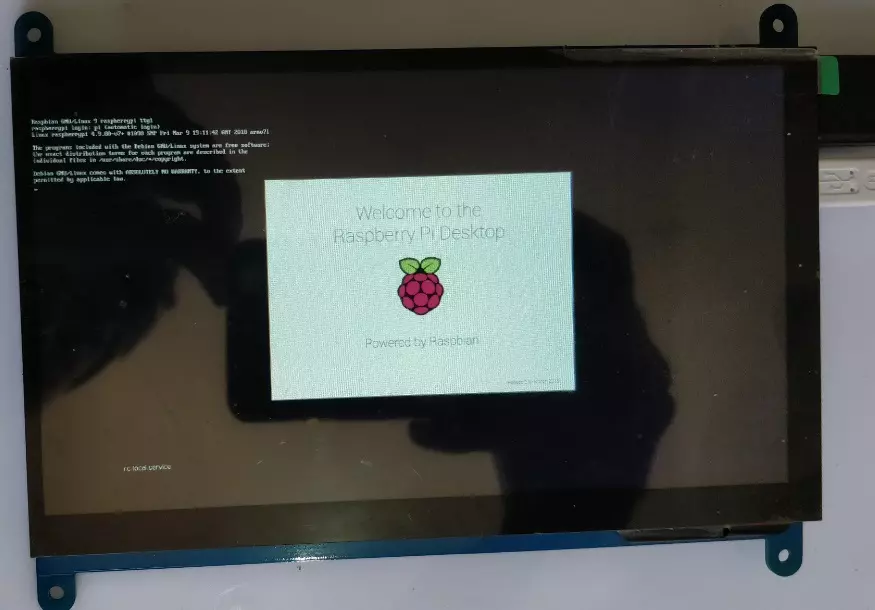
Now, let's power up our Raspberry Pi 3, here's the first look of Raspbian on Raspberry Pi 3, the OS is starting up:
After this screen, a new screen will open up and you will see some configurations as you are running it for the first time. Here's the screenshot:
It will take some time and then you will have something as shown in below figure:
Finally it has started, now you can use this mini computer quite easily with your mouse and keyboard. :)
Now we have to set some settings so that we could use it easily.
As you can see the icons etc are too small, we have to increase the size a little so that we could read/click everything.
For that, you have to Right Click on your desktop and then select Desktop Preferences.
When you click it, a new window will open up, in this window you have to select System tab and then change the Photon Light value from 12 to 18.
Click Ok and you will feel the differences. :P
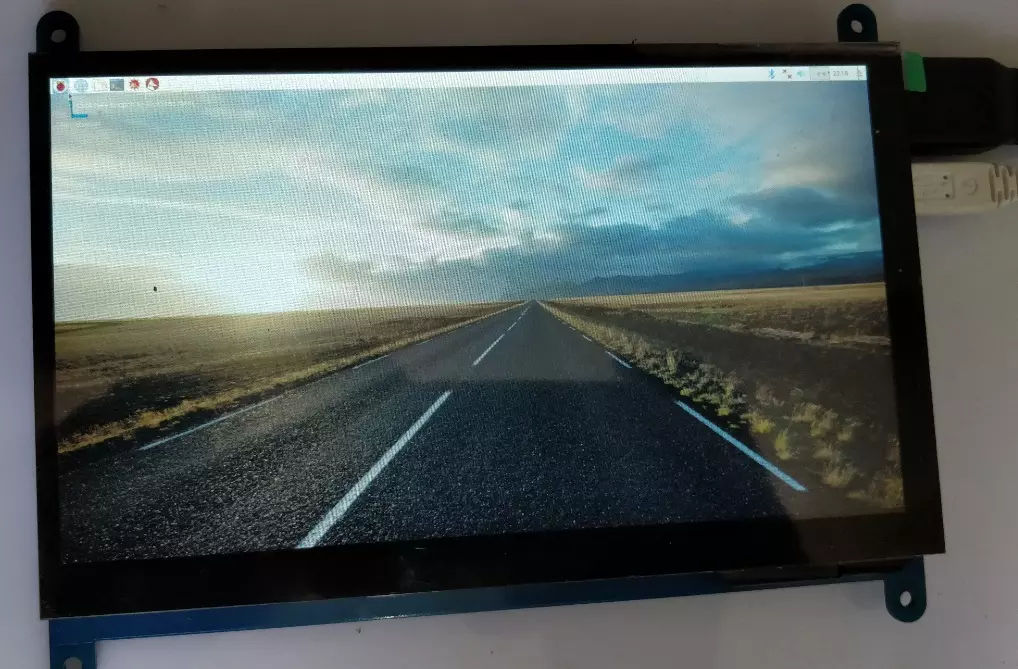
Here's a complete screenshot of our Mini computer designed using Raspberry Pi 3 and has Raspbian OS on it.
So, that was all about How to Setup 7 inch HDMI LCD with Raspberry Pi 3. I hope now you can quite easily do it.
In the coming tutorial, we will have a look at How to control raspberry Pi from Laptop, as it will be quite easy to design code on your Laptop as compared to this TFT LCD. Thanks for reading, will meet you guys in the next tutorial. Take care and have fun !!! :)
syedzainnasir
I am Syed Zain Nasir, the founder of The Engineering Projects (TEP). I am a
programmer since 2009 before that I just search things, make small projects and now I am sharing my
knowledge through this platform. I also work as a freelancer and did many projects related to
programming and electrical circuitry. My Google Profile+Follow
Get Connected
Comments on ‘’ How to Setup 7 inch HDMI LCD with Raspberry Pi 3 ‘’ ( 0 )