


Hello readers, I hope you all are doing great. In our previous tutorial, we learnt how to make HTTP POST from ESP32 to the IFTTT server.
In this tutorial, we will learn about another application of the ESP32 module in the field of IoT (Internet of Things). We can publish multiple sensor readings from ESP32 to Google sheets via the IFTTT web service.
IFTTT is used as a third-party web service to integrate Google sheets with ESP32.
Fig. 1
| Where To Buy? | ||||
|---|---|---|---|---|
| No. | Components | Distributor | Link To Buy | |
| 1 | ESP32 | Amazon | Buy Now | |
Creating an IFTTT Account for Integrating ESP32 with Google Sheets
We are going to create an applet (on the IFTTT server) that is responsible to integrate the Webhooks and Google Sheets services.
While operating with the IFTTT server there are some services/utilities that we are going to deal with like Applets and Webhooks. Before getting started with the project, let’s first introduce you to those terms:
Applet
An Applet is a small application or a utility program, which is used for one or a few simple functions. It connects two or more devices or apps together. An applet provides integration between two devices or services to enable some functionality that those devices or services cannot do alone or on their own. An applet consists of actions and triggers.
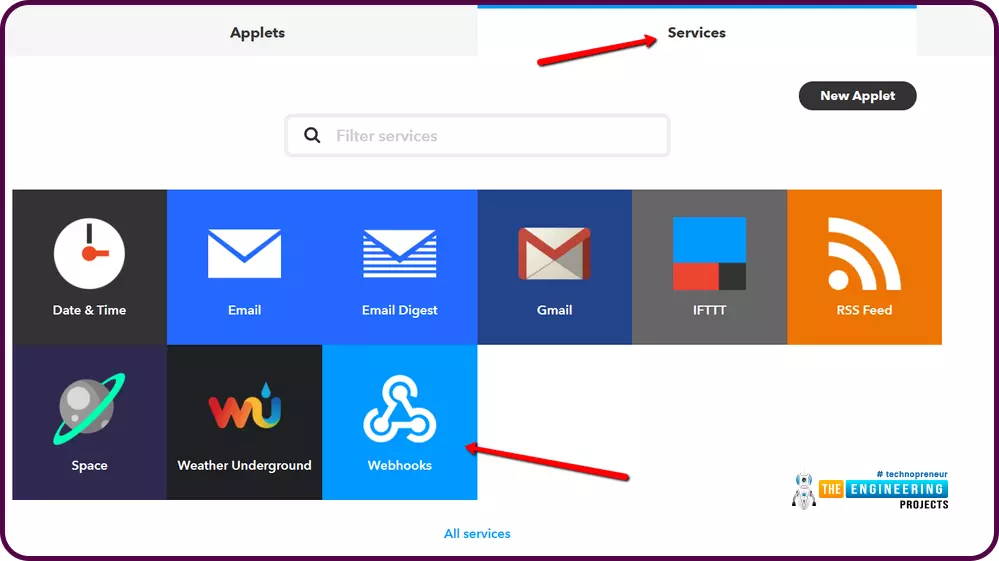
Fig. 2
Webhooks
- Webhooks are hypertext transfer protocol (HTTP) callbacks that are defined by the user. They are data and executable commands sent from one app to another over HTTP rather than through the computer's command line. Essentially, it is a method for apps to send automated messages or information to other apps.
- When an event occurs on the "trigger" application, the app serializes the data and sends it to a webhook URL from the "action" application (the app that processes the data from the "trigger" application). After that, the active application can send a callback message.
Getting Started with IFTTT:
- Enter the following link in the web browser: https://ifttt.com
- Login with your Gmail or Facebook accounts for free.
- Click on Create icon (top left menu) to create an

Fig. 3: Creating an Applet
- Click on the ”if This” icon.
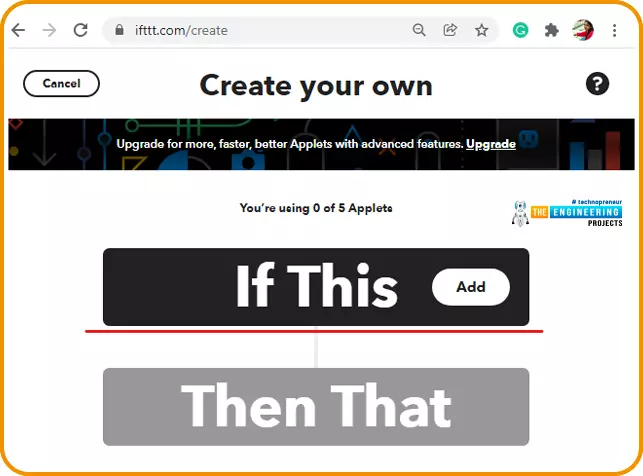
Fig. 4: “If This”
- Select a service. Search for the Webhooks service and select the respective icon.
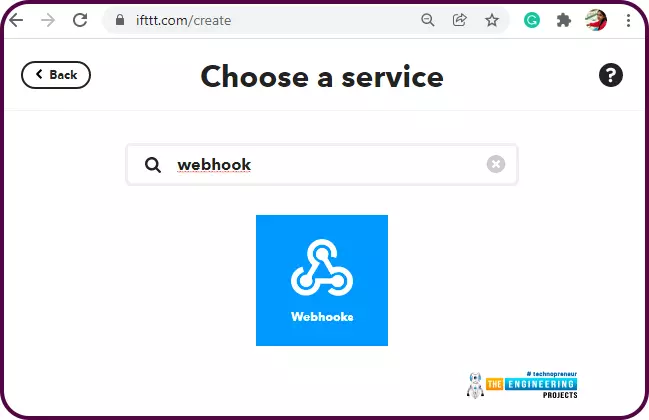
Fig. 5: Search and Select Webhooks
- Click on the Receive a web request option to select a trigger option. The trigger will fire every time the maker service receives a web request to notify it of an event.
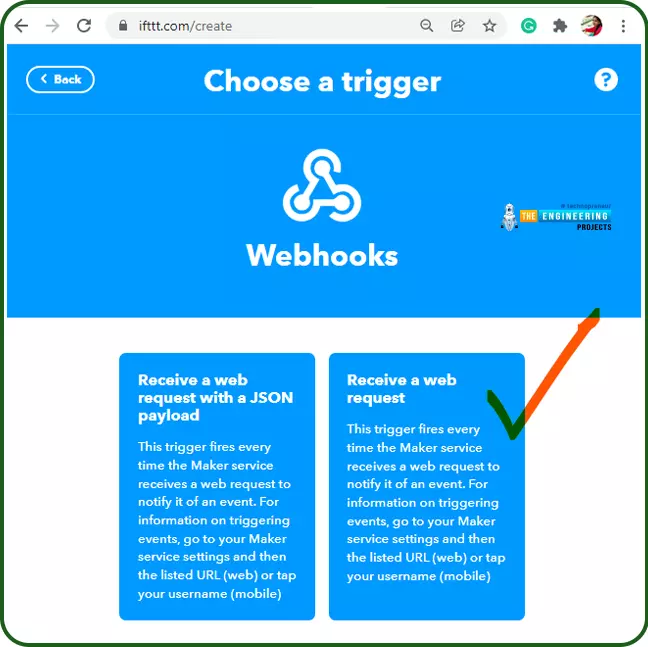
Fig. 6: Receive a Web Request
- Assign a name to the trigger event and click on Create trigger We have assigned ESP32_GoogleSheets.
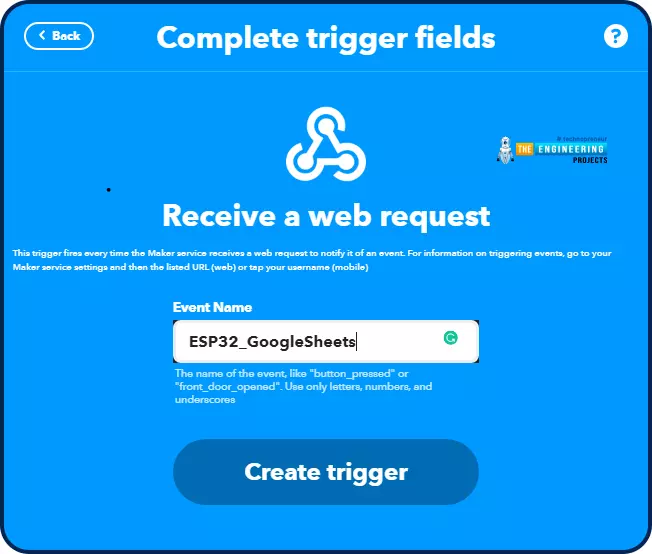
Fig. 7: Create Trigger
- Next, click on the “Then That”
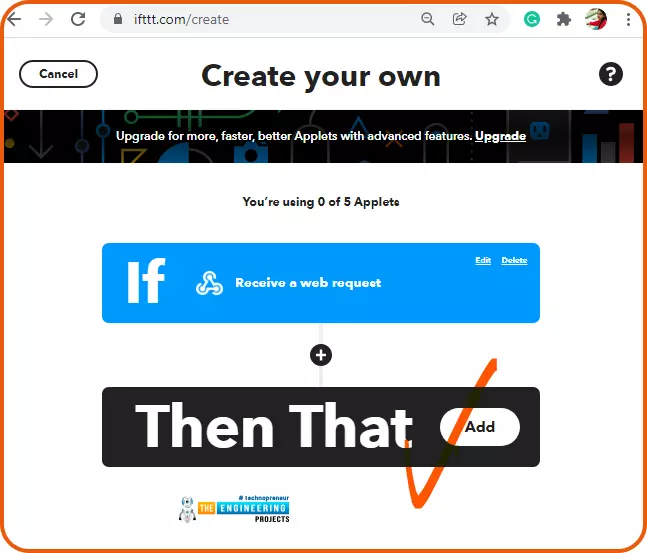
Fig. 8: Then That
- To select the service, search for the Google Sheets service and click on the respective icon.
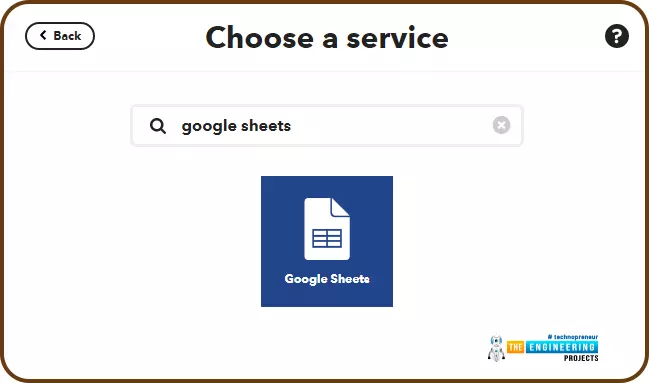
Fig. 9: Google Sheets
- The next step is selecting an action, click on Add row to the spreadsheet

Fig. 10: Select an Action
- Click on the connect button to connect with the Google Sheet service, if you haven’t connected to it yet.
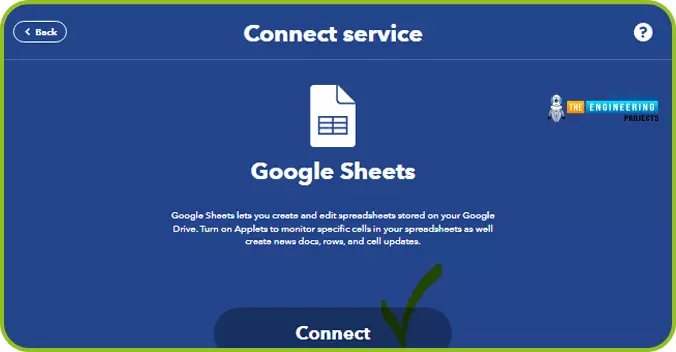
Fig. 11: Connect to Google Sheets Service
- A new window will pop up, where you need to log in with your Gmail account.
- Enter your Gmail account address and password.
- Click on Allow icon, (as shown below) to allow the IFTTT web service to access files from your Google drive. So that IFTTT can create new folders or update details in the existing Google drive folders with new sensor readings.
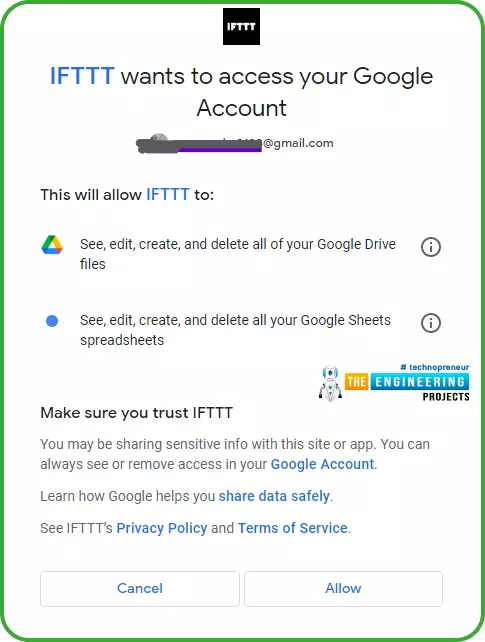
Fig. 12: Allow IFTTT Service to Access Files of your Google Drive
- Finally, complete the action field by assigning the name to the spreadsheet and path the folder in Google drive. Leave the Formatted row as it is (default).
- A folder named IFTTT will be created by default if you leave the above fields empty.
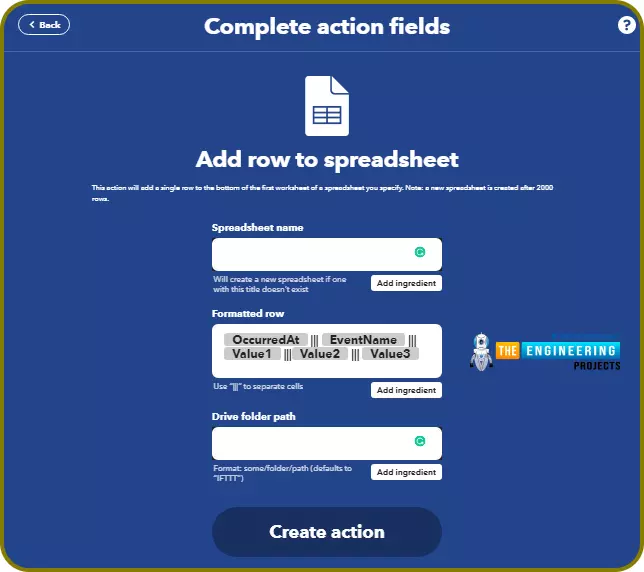
Fig. 13: Complete Action Fields
- Click on the finish
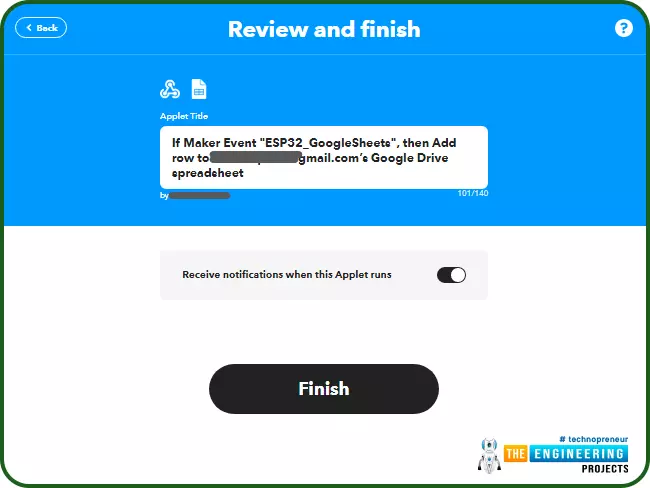
Fig. 14: Applet Successfully Created
Testing the Applet
Before interfacing the IFTTT service (applet) with ESP32, let us test the applet whether it is created successfully or not.
- Open the following link: https://ifttt.com/maker_webhooks
- Click on the Documentation
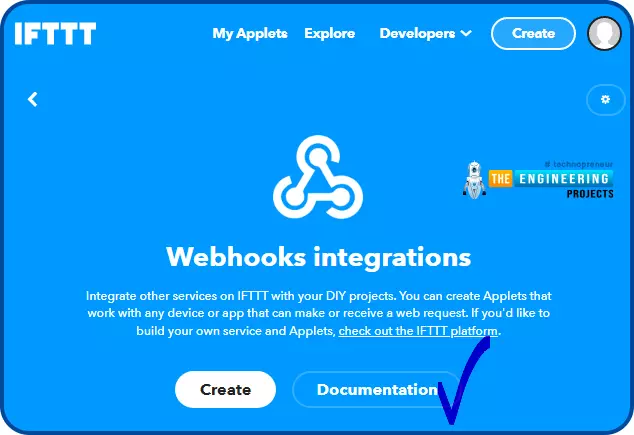
Fig. 15
- A new window will open containing your key (API).
- Enter the details in To trigger an Event and click on Test it.
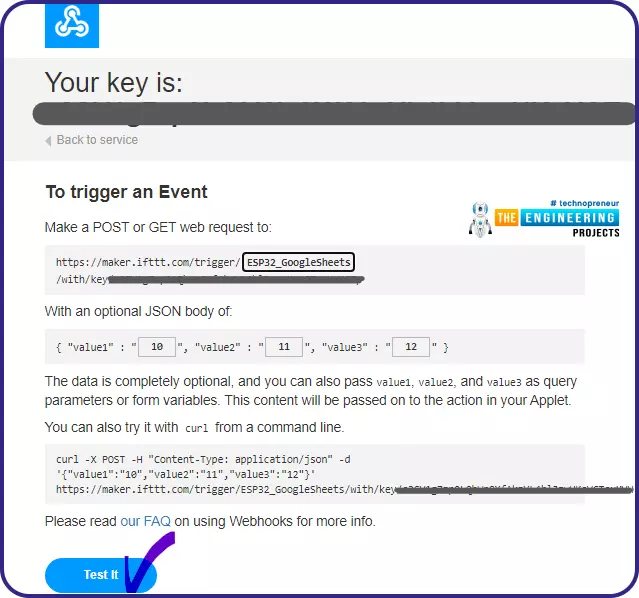
Fig. 16: Test your Applet
- Open your Google drive.
- You should see a folder (named IFTTT ) in your Google drive.
- Open the folder to see the values received from the IFTTT server.

Fig. 17: IFTTT Folder in Google Drive
Components Required:
- ESP32 development board.
- USB cable to connect to ESP32 development board with the computer.
No external components are required as we are using the ESP32’s inbuilt sensors to take the readings.
Arduino IDE code
Let’s have an overview of the project before writing the Arduino code:
- To access the internet, the ESP connects to the local Wi-Fi network.
- Then, the Hall sensor will take the readings;
- Your ESP32 will communicate with the IFTTT Webhooks service that publishes the readings to a spreadsheet on Google Sheets that is saved in your Google Drive’s folder.
- After publishing the readings, the ESP goes into deep sleep mode for 15 minutes;
- After 15 minutes the ESP wakes up;
- After waking up, the ESP connects to Wi-Fi, and the process repeats.
- We are using Arduino IDE to compile and upload into the ESP32 module. To know more about Arduino IDE and how to use it, follow our previous tutorial i.e., on ESP32 programming series.
#include <WiFi.h>
// Replace with your SSID and Password
const char* ssid = "SSID";
const char* password = "Password";
// Replace with your unique IFTTT URL resource
const char* serverName = "https://maker.ifttt.com/trigger/replace_this_with_eventName/with/key/replace_this_with_your_unique_key ";
// Maker Webhooks IFTTT
const char* server="maker.ifttt.com";
//----Timer for sleep
uint64_t uS_TO_S_FACTOR = 1000000; // Conversion factor for micro seconds to seconds
uint64_t TIME_TO_SLEEP = 900; //sleep for 15 minutes
void setup()
{
Serial.begin(115200);
delay(100);
Serial.print("Connecting to: ");
Serial.print(ssid);
WiFi.begin(ssid, password);
int timeout = 10 * 4; // 10 seconds
while( WiFi.status() != WL_CONNECTED && ( timeout-- > 0) )
{
delay(200);
Serial.print(".");
}
Serial.println(" ");
if(WiFi.status() != WL_CONNECTED )
{
Serial.println(" Failed to connect, going back to sleep ");
}
Serial.print("WiFi connected in: ");
Serial.print(millis());
Serial.print(", IP address: ");
Serial.println(WiFi.localIP());
makeIFTTTRequest();
// enable timer deep sleep
esp_sleep_enable_timer_wakeup(TIME_TO_SLEEP * uS_TO_S_FACTOR);
Serial.println("Going to sleep now");
esp_deep_sleep_start(); // start deep sleep for 900 seconds (15 minutes)
}
void loop()
{
// sleeping so wont get here
}
void makeIFTTTRequest()
{
Serial.print("Connecting to ");
Serial.print(server);
WiFiClient client;
int retries = 5;
while(!!!client.connect(server, 80) && (retries-- > 0))
{
Serial.print(".");
}
Serial.println();
if(!!!client.connected())
{
Serial.println(" Failed to connect... ");
}
Serial.print(" Request server: ");
Serial.println( serverName );
// Hall sensor values
String jsonObject = String("{\"value1\":\"") +
hallRead() +
"\",\"value2\":\"" + hallRead()
+ "\",\"value3\":\"" +
hallRead() + "\"}";
client.println(String("POST ") + serverName + " HTTP/1.1");
client.println(String("Host: ") + server);
client.println("Connection: close\r\nContent-Type: application/json");
client.print("Content-Length: ");
client.println(jsonObject.length());
client.println();
client.println(jsonObject);
int timeout = 5 * 10; // 5 seconds
while(!!!client.available() && (timeout-- > 0)){
delay(100);
}
if(!!!client.available()) {
Serial.println("No response...");
}
while(client.available()){
Serial.write(client.read());
}
Serial.println("\nclosing connection");
client.stop();
}
Code Description
- Add the required header files.
- WiFi.h header file is used to enable the Wi-Fi module and its respective functions.

Fig. 18: Library Files
- Enter the network credentials, SSID and Password.

Fig. 19: Network Credentials
- Add the IFTT domain name, the event name (you have created) and the API key. The event name we have created is ESP32_test.

Fig. 20
- IFTTT Server URL.

Fig. 21
- Time_To_Sleep variable is used to set a timer (sleep time) of 15 minutes (900 sec). ESP32 processor will wake up from sleep mode after every 15 minutes to take the sensor readings and publish them to Google Sheets.
- uS_To_S_Factor is used to store the conversion value for converting the timer unit from microseconds to seconds.
Note: The ESP32 sleep time should not be very short. A very short sleep time can result in the exceeded limit of requests imposed by the IFTTT service.
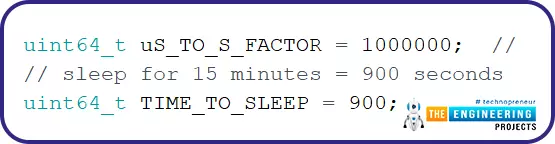
Fig. 22: Timer
Setup()
-
- Initialize the Serial monitor with a 115200 baud rate for debugging purposes.

Fig. 23: Serial Monitor
- Enable ESP32’s Wi-Fi module using begin() function which is using SSID and password as arguments.
- Wait until the ESP32 is not connected to the Wi-Fi network.
- Fetch the IP address using WiFi.localIP() function.
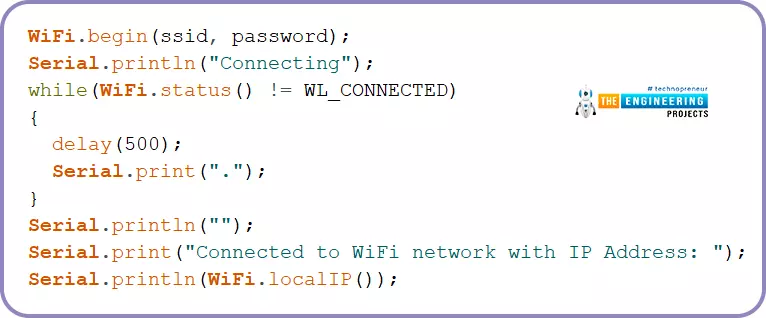
Fig. 24: Wi-Fi
- makeIFTTTRequest() function is used to connect ESP32 with the client server.

Fig. 25
- esp_sleep_enable_timer_wakeup() function is used to enable the timer for sleep mode.
- The duration of sleep mode is passed as an argument inside the timer function.
- Esp_deep_sleep_start() function is used to start the sleep mode.

Fig. 26
- The below code represents the process happening inside the makeIFTTTRequest()
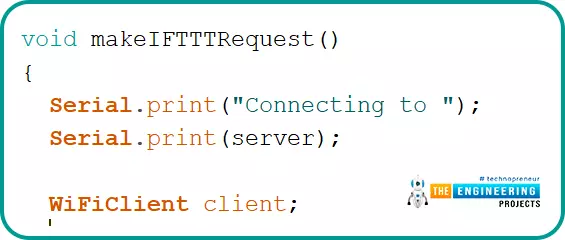
Fig. 27
- ESP32 connects to IFTTT serve and then communicates with the server (IFTTT) through port 80.
- ESP32 tries 5 times to connect to the server and if it couldn’t then it will enter the sleep mode.
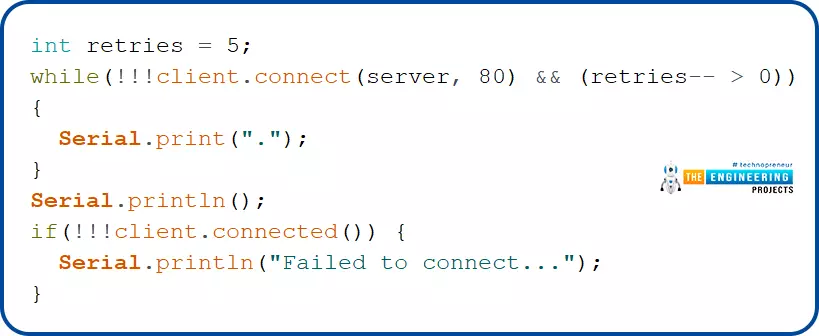
Fig. 28
- jsonObject variable is used to store the sensor data to be shared to the Google Sheets via the IFTTT server.
- We are using ESP32’s inbuilt Hall sensor to take the readings.
- This variable will take three sensor values and ESP32 will communicate the readings to Google Sheets.

Fig. 29
- Connection with the server will be closed once the data is shared successfully and ESP32 will enter to sleep mode form next 15 minutes.
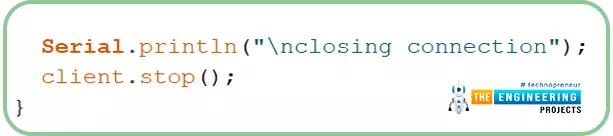
Fig. 30
Testing
- Select the right development board in Tools >> Boards >> DOIT ESP32 DevKit V1 in Arduino IDE.
- Compile and upload the code into ESP32 using Arduino IDE.
- Make sure that you have entered the right Wi-Fi credentials, API key and event name before uploading the code.
- Open the serial monitor with a 115200 baud rate as defined in the Arduino code.
- Press the EN button from the ESP32 development board.
- Go to your Google drive.
- You should see a folder (named IFTTT ) in your Google drive.
- Another folder will be there inside the IFTTT folder (named as ESP32_hall sensor readings, in our case)
- Open the folder to see the values received from the IFTTT server.
- The spreadsheet will be updated after every 15 minutes. If you press the EN button before completing the sleep duration(15 minutes), the spreadsheet will be updated automatically with new sensor data, as shown below:
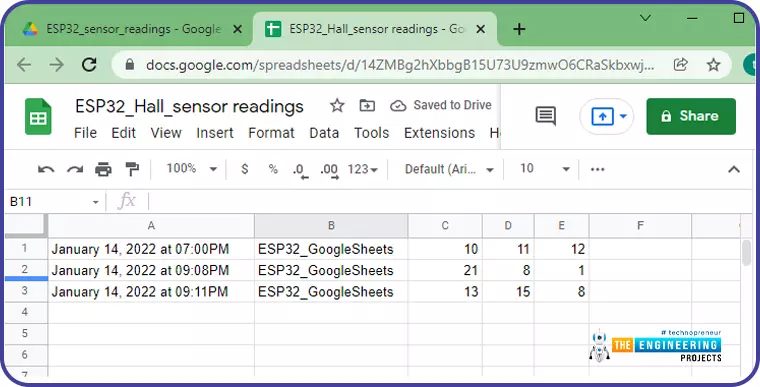
Fig. 31: Hall Sensor Readings on Google Sheets

Fig. 32: Serial Monitor
This concludes the tutorial. I hope you found this of some help and also to see you soon with the new tutorial on ESP32.
