Imagine walking into a room and saying, “Turn on the desk lamp.” The light switches on, and a voice confirms it. You can build this kind of feature with a small IoT device, a microphone, and a service that understands speech.
If you are starting from scratch, an AI voice agent for developers can be one part of the system. Your code still decides which commands are safe and how devices respond. This guide explains how to connect those parts.
How AI Voice Agents Work with IoT
An AI voice agent lets people speak to software instead of using buttons or screens. It listens to speech, works out what the person wants, and responds.
In an IoT project, the flow often looks like this:
Voice command → Speech recognition → Command processing → IoT device → Status check → Spoken reply
For example, when someone asks to turn on a lamp, the system identifies the lamp and the action. It sends a command and waits for the device to report its status before saying the light is on.
What You Need to Get Started
You can build a basic project with a few parts:
- Controller: A Raspberry Pi can run the voice app and connect to devices. An ESP32 is useful for simple sensors and switches.
- Input and output: Use a microphone to capture speech and a speaker to play replies.
- Network: Wi-Fi connects devices to your app. MQTT is a common way to send small device messages.
- Voice service: Speech recognition turns audio into text. Text-to-speech turns replies into audio. A voice agent may also manage the conversation.
- Backend: Python or Node.js can check commands and send them to the right device.
You do not need every feature on the first day. Start with one device and one command.
Step-by-Step: Add an AI Voice Agent to an IoT Project
Step 1: Choose a Simple Use Case
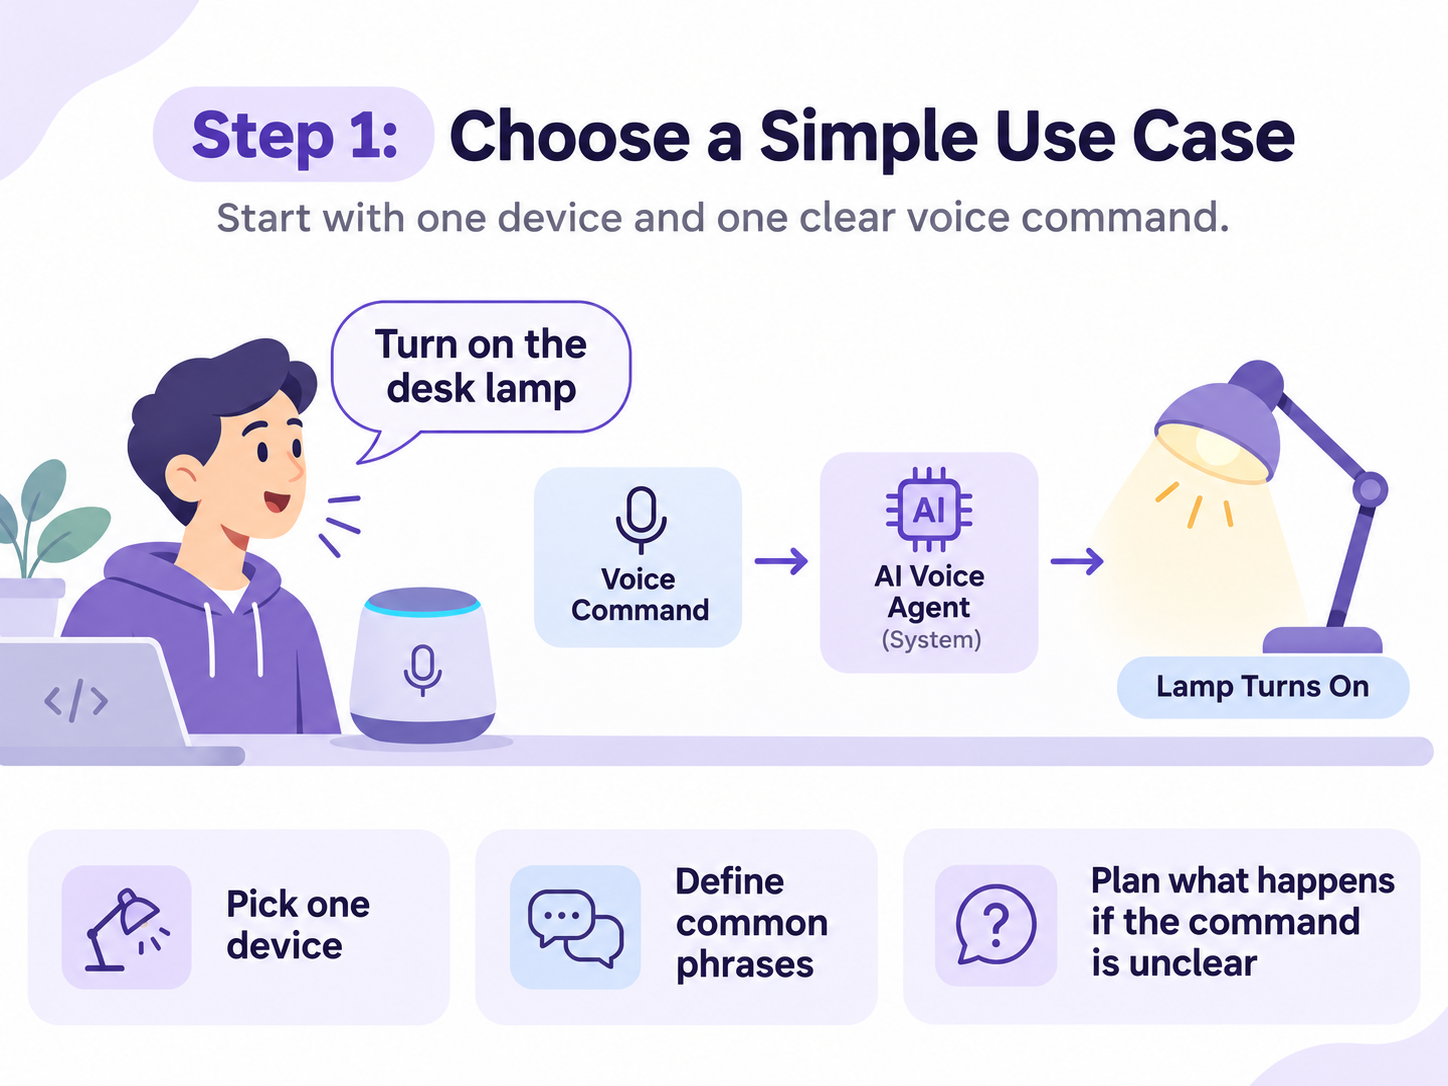
Pick one task, such as switching a desk lamp on and off. Write down the phrases users might say, including “switch on the lamp” and “turn the light off.”
Decide what should happen if the command is unclear. For safety, the app should ask again rather than guess.
Step 2: Prepare the Hardware
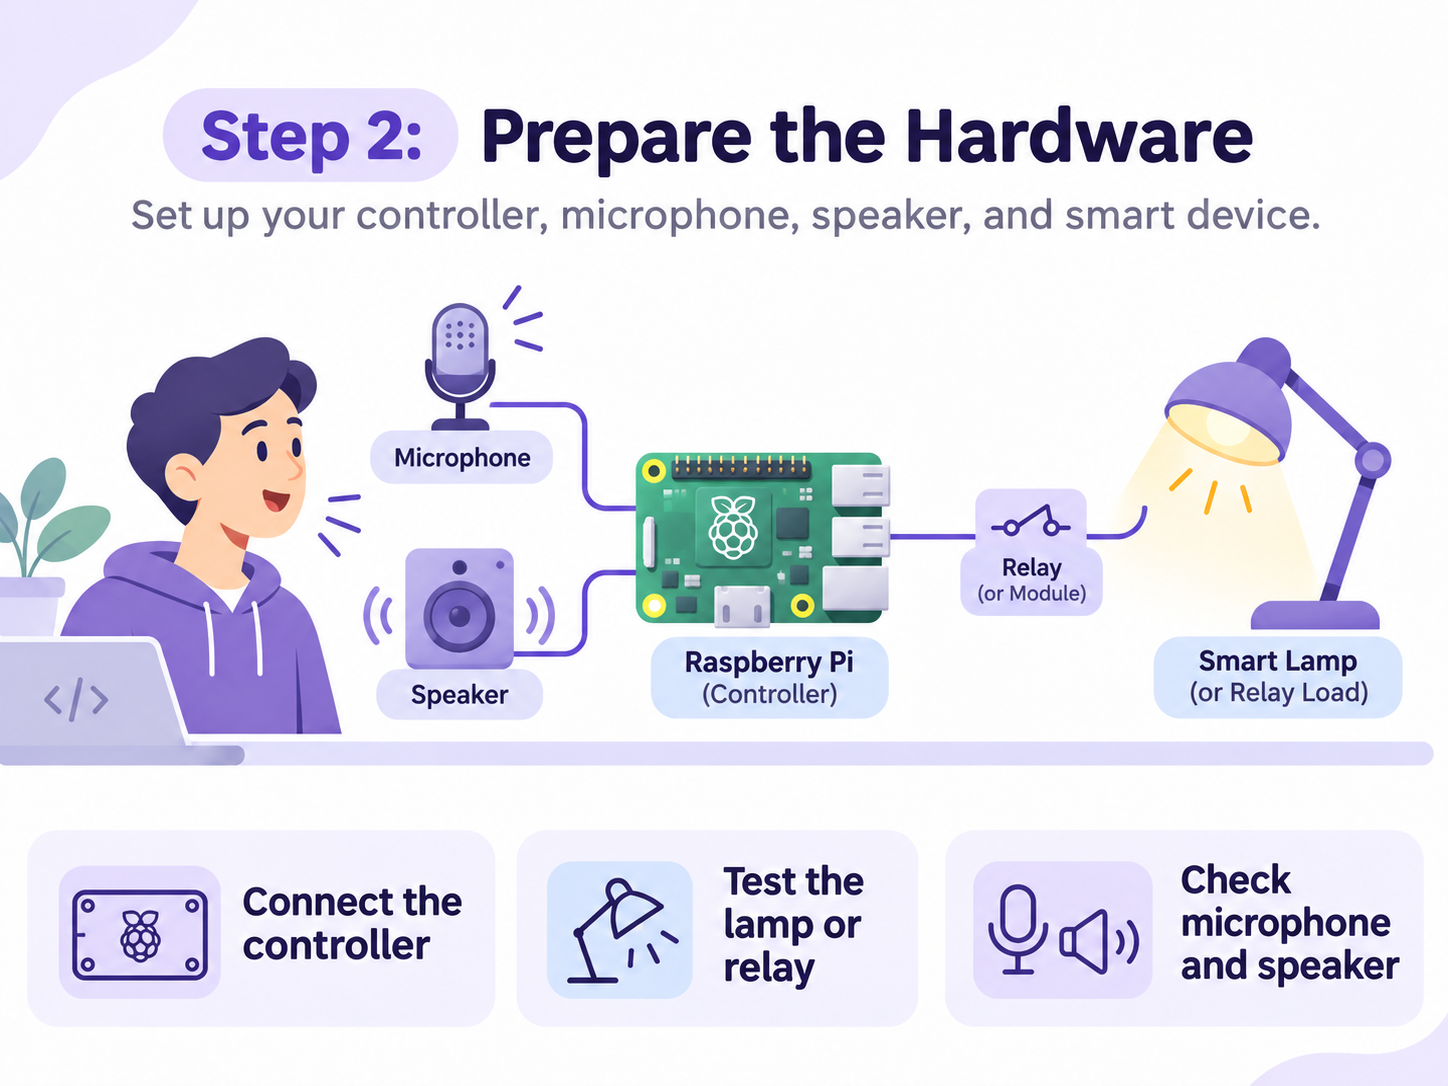
Connect your lamp through a suitable smart plug or approved relay module. Set up the controller, microphone, and speaker.
Test the lamp from a basic script before adding speech. Working hardware makes later errors easier to find. Follow electrical safety rules when working with powered devices.
Step 3: Set Up the Voice Service
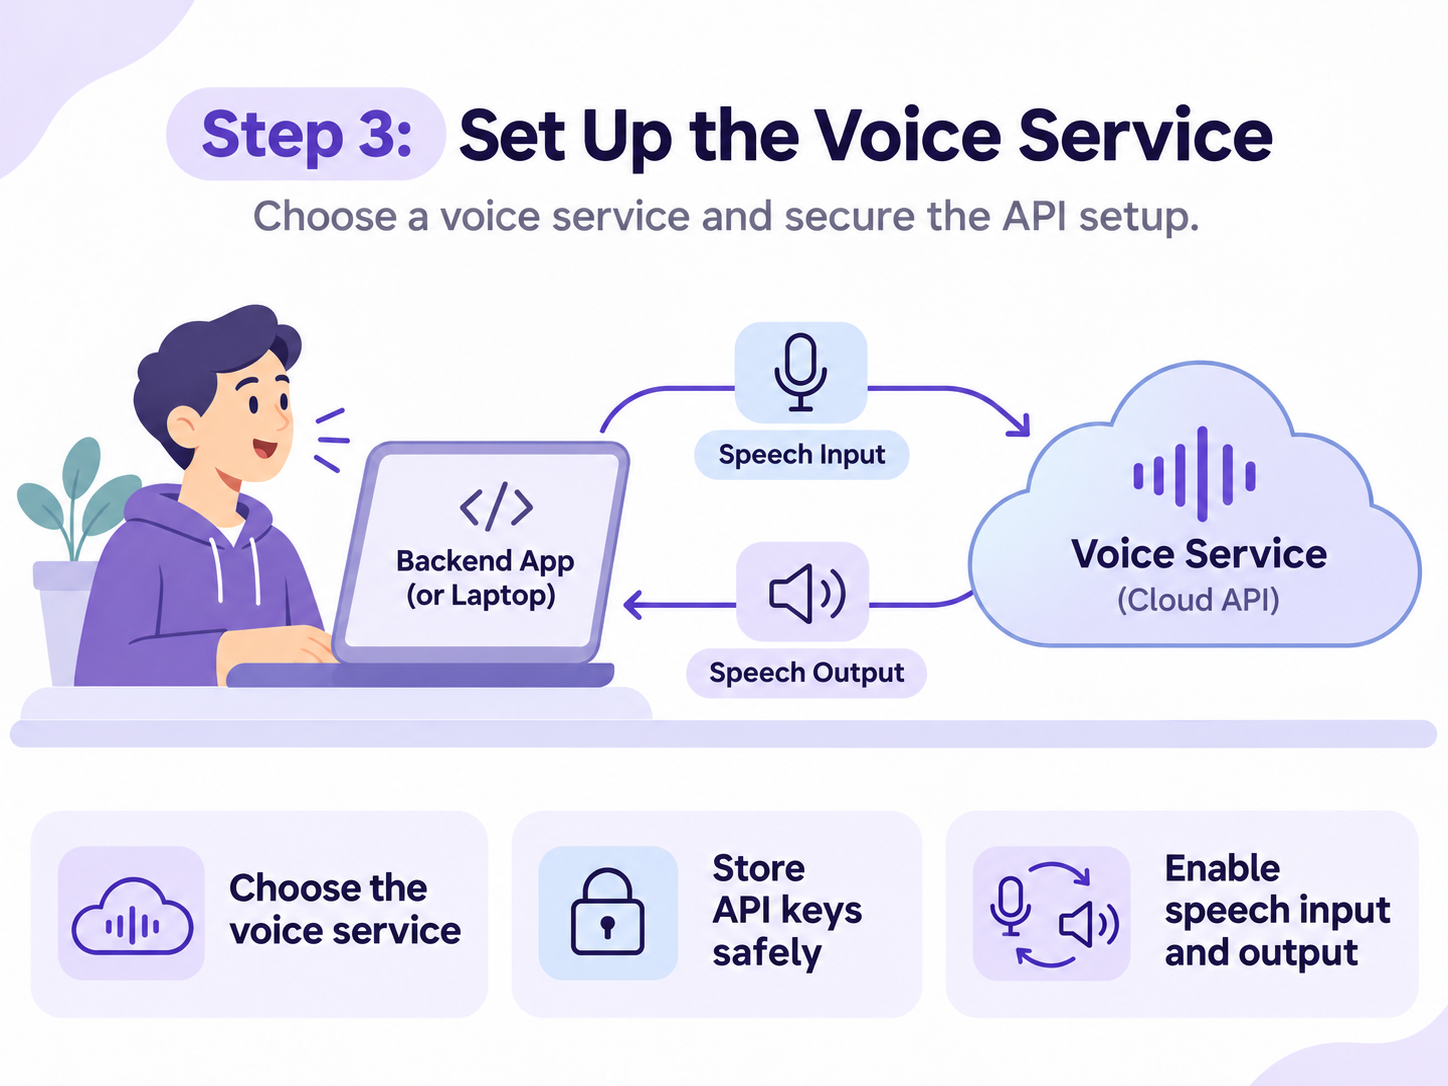
Choose a voice service based on language support, speed, pricing, and its API features. Read the setup guide and store API keys in a secure place, not in public code.
Check whether the service supports both listening and speaking. If it only generates speech, you will also need a speech recognition tool.
Step 4: Connect Speech to Device Actions
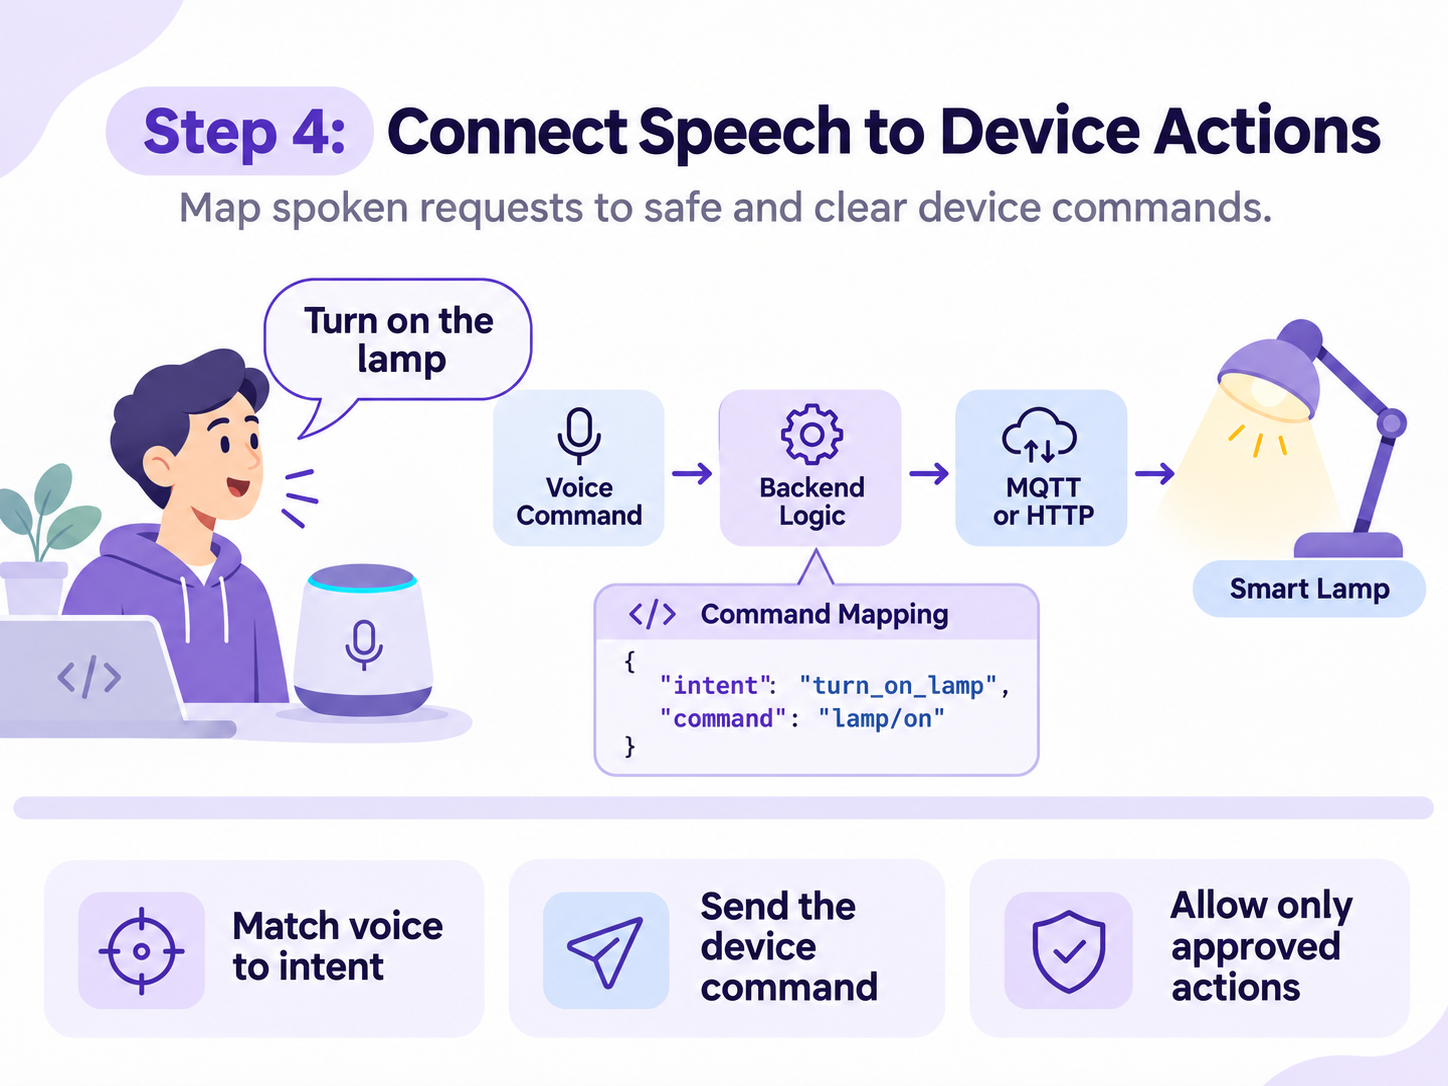
Create a backend that receives the user's request and matches it to an allowed action. For example, lamp_on can publish an MQTT message to the lamp's topic.
Do not let a spoken request run any command it wants. Use a short list of approved devices and actions, with permission checks where needed.
Step 5: Test Commands and Replies
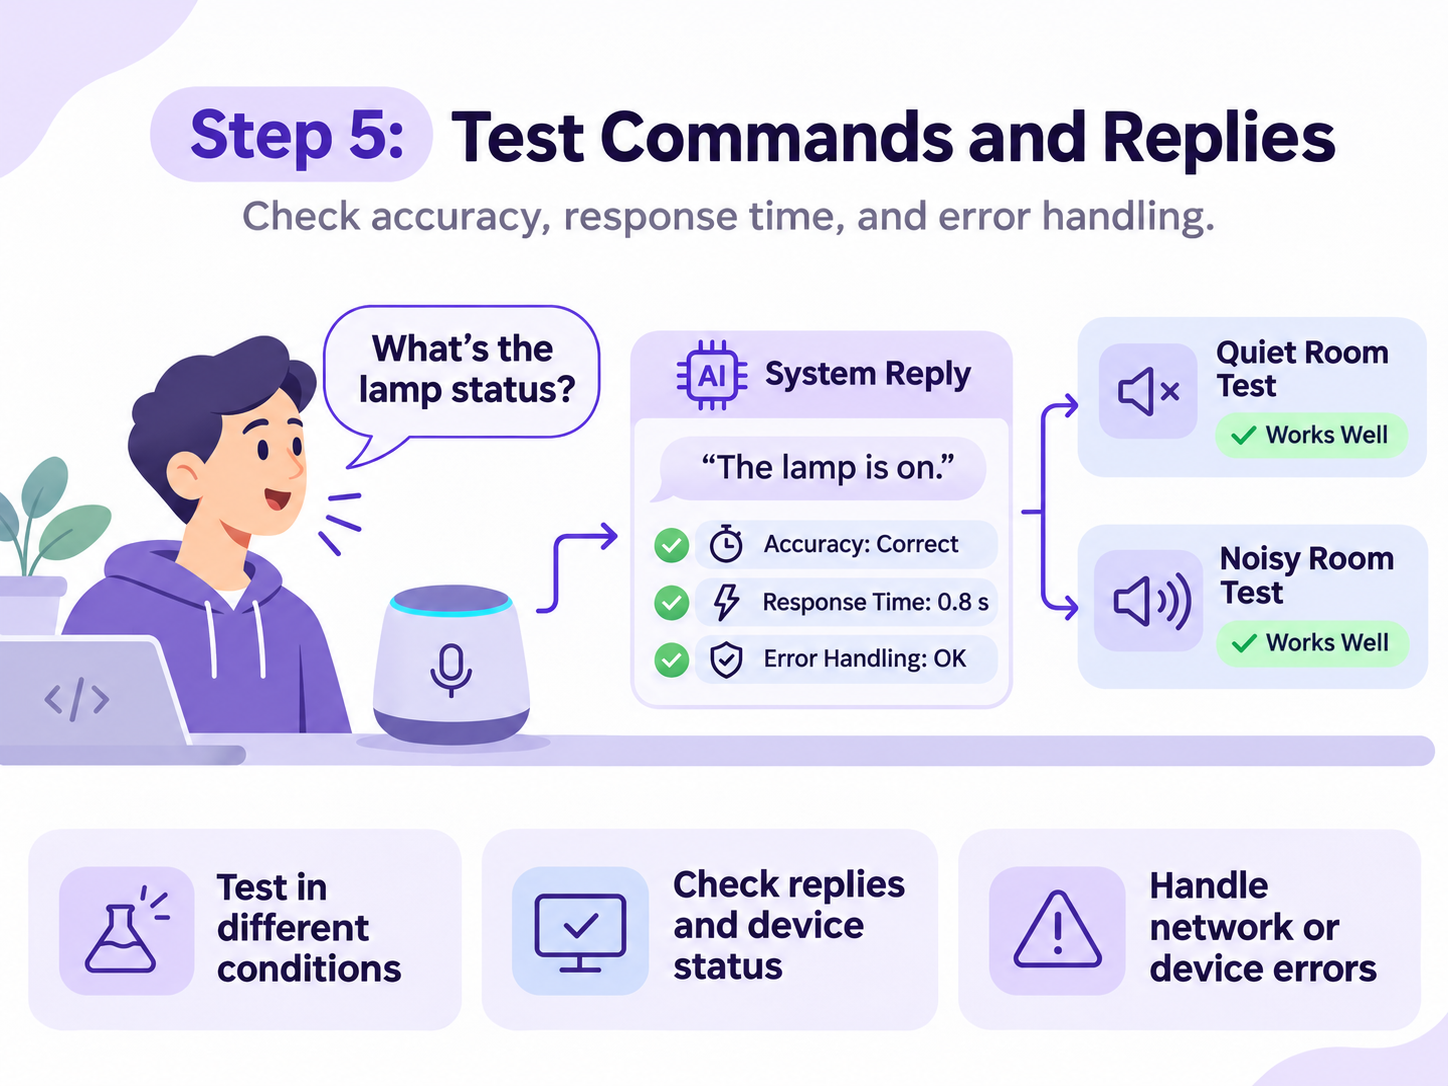
Try commands in a quiet room and with background noise. Speak at different speeds and test short and long phrases.
Check what happens when the network drops or the lamp is offline. The system should report a failed action instead of saying it worked.
Step 6: Deploy and Monitor
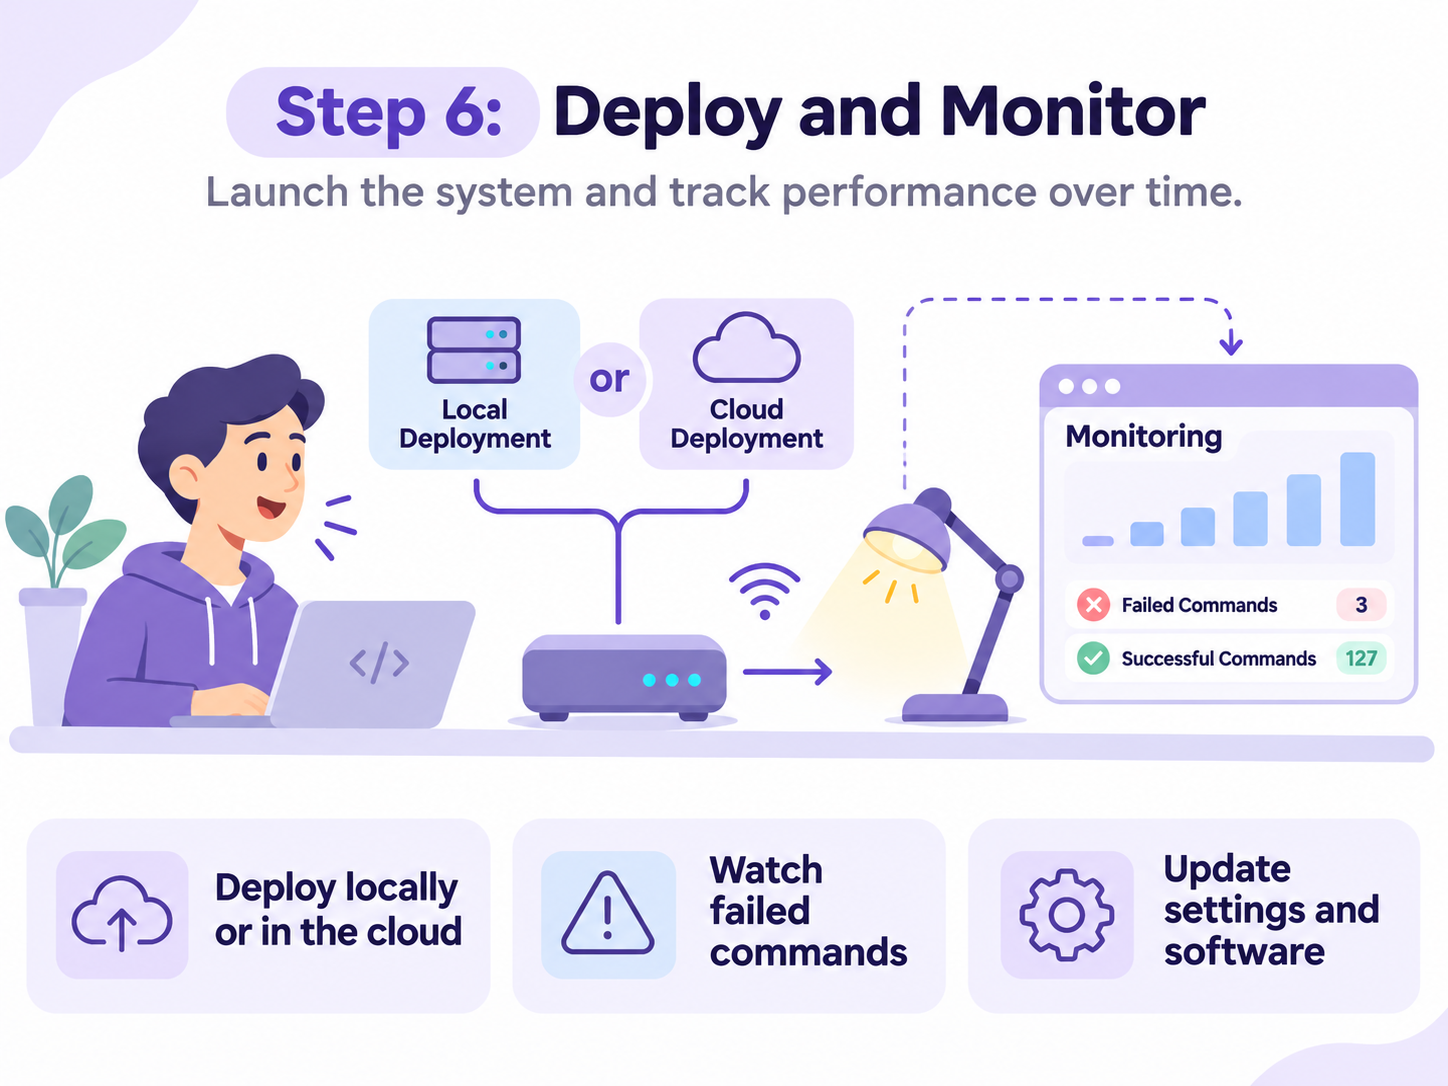
Run the app on a local controller or a server, depending on your needs. A local setup may keep basic controls working when internet access is limited.
Monitor failed commands, slow replies, and disconnected devices. Update the software and device settings regularly.
Tips for a More Reliable Voice System
Keep replies short. “The lamp is on” is better than a long message for a simple task. Show the device's status on a screen too, if one is available.
Protect voice and device data. Use encrypted connections, limit access, and avoid saving recordings you do not need. For important actions, such as unlocking a door, require extra confirmation or another secure control.
Also provide a button or manual switch. Voice should make a device easier to use, not become its only way to work.
Where Voice-Controlled IoT Helps
In a home, voice can control lights and fans. In an office, it can adjust meeting room devices. In a workshop, staff can ask for sensor readings while their hands are busy.
The same approach works for simple farm sensors, where someone might ask for the current soil moisture reading.
Final Thoughts
Voice control can make connected devices feel more natural to use. Begin with one reliable action, confirm what the device actually did, and build from there. Clear commands, safe controls, and useful feedback matter more than a long list of features.
Example: An Allowed-Command Table for the Desk Lamp
The safest way to follow the advice in Step 4 is to write the allowed actions down as a small table before writing any code. The backend accepts only what is in the table, and anything else gets the “please repeat” reply from Step 1. For the desk lamp, the table can be as short as this:
| Intent | Example phrases | Device message | Wait for | Spoken reply |
|---|---|---|---|---|
| lamp_on | “turn on the desk lamp”, “switch on the lamp” | lamp/on | The lamp reports ON | “The lamp is on.” |
| lamp_off | “turn the light off”, “switch off the lamp” | lamp/off | The lamp reports OFF | “The lamp is off.” |
| lamp_status | “is the lamp on?” | None (read only) | The last reported state | “The lamp is on.” or “The lamp is off.” |
| unclear | Anything else | None | Nothing | “Sorry, which device do you mean?” |
Each row is one thing the voice agent may ask for. Adding a fan later means adding rows, not changing the logic. An action such as unlocking a door would get an extra confirmation step in its row, as the tips above suggest, and a request that matches no row never reaches a device.
Raspberry Pi or ESP32: Which Board Does What?
Both boards appear in the parts list, and in many projects they work together rather than compete:
| Job | Raspberry Pi | ESP32 |
|---|---|---|
| Run the voice app and backend | Yes: Linux with Python or Node.js | Limited: small memory, best for simple tasks |
| Microphone and speaker | Easy with USB audio or an audio add-on board | Possible with I2S parts, but more work |
| Switch the lamp or relay | Yes, through its GPIO pins | Yes, right next to the device, over Wi-Fi and MQTT |
| Power use | A few watts from a steady 5 V supply | Very low, with sleep modes for battery sensors |
A common split is a Raspberry Pi as the hub that listens, talks to the voice service and checks each command, with one or more ESP32 boards beside the devices that receive MQTT messages and report their status back. If the hub or the internet connection goes down, the ESP32 can still keep a manual button working, so voice is never the only way to control the lamp.