Thank you for joining us for yet another session of this series on Raspberry Pi programming. In the preceding tutorial, we constructed a personal Twitter bot using Tweepy, a Py framework for querying the Twitter application programming interface. We also constructed a Response to robot mentions that would post a response to everybody's tweet mentioning it with a certain keyword. However, in this tutorial, we will implement a security system using a motion sensor with an alarm. This is what it looks like:
PIR Motion Sensors can be implemented with RPi by understanding how it is connected to a Raspberry Pi. Whenever the motion sensor detects human movement, an alarm is triggered in this project and the LEDs blink. You may create a simple motion-det ...
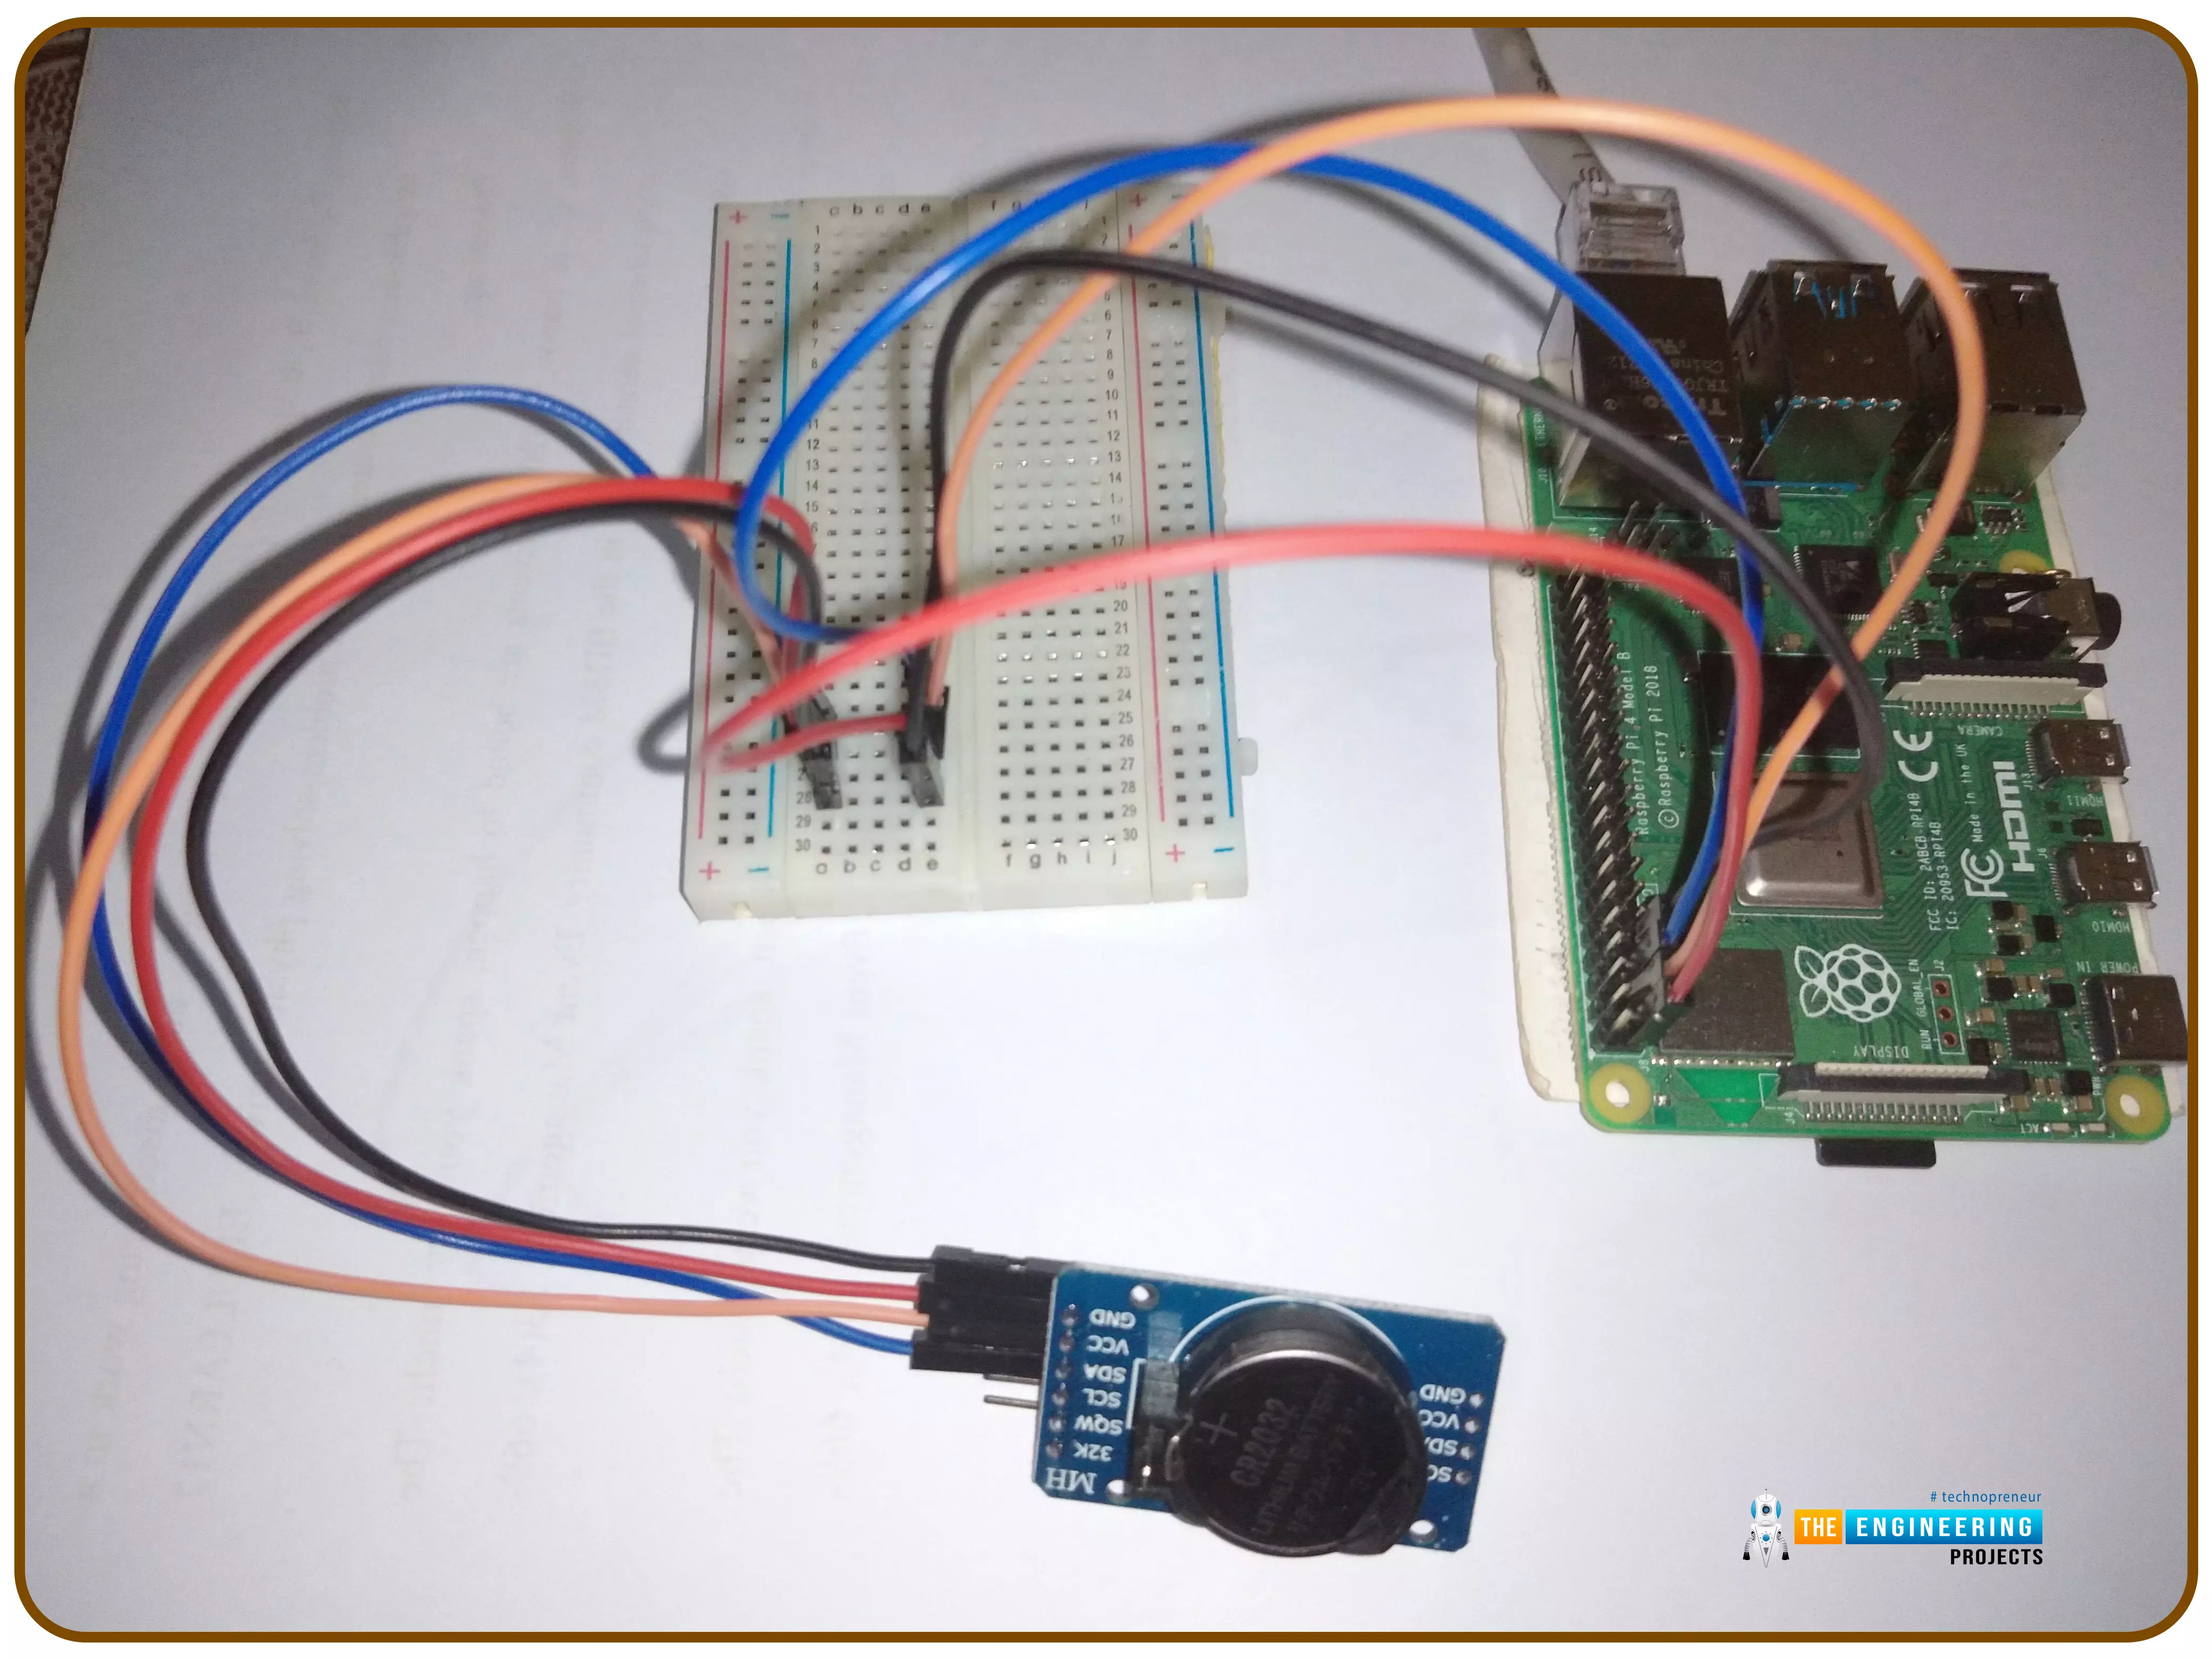
Thank you for joining us for yet another session of this series on Raspberry Pi programming. In the preceding tutorial, we integrated a real-time clock with our raspberry pi four and used it to build a digital clock. However, In this tutorial, we will construct your personal Twitter bot using Tweepy, a Py framework for querying the Twitter application programming interface.
You will construct a Response to mentions robot that will post a response to everybody's tweet mentioning it with a certain keyword.
The response will be a photo we will make and put any text over it. This message is a quote you will acquire from a 3rd application programming interface. Finally, we will look at the benefits and drawbacks of bots.
This is what it looks like:
...
Introduction
Thank you for joining us for yet another session of this series on Raspberry Pi programming. In the preceding tutorial, we implemented a speech recognition system using raspberry pi and used it in our game project. We also learned the fundamentals of speech recognition and later built a game that used the user's voice to play. However, this tutorial will integrate a real-time clock with our raspberry pi four and use it to build a digital clock. First, we will learn the fundamentals of the RTC module and how it works, then we will build a digital clock in python3. With the help of a library, we'll demonstrate how to integrate an RTC DS3231 chip with Pi 4 to keep time.
Real-Time Clocks: What Are They?
RTCs are clock units, as the name ...