Hello friends! We have prepared the original Pixy camera and installed PixyMon. In this tutorial, we will put the camera into its firmware programming mode, select the correct firmware file and check that it returns to normal operation afterward.
This procedure applies to the original Pixy CMUcam5. The images show the earlier update performed for this series, including a 2.0.17 firmware file. They remain useful for understanding the sequence, but that filename should not be treated as a permanent recommendation.
We will choose firmware from the original camera's official resources and keep its role separate from the desktop application and Arduino library. That distinction prevents a common mistake: downloading a newer-looking file for different hardware and assuming it is an upgrade for this board.
What Is Firmware?
Firmware is the program that runs on the camera's processor. It controls the device's supported image-processing and communication behaviour. PixyMon runs on your computer and provides the interface used to configure the camera and perform this update.
An Arduino sketch is another separate program. Updating the camera does not automatically update the controller's library or rewrite a sketch already loaded onto Arduino. When you investigate compatibility, identify which of these programs is reporting the problem.
| Software | Location | Updated by |
|---|---|---|
| PixyMon | Computer | Installing the appropriate desktop package |
| Pixy firmware | Camera flash memory | Uploading the appropriate camera firmware |
| Arduino library | Controller development environment | Installing the matching library package |
| Arduino sketch | Arduino program memory | Compiling and uploading your application |
A firmware update can address compatibility or provide the behaviour documented for that release. It is not a universal cure for a damaged cable, an incorrect connector orientation or a poorly trained colour signature.
Choose Firmware for the Correct Camera
Start at the official original-Pixy download page. At this revision, it lists version 2.0.19 for both the general and LEGO firmware variants. The page explicitly separates these original-camera downloads from Pixy2.
For the general microcontroller workflow in this series, use the original Pixy's general firmware. A LEGO integration may require its designated variant. Select the intended variant from the manufacturer's instructions rather than treating the two filenames as equivalent.
The manufacturer's general-firmware folder contains the original-camera HEX file. This is also a useful official location when an older download redirect no longer works.
Download the actual file, not an HTML page that displays its name. Keep the filename and extension visible in your file browser. Renaming a web page with a .hex extension does not turn it into firmware.
Do not edit the downloaded image or combine it with an Arduino HEX file. Both may use the Intel HEX format, but their contents target different processors and applications. The shared extension does not make them interchangeable.
Prepare the Existing Setup
Before updating a working camera, record the software and firmware versions you can identify. Note the configured output interface and any settings that your project depends on. If your installed application offers an appropriate export facility, use it; otherwise record the settings explicitly.
Do not assume that every update preserves every parameter exactly as your application expects. A short record makes it easier to distinguish an update failure from a configuration change after startup.
Use a known working Mini-USB data cable and a stable computer connection. Close duplicate PixyMon windows and leave optional controller or servo connections disconnected while you perform this camera-only operation.
Have the selected firmware file ready before entering programming mode. Downloading and searching for files while a device waits for programming adds unnecessary uncertainty to a procedure that should otherwise be straightforward.
Check the Normal USB Driver
If you have not yet connected the camera normally, complete the PixyMon installation steps first. Connect the camera without holding its button and allow the operating system to identify it.
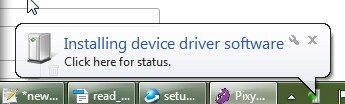
The image shows the Windows device-installation notification from the original setup. The appearance and timing depend on your operating system and installed drivers. A notification from an old screenshot is not a guarantee that a later system will install the same driver automatically.
When possible, establish normal communication before updating. If the camera cannot boot normally and you are following a recovery procedure, the programming connection may still be available, but it should be treated as a separate state.
Normal viewing and firmware programming can involve different USB device-driver requirements. Seeing a live image once does not prove that the programming-mode device will already be configured on that computer.
Open PixyMon Before Entering Programming Mode
Disconnect the camera's USB cable and launch the PixyMon application for the original camera. Keep the firmware file in an accessible location.
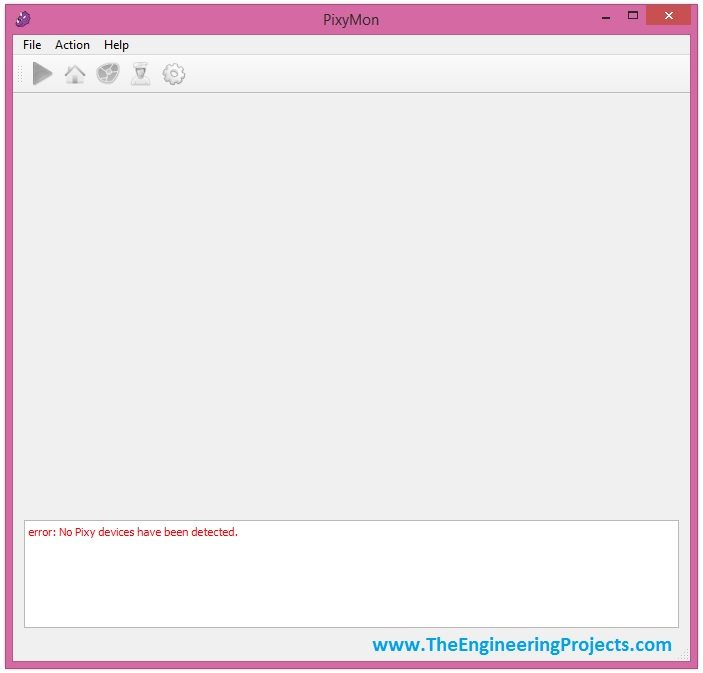
With the camera disconnected, a message that no device is present is expected. Do not confuse this deliberate preparation state with a failed installation. The next action will reconnect the camera in a different mode.
Keep the console or status area visible. It provides useful evidence about device detection, programming and startup, especially when a dialog closes quickly or the application changes its display.
Enter Firmware Upload Mode
The manufacturer's original-Pixy firmware procedure uses the board's white button during USB connection:
- Make sure the camera is disconnected from USB.
- Press and hold the white button on the camera.
- While holding it, connect the camera to the computer with the USB cable.
- Release the button after the cable is connected.
- Allow any required programming-device driver setup to finish.
- Wait for PixyMon to recognize the programming state.
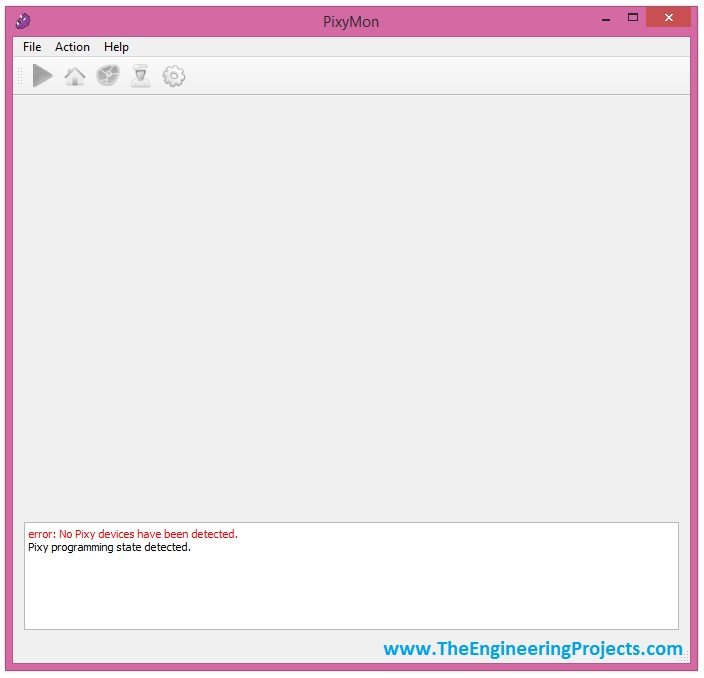
The relevant status message is Pixy programming state detected. The board is now waiting for the firmware selection workflow rather than operating as an ordinary live camera.
Holding a button after the camera has already booted is not the same sequence as holding it during connection. If it starts in normal operation, check the sequence rather than assuming that the downloaded file is defective.
Do not repeatedly disconnect the camera while Windows is still configuring a newly detected programming device. First let that process finish and read any reported error. Reconnection is useful only when you know what state you are trying to change.
Select the Firmware File
When PixyMon opens the file-selection dialog, browse to the correct original-camera firmware file and select it.
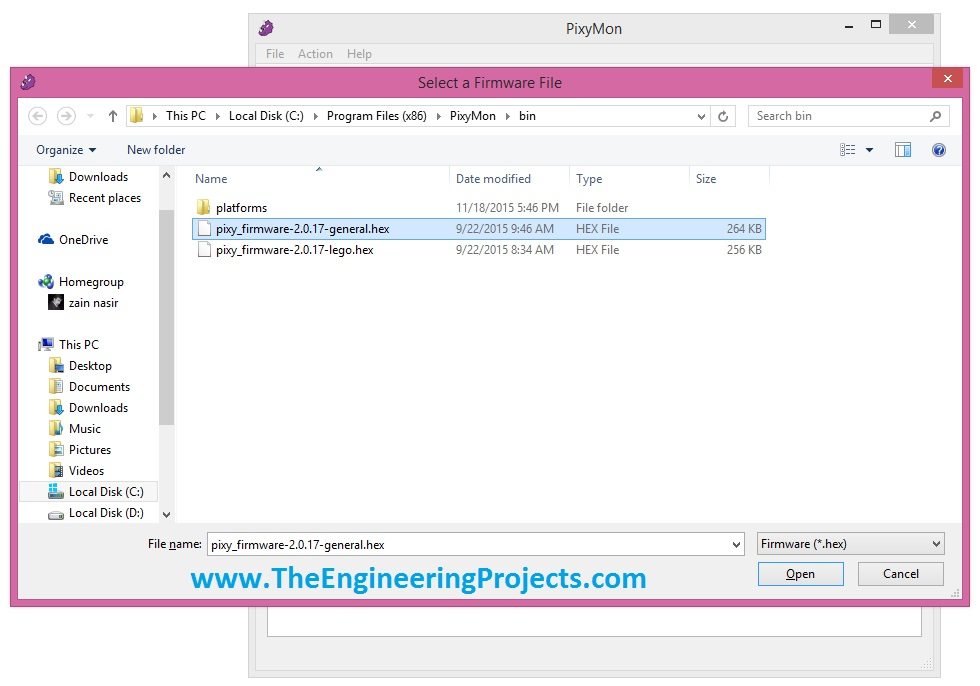
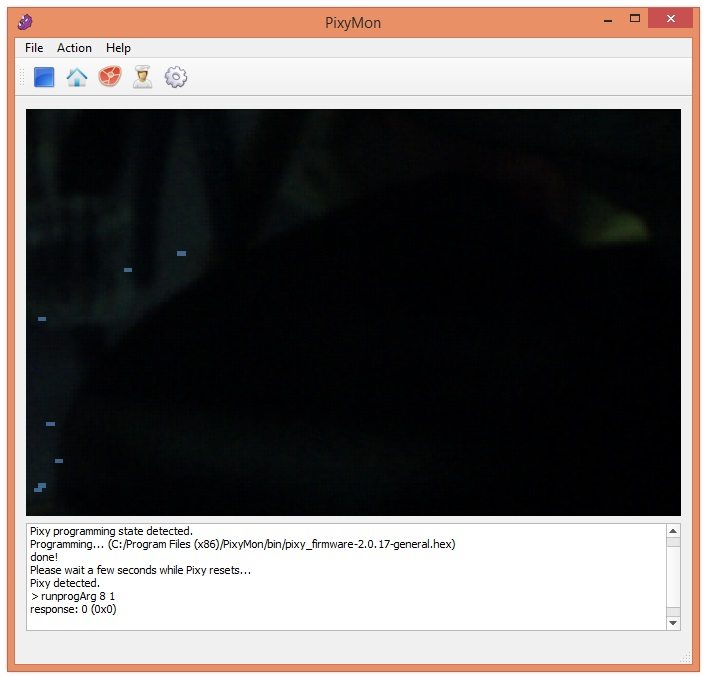
The retained screenshot uses pixy_firmware-2.0.17-general.hex because that was the file used in the original article. Follow the current product-specific download information discussed earlier instead of searching for that historical version solely to match the picture.
Check the product generation and firmware variant one more time before starting the transfer. A directory containing several camera projects can easily hold similarly named files, so read the complete filename rather than selecting the first .hex entry.
Once programming begins, leave the cable and power connection stable. Watch the status output for completion or an explicit error. A transfer taking longer than an old example is not sufficient reason to interrupt it.
Allow the Camera to Restart
After a successful upload, the firmware starts and the camera returns to its normal operating workflow. The original result below shows PixyMon displaying the camera scene after programming.
Look for a completed programming status followed by normal device operation. A progress indicator reaching its end is useful, but the subsequent startup tells you whether the intended firmware is running sufficiently to communicate with the application.
If the application reports a compatibility problem, record the exact message and versions. Repeating the same upload without checking the selected product and application can reproduce the same mismatch indefinitely.
Check the Updated Camera in Stages
Begin with a live-view check. Move an object in front of the camera and confirm that the view responds. Then check the firmware version where the installed application exposes it and compare it with the file you selected.
Next inspect the configuration your project uses. Confirm the output interface, active program and signature-related settings. Do not immediately connect a moving mechanism and assume that a successful firmware transfer proves its full application behaviour.
- Confirm normal camera communication.
- Check that the displayed scene updates.
- Inspect the relevant saved settings.
- Present a known target and inspect detection.
- Remove the target and check absence behaviour.
- Reconnect the controller and inspect its reported data before enabling actuators.
A colour-detection check should use a scene similar to the one used before the update. Changing the lighting and background at the same time makes it difficult to tell whether a new result came from firmware, configuration or the environment.
When Programming Mode Is Not Detected
First confirm that you performed the button-and-connection sequence with the camera initially disconnected. Then check the data cable and USB device state. A power indication does not prove that the host can communicate with the programming interface.
If normal camera operation works but programming mode does not, investigate the programming-device driver and application compatibility. This observation narrows the problem; it does not automatically imply a damaged camera.
If neither mode is detected, simplify the setup to camera, cable and computer. Try a known working cable and inspect the operating system's device information. Keep exact errors so a later support request describes a specific failure rather than only saying that the update did not work.
When an Upload Is Interrupted
The original camera's documented upload mechanism is based on code in ROM, which supports recovery from a failed application-firmware update. That is a useful recovery path, but it does not make the hardware immune to electrical or physical damage.
After an interrupted transfer, first restore a stable connection and use the manufacturer's programming-mode procedure again with the correct official image. If the programming device cannot be detected, diagnose that connection before repeatedly attempting the file transfer.
Do not modify firmware bytes, substitute an unrelated board's image or change system-wide USB drivers as a guess. A recovery attempt should reduce uncertainty by using a known file and documented sequence.
If recovery still fails, record the board model, selected filename, PixyMon version, operating system and exact status messages. Include whether normal mode, programming mode or neither appears in the operating system. These details separate a file-selection problem from a USB problem.
Review the Update as a Small Engineering Change
A useful update record contains a before state, a deliberate change and an after check. For this camera, the before state includes the original version and settings; the change is the selected firmware file; the after check includes startup, image display and relevant detection behaviour.
Keep the downloaded file with the project notes if you need to reproduce the setup. Record its source and full filename. A note saying only “latest firmware” becomes ambiguous when the download page changes or when another camera generation is introduced.
For a project already working reliably, identify the reason for an update before performing it. A compatibility requirement or documented fix is a clearer reason than assuming that a higher version number must improve every application.
| Symptom | Likely area to investigate |
|---|---|
| Normal image appears instead of programming dialog | Button timing during USB connection |
| Programming device appears with a driver warning | Matching driver installation |
| Firmware file cannot be selected or accepted | Actual file type, product and variant |
| Upload finishes but software reports incompatibility | Camera generation and PixyMon version |
| Live view works but target detection changed | Program, settings, signatures and scene |
| Camera works but controller receives nothing | Output interface, cable and controller library |
Frequently Asked Questions
Should I use the version shown in the screenshot?
The screenshot records an earlier update. Choose the compatible original-camera firmware from the official source rather than treating the historical filename as a permanent requirement.
Can I install Pixy2 firmware on this camera?
No. Use firmware intended for the hardware generation you own.
Does installing PixyMon update the camera automatically?
Installing the desktop application and uploading camera firmware are separate operations. Check the camera's reported state rather than assuming that one completed the other.
Why does Windows configure another device during programming?
Firmware upload mode can use a separate USB driver requirement from normal operation. Allow its supported installation process to finish.
What should I do after the update?
Confirm normal operation and configuration, then continue with training the Pixy camera with PixyMon. That is where we turn a working camera connection into useful target detection.