


How to Install Pixy Camera Software - PixyMon


Hello friends! In the previous tutorial, we prepared the Pixy camera and identified its cables. Now we will install PixyMon, the desktop application that lets us view the camera image and configure the original Pixy CMUcam5.
We will follow the Windows installation sequence shown in the original screenshots, explain the USB driver stage, and check that the camera can communicate with the application. The screenshots are historical, so the appearance of an installer or Windows notification may differ on your computer.
This article concerns the original Pixy, not Pixy2. Choose software for the board you own before starting. A successful installation of the wrong product's application does not establish compatibility with your camera.
What PixyMon Installs
PixyMon is the computer-side application. It gives us a way to inspect the camera's view and change its configuration. The Windows setup also handles the device-driver components needed for the supported USB connection.
A USB driver is associated with the device and operating system. It is not a driver for an ordinary passive USB cable. The cable carries power and data; it must nevertheless contain working data connections for the camera to communicate.
Installing PixyMon does not compile an Arduino sketch or automatically teach the camera every object in the room. Firmware, signatures and controller code have separate roles, which we will address after the basic computer connection works.
| Task | Part involved |
|---|---|
| Open the camera interface | PixyMon application |
| Allow Windows to communicate over USB | Appropriate device driver |
| Run processing on the camera | Camera firmware |
| Define a target colour | Signature configuration |
| Read blocks with Arduino | Matching Arduino library and sketch |
Prepare Before Running the Installer
Have the original Pixy camera, a suitable Mini-USB data cable and a computer available. For this first setup, leave the camera disconnected until the installation instructions ask you to connect it. This keeps the initial driver process separate from normal device discovery.
Use the official original-Pixy downloads page. At this revision, that page lists PixyMon 2.0.9 for Windows. This identifies the package currently listed for the original camera; it does not mean a similarly numbered Pixy2 package is interchangeable.
Check the operating-system guidance linked from the download page. The original manufacturer instructions describe older Windows releases, and the retained screenshots reflect that period. Do not interpret them as evidence that every later Windows build has been tested with the same installer.
Save the installer in a location you can find again. Keep its filename with your project notes, especially if several Pixy applications already exist on the computer. Knowing which executable was installed is more useful than remembering that you downloaded something called a camera utility.
Step 1: Open the Setup Wizard
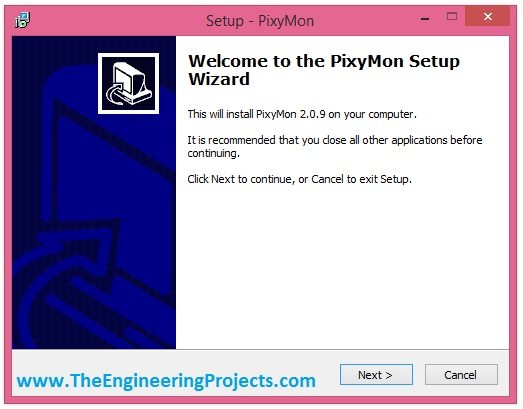
Launch the downloaded Windows installer. If Windows requests permission to install it, check that the prompt corresponds to the package you deliberately downloaded. The first page introduces the setup process.
Click Next after reading the displayed information. If the installer reports an unsupported system or a missing requirement, keep the exact message. Repeatedly clicking through an error cannot establish that the required component was installed.
Only one installation needs to run at a time. Multiple overlapping setup windows make it harder to associate a driver prompt with the correct application and can obscure which operation completed.
Step 2: Choose the Installation Folder
The next page selects the destination directory for PixyMon. The default location is normally the easiest choice unless your computer has a specific software-management requirement.
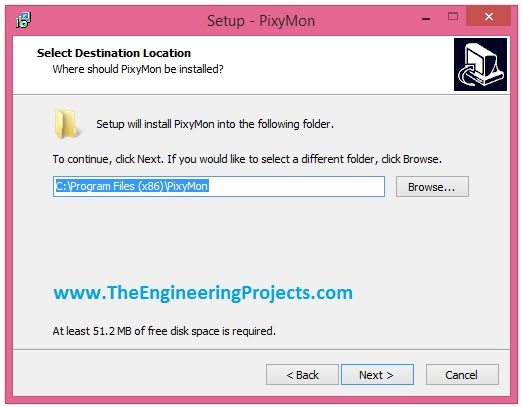
Record a custom path if you choose one. It may be needed later when locating the application or its bundled driver files. A folder used to store your Arduino sketches is not automatically the right place to install a desktop application.
The destination folder is different from the download folder. The first holds the installed program; the second holds the installer package. Moving the installer later does not necessarily move the installed application.
Step 3: Select the Shortcut Folder
The wizard then offers a location for the application shortcut. This determines how you find PixyMon in the Windows application list; it does not change the camera's firmware or communication settings.
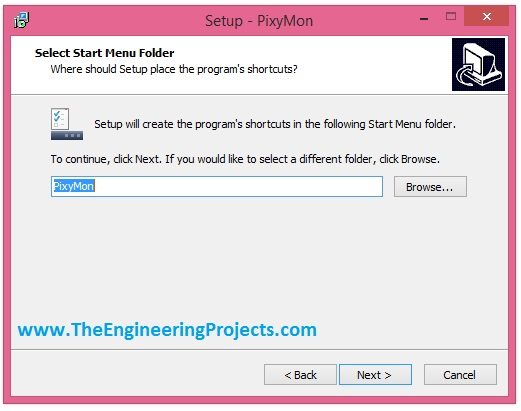
Keep the suggested shortcut name if you have no reason to change it. If you maintain both original-Pixy and Pixy2 software, use clear shortcuts so you can deliberately launch the correct application for each board.
A shortcut is only a link to an executable. When troubleshooting an unexpected version, inspect the application it actually opens rather than trusting a desktop icon's name.
Step 4: Review and Install
The summary page shows the choices made so far. Review the destination and shortcut selections, then start installation.
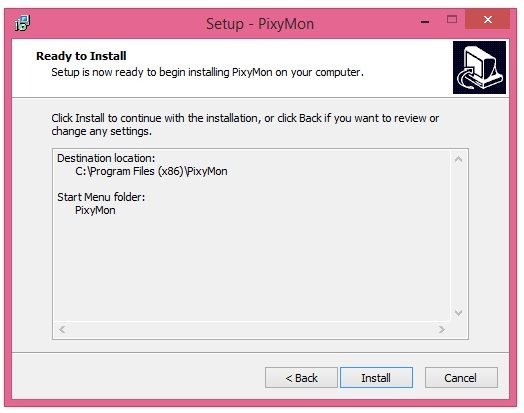
Allow the file-copy stage to complete. Progress at this stage indicates that setup is placing application files on the computer. It does not yet prove that Windows has recognized the camera.
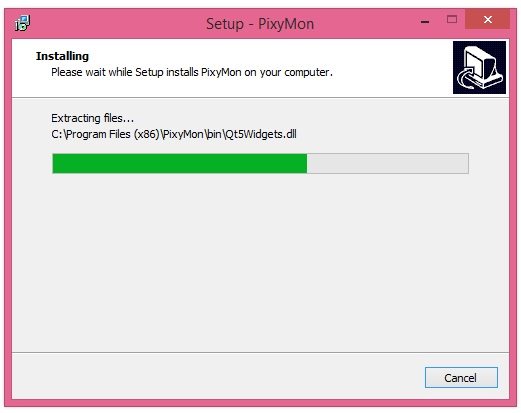
If installation stops with an access or file error, resolve that specific problem before proceeding. Note the affected path and message. Installing another copy into a different folder may hide the original issue and leave several versions to confuse later troubleshooting.
Step 5: Complete the USB Driver Stage
The original setup displays a notice before driver installation. Read it and allow the supported driver process to finish.
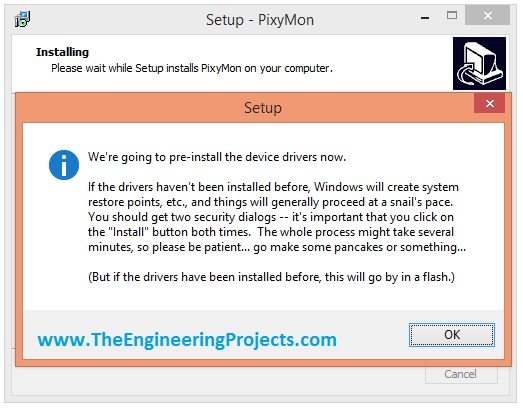
The manufacturer's Windows installation guide describes two driver installation prompts for the original package. It also explains that driver setup can take time. A second expected prompt therefore does not automatically indicate that the first installation failed.
Follow the prompts belonging to the package you selected. If Windows reports that a driver is blocked or unsupported, retain the error and consult the applicable vendor instructions. Do not replace unrelated USB drivers or disable system protections simply to imitate an old screenshot.
This distinction matters because a camera can use different USB identities in normal operation and during firmware programming. A functioning viewing connection does not, by itself, prove that the programming-mode driver is ready.
Step 6: Finish Setup and Connect the Camera
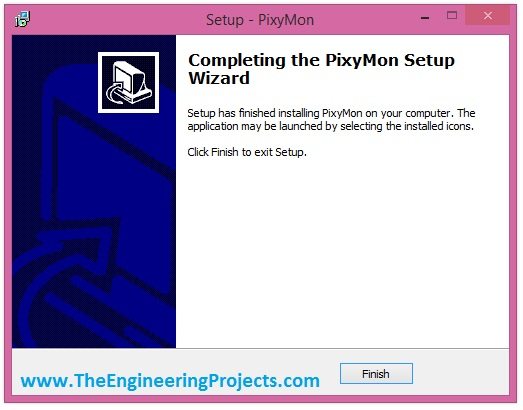
When the wizard reports completion, close it using Finish. The final page marks the end of setup, not the end of our connection check.
- Connect the Mini-USB end of the data cable to the original Pixy.
- Connect the other end to the computer.
- Allow Windows to finish identifying the device.
- Open the matching PixyMon application.
- Read its status or console area.
- Confirm that you can display a changing camera view.
Use a direct computer port for the first attempt if a hub makes the connection uncertain. Support the camera on a stable surface and point it at a well-lit scene with recognizable shapes.
Move an object in front of the lens and check that the displayed view changes. A frozen image from an earlier session is not the same evidence as a live connection. You do not need a trained colour signature merely to establish that the viewing workflow operates.
Read the Connection State Correctly
Separate the installation into several observable stages. First, the application should launch. Second, Windows should enumerate the USB device. Third, PixyMon should communicate with it. Finally, the selected camera program should provide the expected display or detection behaviour.
| What works | What it establishes | What still needs checking |
|---|---|---|
| PixyMon opens | Application startup | Device and driver connection |
| Camera appears in Device Manager | USB enumeration | Driver health and application compatibility |
| Live view changes | Useful camera communication | Signature training |
| A trained target is detected | Detection under that scene | Controller communication and application response |
This staged approach prevents unnecessary changes. If live video works but no object is outlined, repeatedly reinstalling the USB driver is unlikely to address an untrained signature.
When PixyMon Cannot Find the Camera
The original Pixy connection troubleshooting guide starts with the cable and device-driver state. Those are useful checks before assuming the camera firmware is damaged.
Check the Data Cable
Try a known working data cable with the correct connector. A power indication proves only that some power reaches the board. It does not prove that both data conductors, connectors and host communication are working.
Change one item at a time. If you replace the cable, move to another port and reinstall software simultaneously, a successful result will not tell you which change solved the problem.
Inspect Windows Device Manager
Look for the camera and inspect any warning associated with it. If an entry appears only while the camera is connected, that helps identify the relevant device. Record its status rather than changing a different USB device with a similar name.
The original guide describes reinstalling the matching driver from PixyMon's driver directory when appropriate. Use your actual installation path and the vendor's instructions; a custom destination will not necessarily match a path printed in an old example.
Check Application and Device Ownership
Close duplicate PixyMon instances and make sure the intended version is running. If a virtual machine has captured the USB device, the host application may not be able to access it. Decide which environment should own the camera and connect it there deliberately.
Keep the camera's other connections simple during diagnosis. Disconnect optional servos and controller wiring so an accessory power problem does not obscure the basic USB test.
Do Not Confuse Installation with Firmware Updating
PixyMon installation places software on the computer. Firmware updating writes a program to the camera. These operations may be performed during initial setup, but they are not interchangeable.
If PixyMon reports a firmware compatibility issue, record the reported versions and check the original-camera downloads. Do not select firmware for another hardware generation because its version number appears newer.
Our next tutorial, uploading firmware to the Pixy camera, explains the board's programming-mode sequence. Complete the present connection checks first unless you are specifically following the manufacturer's recovery procedure.
Keep a Useful Setup Record
Write down the camera model, operating system, PixyMon package, installation folder and USB cable used for the successful connection. Add any exact error messages encountered and the change that resolved each one.
For a classroom or shared laboratory, this small record saves considerable time. Another student can reproduce the known working combination instead of choosing a different package and comparing results from an unknown setup.
A screenshot of the live view is useful evidence of the scene, while a note of the software version explains the environment. Neither replaces the other. Keep both with your project if you expect to return to it after several months.
Installation Review
- The application matches the original Pixy hardware.
- The setup wizard completed without an unresolved installation error.
- The USB device is identified without an unexplained driver warning.
- PixyMon communicates with the intended camera.
- The displayed scene updates when the scene changes.
- The working setup has been recorded for later use.
Once these points are satisfied, leave the installation alone and move to the next learning step. Colour selection, lighting and object detection should now be investigated as camera-configuration tasks.
Frequently Asked Questions
Should I connect Pixy before installing the original Windows package?
Follow the package's instructions. The original documented sequence installs PixyMon and its driver components before connecting the camera.
Why did I see more than one driver prompt?
The original package includes separate driver requirements. Read each prompt and confirm that it belongs to the intended installation.
Does a camera power light prove that the USB cable is suitable?
No. A cable can deliver power while failing to provide a working data connection.
Why is the interface different from the pictures?
The pictures document an older Windows installation. Use the matching current vendor instructions for the package and system you are actually running.
Do I need to install the Arduino library now?
Not to establish the computer connection. Install the matching controller library when you are ready to read detections with Arduino.

Comments
0