to our new beginner’s course on Raspberry Pi. This course is appropriate for anyone using either a traditional Raspberry Pi board or the new Raspberry Pi 400 board that includes an integrated keyboard and display. Learning how to code, building robots, and doing plenty of other strange and exciting things are all possible with this low-cost computer setup. The Raspberry Pi can do everything a computer can do, from surfing the web to viewing movies and music, and playing video games.
Raspberry Pi is much more than a modern computer. It`s created to educate young people on how to program in languages such as Scratch and Python, and it comes with all of the major programming languages pre-installed. The world is in desperate need of programmers now ...
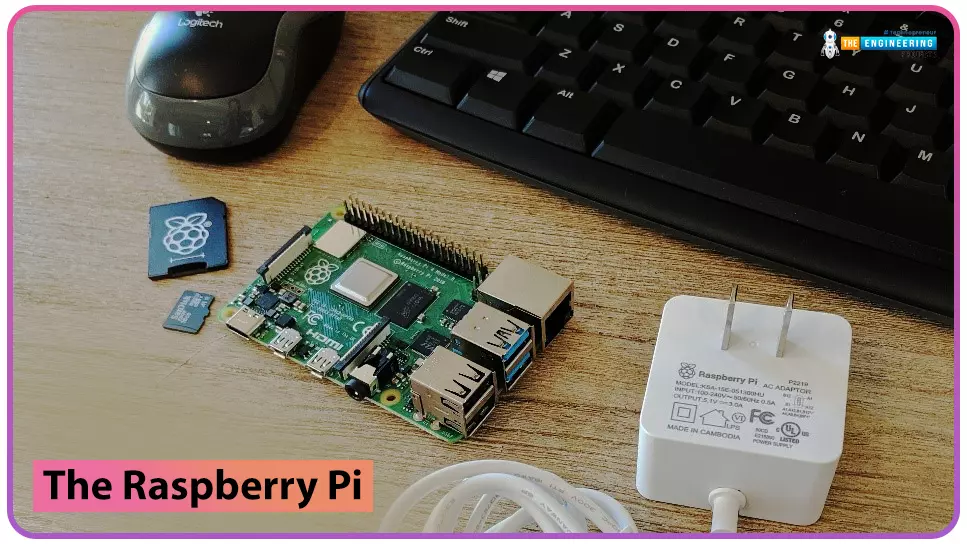
Hello friends, I hope you all are doing great. Today, I am going to start a new tutorial series on Raspberry Pi 4. It's our first lecture today, so I will explain the basics of Raspberry Pi boards. In this tutorial series, I will teach you each and everything about Raspberry Pi and its programming. I have designed this guide for beginners, so we will start from the very basics and will slowly move toward complex concepts. Python programming language is used in Raspberry Pi boards, so we will study Python as well. So, we will learn both programming and hardware circuit designing in this tutorial series. Let's first have a look at What is Raspberry Pi?
What is Raspberry Pi?
Raspberry Pi is a series of Single Board Computer, developed by the Raspberry Pi Foundation in England, to teach co ...