


Create Database in Microsoft Visual Studio


Creating a Database in Microsoft Visual Studio 2010
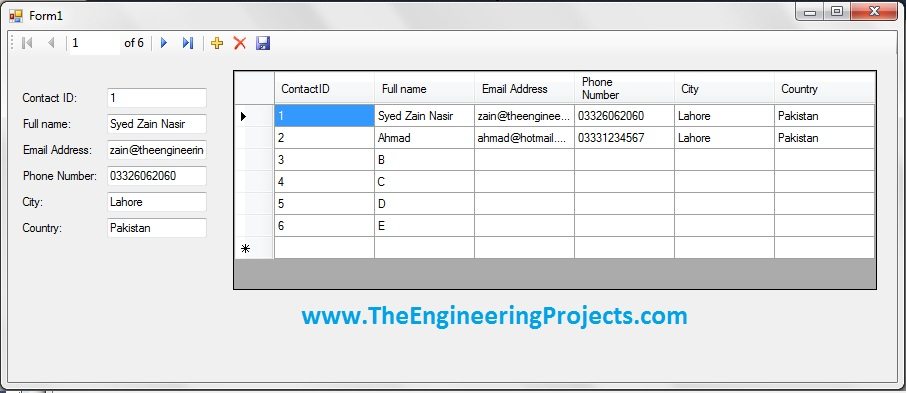
- I have tried my best to make this creation of database in Microsoft Visual Studio as simple as possible, that's why I have added screenshot of each step with commenting but still if you guys have any problem at any step ask in comments. At the end of this tutorial, we will create a database driven application as shown in the figure below:
Step 1 : Creating New Project
- First of all open the Microsoft Visual Studio 2010 and click on the New Project as shown in figure below:

- After clicking it, the below screen will show. Now, choose the language and the project type and then give this project a name and click OK. In our project I am using Visual Basic language and project type is Windows Form Application.

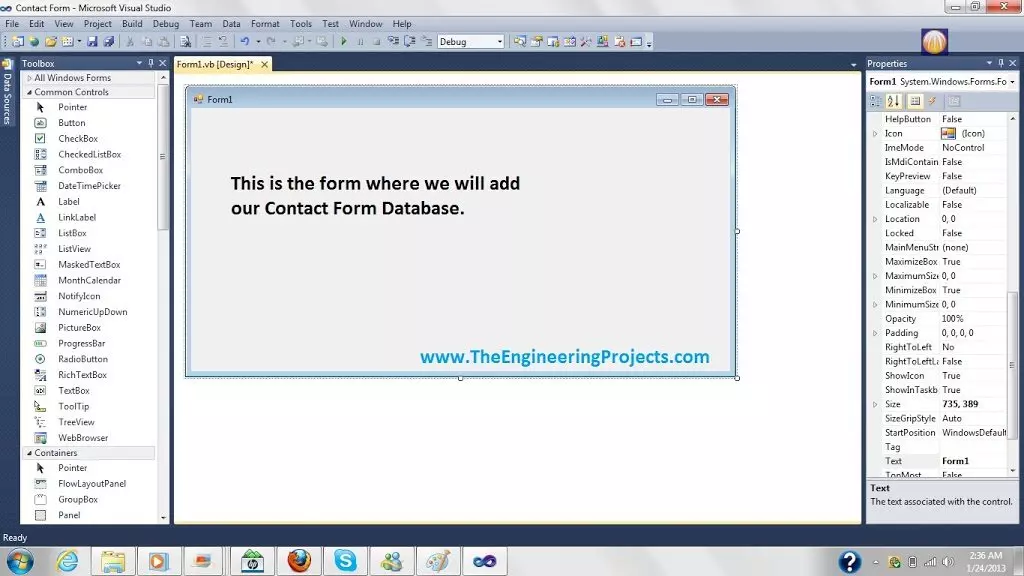
- It will create a new project for you, where we are gonna add the database.
Step 2 : Creating a Database
- Now we are gonna create a database in our project.
- For this first go to the Solution Explorer in your project.
- Now right click on your project name and then click on Add and finally click on New Item.
- If you can't find it click on View in the above menu tab and then click on Solution Explorer.
- If you can't find the Solution Explorer then click on View in the above menu tab and then click on Solution Explorer.

- After clicking on New Item, a list of items will open up as shown in below figure. Now from these select the Service Based Database. Give it a name like I gave it Contacts.mdf and then click on Add.

- That's now gonna open up a data source wizard as shown in below figure. Just cancel it for now as we don't have anything right now to add in our database.

- Now our database has been created which you can also see in the solution explorer but rite now its empty, so now in the next step we are gonna add a table in our database.
Step 3 : Creating a Table
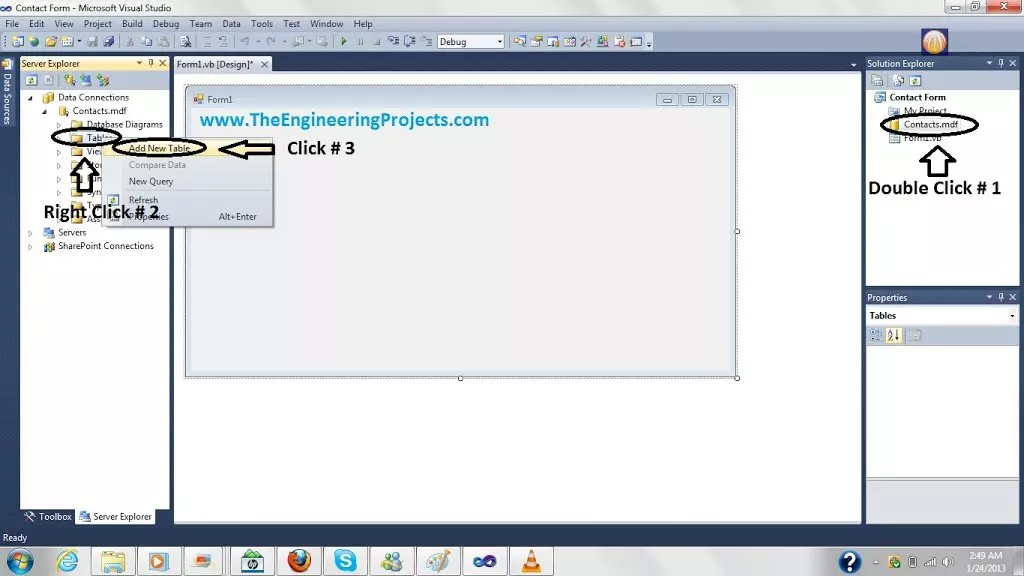
- Now, double click on the database which we just created in the step 2 and named it Contacts.mdf. (You will find it in Solution Explorer)
- Double clicking the database will open up Server Explorer.
- Now in the Server Explorer, right click on the Tables and then Add New Table.
- Now, it will open a Table where we will add the Columns Name of our Table.
- I have given the first Column as ColumnID and Data Type is int and unmark the Allow Nulls Option.
- Now click on the Primary Key as shown in below figure.
- After that go in the properties of table and click on Identity Specification to expand it.
- Now change the option from No to Yes.
- I have done this to make it auto incremented, now as you add the data in it the ContactID will be incremented on its own showning you the total number of data present in the Table.

- Now quickly fill the other columns name as shown in below figure, you can choose any data type you want but I have choosen varchar(50).
- Now click on Save button to save the table and it will ask for the table name.
- Give the table name and click Ok.
- Now close this tab.

- Now our table has been created, in the next step we are gonna add some data in the table.
Step 4 : Adding Data in the Table
- In order to add data in the table we just created, go to Server Explorer and Expand the Table Section.
- In the Table Section, you will get your table which we created in the Step3.
- Right Click on the Table which we named Contact Form and then Click on Show Table Data.

- It will open up the Contact Form data table. Now fill the few lines as you can see I have added few info in it and then click Save.
- It will ask for the name, remain the name as it is and click Save.

- Uptill now, we have created our database and then we created a table and added some data in it.
- Now we are gonna attach a data source with our database in the next step.
Step 5 : Attach a Data Source
- Now we need to attach a data source with our database.
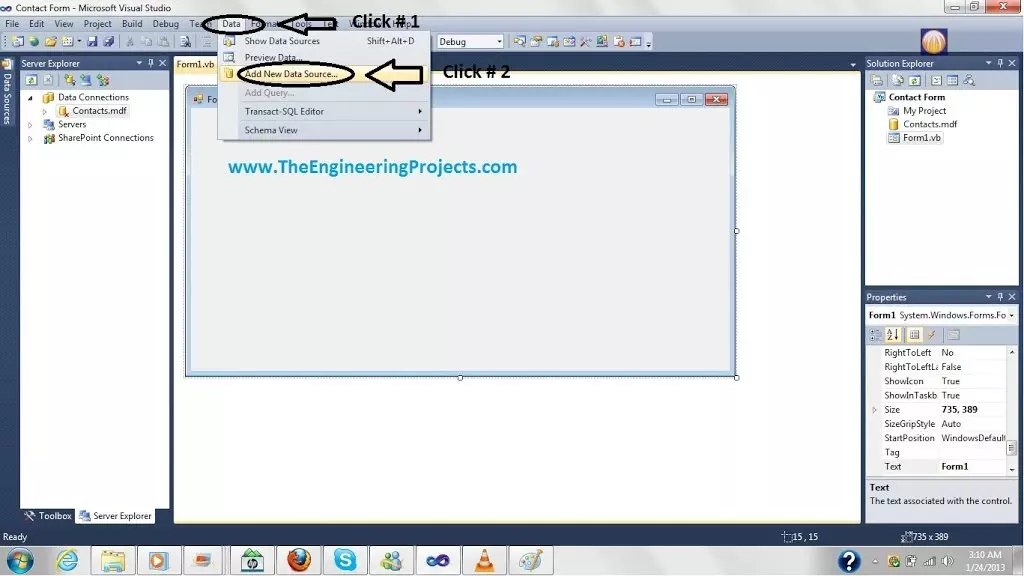
- For this first click on Data and then Add New Data Source as shown in below figure.
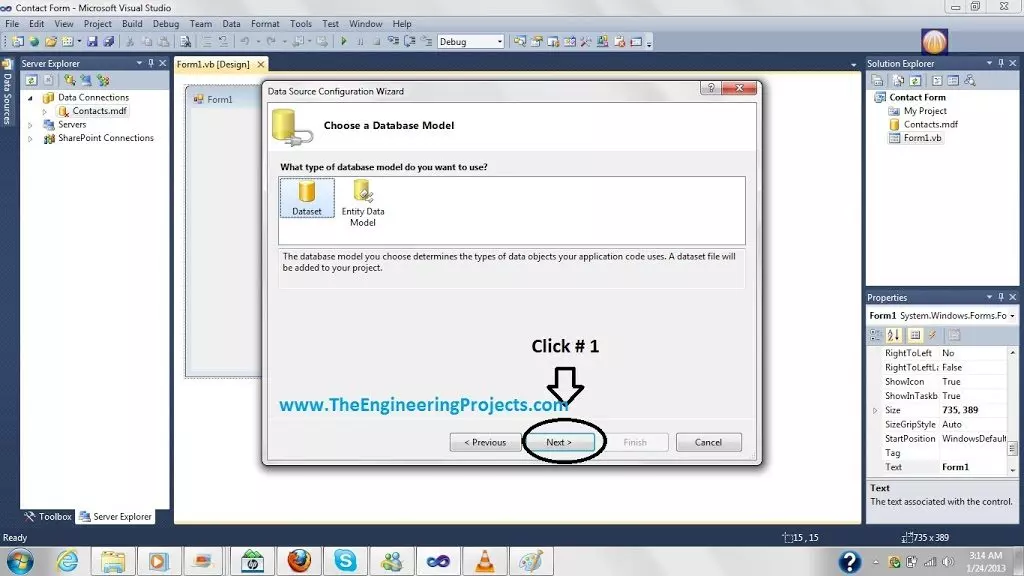
- Now it will open the data source configuration wizard. Select the database and click on Next.

- Again click on the Next as shown in below figure.
- Now we need to attach this data source with the database which we created in the Step 2, so select the Contacts.mdf database and click Next.

- Now it will ask for the components you want to add in your data source.
- Click on the Tables to expand and the select Contact Form, this is the table which we created in step 3.
- Now click Finish.

- Now we have created our data source which contains the table. In the next step we are gonna add this database on our form so that we can use it easily.
Step 6 : Adding Database on the Form
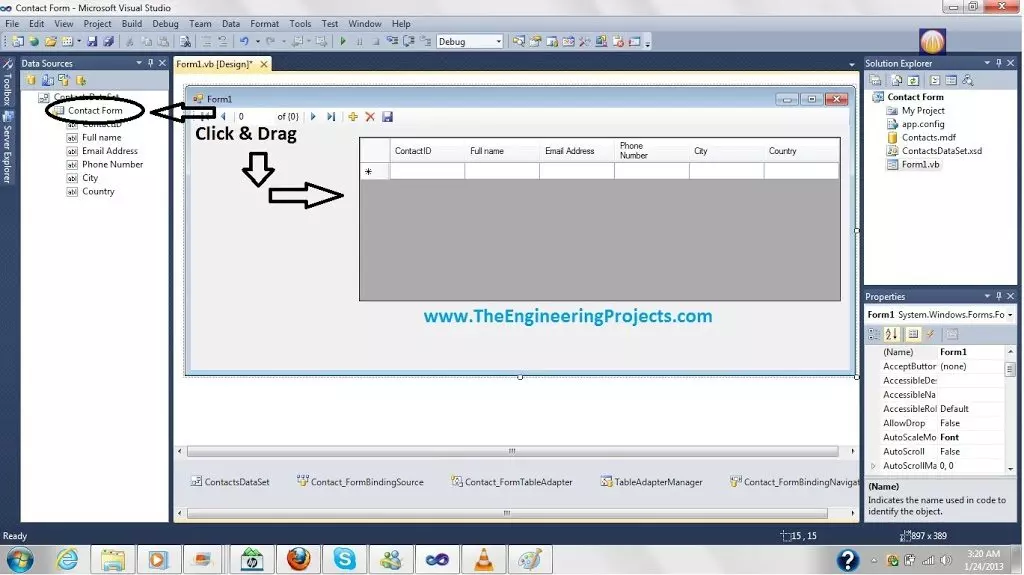
- Now go to the Data Source, if you cant find it then open it from Data tab in the top menu.
- Now click on the Contact Form (which is our table) and drag it to the Form Board as shown in the below figure.
- Now re size it using the mouse according to your form.
- Next click on the Contact Form in the Data Source and select Details, it will give us detail view of our database.
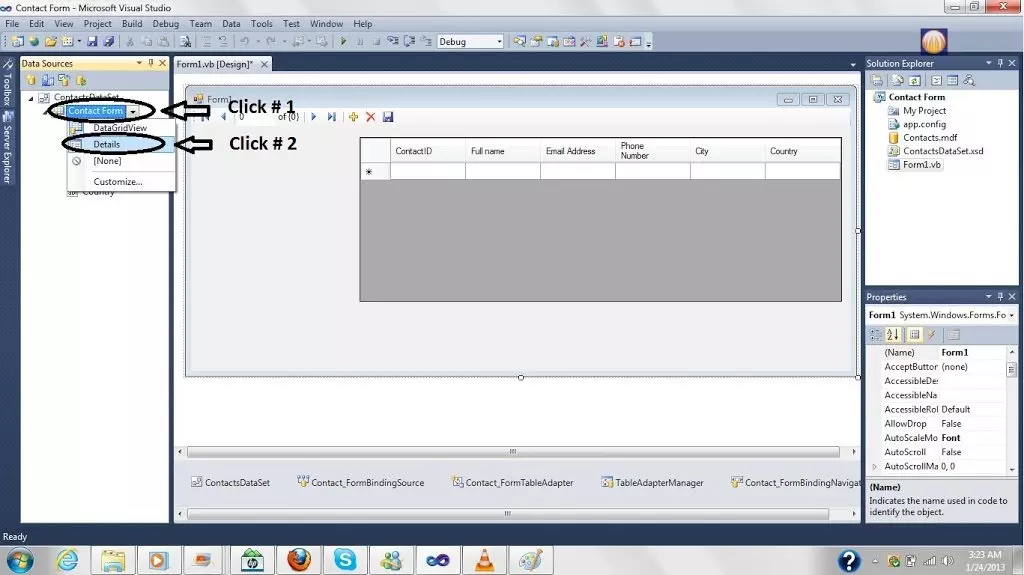
- Now again click the Contact Form and drag it in the Form Board and it will show like detail view as you can see in the figure below.

- We have add the both views on our board. Now run it and your project will open up.
- Now you can add or delete or edit any column and then save it.
- So the final form of our project is something like that.

- You can see the above bar where are options to add, delete or move forward, backward etc.
- In the next tutorial we will add some functionality in it like adding new column with button and save etc.
- Hope you guys enjoyed it. If someone needs this database in Microsoft Visual studio along with the exe file of this project then Subscribe Us via Email and post your email in the comments and we will email it to you.
×
![]()


