It is very important for you guys to follow each and every step carefully. But sometimes even by adopting the right methodology, you are not being able to set up the right environment for the development. This happens because of your product version or system configuration unexpected results. Before stepping up the installing phase, I would like to mention one important thing that Android Studio is a very strong development tool. So that's why, I would recommend you guys to use at least i3 with 4GB but preferable is 8GB RAM, otherwise your laptop or computer will struck again and again and takes a lot of time. Let’s start without wasting anymore time. As I recall, in the end of our previous tutorial, I mentioned all the software we required to start our first project. So let’s install Android studio and all of the related software one by one.
Installation of Java Development Kit (JDK)
In order to install Android studio, first what we need to install is Java Development Kit which is known as JDK. Java Development kit is essential to install before the installation of Android studio because our Android studio works on Java so that's why its essential to install JDK first. JDK contains libraries, compiler, Debugger, java virtual machine, user interface toolkit and all the other basic components required for Android Application and Applets Development. Let’s move to the Java Development Kit (JDK) installment, as I mentioned in my previous tutorial that all the software required for Android Application Development are free of cost, so you guys can simple download JDK from their official site, just by clicking on JDK and I will recommend you to install the latest version of it. After the installation of JDK, now we are ready to install Android Studio. So, let's get started with it.
How to install Android Studio ???
- Android Studio is the actual development software we are going to use for the Android application development. We will do designing and will write all the codes in Android Studio.
- Android Studio is also free of cost, so you guys should download it from the official site of Android.
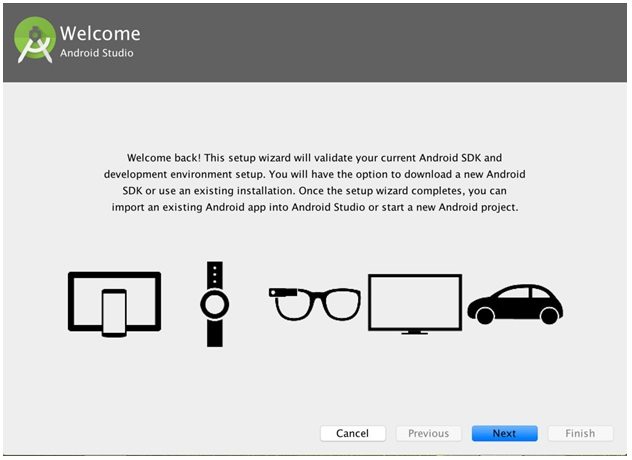
- The site would have the display as shown in below figure, click on the green button on the left bottom to download Android Studio.
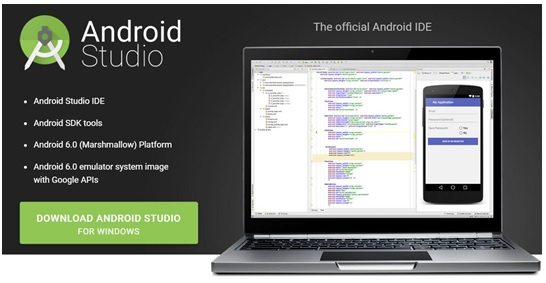
- Once you click the download button, Google will ask you to accept their ‘Term and Conditions’.
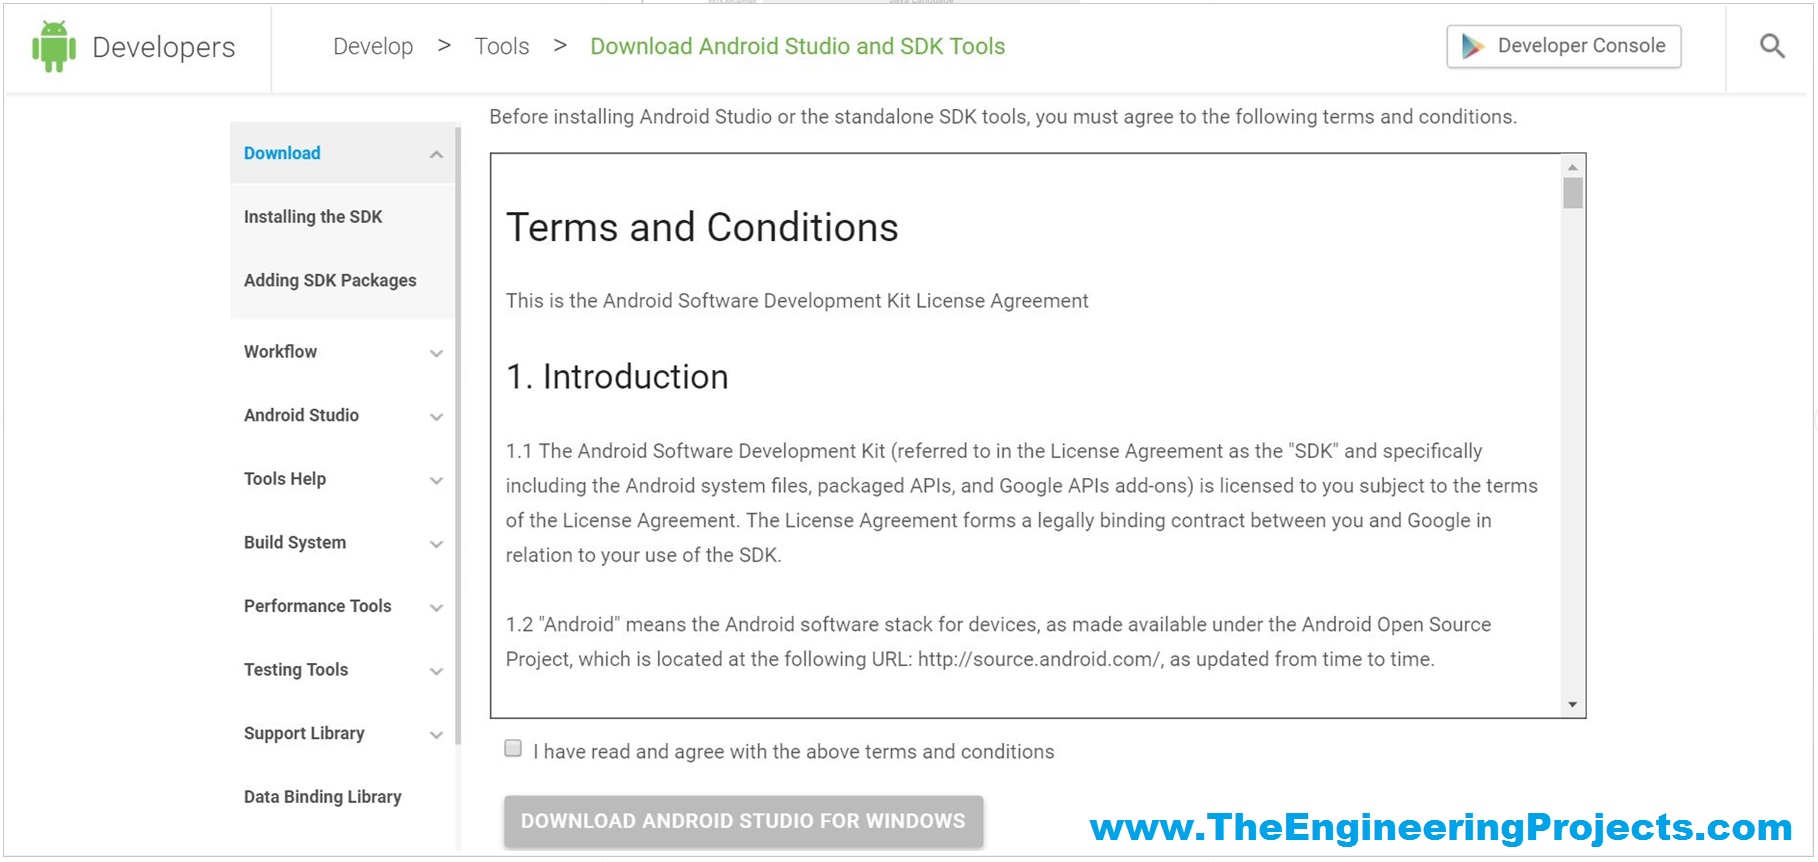
- After reading all the ‘Terms and Conditions’ go to the end of the page, you will see the check box.
- Click on the check box to accept all the Terms and Conditions of Google and then click on the button under the check box to download Android Studio.
- Now the downloading will be started.
Installation of Android Studio
- Once the downloading completes, double click on the downloaded file and execute it. Installation will start like the one given below:

- It will take a few seconds and then it will move to the next step, as shown below:

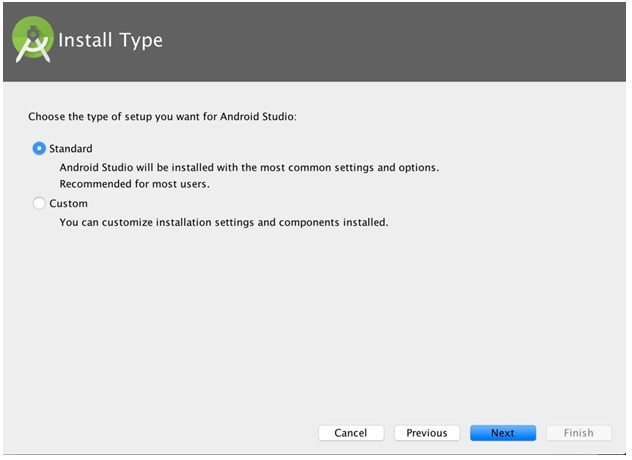
- Click on the ‘Next’ Button and then check the box for “Standard” and click ‘Next’.
- And finally click on the ‘Finish’ as shown in below figure:
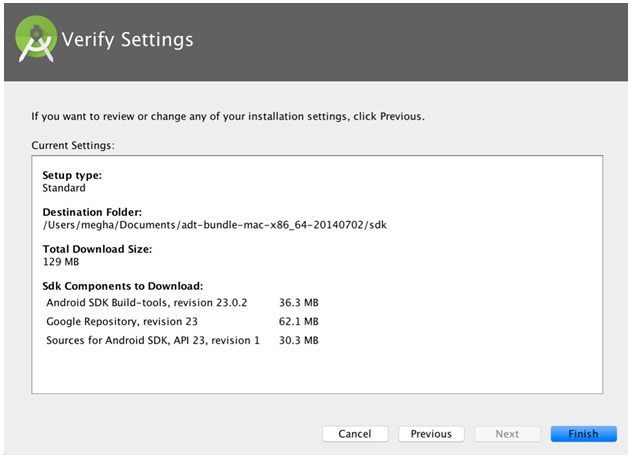
- After clicking on ‘Finish’, it will take some time to complete the installment. You will also need to be connected with the internet.
- Once everything done, then you will get to the below screen and simply click finish to complete the installation.
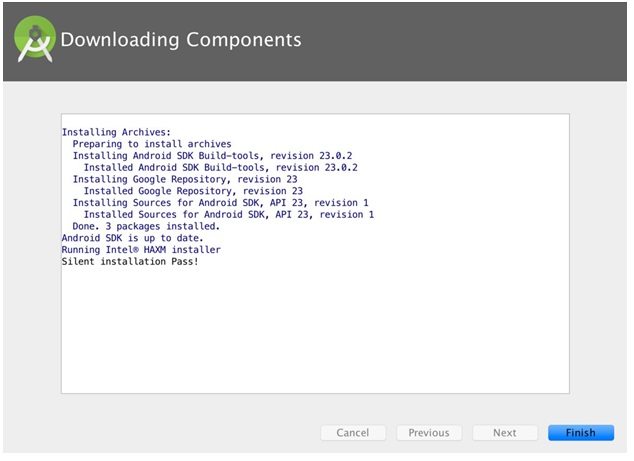
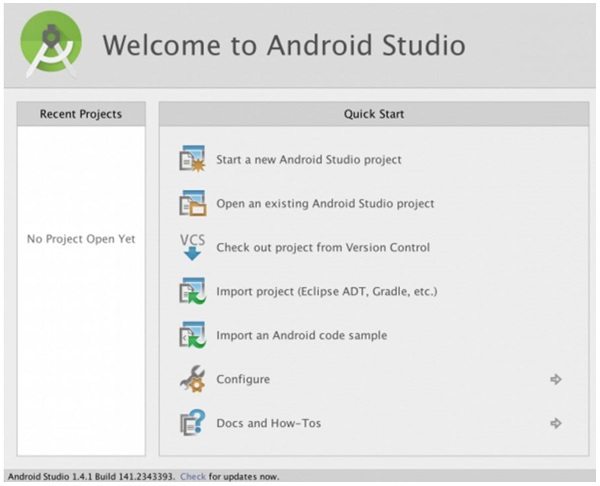
- You will see the Welcome Screen after the installment would be completed. So now friends, you guys are ready to develop your first Android Application.
- Here's the welcome screen of Android studio:
Software Development Kit (SDK)
In the previous section, we have seen How to Install Android Studio. Now, we are gonna install the SDK. Basically SDK is a set of tools which allows you to make applications, games, Applets for certain software package, computer system, software framework, video game console, hardware platform, operating system, or similar development platform. So it is pretty much important to install required SDK before developing your first application. So, let's get started with installation of software development kit (SDK).
- First of all, click on the ‘Configure’ and it will take you to the window as shown in below figure:
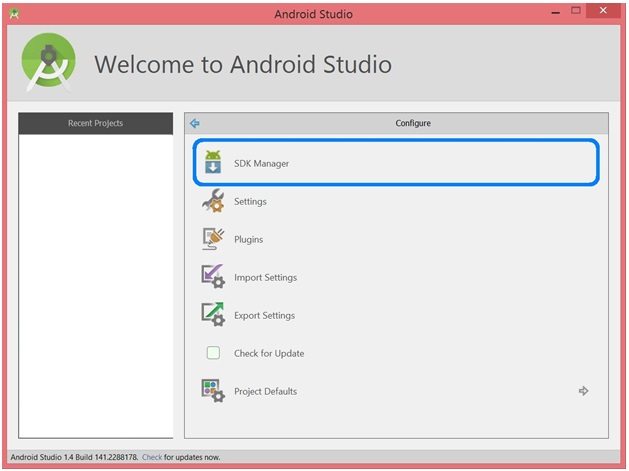
- Click on the SDK Manager. It will take a few seconds to check all the online SDK available right now and then it will show you all the installed, not installed, update available and partially installed SDK as shown in below figure:
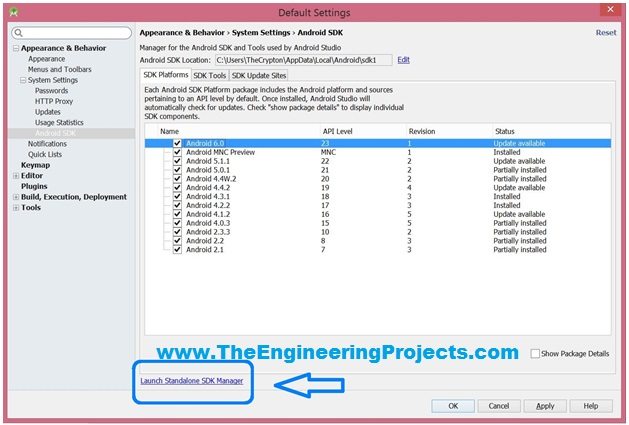
- Click on the pointed ‘Launch Standalone SDK Manager’ as shown in above figure.
- Now when you click, it will open the window, where you can select the SDK, you want to install, as shown in below figure:
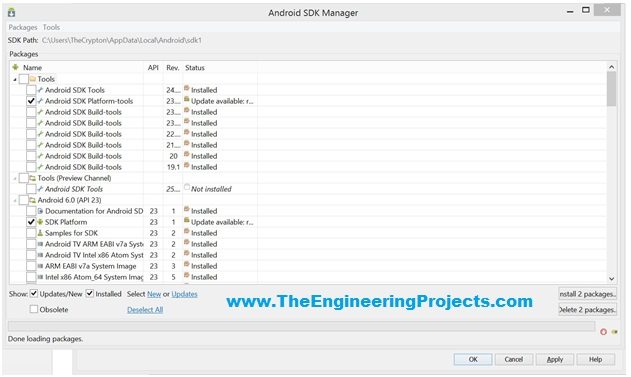
- I will suggest you to install at least 3 of them which are very important and plays important role:
- Tools
- Android 4.4.2 (API 19)
- Extras
Unexpected Results or Errors:
Several users have to face some difficulties after completion of the Android Studio Installation on Windows 7 and windows 8. When they try to open Android Studio after installing it, they get errors.
- Fail to load JVM.DLL
- dll is missing
Fail to load JVM.DLL
When you open the Android studio, this error will pop up like the window given below: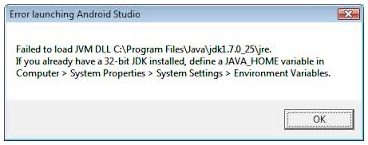
- Go to the Control Panel and selectSystem.
- Click on “Advanced system settings” from the column on the left side and go to the “Advanced” tab.
- Click the “Environment Variables” button at the bottom. On the next screen, you will see two sections, User Variables and System Variables.
- Now add a system variable with the following values. Variable name:JAVA_HOME Variable Value: c:\program Files\Java\jdk1.7.0_21
May be you have different jdk version as compare to the one given in Variable Value. So before adding the value check your jdk version in this directory c:\program Files\Java\
MSVCR100.dll is missing
If this window comes up after adding the System Variable, then you need to install Visual Studio 32 or 64 bit.

This is it for now. I hope you now have got the idea about How to install Android studio in windows. In the next tutorial we’ll develop our first Android Application and discuss some of the basics of Android Studio. If you guys have any questions or suggestions, feel free to comment about them. So Stay tuned and have fun. See you guys later.


 Android Projects
 syedzainnasir
 1 Comments


