Create a Custom Filter in ASP.NET MVC


Create a Custom Filter in ASP.NET MVC
- In ASP.NET MVC, custom filters are handled by a base class named as ActionFilterAttribute.
- This ActionFilterAttribute class implements both IActionFilter & IResultFilter.
- Although ASP.NET MVC has numerous built-in filters but in many cases, there comes a need for custom rules or handles.
- In such cases, we need to design our custom Filters using ActionFilterAttribute.
- In your Solution Explorer, right click on the Main project and click on Add and then click on New Folder.

- It will create a New Folder in your project, rename it to ActionFilter.
- Now, right click on this ActionFilter folder and click Add and then Class, as we want to add new class in it, as shown in below figure:

- It will open up a new pop up window, where you need to select class and then give it a name.
- I have given a name TEPCustomActionFilter.cs to my Filter class file, as shown in below figure:

- Now click the Add Button and a new class will be added in your ActionFilter folder and will also open up in your workspace.
- It will have some default code in it, as shown in below figure:
- Let's add some code in our newly created filter class, as shown in below figure:

- We need to derive this class from ActionFilterAttribute that why I have extended the class name.
- We need to include System.Web.Mvc in order to use ActionFilterAttribute.
- In the class, I have created a simple function in which I am displaying a text on the output debug pane, after the execution of my project.
- So, we have created our custom filter, now it's time to add it in our StudentController which we have created in Tut # 6: Create a new Controller in ASP.NET MVC.
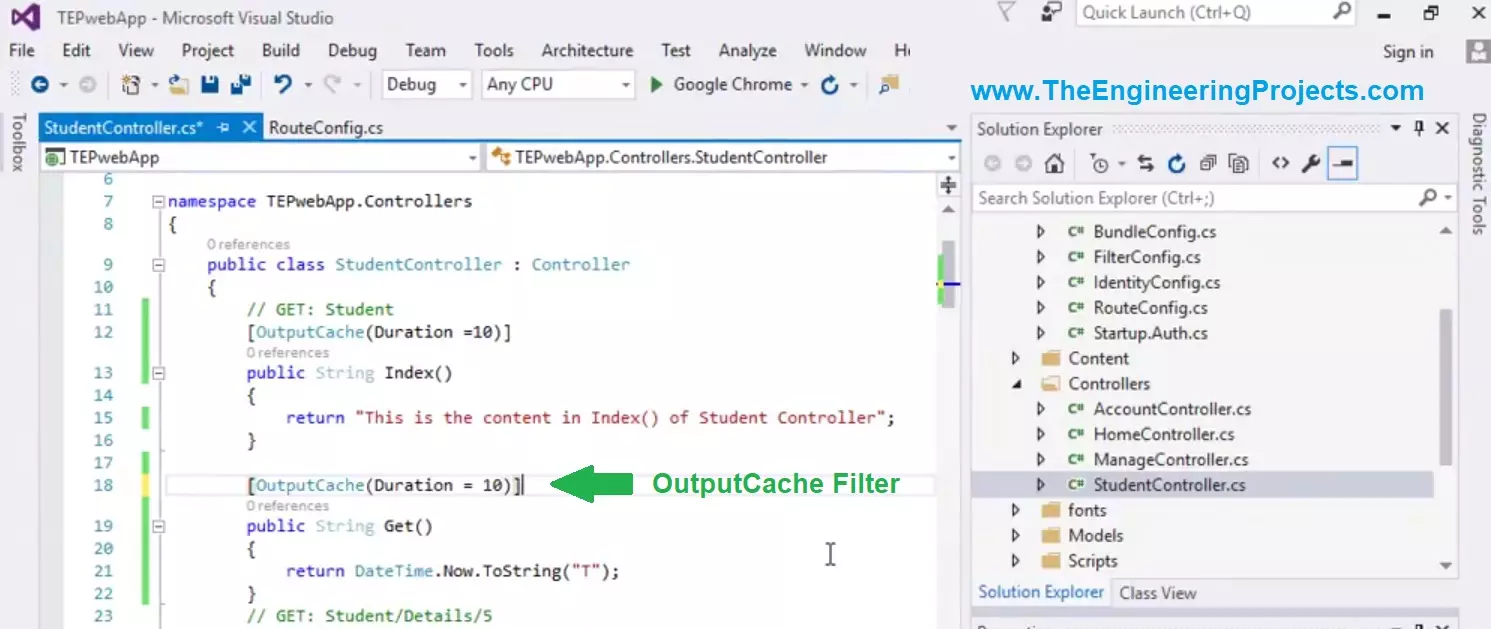
- Open your StudentController.cs file and place this filter in it, as shown in below figure:

- First of all, we need to add our package TEPwebApp.ActionFilter, ActionFilter is the name of our folder we created for our custom filter.
- Now before the StudentController class, place the code for our newly created custom Filter [TEPCustomActionFilter].
- Now run your project and after website opened in the browser, stop your project and check your Output Pane.
- You will find the text, as shown in below figure:

- I have highlighted our Text in the above figure.
- So, our filter has executed after the StudentController class and it has displayed the info.
- Such Filters are used for listening purposes, we can listen different types of data through them.
- Have a look at this video to get better understanding of How to Create Custom Filter in ASP.NET MVC:
×
![]()