Hello friends, I hope you all are doing great. In today's tutorial, we will have a look at How to Create Views in ASP.NET Core MVC. It's our 8th tutorial in ASP.NET Core series. In our 6th lecture, where we have set up MVC architecture, we have also created Controller & Model, but we haven't yet created any View to display this data properly.
We have also seen Dependency Injection and have successfully injected Model Interface in our Home Controller. So, now it's time to add a View in our project and communicate it with Controller & Model. So, let's get started with Views in ASP.NET Core MVC:
Views in ASP.NET Core MVC
View in ASP.NET Core ( File Extension: .cshtml ) is a simple HTTP template, which displays the Model data, provided by the respective Controller.
By Convention, when View is called by the Controller, then MVC architecture first opens the "Views" folder, after that it makes a search for the Controller's Name folder i.e. "Home" folder and then finds for the file named after Action Method, from which it's called.
Let's understand this naming convention with an example:
Suppose I want to create a new page on my application, where I want to show engineer's info, so it's link will be:
In the above figure, home is our controller's name and this info has to be the name of the Controller's action method.
So, open your HomeController.cs file and add a new action method named info, as shown in below code:
You can see in above code that I have added a new action method in my HomeController class named Info and this method will be called when a user enters this address: domain.com/home/info/
The return type of this action method is ViewResult and that's because I am returning View in this method.First I have created an object having the information of first engineer and then I passed this object to my View and returned it to user.
So, you can clearly see that Controller is getting data from Models and then passing this data to View and then returning this View to the end user, who has actually entered the link and called this action method.
One more thing, you should notice in above code is that I am now inheriting my HomeController class from base Controller class and that's why I am able to use this View helper method in it.
We have created the action method which is calling our View but we haven't yet added the View in our project, so let's do that:
Creating View file in ASP.NET Core
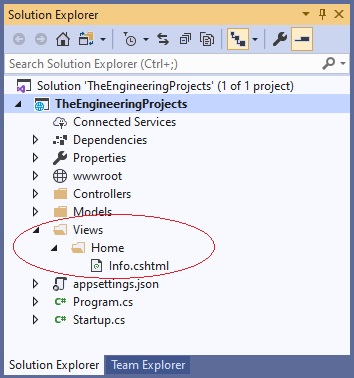
First of all, create a folder named Views in the root directory using Solution Explorer.
Inside this Views folder, I have created another folder named Home, because our Controller's name is Home. So, all it's Views will be placed inside this Home folder.
Inside this Home sub folder, I have added a new Razor View file named Info.cshtml, as its the name of our action method in Controller class, shown in the figure on right side.
We will discuss Razor Views in detail later but for now they are smart HTML files where we can also add C# code.
We use C# code to display data coming from the Models via Controllers.
In order to add C# code, we need to use '@' sign and for lengthy code, we use curly brackets { }.
So, here's the code, which I have added in this new Razor View file named Info.cshtml:
You can see that above code is a simple HTML code with few C# code lines in it, so let's understand them.
In the first line of above code, I have added a @model directive to specify the model namespace, whose data is going to represented by this View.
In our case, its Engineers Model which has all our data properties, so now our compiler will know that Info View is dealing with Engineers Model.
Now, in order to print data from this attached model, we need to use @Model and then the data property.
@model directive starts with small 'm' while @Model property starts with capital 'M'.
So, now let's run our application, and open the link /home/info/ and if everything goes fine then you will get similar results:
You can see in above figure that we have data of our first engineer on our newly created Razor View.
So, that was all about Views in ASP.NET Core MVC and I hope you have completely understood the working of MVC architecture by now. If you have any problems in MVC then ask in comments and I will sort them out. In the next lecture, we will have a look at ViewModel in ASP.NET Core. Till then take care & have fun !!!