Introduction to Nucleo Development Board


To become familiar with the world of microcontrollers it is necessary to have a development board (also known as a kit), which generally allows you to start working on it easily. Fortunately, the ST provides a wide portfolio of development boards. In this guide, we will describe and use the Nucleo board.
The Nucleo has been introduced a few years ago and its line is divided into three main groups:
- Nucleo-32;
- Nucleo-64;
- Nucleo-144.

Nucleo-32 Development Board
The number of pins available, so the package, gives the name to the board: Nucleo-32 uses an LQFP-32 package; Nucleo-64 and LQFP-64; Nucleo-144 an LQFP-144. The Nucleo-64 was the first line introduced and counts 16 different boards.
The Nucleo boards have interesting advantages compared to the Discovery. First, is the cheaper cost, you can buy it for around 15-25 dollars. Now in 2021 due to the lack of processed semiconductors, it is very difficult to find them on the normal distribution channels and costs are rising. A return to normal is expected from 2023. Furthermore, Nucleo boards are designed to be pin-to-pin compatible with each other. It is a very important advantage, in fact, if I start to develop my firmware on generic Nucleo later then I can adapt my code to another one.
In the next paragraphs, we will see the main structure of STM32-64
STM32 Nucleo-64 parts
The Nucleo-64 is composed of two parts:
- ST-LINK part
- MCU part

The part with the mini-USB connector is an ST-LINK 2.1 integrated debugger. It needs to upload the firmware on the target MCU and run the debugging. Furthermore, the ST-LINK interface provides a Virtual COM Port (VCP), which can be used to exchange data and messages with the host PC. The ST-LINK interface can be used as a stand-alone ST-LINK programmer, in fac,t can be easily cuttable to reduce board size.
To program the STM32 on board, simply plug in the two jumpers on CN4, as shown in the figure below in pink, but do not use the CN11 connector as that may disturb communication with the STM32 microcontroller of the Nucleo.

However, the ST-LINK provides an optional SWD interface which can be used to program another board without detaching the ST-LINK interface from the Nucleo by removing the two jumpers labeled ST-LINK (CN4).
The rest of the board, MCU part, contains the target MCU (the microcontroller we will use to develop our applications), a RESET button, a user-programmable push button (switch), and an LED. It is possible to mount an external high-speed crystal (HSE) through X3 pads (see figure below). Generally, the Nucleo boards, especially the most recent ones, provide a low-speed crystal (LSE).

STM32 Nucleo-64 connectors
The STM32 Nucleo-64 board has 8 connectors:
- CN2: ST-LINK USB connector on ST-LINK (already described in the previous paragraph);
- CN11: SWD connector in ST-LINK part (already described in the previous paragraph);
- CN7 and CN10: ST morpho connectors;
- CN5, CN6, CN8, and CN9: ARDUINO® Uno V3 connectors;
The CN7 and CN10 ST morpho connectors are male pin headers (2x19, 2.54mm male pin headers) accessible on both sides of the STM32 Nucleo-64 board (see the figure below). All signals and power pins can be probed by an oscilloscope, logical analyzer, or voltmeter through the ST morpho connectors. They are two. They are called Morpho connectors and are a convenient way to access most of the MCU pins.

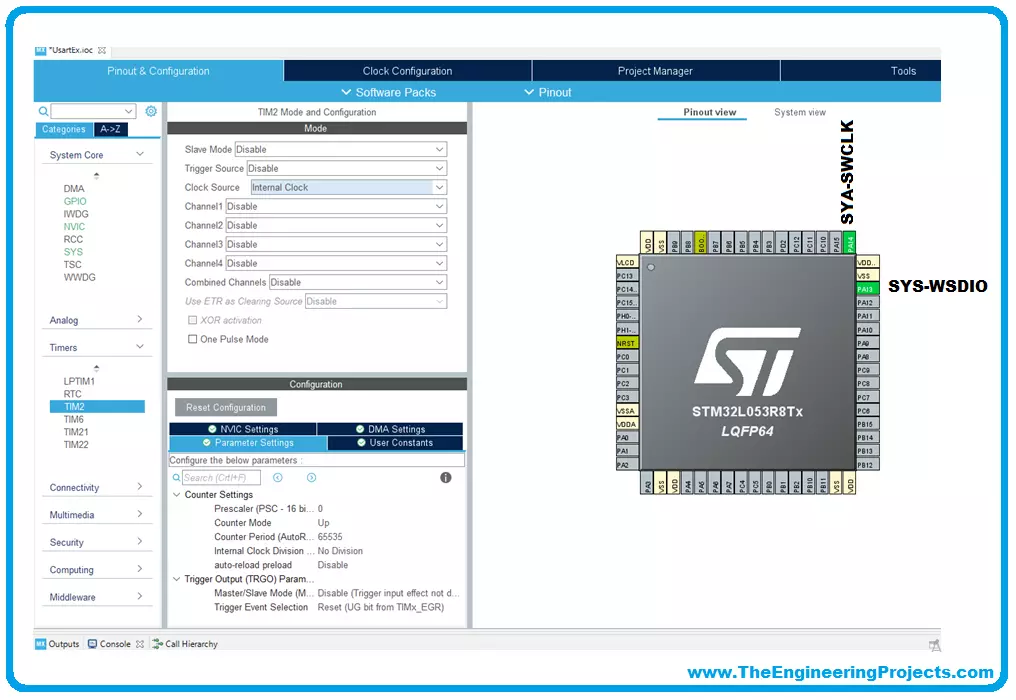
- The figure below is shown the CN7 pinout (the STM32 peripherals and GPIOs associated with the Morpho connector) for NUCLEO-L053R8.

- In the next figure, is shown the CN10 pinout for NUCLEO-L053R8.

- The previous figure showed the pinout for NUCLEO STM32L053R8, but I remember you the Nucleo is pinout compatible with each other.
- Another important feature of the Nucleo board is the compatibility with ARDUINO® Uno V3 through the CN5, CN6, CN8, and CN9 connectors (see figure below).

- CN6 and CN8 are directly connected to CN7 and CN5 and CN9 to CN10.
Setting-Up the Tool-Chain
The first step in developing an application on the STM32 platform is to fully set up the tool-chain. A tool-chain is a set of programs, compilers, and tools that allows us:
- to write our code and to browse the source files of our application;
- to browse inside the application code, in order to examine variables, definitions, function declarations, and etc;
- to compile our code using a cross-platform compiler;
- to upload and debug our application on the development board (or a custom board).
To carry out these activities we basically need:
- an IDE with integrated source editor and navigator;
- a cross-platform compiler able to compile source code for our platform;
- a debugger that executes the debugging of firmware on our board;
- a tool that interacts with the ST-LINK interface.
There are several complete tool-chain for the STM32 Cortex-M family, both free and commercial. The most used tools are: IAR for Cortex-M, ARM Keil, and AC6 SW4STM32.

They can integrate everything necessary for the development of applications on STM32 to simplify and accelerate their development. The first two are commercial solutions and therefore have a price to the public that may be too high for those approaching the first time.
So, that was all for today. I hope you have enjoyed today's lecture and have understood this Nucleo Development Board. In the next lecture, we will design our first project in STM32CubeIDE. Thanks for reading.