Interfacing PIR Motion Sensor and Raspberry Pi Pico Module with MicroPython


Hello readers, I hope you all are doing great. In this tutorial, we will learn how to interface the PIR sensor to detect motion with the Raspberry Pi Pico module and MicroPython programming language. Later in this tutorial, we will also discuss the interrupts and how to generate an external interrupt with a PIR sensor.
Before interfacing and programming, the PIR and Pico boards let’s first have a look at the quick introduction to the PIR sensor and its working.
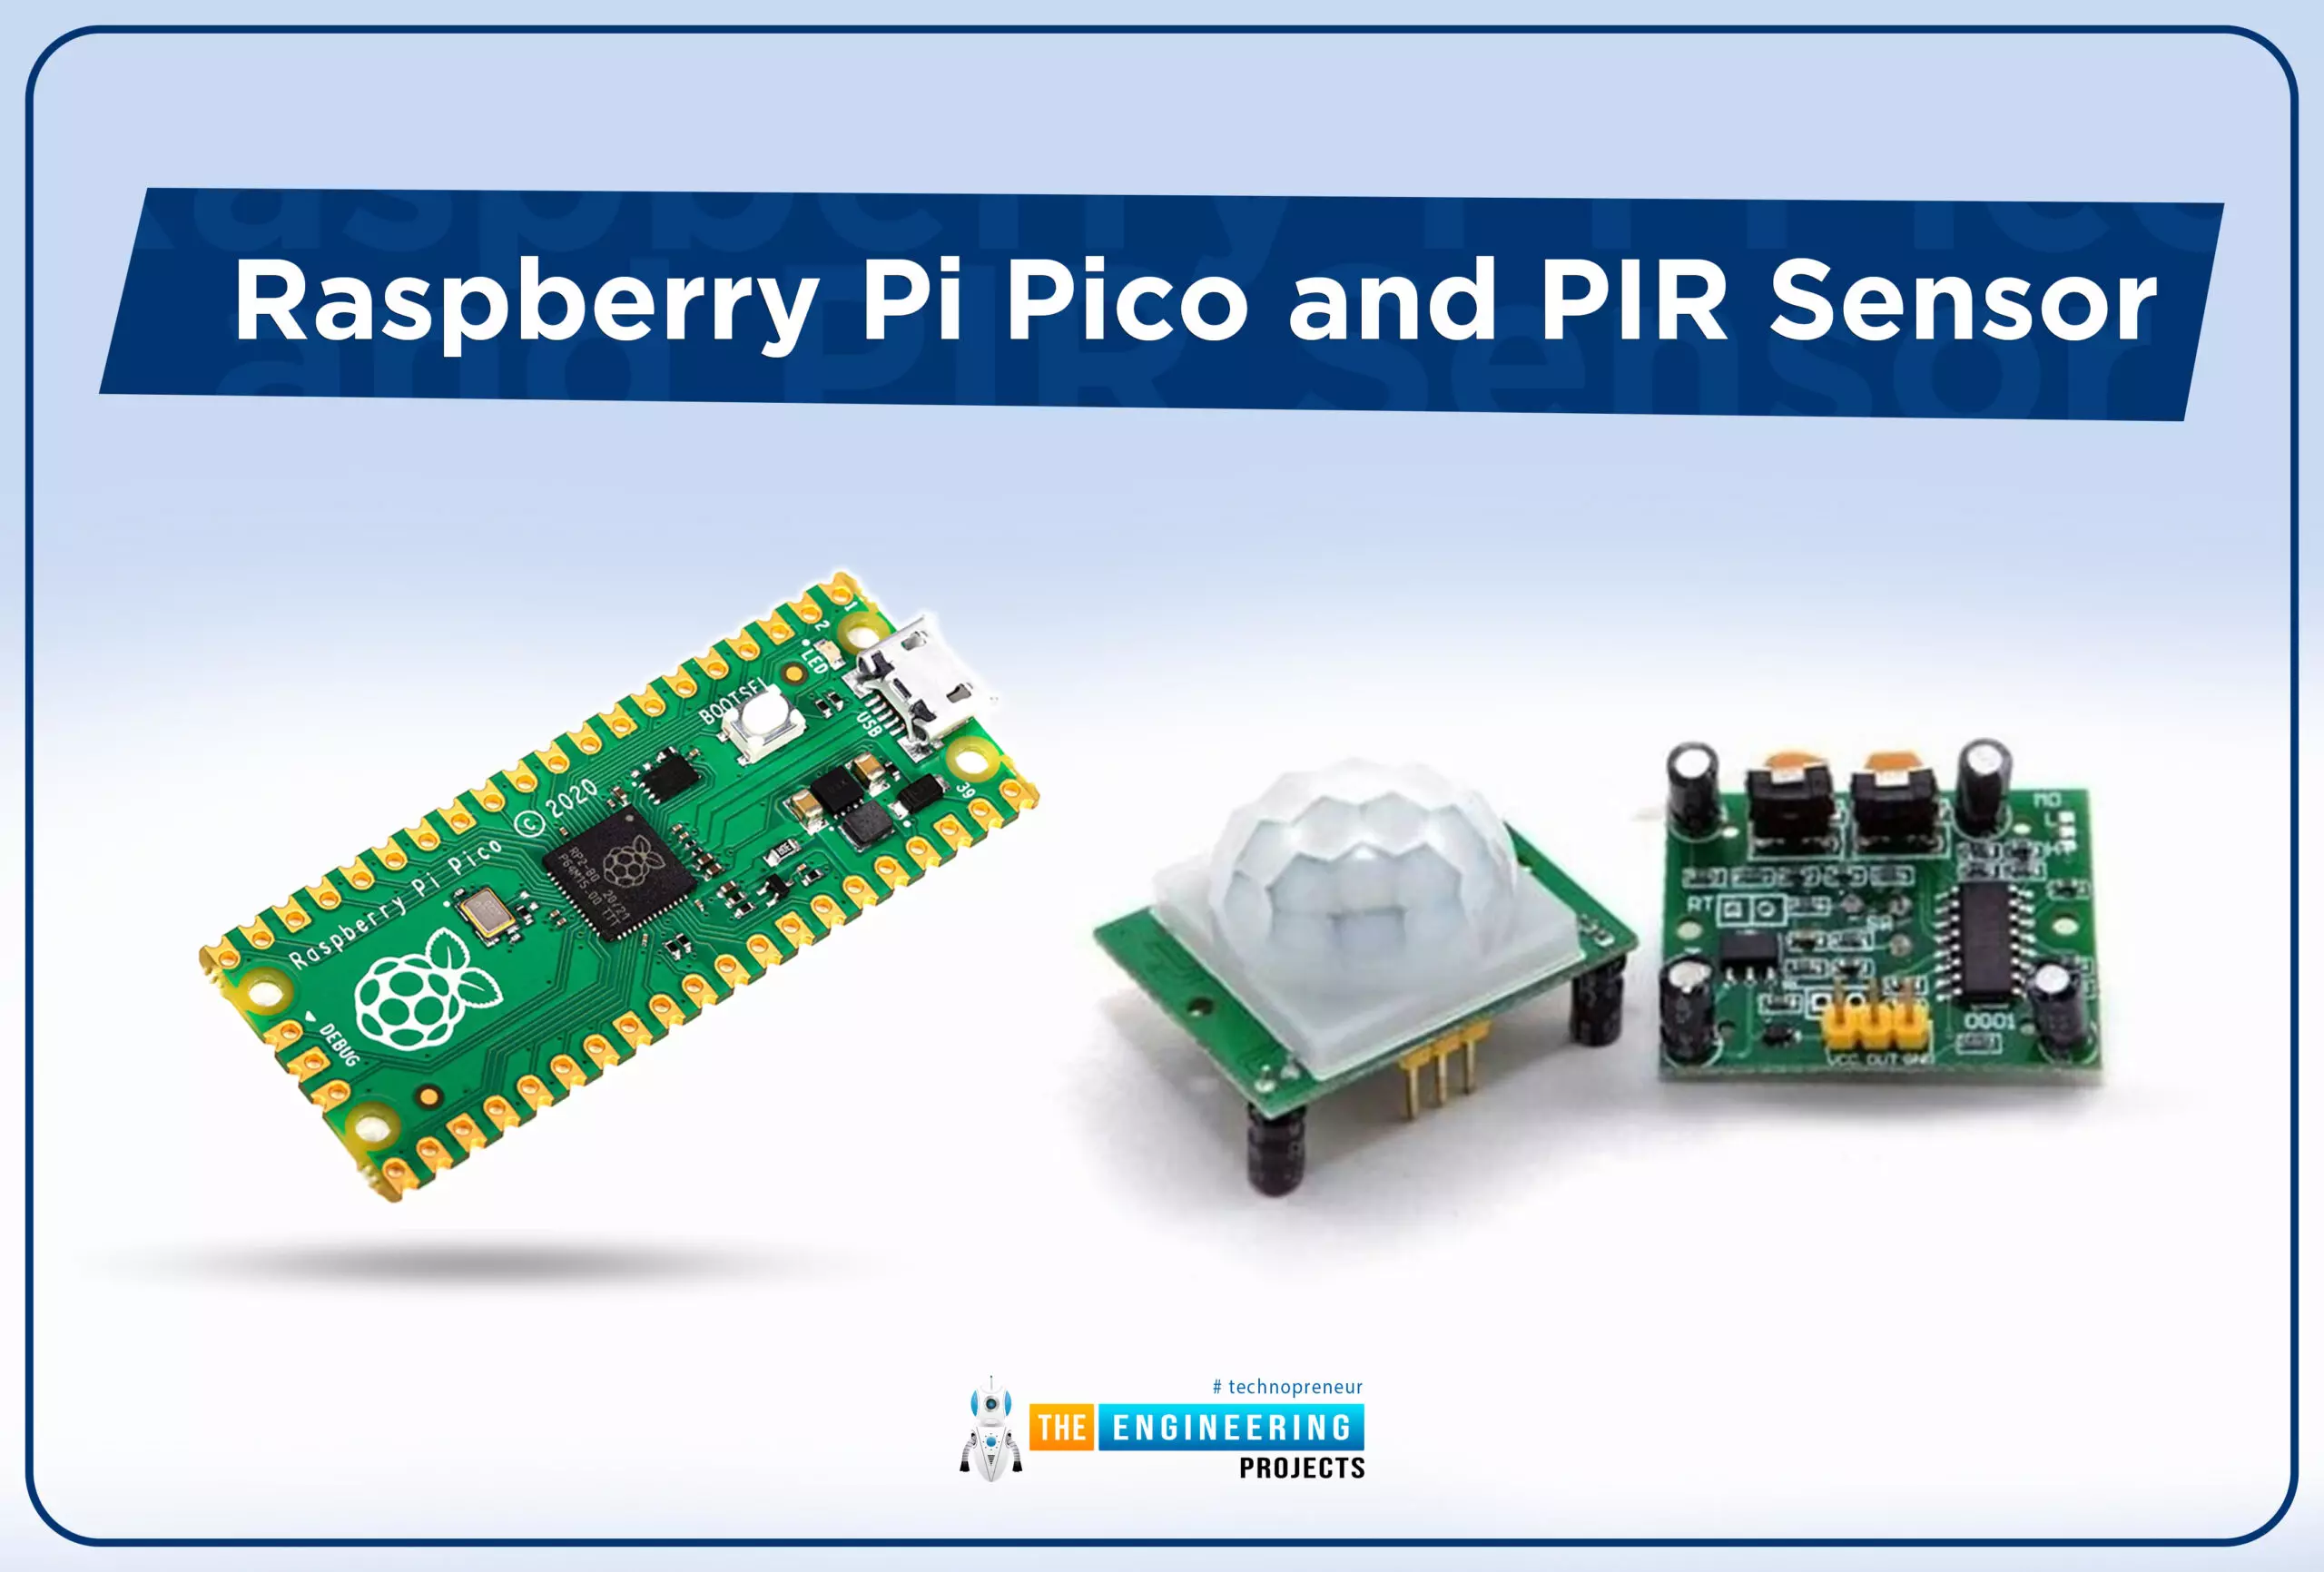
Fig. 1 Raspberry Pi Pico and PIR sensor
PIR motion sensor and its working
PIR stands for Passive Infrared sensors and the PIR module we are using is HC-SR501. As the name suggests the PIR or passive infrared sensor, produces TTL (transistor transistor logic) output (that is either HIGHT or LOW) in response to the input infrared radiation. The HC-SR501 (PIR) module is featured a pair of pyroelectric sensors to detect heat energy in the surrounding environment. Both the sensors sit beside each other, and when a motion is detected or the signal differential between the two sensors changes the PIR motion sensor will return a LOW result (logic zero volts). It means that you must wait for the pin to go low in the code. When the pin goes low, the desired function can be called.
In the PIR module, a fresnel lens is used to focus all the incoming infrared radiation to the PIR sensor.
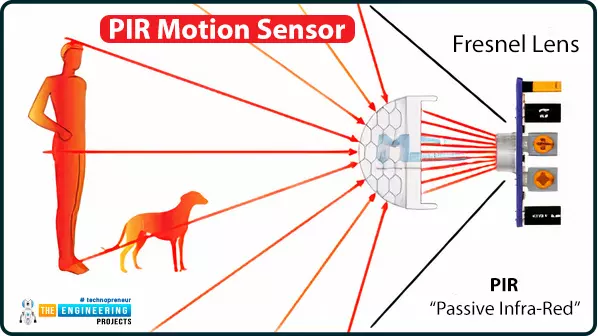
Fig. 2 PIR motion sensor
The PIR motion sensor has a few setting options available to control or change its behaviour.
Two potentiometers are available in the HC-SR501 module as shown in the image attached below (Fig. 3). Sensitivity will be one of the options. So, one of the potentiometers is used to control the sensing range or sensitivity of the module. The sensitivity can be adjusted based on the installation location and project requirements. The second potentiometer (or the tuning option) is to control the delay time. Basically, this specifies how long the detection output should be active. It can be set to turn on for as little as a few seconds or as long as a few minutes.
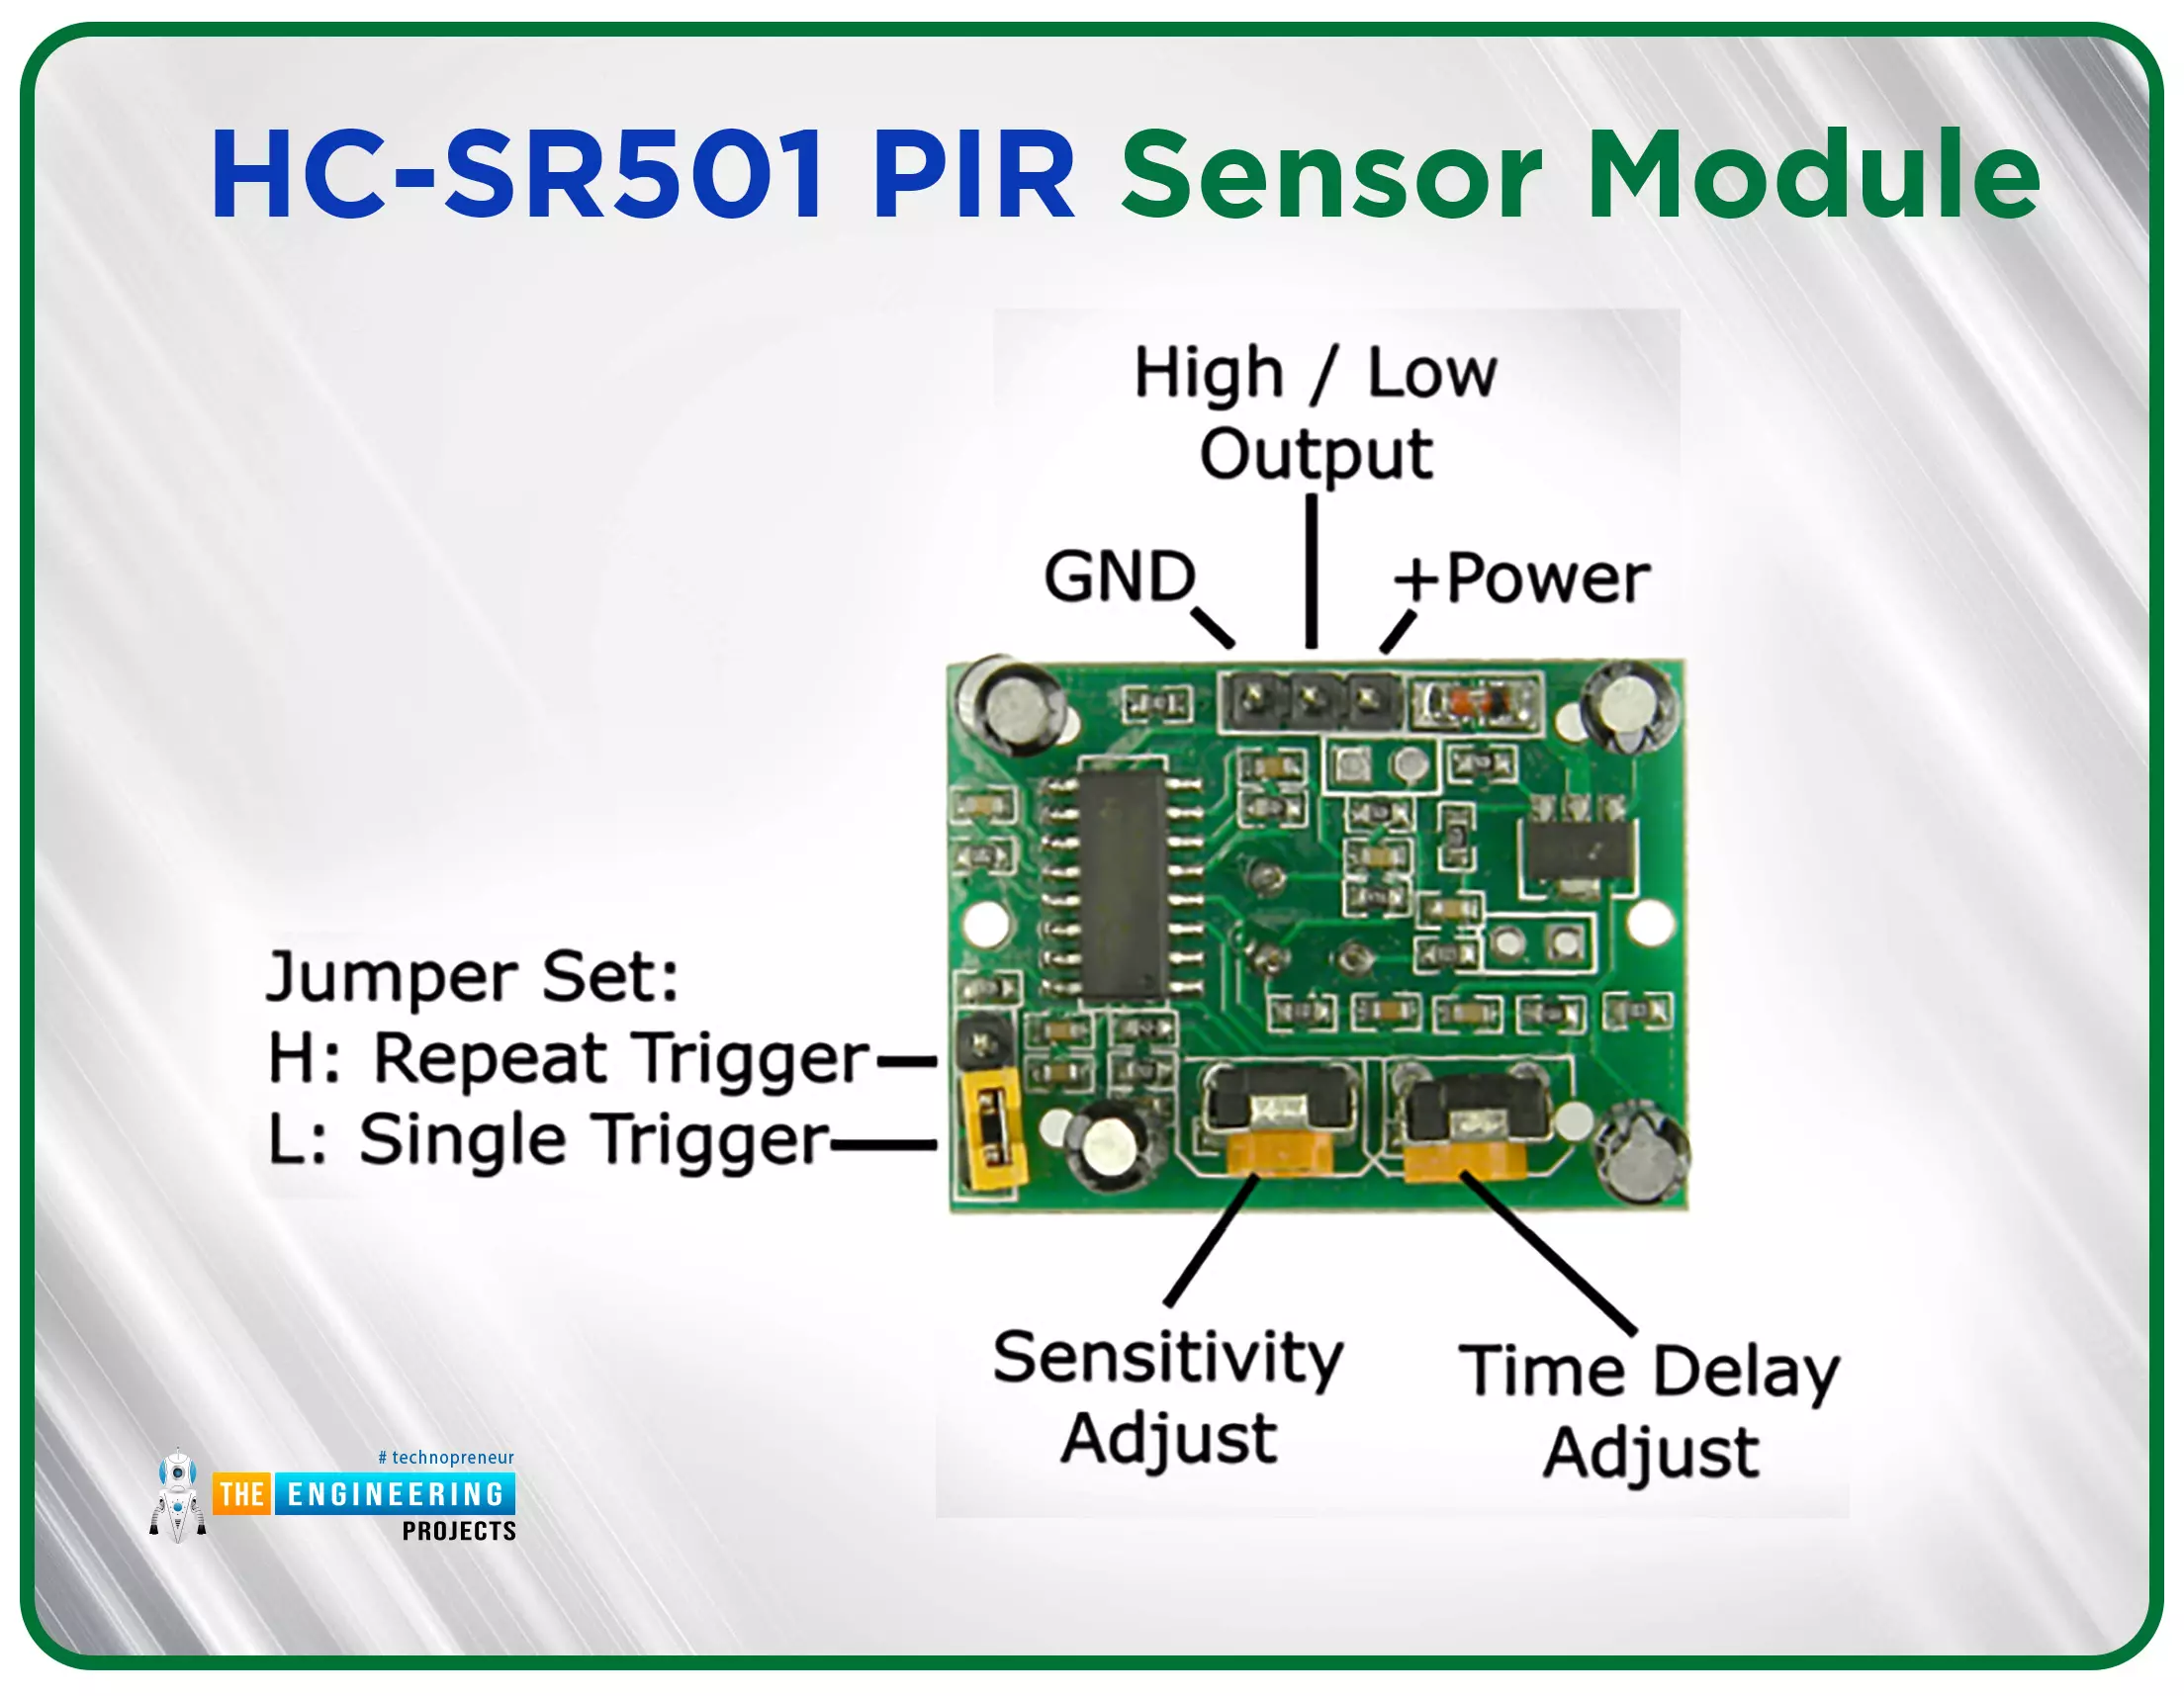
Fig. 3 HC-SR501 PIR sensor module
Thermal sensing applications, such as security and motion detection, make use of PIR sensors. They're frequently used in security alarms, motion detection alarms, and automatic lighting applications.
Some of the basic technical specifications of HC-SR501 (PIR) sensor module are:

Table: 1 HC-SR501 technical specification
Hardware and software components required
- Raspberry Pi Pico development board
- PIR motion sensor (HC-SR5010
- Jumper wires
- Breadboard
- Thonny IDE (installed)
- USB cable
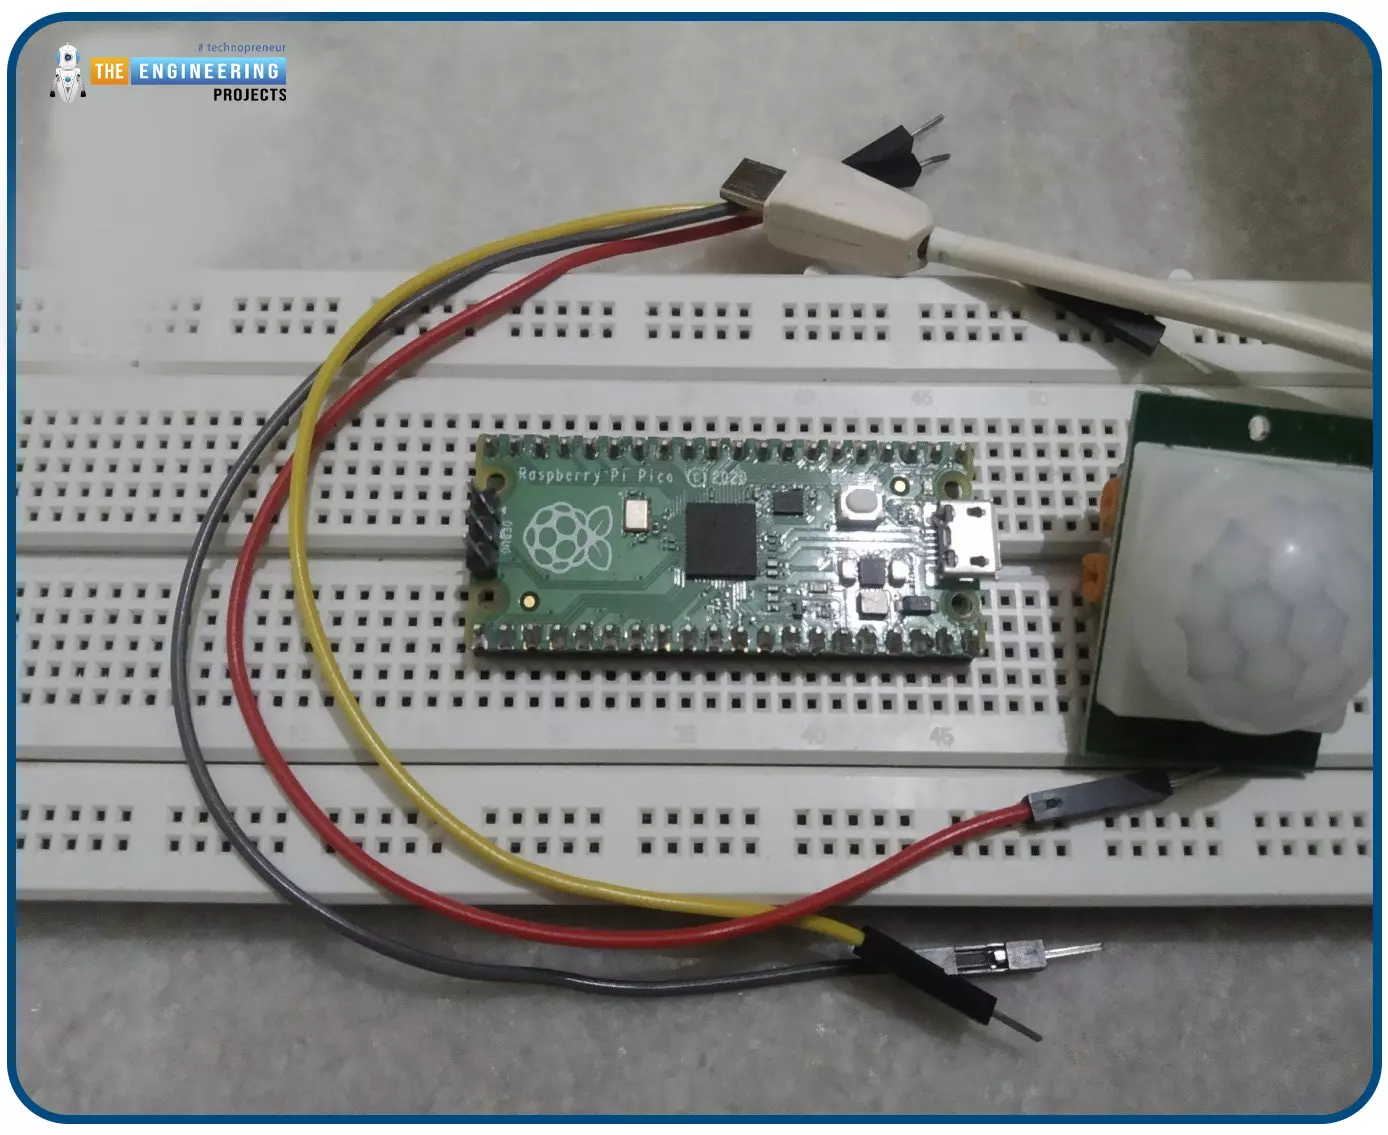
Fig. 4 Hardware components required
Interfacing the PIR sensor module with Raspberry Pi Pico
The HC-SR501 module has three interfacing pins VCC, GND and OUT. The VCC pin is to power up the board and should be connected to the 3.3V pin of the Raspberry Pi Pico board. The ‘OUT’ pin provides the TTL (Transistor-Transistor Logic) output. The TTL output is either High or LOW depending upon the electromagnetic input received. Raspberry Pi Pico module has 26 multifunctional GPIO pins. The ‘OUT’ pin of the PIR sensor can be connected to any of the GPIO pins of the Raspberry Pi Pico.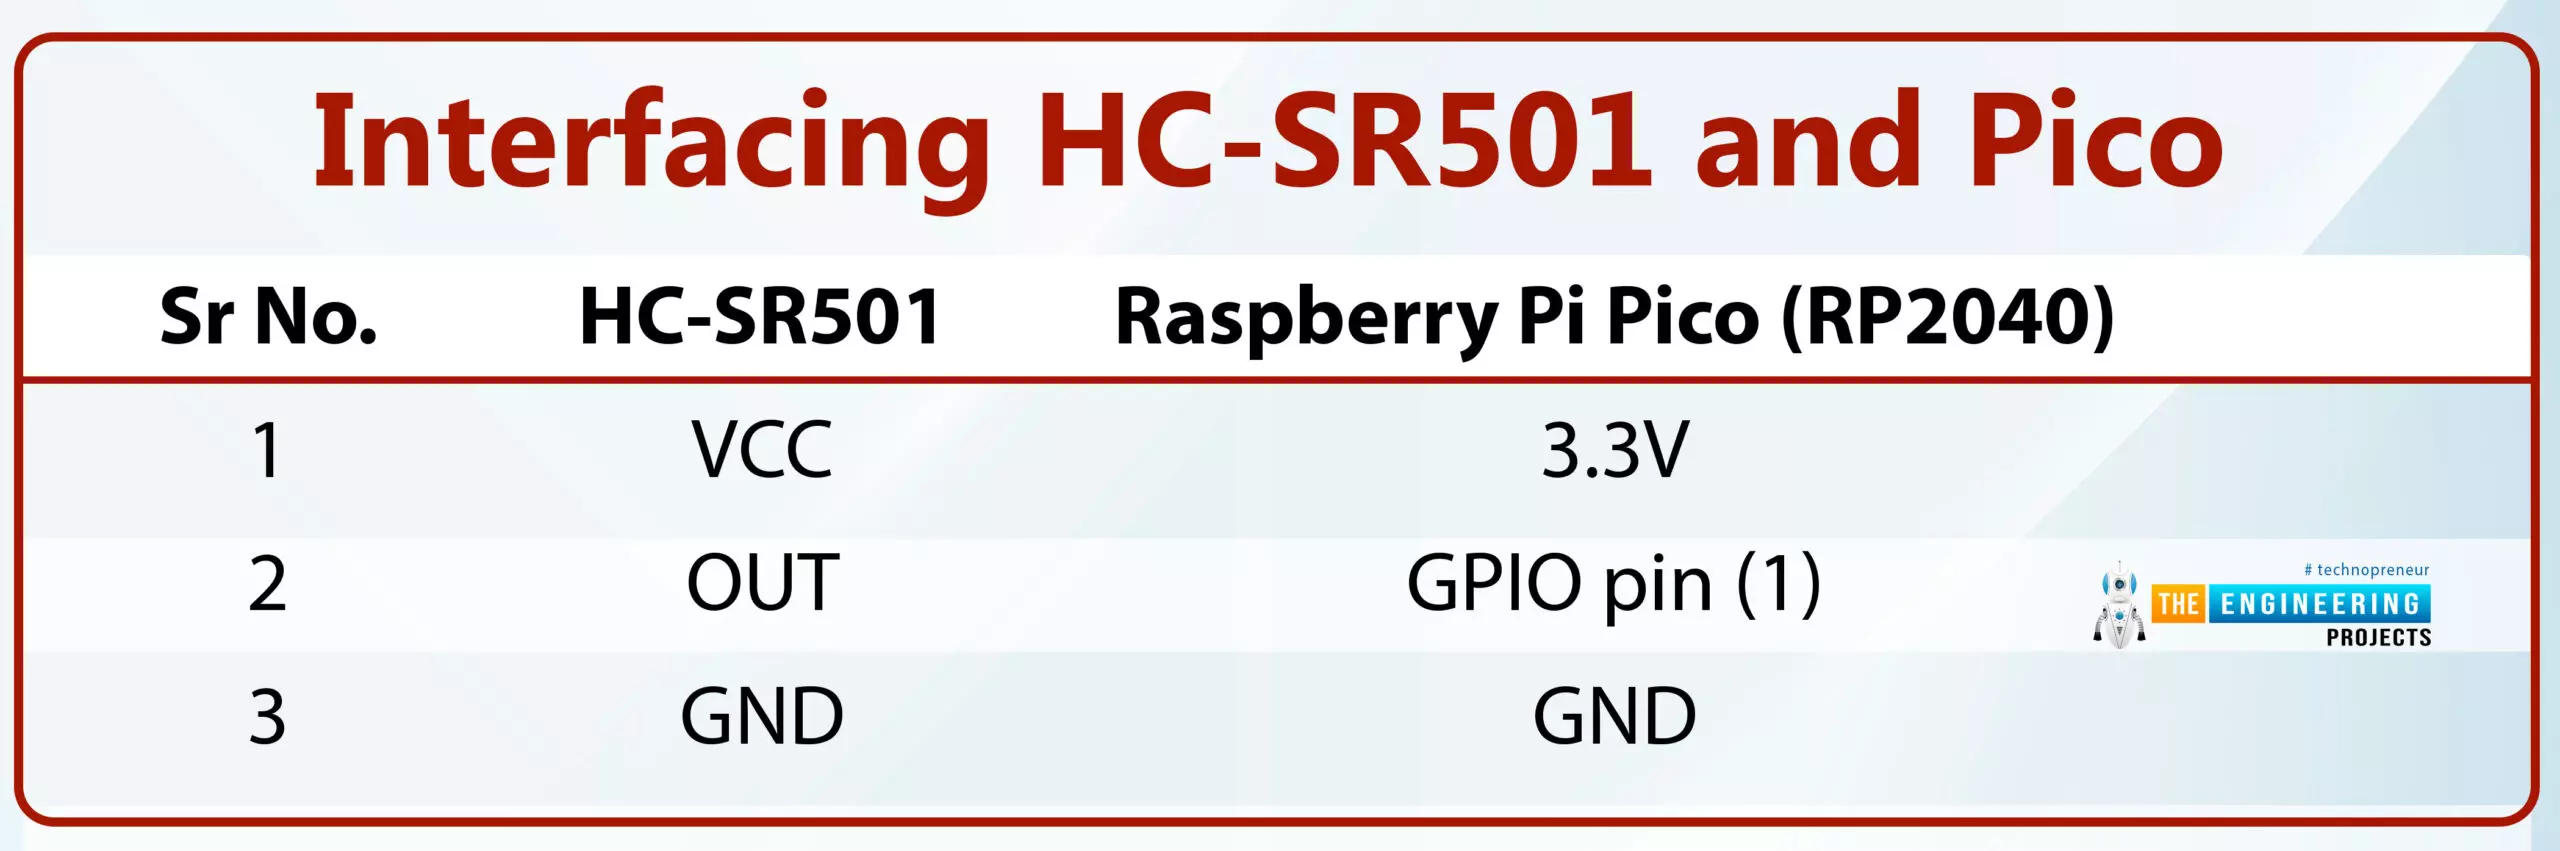
Table: 2 Interfacing HC-SR501 and Pico
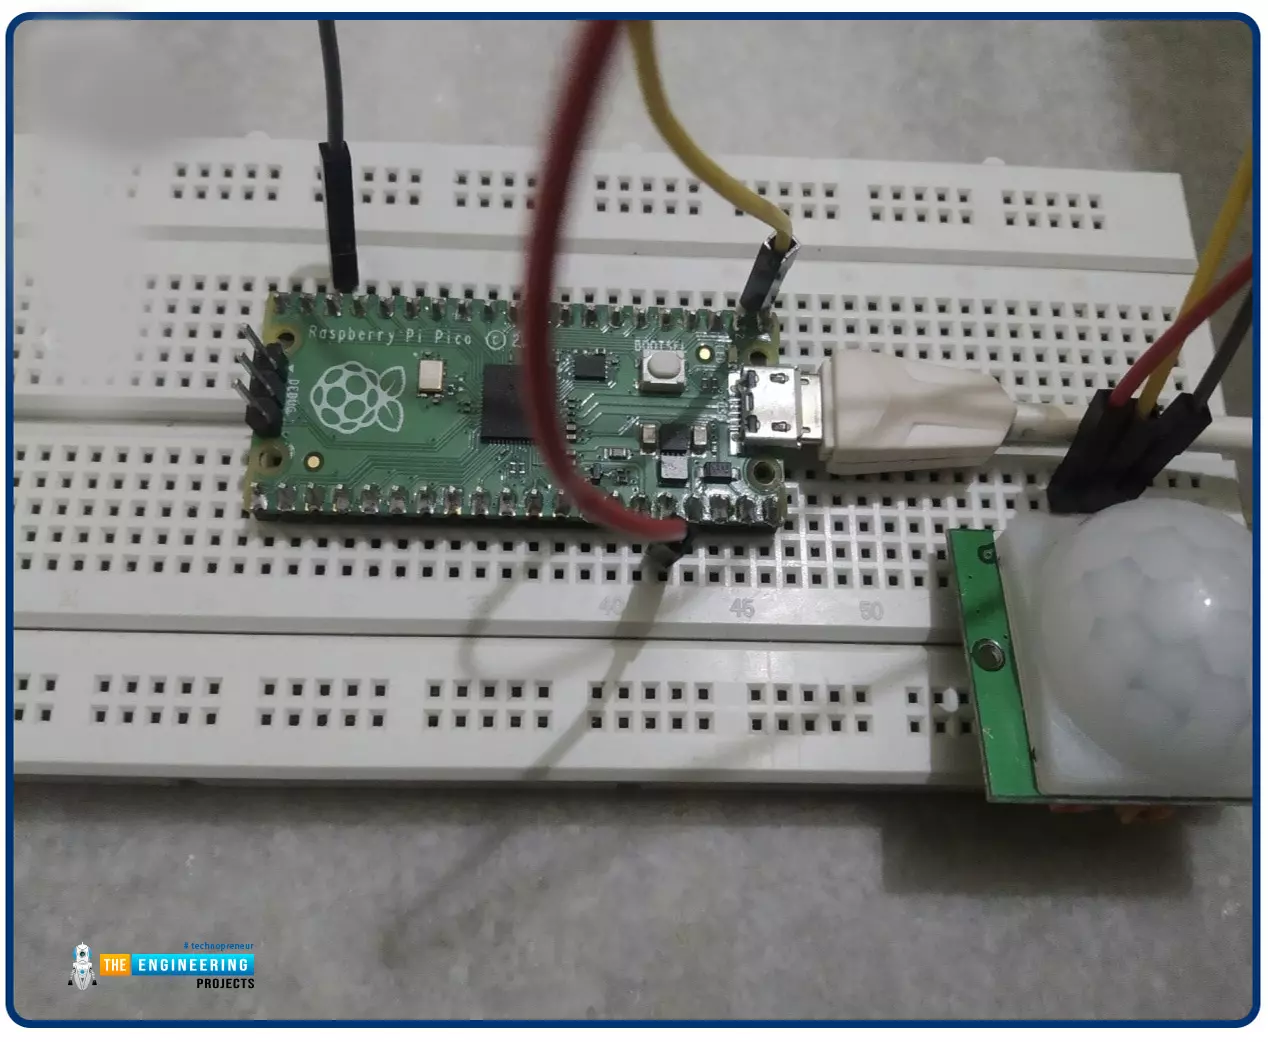
Fig. 5 Interfacing PIR with Pico module
Programming with Thonny IDE and MicroPython
Before writing the MicroPython program make sure that you have the installed integrated development environment (IDE) to program the Pico board for interfacing the PIR sensor module.
There are multiple development environments available to program the Raspberry Pi Pico (RP2040) with MicroPython programming language like VS Code, uPyCraft IDE, Thonny IDE etc.
In this tutorial, we are using Thonny IDE with the MicroPython programming language (as mentioned earlier). We already published a tutorial on how to install the Thonny IDE for Raspberry Pi Pico Programming.
Now, let’s write the MicroPython program to interface the PIR (HC-SR501) and Pico modules and implement motion detection with Raspberry Pi Pico:
Importing Necessary Libraries
The first task is importing the necessary libraries and classes. To connect the data (OUT) pin of the PIR sensor module with Raspberry Pi Pico we can use any of the GPIO pins of the Pico module. So, here we are importing the ‘Pin’ class from the ‘machine’ library to access the GPIO pins of the Raspberry Pi Pico board.
Secondly, we are importing the ‘time’ library to access the internal clock of RP2040. This time module is used to add delay in program execution or between some events whenever required.

Fig. 6 Importing necessary libraries
Object Declaration
Next, we are declaring some objects. The ’led’ object represents the GPIO pin to which the LED is connected (representing the status of PIR output) and the pin is configured as an output.
The ‘PirSensor’ object represents the GPIO pin to which the ‘OUT’ pin of HC-SR501 is to be connected which is GPIO_0. The pin is configured as input and pulled down.
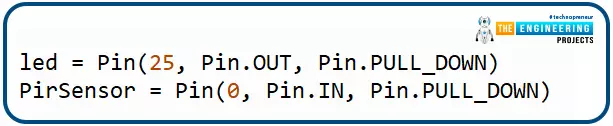
Fig. 7 Object declaration
Creating a function to detect motion
A ‘motion_det()’ function is defined to check the status of the PIR sensor and degenerate an event in response.
The status of the PIR sensor is observed using the ‘PirSensor.value()’ command. The default status of GPIO_0 is LOW or ‘0’ because it is pulled down. We are using a LED to represent the status of the PIR sensor. Whenever a motion is detected the LED will change its state and will remain in that state for a particular time interval.
If the motion is detected, the status of the GPIO_0 pin will turn to HIGH or ‘1’ and the respective status will be printed on the ‘Shell’ and simultaneously the status of led connected to GPIO_25 will also change to HIGH for 3sec. Otherwise, the “no motion” status will be printed on the Shell.
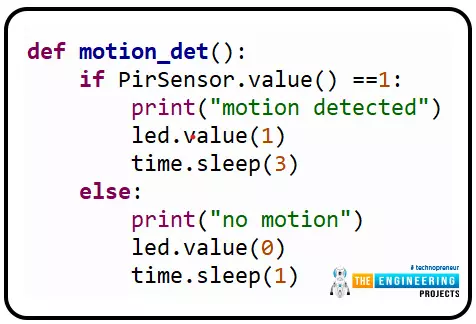
Fig. 8 creating a function
Running the motion detection function
Here we are using the ‘while’ loop to continuously run the motion detection function. So, the PIR sensor will be responding to the infrared input continuously with the added delay.

Fig. 9 mail loop
Code
# importing necessary libraries
from machine import Pin
import time
# Object declaration
led = Pin(25, Pin.OUT, Pin.PULL_DOWN)
PirSensor = Pin(0, Pin.IN, Pin.PULL_DOWN)
def motion_det():
if PirSensor.value() ==1: # status of PIR output
print("motion detected") # print the response
led.value(1)
time.sleep(3)
else:
print("no motion")
led.value(0)
time.sleep(1)
while True:
motion_det()
Results
-
- Connect your Raspberry Pi Pico board with your system and select the MicroPython interpreter.
- Create a new program in Thonny IDE and paste the above code.
- Save the program to either on your system or on Raspberry Pi Pico.
- To see the output result (printed) enable the ‘Shell’.
- To enable the Shell got to View >> Shell.
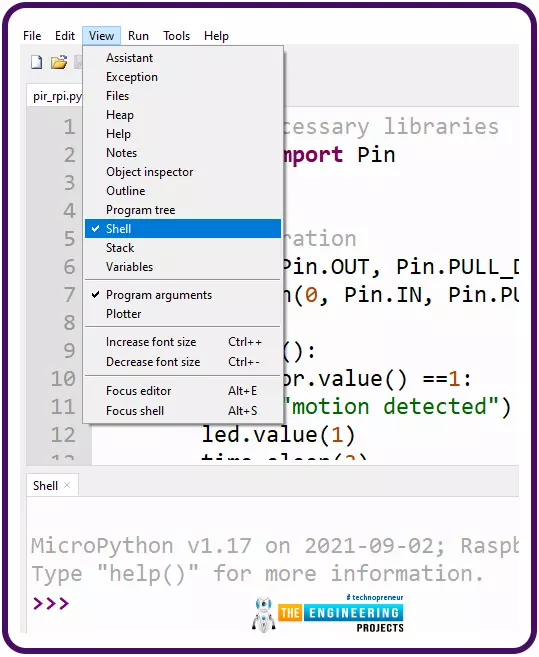
Fig. 10 Fig enable Shell
- Run the program by clicking on the ‘Run’
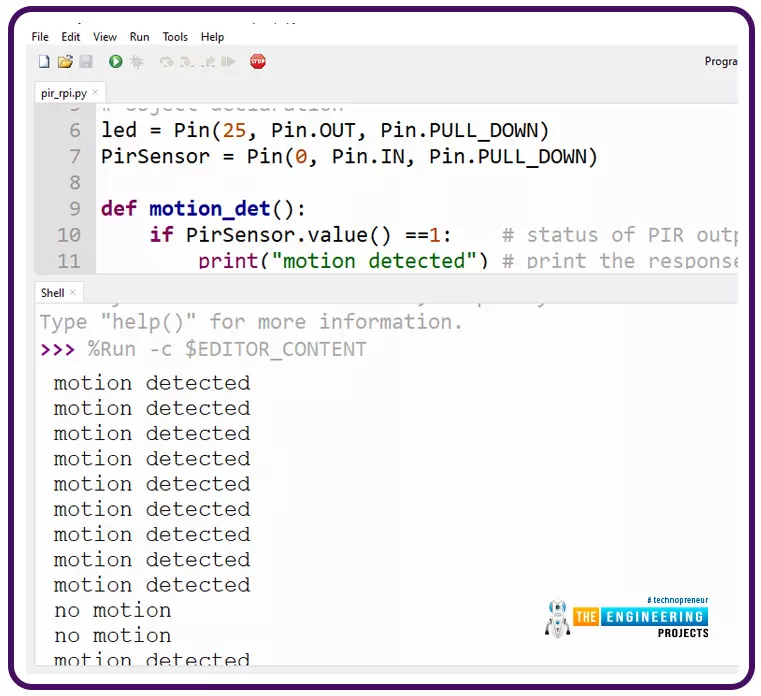
Fig. 11 Output on Shell
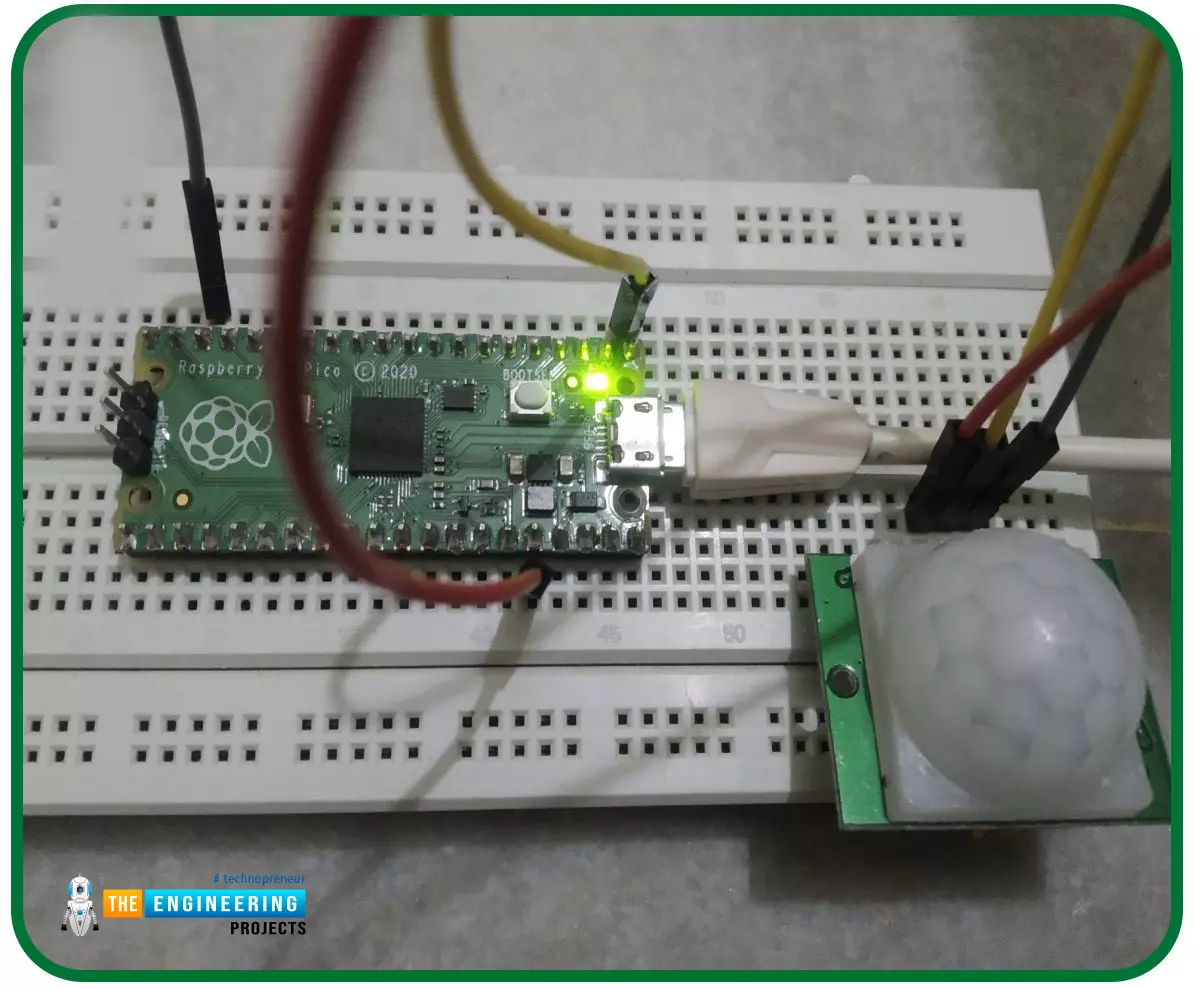
Fig. 12 Motion detected with LED ‘ON’
Generating External interrupt with Raspberry Pi Pico and PIR sensor modules
Now let’s take another example where we will discuss the interrupts with Raspberry Pi Pico.
Interrupts comes into existence in two conditions. First one is when a microcontroller is executing a task or a sequence of dedicated tasks and along with that continuously monitoring for an event to occur and then execute the task arriving with that particular event. So, instead of continuously monitoring for an event, a microcontroller can directly jump to a new task whenever an interrupt occurs meanwhile keeping the regular task on halt. Thus we can avoid the wastage memory and energy.

Fig. 13 Interrupt
In second case, a microcontroller will start executing the task only when an interrupt occurs. Otherwise the microcontroller will remain in standby or low power mode (as per the instruction provided).
In this example, we are going to implement the second case of interrupt. Where, we are using the PIR sensor to generate an interrupt. The Raspberry Pi Pico will execute the assigned task only after receiving an interrupt request.
Interrupts can either be external or an internal one. Internal interrupts are mostly software generated for example timer interrupts. On the other hand, external interrupts are mostly hardware generated for example using a push button, motion sensor, temperature sensor, light detector etc.
In this example, we are using the PIR sensor to generate an external interrupt. Whenever the motion is detected, a particular group of LEDs will turn ON (HIGH) while keeping rest of the LEDs in OFF (LOW) state. A servo motor is also interfaced with the Raspberry Pi Pico board. The motor will start rotating once an interrupt is being detected.
We already published tutorial on interfacing a servo motor with Raspberry Pi Pico. You can follow our site for more details.

Fig. 14 Schematic_2
Now let’s write the MicroPython program to generate an external interrupt for raspberry Pi Pico with PIR sensor.
Importing libraries
As we discussed earlier, in our previous example the first task is importing necessary libraries and classes. Rest of the modules , are similar to the previous example except the ‘PWM’ one.
The ‘PWM’ class from ‘machine’ library is used to implement the PWM on the servo motor interfaces with the raspberry Pi Pico board.

Fig. 15 importing libraries
Object Declaration
In this example, we are using three different components a PIR sensor, a servo motor, and some LEDs. Object are declared for each component. The object ‘ex_interrupt’ represents the GPIO pin to which the PIR sensor is connected where the pin is configured as an input one and pulled down.
The second object represents the GPIO pin to which the servo motor is connected. The ‘led_x’ object represents the GPIO pins to which the peripheral LEDs are connected. Here we are using six peripheral LEDs.
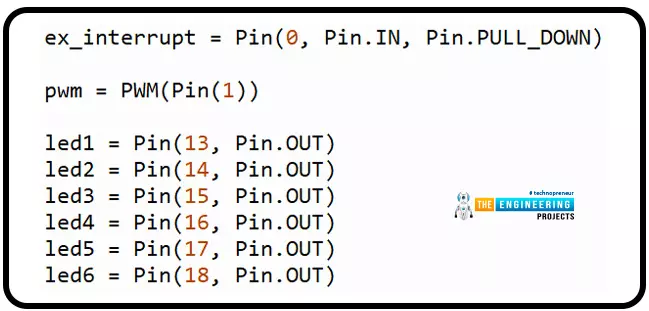
Fig. 16 Object declaration
- We are declaring a global variable ‘pir_output’ to represent the status of PIR output or motion being detected or not. When no motion is detected the state of the variable will remain in default state that is ‘False’. Whenever the motion is detected the state of ‘pir_output’ variable will change to ‘True’ and an interrupt will be generated.

Fig. 17 PIR output status
Interrupt handler
Next we are defining a interrupt handler function. The Parameter ‘Pin’ in the function represents the GPIO pin caused the interrupt.
The variable ‘pir_output’ is assigned with a ‘True’ state value which will be executed only when an interrupt occurs (in the while loop).
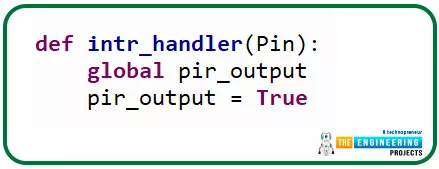
Fig. 18 Interrupt handling function
Attaching interrupt to GPIO_0
Interrupt is attached to GPIO_0 pin represented with ‘ex_interrupt’ variable. The interrupt will be triggered on the rising edge.

Fig. 18 Attaching interrupt
Setting Servo motor position
In the function defined to change the position of servo motor we are using pulse width modulation technique to change the servo position/angle. The motor will rotate to 180 degree and then again back to 0 degree.
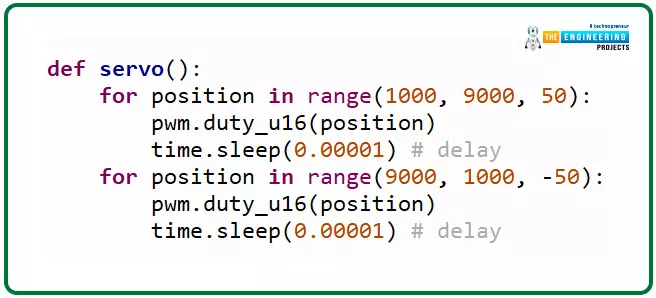
Fig. 19 defining function for servo
Motion_det()
This is the function where we are calling all the previously defined function and each function will be executed as per there assigned sequence whenever an interrupts is detected.
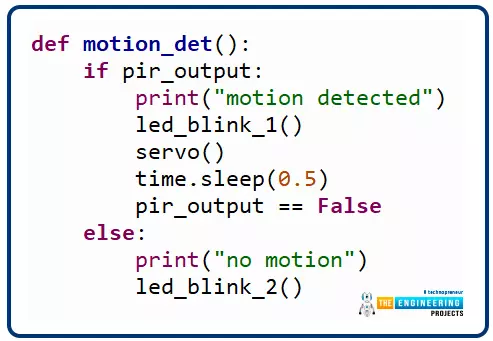
Fig. 20
Code
The MicroPython code to generate an external interrupt with PIR sensor for Raspberry Pi Pico is attached below:
# importing necessary libraries
from machine import Pin, PWM
import time
# Object declaration PIR, PWM and LED
ex_interrupt = Pin(0, Pin.IN, Pin.PULL_DOWN)
pwm = PWM(Pin(1))
led1 = Pin(13, Pin.OUT)
led2 = Pin(14, Pin.OUT)
led3 = Pin(15, Pin.OUT)
led4 = Pin(16, Pin.OUT)
led5 = Pin(17, Pin.OUT)
led6 = Pin(18, Pin.OUT)
# PIR output status
pir_output = False
# setting PWM frequency at 50Hz
pwm.freq(50)
# interrupt handling fucntion
def intr_handler(Pin):
global pir_output
pir_output = True
# attaching interrupt to GPIO_0
ex_interrupt.irq(trigger=Pin.IRQ_RISING, handler= intr_handler)
# defining LED blinking function
def led_blink_1():
led1.value(1)
led3.value(1)
led5.value(1)
led2.value(0)
led4.value(0)
led6.value(0)
time.sleep(0.5)
def led_blink_2():
led1.value(0)
led3.value(0)
led5.value(0)
led2.value(1)
led4.value(1)
led6.value(1)
time.sleep(0.5)
def servo():
for position in range(1000, 9000, 50): # changing angular position
pwm.duty_u16(position)
time.sleep(0.00001) # delay
for position in range(9000, 1000, -50):
pwm.duty_u16(position)
time.sleep(0.00001) # delay
def motion_det():
if pir_output: # status of PIR output
print("motion detected") # print the response
led_blink_1()
servo() # rotate servo motor (180 degree)
time.sleep(0.5)
pir_output == False
else:
print("no motion")
led_blink_2()
while True:
motion_det()
Result
The results observed are attached below:
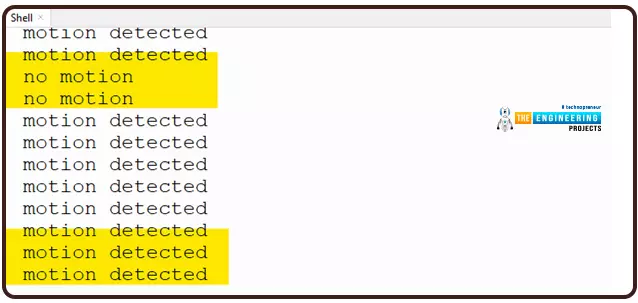
Fig. 21 Output printed on Shell
- For the hardware demonstration we are using six LEDs (3 red and 3 green) and a servo motor.
- The Red LEDs represents the state whenever a motion is detected.
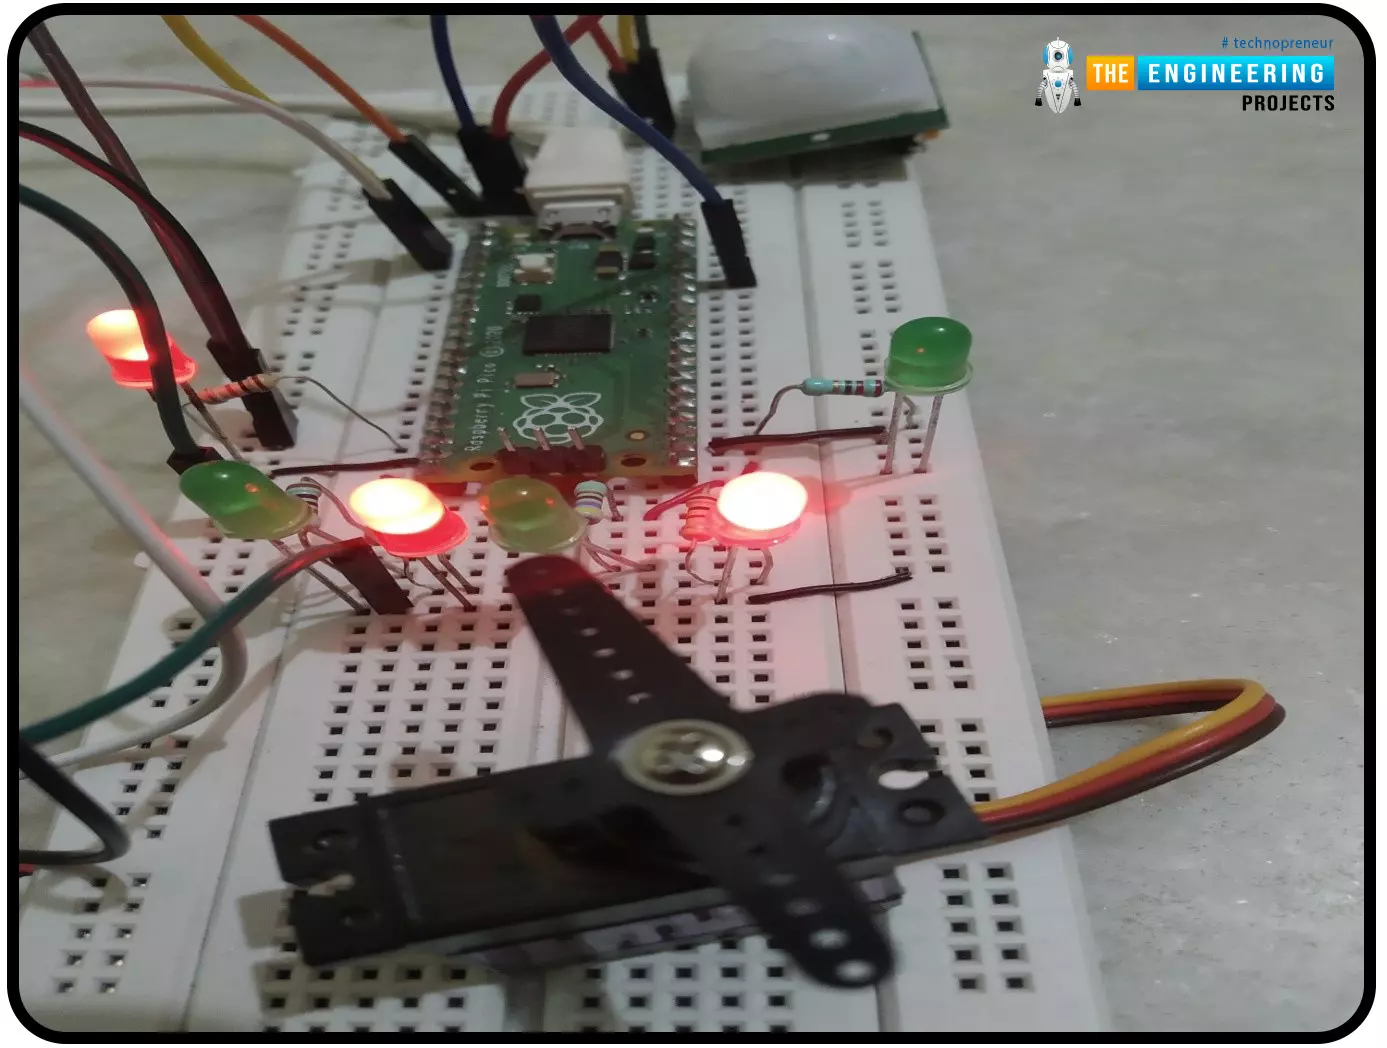
Fig. 22 Motion Detected
- The green LEDs are representing the ‘No motion detected’ state.
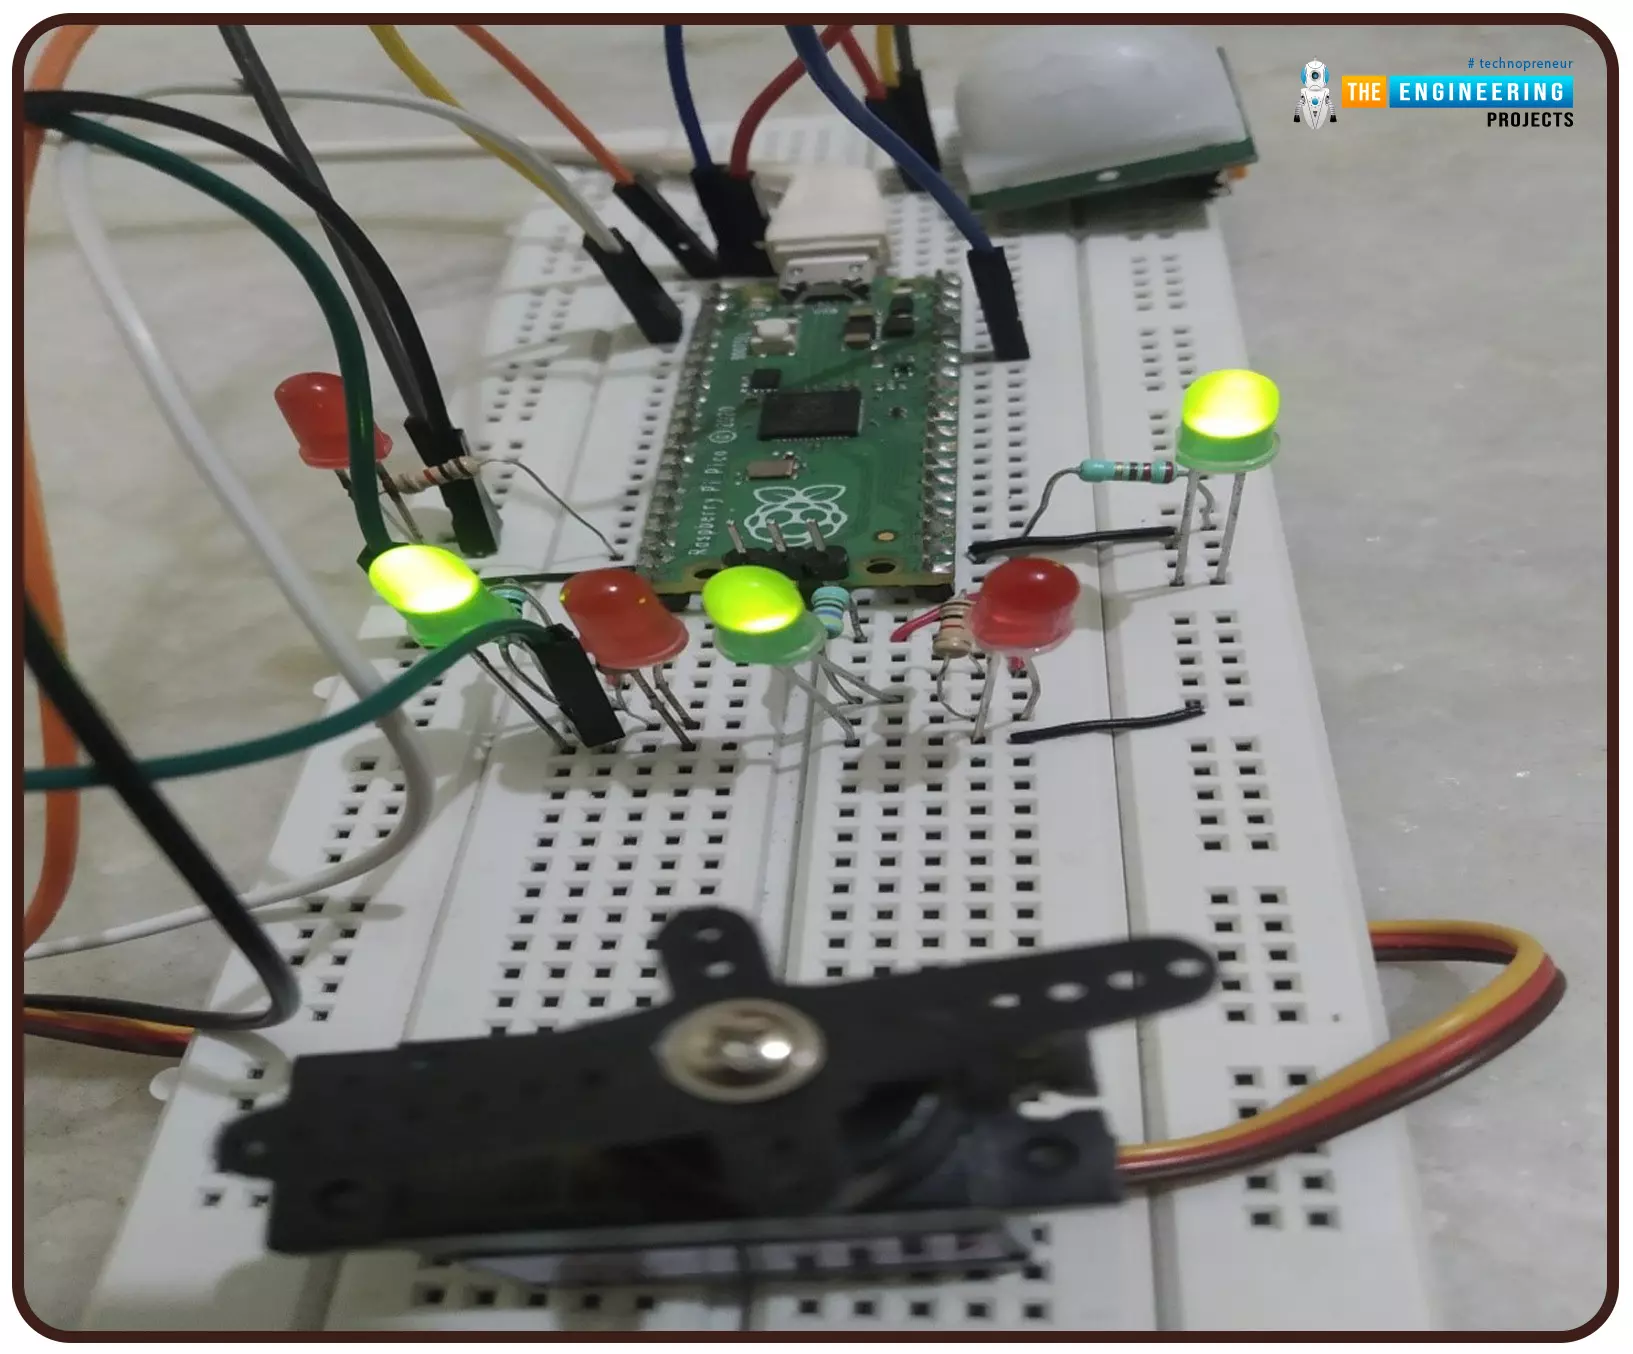
Fig. 23 No motion detected
Conclusion
In this tutorial, we discussed how to interface the HC-SR501 PIR sensor with raspberry Pi Pico and detect the motion where we used Thonny IDE and MicroPython programming language. We also discussed the interrupts and how to generate interrupts using HC-SR501 sensor.
This concludes the tutorial. I hope you found this of some help and also hope to see you soon with a new tutorial on Raspberry Pi Pico programming.