


Interfacing of DHT11 with Raspberry Pi Pico


Hello readers, I hope you all are enjoying our Raspberry Pi Pico programming series. In our previous tutorials, we learned how to access Raspberry Pi Pico’s GPIO pins for both input as well as output operations. For demonstration, we used LED as an output component and a push button as an input component.
Now let’s learn how to interface sensor modules with the Raspberry Pi Pico module. So, in this tutorial, we will learn how to interface the DHT11 sensor with the Raspberry Pi Pico module and fetch the observed data (from its surrounding) using the MicroPython programming language.
Before writing the code for interfacing and fetching the data from the respective sensor, let’s first have a look at the working operation, features and properties of the DHT sensor.
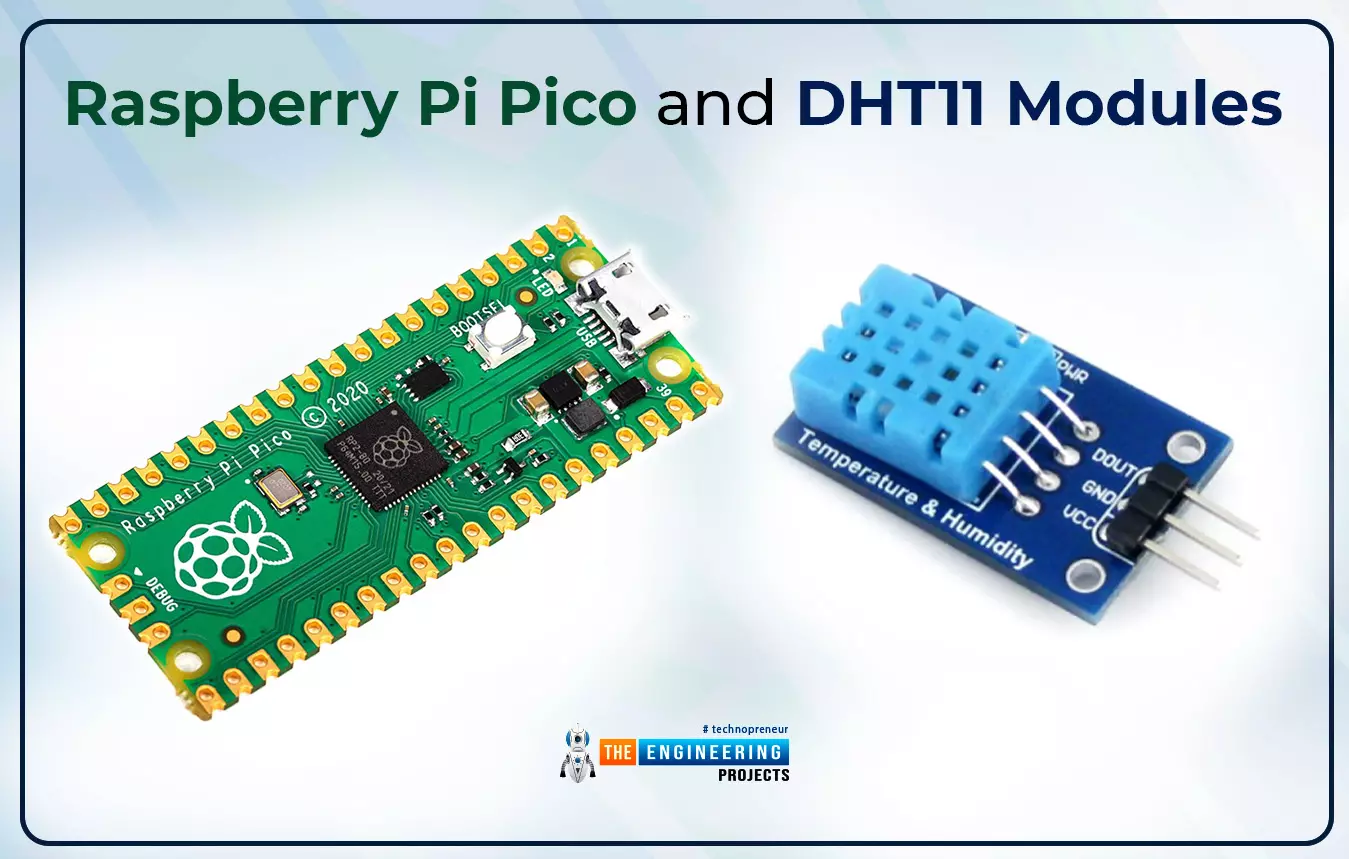
Fig. 1 Raspberry Pi Pico and DHT11 modules
DHT11 Sensor
The DHT11 sensor (also known as a temperature and humidity sensor) is a sensor module that measures humidity and temperature in its immediate environment. The ambient temperature and humidity of a given area are monitored by this sensor module. The sensor is made up of an NTC (negative temperature co-efficient) temperature sensor and a resistive type humidity sensor. An 8-bit microcontroller is also built into the sensor module. The microcontroller converts analogue to digital and outputs a digital signal through the single wire protocol.
The following are some of the DHT11 sensor's technical specifications:

Table:1 DHT11 technical specifications
DHT11 sensors can also be used to create a wired sensor system with up to 20 meters of cable.
A DHT sensor is mostly used in weather monitoring systems and for research purposes. Although we have satellites to provide the status of weather conditions but, the data provided by satellites represent a larger area. In the case of research applications, the satellite provided data is not sufficient so in such applications, we need to use sensor modules like DHT.
DHT11 Vs DHT22
To measure temperature and humidity, two DHT modules (DHT11 and DHT22) are available in the market. Both of the DHT11 and DHt22 modules, serves the same purpose, but they have different specifications. The DHT22 sensor, for example, has a wider range of humidity and temperature sensitivity. The temperature sensitivity of DHT22 ranges from -40 to 80°C with +-0.5°C tolerance and on the other hand, the temperature sensitivity of the DHT11 sensor ranges from 0 to 50°C with +-2°C tolerance.
Similarly, the humidity sensitivity of the DHT22 sensor ranges from 0 to100% with +-2% tolerance and for DHT11 the humidity sensitivity rages between 20 to 90% with +-5% tolerance. Similarly other properties like resolution, sampling time etc are better in the DHT22 sensor module than in DHT11. But the only disadvantage or drawback of the DHT22 sensor module is its cost. The DHT22 is costlier than DHT11 sensor module. So you can use any of the modules as per your requirements and resources.
Software and Hardware components required
The software and hardware components required to interface the DHT sensor with the Raspberry Pi Pico board are:
- Raspberry Pi Pico development board
- DHT11 sensor
- A resistor (10K)
- Connecting wires
- Breadboard
- Data cable
- Thonny IDE

Fig. Required Components (hardware)
DHT11 Pin-out
DHT11 is a three pin module and the pins include ‘+Ve’ for 3.3V, ‘-Ve’ for ground and the third one is ‘OUT’ for data output.

Fig. 3 DHT11 Pin-out
Interfacing DHT11 with Raspberry Pi Pico module
The connection for interfacing the DHT11 and Pico modules are shown in table 1. There are basically three pins in DHT11 sensor as discussed earlier. Two pins are to power up the DHT11 module i.e., VCC and ground and these two pins are connected to the 3.3V and GND pins of the Pico board. The third pin i.e., ‘OUT’ is used to provide data input to the Raspberry Pi Pico board. The data (‘OUT’) pin can be connected to any of the GPIO pins of the pico board. So here we are using GPIO_0 pin for data input.

Table 2 Interfacing DHT11 with Raspberry Pi Pico

Fig. 4 Interfacing DHT11 with Pico board circuit
Programming
The development environment we are using is Thonny IDE, to program the Raspberry Pi Pico board for accessing the dual core feature with MicroPython programming language.
So, before writing the MicroPython program user need to install the respective development environment to compile and upload the MicroPython program into the Pico board.
We already published a tutorial on how to install and access Thonny IDE for Raspberry Pi Pico programming using MicroPython programming language. Follow our previous tutorial, to install Thonny IDE for raspberry pi pico programming.
Let’s write the MicroPython program to interface the DHT sensor with the Raspberry Pi Pico module and fetch the temperature and humidity data observed with the DHT11 sensor.
- The first task while writing the MicroPython code for the DHT11 interfacing is importing the necessary classes and modules. Firstly we are importing the Pin class from the machine The Pin class is used to access the Raspberry Pi Pico’s GPIO pins to interface the data pin of DHT11 sensor module.
- Next we are importing the utime module to add delay when required.
- The third module we are importing is the dht module which is responsible for reading the temperature and humidity data from the sensor module.

Fig. 5 importing necessary library files
- Next we are declaring a ‘pin’ object. This object represents the GPIO pin number to which the data pin of DHT11 is to be connected and also the mode of the GPIO pin. Here we are using GPIO_0 of the Pico board and the pin is configured at imput.

Fig. 6 declaring the ‘pin’ object
- We are using a while loop to continuously read and print the sensor reading (temperature and humidity).
- The sampling rate of DHT11 sensor is 1 second. So before reading the data from DHT sensor a minimum delay of 1 second is required. Here we are adding a delay of 2 second.
- The temperature observed using ‘dht_input.temperaure’ The respective data is store inside ‘temp’ variable and then printed using print() command.
- Similarly, for humidity the data is observed using ‘dht_input.humidity’ The respective data is stored inside ‘humidity’ variable and printed using the print() command.

Fig. 7 Main loop
Main program (main.py)
# importing necessary library files
from machine import Pin
import utime
from dht import DHT11, InvalidChecksum
while True:
utime.sleep(2) # adding delay of 2 seconds
pin = Pin(0, Pin.OUT, Pin.PULL_DOWN) # declaring pin object
dht_input = DHT11(pin) # defing the sensor pin
temp = (dht_input.temperature) # reading temperature
humidity = (dht_input.humidity) # reading humidity
print("temp(°C): {}".format(dht_input.temperature))
print("humidity(%): {}".format(dht_input.humidity))
You can use the above code as it is. But before compiling the code make sure you have uploaded the dht.py library file to your system/Raspberry pi pico module.
To upload the dht.py file into your system/pico board, go to File >> New, as shown below:

Fig. 8 create a new program
- Paste the below attached code into the new program and save the program to similar location where the main program is saved.
DHT library (dht.py)
import array
import micropython
import utime
from machine import Pin
from micropython import const
class InvalidChecksum(Exception):
pass
class InvalidPulseCount(Exception):
pass
MAX_UNCHANGED = const(100)
MIN_INTERVAL_US = const(200000)
HIGH_LEVEL = const(50)
EXPECTED_PULSES = const(84)
class DHT11:
_temperature: float
_humidity: float
def __init__(self, pin):
self._pin = pin
self._last_measure = utime.ticks_us()
self._temperature = -1
self._humidity = -1
def measure(self):
current_ticks = utime.ticks_us()
if utime.ticks_diff(current_ticks, self._last_measure) < MIN_INTERVAL_US and (
self._temperature > -1 or self._humidity > -1
):
# Less than a second since last read, which is too soon according
# to the datasheet
return
self._send_init_signal()
pulses = self._capture_pulses()
buffer = self._convert_pulses_to_buffer(pulses)
self._verify_checksum(buffer)
self._humidity = buffer[0] + buffer[1] / 10
self._temperature = buffer[2] + buffer[3] / 10
self._last_measure = utime.ticks_us()
@property
def humidity(self):
self.measure()
return self._humidity
@property
def temperature(self):
self.measure()
return self._temperature
def _send_init_signal(self):
self._pin.init(Pin.OUT, Pin.PULL_DOWN)
self._pin.value(1)
utime.sleep_ms(50)
self._pin.value(0)
utime.sleep_ms(18)
@micropython.native
def _capture_pulses(self):
pin = self._pin
pin.init(Pin.IN, Pin.PULL_UP)
val = 1
idx = 0
transitions = bytearray(EXPECTED_PULSES)
unchanged = 0
timestamp = utime.ticks_us()
while unchanged < MAX_UNCHANGED:
if val != pin.value():
if idx >= EXPECTED_PULSES:
raise InvalidPulseCount(
"Got more than {} pulses".format(EXPECTED_PULSES)
)
now = utime.ticks_us()
transitions[idx] = now - timestamp
timestamp = now
idx += 1
val = 1 - val
unchanged = 0
else:
unchanged += 1
pin.init(Pin.OUT, Pin.PULL_DOWN)
if idx != EXPECTED_PULSES:
raise InvalidPulseCount(
"Expected {} but got {} pulses".format(EXPECTED_PULSES, idx)
)
return transitions[4:]
def _convert_pulses_to_buffer(self, pulses):
"""Convert a list of 80 pulses into a 5 byte buffer
The resulting 5 bytes in the buffer will be:
0: Integral relative humidity data
1: Decimal relative humidity data
2: Integral temperature data
3: Decimal temperature data
4: Checksum
"""
# Convert the pulses to 40 bits
binary = 0
for idx in range(0, len(pulses), 2):
binary = binary << 1 | int(pulses[idx] > HIGH_LEVEL)
# Split into 5 bytes
buffer = array.array("B")
for shift in range(4, -1, -1):
buffer.append(binary >> shift * 8 & 0xFF)
return buffer
def _verify_checksum(self, buffer):
# Calculate checksum
checksum = 0
for buf in buffer[0:4]:
checksum += buf
if checksum & 0xFF != buffer[4]:
raise InvalidChecksum()
Once both the main.py and dht.py are saved successfully we are ready to run the program. Click on the Run icon to test the interfacing setup and check the respective results.
Results
To see the sensor reading (temperature and humidity) observed with DHT11 sensor and Pico module we can either interface some peripheral device like LCD display or OLEDs. But for now we are just printing the sensor reading on Shell. We will create another tutorial for interfacing a peripheral display device with Raspberry Pi Pico module.
The sensor readings observed with DHT11 sensor are printed on the Shell. Image of the observed temperature and humidity values is attached below:

Fig. 9 DHT11 output
Conclusion
In this tutorial, we learned how to interface a peripheral sensor with the Raspberry Pi Pico module to observe temperature and humidity and display the data on Shell. This concludes the tutorial. I hope you found this of some help and also hope to see you soon with a new tutorial on the Raspberry Pi Pico programming series.


