


ESP32 DHT11 Interfacing with ThingSpeak WebServer


ESP32 module comes with multiple inbuilt features and peripheral interfacing capability is one of those features. ESP32 module also consists of an inbuilt temperature sensor, but that can only measure the temperature of the ESP32 core not the temperature of the surrounding environment. So it is required to use a peripheral sensor to measure the temperature of the surrounding environment like home, garden, office etc.
Hello readers. I hope you all are doing great. In this tutorial, we will learn how to interface DHT11 (temperature and humidity sensor) with the ESP32. Later in this tutorial, we will discuss how to share the sensor readings obtained from the DHT11 sensor to a web server.
Before moving towards the interfacing and programming part, let’s have a short introduction to the DHT11 sensor, its working and its connections.
DHT11 (A Temperature and Humidity Sensor)
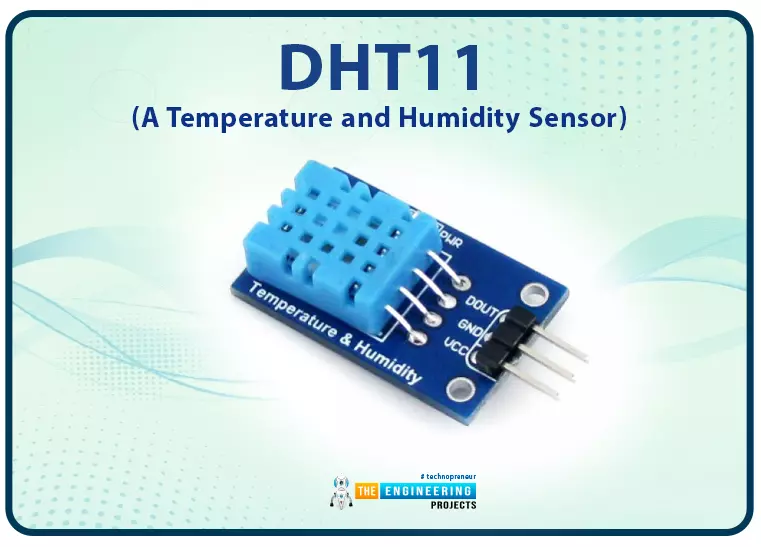
Fig. 1: DHT11 sensor
DHT11 is used to measure humidity and temperature from its surrounding. It monitors the ambient temperature and humidity of a given area. It consists of an NTC (negative temperature co-efficient) temperature sensor and a resistive type humidity sensor. It also consists of an 8-bit microcontroller. The microcontroller is responsible for performing ADC (analog to digital conversion) and provides a digital output over the single wire protocol.
DHT11 sensor can measure humidity from 20% to 90% with +-5% (RH or relative humidity) of accuracy and can measure the temperature in the range of 0 degrees Celsius to 50 degrees Celsius with +-2C of accuracy.
DHT11 sensors can also be used to implement a wired sensor system using a cable length of up to 20 meters.
There are two DHT modules (DHT11 and DHT22) available in the market to measure temperature and humidity. The purpose of both module are same but with different specifications. Like DHT22 sensor provides broader temperature and humidity sensitivity ranges. But DHT22 is costlier than DHT11. So you can prefer to use any of the module, as per your requirements.
Components required
- ESP32 development board
- DHT11 sensor
- 10K resistor
- Connecting wires
- Breadboard
Interfacing DHT11 with ESP32 module
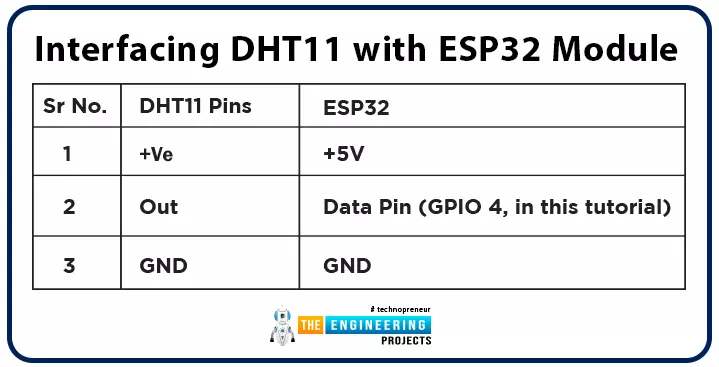
Table: 1
Note: Connect a 10K resistor between data and power (+5V) pin of DHT11 sensor module.
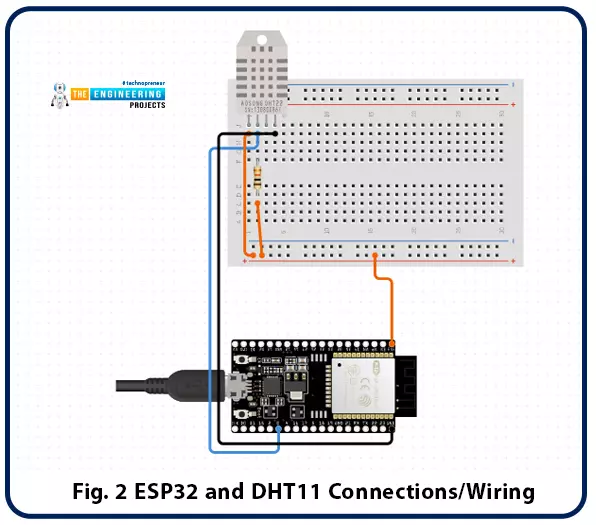
Fig. 2: ESP32 and DHT11 connections/wiring
Arduino Programming
We are using Arduino IDE to compile and upload code into ESP32 module. To know more about Arduino IDE and how to use it, follow our previous tutorial i.e., on ESP32 programming series. Link is given below:
https://www.theengineeringprojects.com/2021/11/introduction-to-esp32-programming-series.html
Adding required libraries in Arduino IDE
DHT11 sensor uses single wire protocol to communicate data which requires a precise timing. In order to interface DHT11 sensor with ESP32 module it is required to add necessary libraries. To install the DHT11 sensor library;
- Go to Tools >> Manage Libraries.
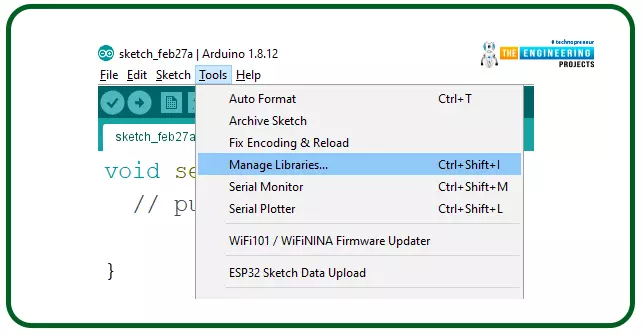
Fig. 3: manage libraries
- Type DHT in the search bar and install the DHT sensor library as shown below.
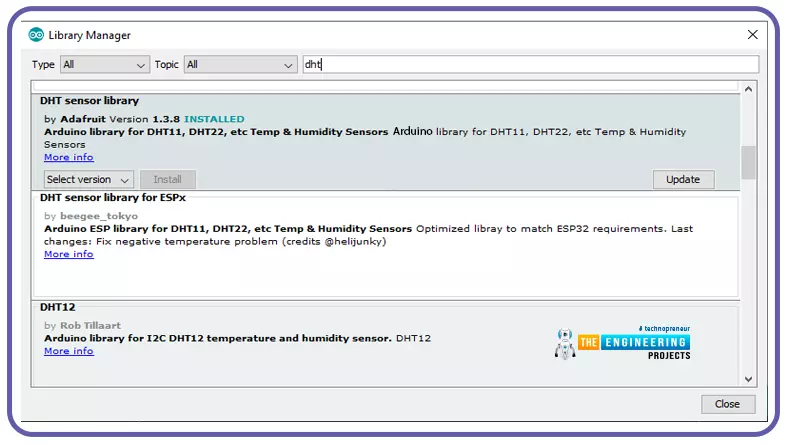
Fig. 4: Install DHT sensor library
Arduino IDE code to interface DHT11 with ESP32
#include "DHT.h"
#define DHTPIN 4 // Digital pin connected to the DHT sensor
#define DHTTYPE DHT11 // DHT 11
// Initializing the DHT11 sensor.
DHT dht(DHTPIN, DHTTYPE);
void setup() {
Serial.begin(115200);
Serial.println(F("DHT test string!"));
dht.begin();
}
void loop() {
// Wait a few seconds between measurements.
delay(2000);
// Reading temperature or humidity takes about 250 milliseconds!
// Sensor readings may also be up to 2 seconds 'old' (its a very slow sensor)
float h = dht.readHumidity();
// Read temperature as Celsius (the default)
float t = dht.readTemperature();
// Read temperature as Fahrenheit (isFahrenheit = true)
float f = dht.readTemperature(true);
// Check if any reads failed and exit early (to try again).
if (isnan(h) || isnan(t) || isnan(f)) {
Serial.println(F("Failed to read from DHT sensor!"));
return;
}
// Compute heat index in Fahrenheit (the default)
float hif = dht.computeHeatIndex(f, h);
// Compute heat index in Celsius (isFahreheit = false)
float hic = dht.computeHeatIndex(t, h, false);
Serial.print(F("Humidity(%): "));
Serial.println(h);
Serial.print(F("Temp.: "));
Serial.print(t);
Serial.println(F("°C "));
Serial.print(F("Temp.: "));
Serial.print(f);
Serial.println(F("°F "));
Serial.print(F("Heat index: "));
Serial.println(hic);
Serial.println(" ");
Serial.print(F("°C "));
Serial.print(hif);
Serial.println(F("°F"));
}
Code Description
- Add the necessary header files required to interface the DHT11 sensor.

Fig. 5: Add necessary libraries
- The next step is the declaration of variables for the DHT11 sensor.
- We are declaring 2 variables, the first one is the DHTPIN to store the GPIO number receiving input from the DHT11 sensor and another variable is to define the type of DHT (i.e., whether DHT11 or DHT22).

Fig. 6: Global declarations
- Next, we are creating a DHT object called dht in the DHT sensor type (defined earlier) and the DHT pin.

Fig. 7
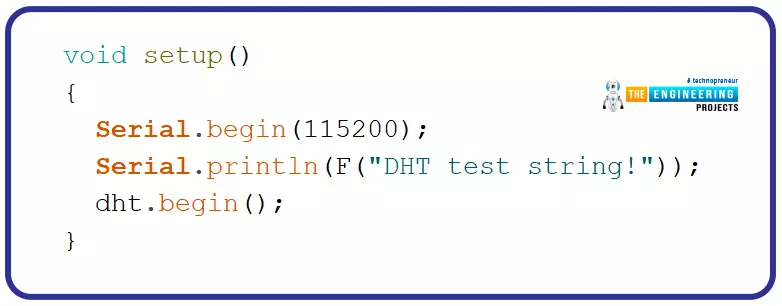
Setup()
- Inside the setup function, the first task is initializing the serial monitor at a 115200 baud rate for debugging purposes.
- Initialize the DHT sensor using begin() function.
Loop()
- DHT11 is a very slow sensor. It takes almost 250ms to read temperature and humidity.
- So it is preferred to wait a few seconds before a new measurement or updated sensor reading.
- Next, we are defining a float type variable ‘h’ to store humidity measured from the DHT11 sensor.
- readHumidity() function is used to observe the humidity value.
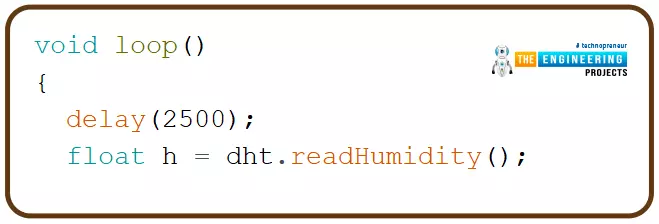
Fig. 9
- readTemperature() function is used to read the surrounding temperature with DHT11 sensor.
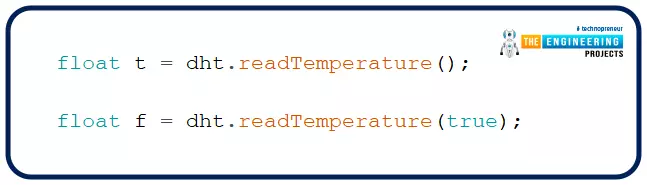
Fig. 10
- If somehow the sensor fails to read or observer temperature and humidity values, then the respective results will be printed on the serial monitor.
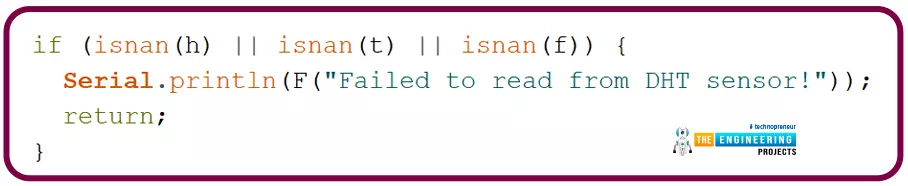
Fig. 11
- Another float type variable hif is defined to store the heat index value.
- computeHeatIndex() function is used to calculate the heat index value.

Fig. 12: Heat index
Results
- Open the Arduino IDE and paste the above code.
- Compile and upload the program after selecting the correct development board and COM port.
- Connect the DHT11 sensor with ESP32 board as per the given circuit instructions.
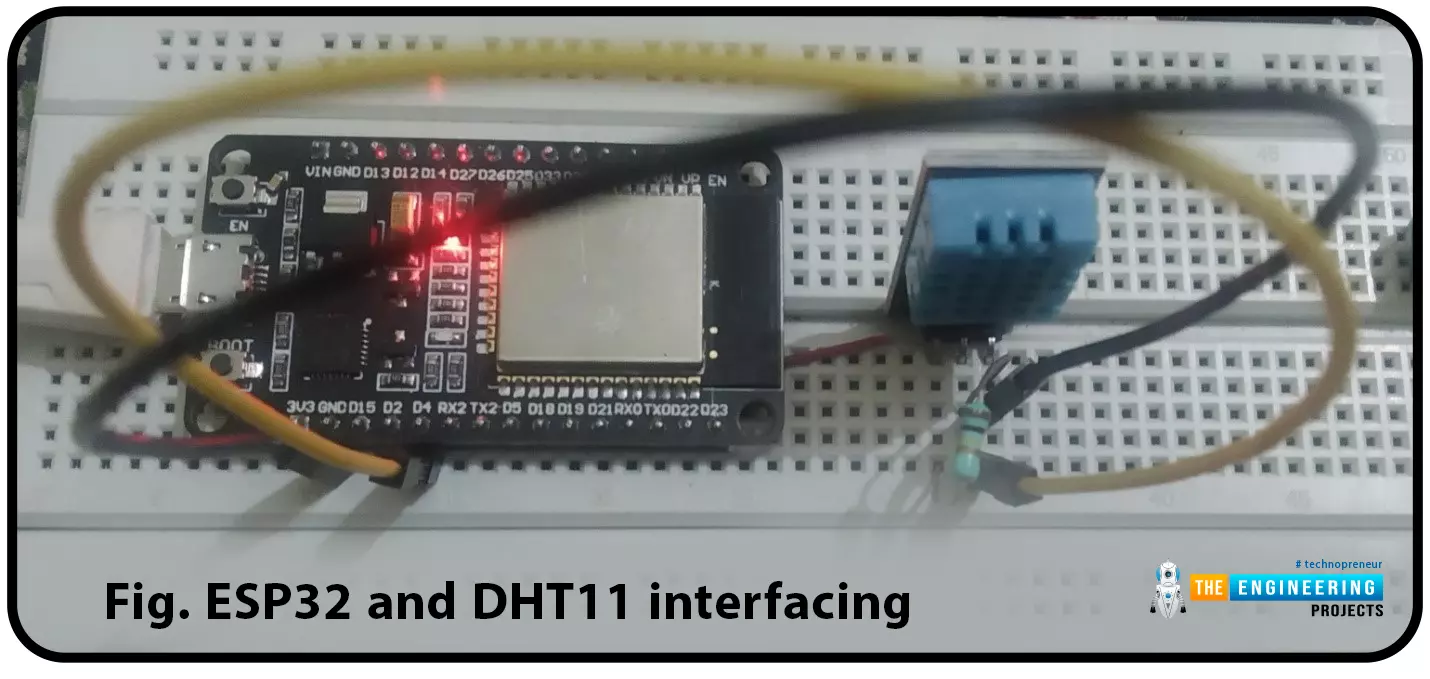
Fig. ESP32 and DHT11 interfacing
- Open the serial monitor at 115200 baud rate and press the enable (EN) button from the ESP32 development board.
- You should see the temperature, humidity, Heat index readings printed on the serial monitor.
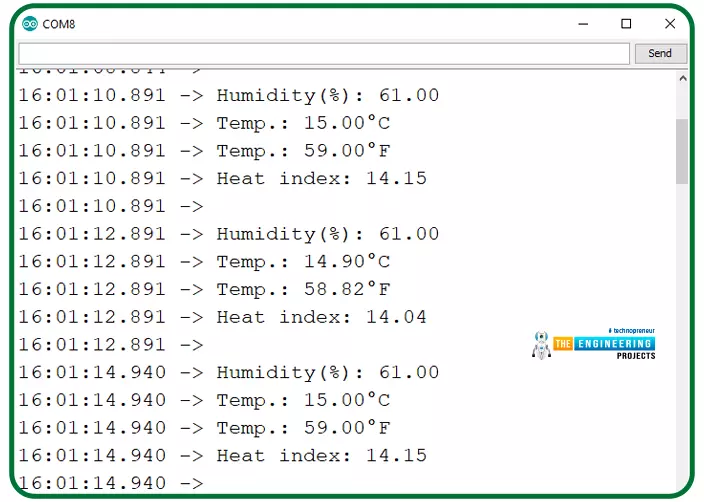
Fig. 13: Readings observed from DHT11 sensor
Uploading DHT11 sensor reading to ThingSpeak Server
The IoT is the interconnection of physical objects or devices with sensors and software accessing capabilities to communicate data or information over the internet.
To build an IoT network, we need an interface medium that can fetch, control, and communicate data between sender and receiver electronics devices or servers.
Espressif Systems created the ESP32 Wi-Fi chip series. The ESP32 module is equipped with a 32-bit Tensilica microcontroller, 2.4GHz Wi-Fi connectivity, an antenna, memory, and power management modules, and much more. All of these built-in features of this ESP32 module make it ideal for IoT applications.
ThingSpeak web servie
It is an open data platform for the Internet of Things (Internet of Things). ThingSpeak is a MathWorks web service that allows us to send sensor readings/data to the cloud. We can also visualise and act on the data (calculate the data) sent to ThingSpeak by the devices. Data can be stored in both private and public channels.
ThingSpeak is commonly used for internet of things prototyping and proof of concept systems requiring analytics.
Getting Started with ThingSpeak
- To create and account or log in to ThingSpeak (operated by MathWorks) server follow the link: https://thingspeak.com/
- Click on Get Started for free.

Fig. 14: Getting started for free
- Enter your details to create a MathWorks account as shown below:
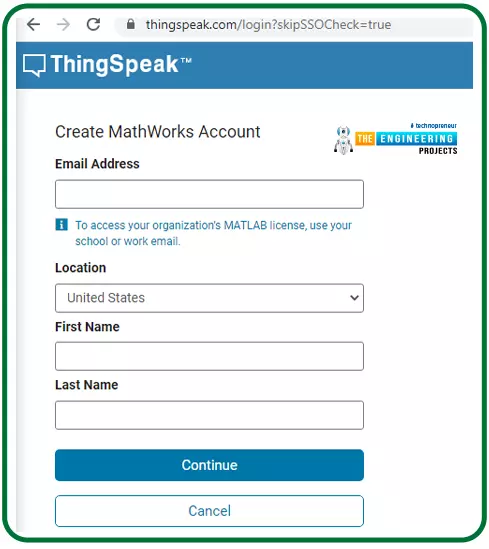
Fig. 15: Create new account
- If you have already created a MathWorks account, then click on Sign in.
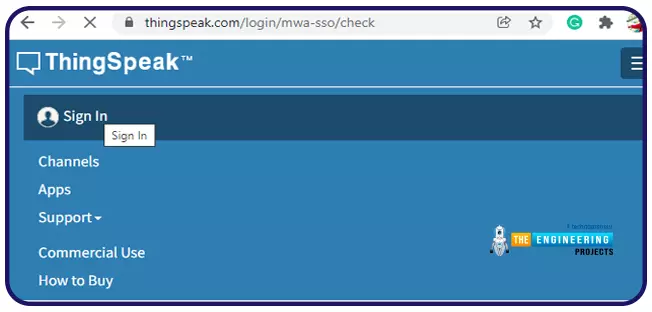
Fig. 16: MathWorks Sign in
- Create a channel on MathWorks server by clicking on the New Channel
- ThingSpeak web service allows its user to create and save maximum of 4 channels for free.
- If you are want access to more channels then you need to make payment for that.
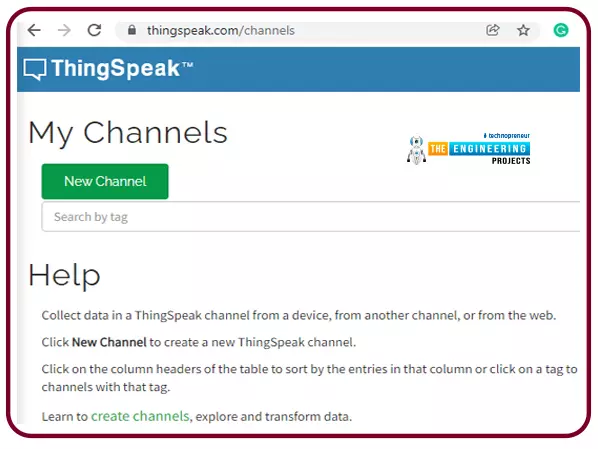
Fig. 17: New Channel
- Enter the respective details in the channel.
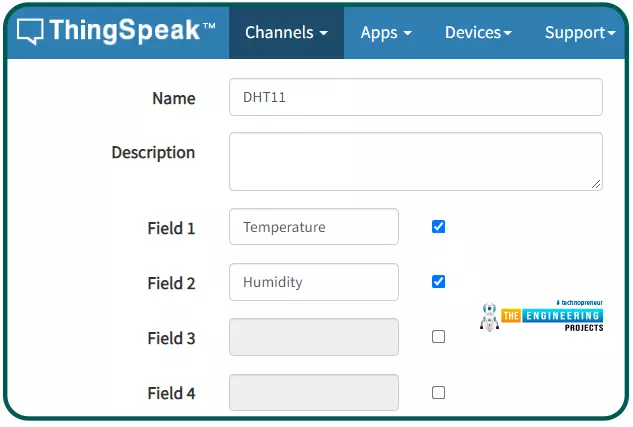
Fig. 18: Fill the channel details
- Here we are creating two fields. First one represents the temperature and another one is to represent the humidity measured using DHT11 sensor. You can also add more fields as per your requirements.
- A new URL containing the channel details and channel Stats will open, once you have successfully created the channel. On the same page/url, API keys are available for both read and write services.
- Go to API Keys and copy the write API key and paste in your Arduino IDE code. So that ESP32 can send or write the DHT sensor readings to the MathWorks server.
- In Private view your can also customize your chart. To edit the chart, click on the icon present on the top right corner of field chart.
- Edit the details as per your requirements and click on the Save
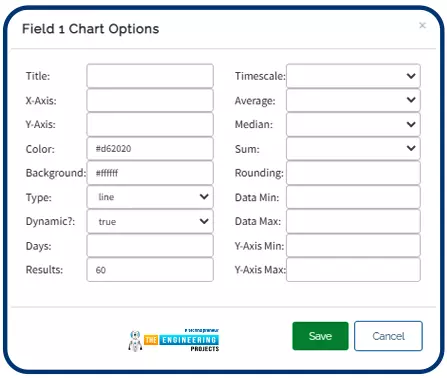
Fig. 19: Field Chart Edit
Arduino IDE programming
Downloading and installing the required Library file:
-
- Follow the link attached below to download the ThingSpeak Arduino library:
https://github.com/mathworks/thingspeak-arduino
- Open the Arduino IDE.
- Go to Sketch >> Include Library >> Add .ZIP Library and select the downloaded zip file.
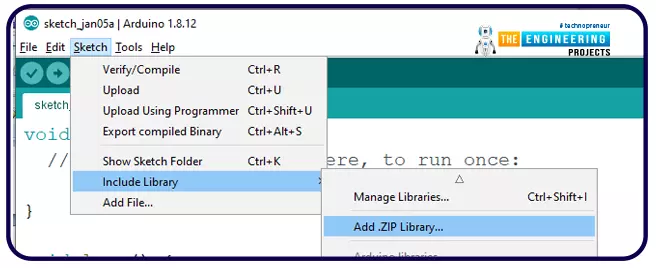
Fig. 20: Adding ThingSpeak library
To check whether the library is successfully added or not:
- Go to Sketch >> Include Library >> Manage Libraries

Fig. 21: manage libraries
- Type thingspeak in the search bar.
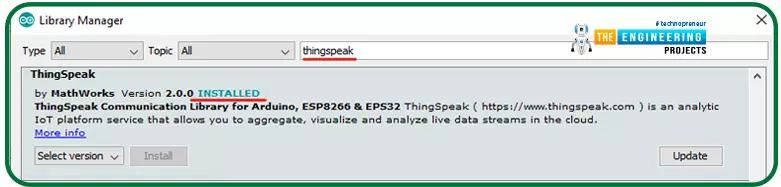
Fig. 22: Arduino IDE Library manager.
- The ThingSpeak library by MathWorks has been successfully downloaded.
Code
//------style guard ----
#ifdef __cplusplus
extern "C" {
#endif
uint8_t temprature_sens_read();
#ifdef __cplusplus
}
#endif
uint8_t temprature_sens_read();
// ------header files----
#include <WiFi.h>
#include "DHT.h"
#include "ThingSpeak.h"
//-----netwrok credentials
char* ssid = "replace this with your SSID"; //enter SSID
char* passphrase = "replace this with your password"; // enter the password
WiFiServer server(80);
WiFiClient client;
//-----ThingSpeak channel details
unsigned long myChannelNumber = 3;
const char * myWriteAPIKey = "replace this with your API key";
//----- Timer variables
unsigned long lastTime = 0;
unsigned long timerDelay = 1000;
//----DHT declarations
#define DHTPIN 4 // Digital pin connected to the DHT sensor
#define DHTTYPE DHT11 // DHT 11
// Initializing the DHT11 sensor.
DHT dht(DHTPIN, DHTTYPE);
void setup()
{
Serial.begin(115200); //Initialize serial
Serial.print("Connecting to ");
Serial.println(ssid);
WiFi.begin(ssid, passphrase);
while (WiFi.status() != WL_CONNECTED) {
delay(500);
Serial.print(".");
}
// Print local IP address and start web server
Serial.println("");
Serial.println("WiFi connected.");
Serial.println("IP address: ");
Serial.println(WiFi.localIP());
server.begin();
//----nitialize dht11
dht.begin();
ThingSpeak.begin(client); // Initialize ThingSpeak
}
void loop()
{
if ((millis() - lastTime) > timerDelay)
{
delay(2500);
// Reading temperature or humidity takes about 250 milliseconds!
float h = dht.readHumidity();
// Read temperature as Celsius (the default)
float t = dht.readTemperature();
float f = dht.readTemperature(true);
if (isnan(h) || isnan(t) || isnan(f)) {
Serial.println(F("Failed to read from DHT sensor!"));
return;
}
Serial.print("Temperature (ºC): ");
Serial.print(t);
Serial.println("ºC");
Serial.print("Humidity");
Serial.println(h);
ThingSpeak.setField(1, h);
ThingSpeak.setField(2, t);
// Write to ThingSpeak. There are up to 8 fields in a channel, allowing you to store up to 8 different
// pieces of information in a channel. Here, we write to field 1.
int x = ThingSpeak.writeFields(myChannelNumber,
myWriteAPIKey);
if(x == 200){
Serial.println("Channel update successful.");
}
else{
Serial.println("Problem updating channel. HTTP error code " + String(x));
}
lastTime = millis();
}
}
Code Description
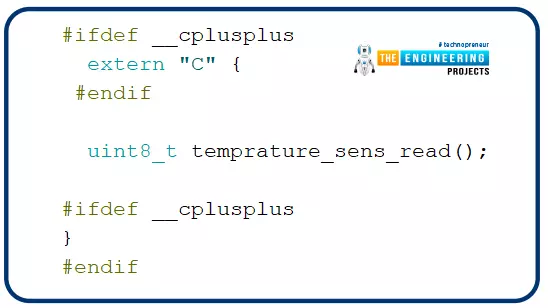
- The style guards are used at the beginning of the program to declare some function to be of “C” linkage, instead of “C++” Basically, to allow C++ code to interface with C code.
- Add the required header files. In this example we are using three libraries, Wi-Fi.h, DHT.h, ThingSpeak.
- We have already discussed above how to download and add the DHT and ThingSpeak library files to Arduino IDE.
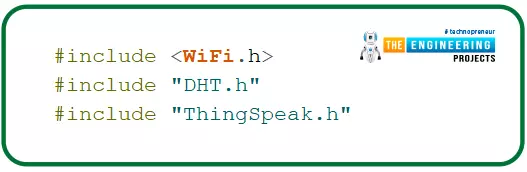
Fig. 23: Libraries
- Enter the network credentials (SSID and Password) of the access point to which your ESP device is supposed to connect for internet connectivity.

Fig. 24
- To access the created web server we also need to assign a port and usually port 80 is used for local web server.

Fig. 25: server port
- A Wi-Fi client is created to connect with ThingSpeak.

Fig. 26
- Global declaration of timer variables.

- Add the channel number and API (Write) Key. If you have created only one channel then the channel number will be ‘1’.

Setup()
-
- Initialize the Serial monitor with a 115200 baud rate for debugging purposes.

Fig. 29
- Set ESP32 Wi-Fi module in station mode using mode() function.
- Enable ESP32’s Wi-Fi module using begin() function which is passing two arguments SSID and password.
- Wait until the ESP32 is not connected with the wifi network.

Fig. 30: connect to wifi
- Once ESP32 is successfully connected to Wi-Fi network, the localIP() function will fetch the IP address of the device.
- begin() function is used to initialize the server.
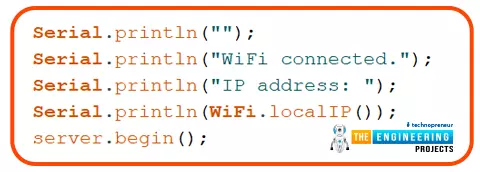
Fig.31: Fetch and print IP address
- Initialize the ThingSpeak server using begin() function that is passing client (globally created) as an argument.

Fig. 32
- Set the number of fields you have created to the ThingSpeak server. We are adding only two fields. First one represents the humidity measured by the sensor from its surrounding and the 2nd field represents the temperature in degree Celsius.
- You can also add further fields like for temperature in Fahrenheit, heat index etc.
- ThingSpeak allow the user to add up to maximum of 8 fields for different readings.

Fig. 33
- writeFields() function is used to write data to the ThingSpeak server. This function is using the channel number and API key as an argument.
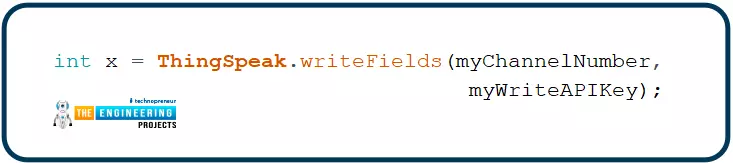
Fig. 34
- Return the code 200 if the sensor readings are successfully published to ThingSpeak server and print the respective results on the serial monitor.
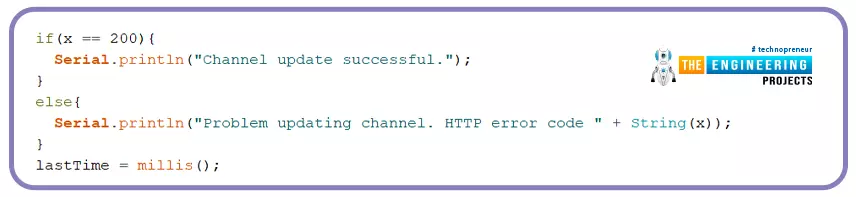
Fig. 35
Results
- Copy the above code and paste it into your Arduino IDE.
- Make the required changes in the above code and the changes required includes, network credentials (SSID and Password), API key, Channel number etc.
- Compile and upload the above program into ESP32 development after selecting the correct development board and COM port.
- Make sure the Access Point (Wi-Fi) is ON to which your ESP device is supposed to connect.
- Open the serial monitor at a 115200 baud rate and press the EN button from the ESP32 development board.
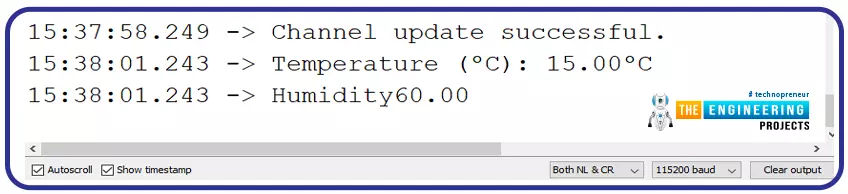
- Open the channel you have created on the ThingSpeak server.
- You should see the charts updated with the latest temperature and humidity readings.
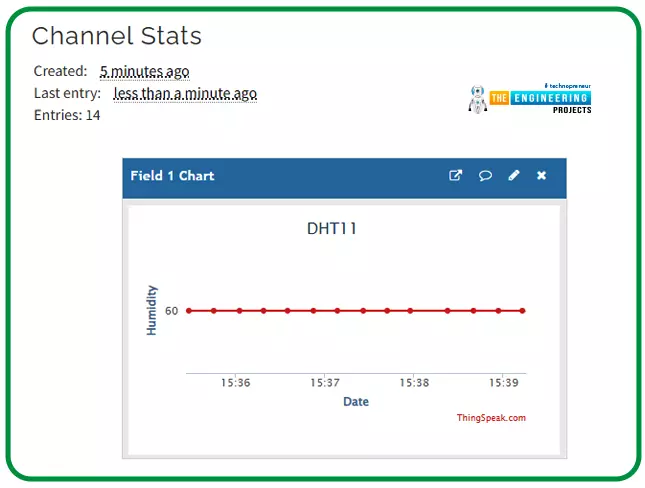
Fig. 36: Displaying humidity on thingSpeak server
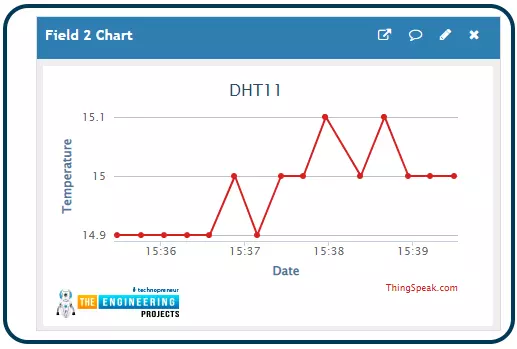
Fig. 37: Displaying Temperature on ThingSpeak server
This concludes the tutorial. I hope you found this of some help and also hope to see you soon with new tutorial on ESP32.


