


How to Configure NI MyRio on Wifi


If you have a project on MyRio then its my recommendation to use Wifi instead of USB for upload and testing your codes because Wifi is quite flexible in use and you no more restricted to use the USB wire. I was working on a robot project in which I have to controlled the motors using MyRio so when I was using the USB then it was really very difficult to design the algo because I have to connect my laptop to MyRio but when I shifted to Wifi then it was quite easy for me and I can easily upload the code and test it without connecting my laptop to MYRio. So, that's why before starting your project you should configure NI MyRio on Wifi. So, let's get started with How to configure NI MyRio on Wifi.
How to Configure NI MyRio on Wifi ???
- First of all, connect your NI MyRio to your computer via USB and a window box will open up as shown in below figure:
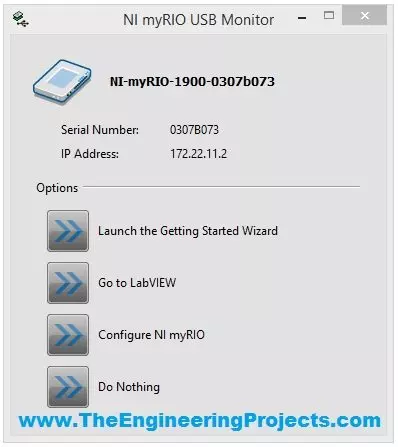
- Now click on the third button which says Configure NI myRIO.
- When you click this button, a new link will open up in your default browser which in my case was Firefox.
- In my case, this link doesn't open up and it may happen to you as well, so no need to be panic instead install the Microsoft Silverlight.
- After installing the Microsoft Silverlight, it still doesn't open up in my browser :) and then I tried different browser and finally the Windows Explorer worked. :P
- So, what you need to do is to paste this ip address in your Windows Explorer http://172.22.11.2/ and it will surely work. :)
- When this ip address opens up it will show you a page as shown in below window:
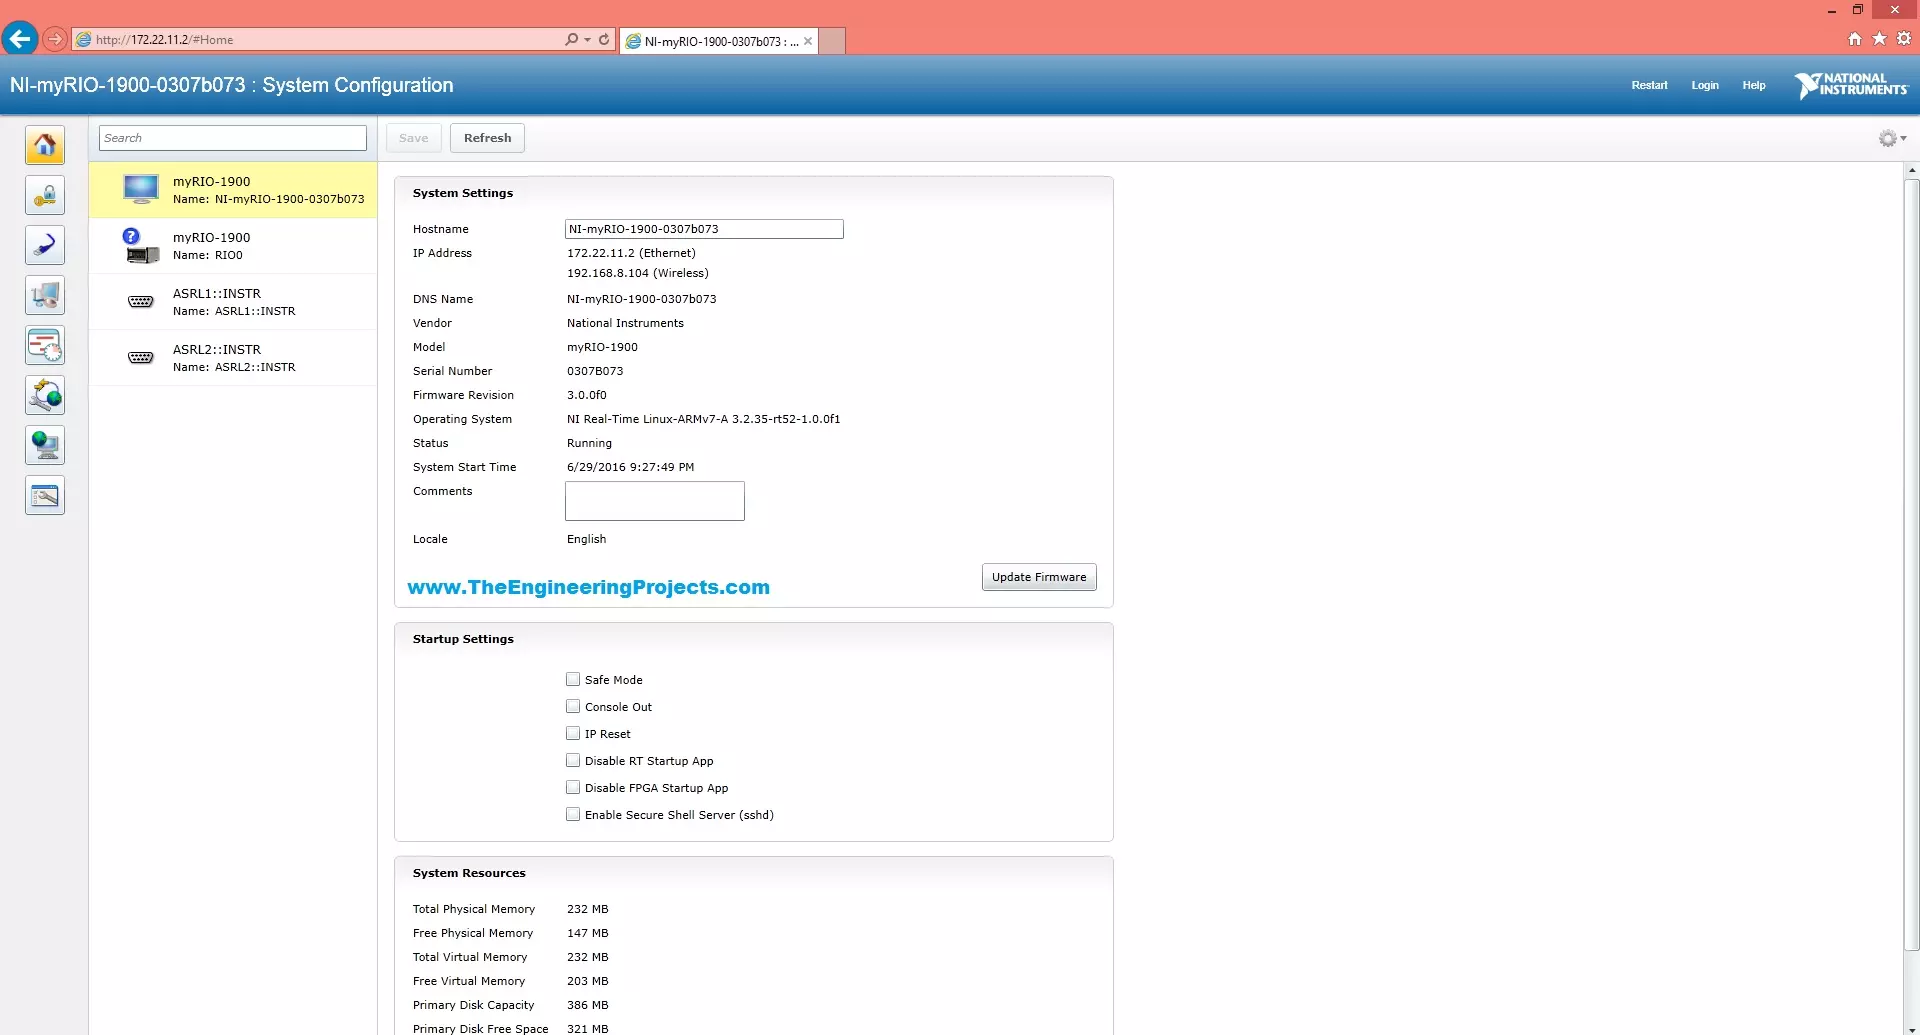
- Now, in this page click on the third button on your left side which says Network Configuration.
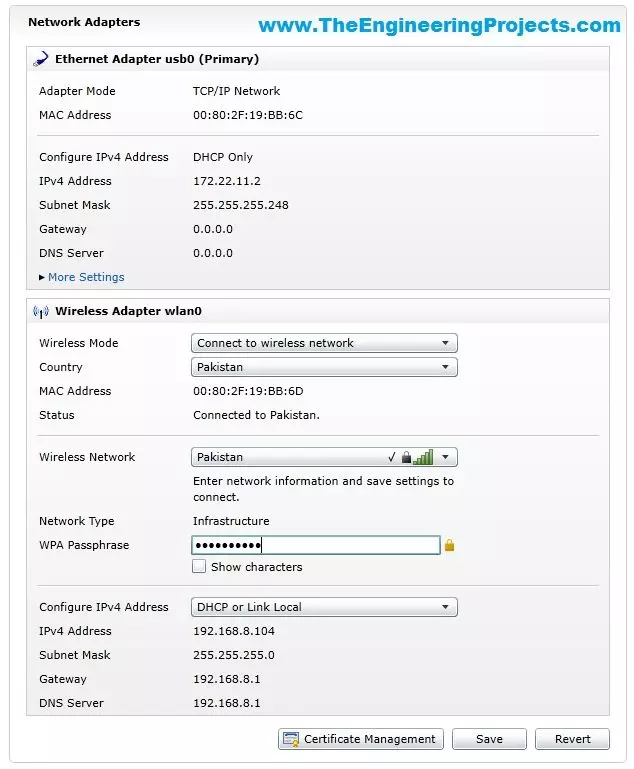
- When you click it a new window will open up as shown in below figure.
- Now in this window there will be two sections one is Ethernet and the second one is Wireless.
- So, in the wireless section you have to fill the required boxes. First of all select the country which in my case is Pakistan.
- Next select your Wireless network and then give your password as I have done in the below figure:
- Once you are done then click on the Save button at the bottom and it will save your settings and will assign an IP adress to your NI MyRio.
- This IP address will be used now instead of that previous one and you can easily upload your code in your NI MyRIO as its now configured with your laptop's Wifi.
- You can see more details over this below video:


