LabVIEW basically stands for “Laboratory Virtual Instrument Engineering Workbench”. This software is designed by the National Instruments (NI) for the control and design of the projects. You can use it for simulation purposes, can also interface hardware with LabVIEW, data acquisition is another big benefit of LabView. Moreover we can also design automation and robotics projects in LabVIEW. Before designing such projects, let's first have a look at the Introduction to LabVIEW:
Introduction to LabVIEW
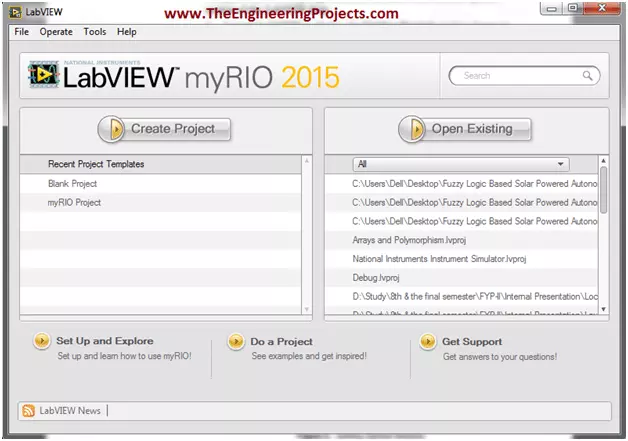
- So, let's get started with Introduction to LabView and first of all what you need to do is to open the NI LabVIEW 2015 software.
- A small window will open up as shown in the below figure:
- So, this newly opened LabView window will have two portions “left bar” and “right bar”.
- If you want to design new project then you have to click on the button “Create Project”.
- If you want to open the project which already exists then press “Open Existing” button.
Opening New VI in LabView
- Go to the “File” menu of the software as show in the figure below

- Click on “New VI” or you can press the short code Ctrl+N. to open up new VI in LabView.
- So, now when you click on this NewVI then you will see that two windows will open up.
- One of them is known as “Front Panel” and second is known as “Block Diagram”.
- Both windows and their functionalities are explained in detail below:
Block Diagram
- Here is the screen shot of the “Block Diagram” so when we are having the Introduction to LabVIEW then we must discuss these windows in detail. :)
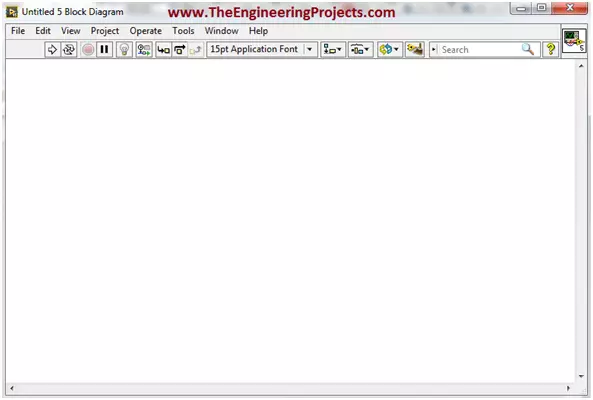
- This window is named as Block Diagram because we design our LabVIEW Block Diagram in this window.
- It's more of a back end programming section.
- So suppose you are designing some simulation in LabView then what features you want in your simulation depends on your code in the Block Diagram.
Front Panel
- Here's the screen shot of “Front Panel” of LabVIEW.

- It's also known as GUI of LabVIEW.
- In this Front Panel of LabView, we design the presentable output.
- For example, you are working on some simulation and you have to display some sensors' values then they are gonna be displayed in this Front Panel.
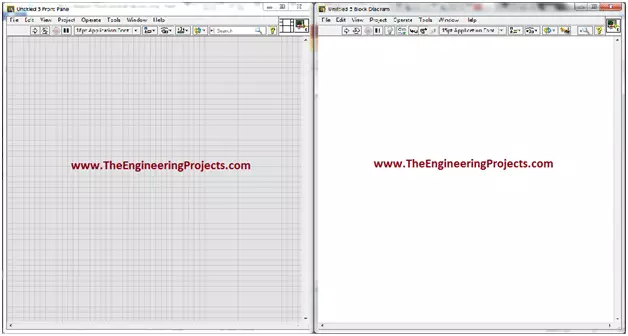
Windows Alignment in LabView
- Now we know that if we are gonna work on some LabView simulation then we have to deal with two windows and in the above section of Introduction to LabView, we have discussed both of these windows.
- Now the problem is when we are working on two windows simultaneously then we need both of them to be rite in front of us.
- In order to do so, press “Ctrl+T” and both of your windows will be rite in front of you.
- It will help you to align both the windows, the “Front Panel” and the “Block Diagram”.
- The aligned windows are shown below and you can see the are looking nice comparatively.
- If “Front Panel is there on you screen and “Block Diagram” window is not on the screen, then just pres “Ctrl+E”.
- You can see “Block Diagram” also appears automatically on the screen.
- You can perform it for the vice versa purpose as well.
Description of Block Diagram Window
- Block diagram is a window in which we can create our logic by using different blocks.
- NI LabVIEW basically supports Field Programmable Gate Array Language (FPGA).
- We have to select different blocks according to the requirement ad they are known as FPGA blocks.
- Press “Right Click” on the “Front Panel” a new “Function” tab opens as shown below:
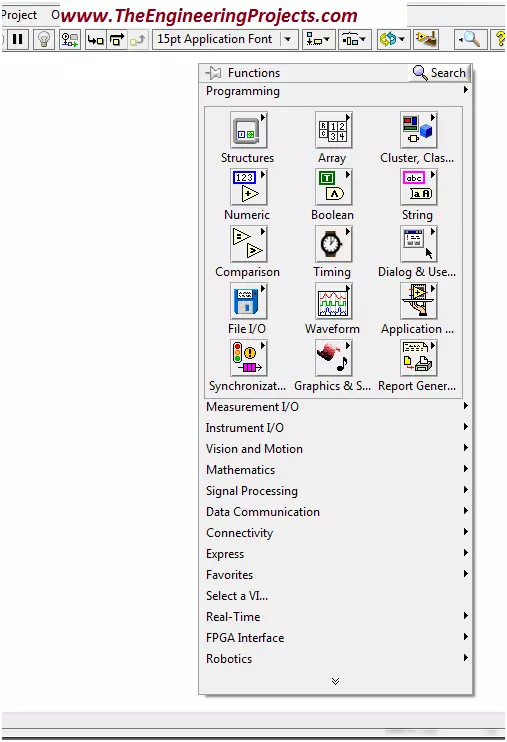
- From this “Function Tab” you can select different blocks to create your logic according to the requirements
- The detail about few of the blocks and functions is given below.
Numeric Toolbox in LabVIEW
- Go to the Functions-> Programming-> Numeric and you will get all your numeric tools there.
- You can see, the following window on your screen
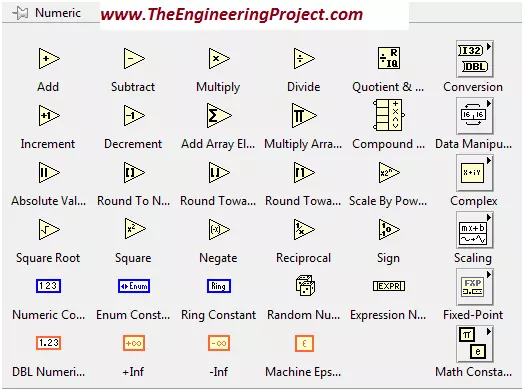
- You can see different alphanumeric blocks (operators) like addition, subtraction etc. in the above figure
- Using these operators you can perform different mathematical operations
Graphics in NI LabVIEW
- Graphics tool is another amazing tool in this software and I think we should discuss them in this Introduction to LabView.
- Go to Functions-> Programming-> Graphics & Sounds and you will get all your graphics tools in there.
- You can see a window on your screen as shown below:
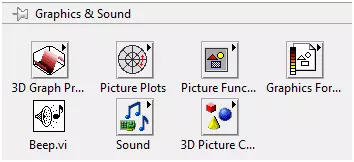
- You can make three dimensional picture and plot three dimensional graphs as well.
Comparator in LabView
- Go to Functions-> Programming-> Comparison and there's a big list of comparator waiting for you there.
- You can see a window on the screen as shown below
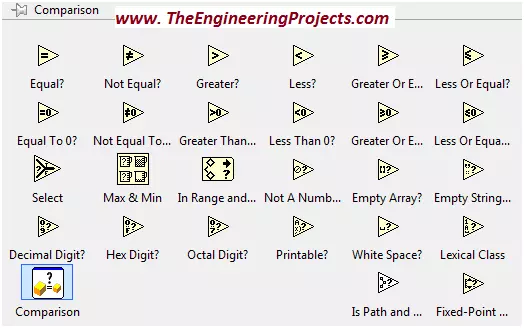
- These blocks are used for the comparison of two or more than two operators.
- These blocks are used in the projects where there are some restrictions i.e. if temperature exceeds the threshold, fire alarm or buzzer turns into “ON” state then.
Loops in LabView
- Go to Functions-> Programming-> Structures and here lie the most important functions of LabView programming.
- The below window will appear on the screen:
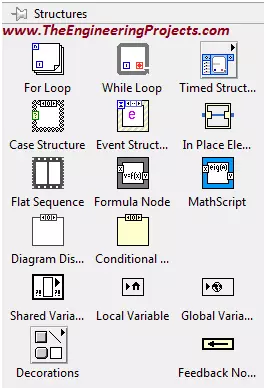
- If you want to run your created logic for different no of iterations, these loops will be helpful.
- You have to just set the number of iterations and your program will according to the adjusted number of iterations.
Timing Toolbox in LabVIEW
- Go to the Functions-> Programming-> Timing and you will find all the timing blocks in there.
- You can see the following window on the screen:

- If you want that your program should run with some delay.
- These timing clock bocks will be helpful.
- Usually their values are in milliseconds but you can adjust them accordingly by setting their properties.
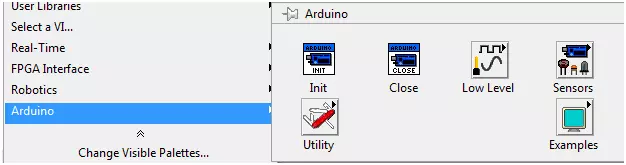
Driver Support in NI LabVIEW
- One of the amazing functions of the NI LabVIEW is that, it supports the external device drivers.
- The device which we want to use and interface with the NI LabVIEW, we have to just install the driver of that device.
- After the successful installation you can see that device in "Functions" Palette.
- For example, go to the Functions-> Programming at the end of the window you can see the installed drivers or toolkits.
- I have installed Arduino interface for NI LabVIEW 2015.
- The figure below describes all of the above steps.
NI LabVIEW Supported Devices
Here's the list of most commonly used NI LabVIEW devices:- compactRIO.
- myRIO (Re-configureable Input Output Device).
- sbRIO (Single Board Reconfigureable Input Output Device).
- Arduino.
- Raspberry PI.
- NI LabVIEW suppors different devices.
- You have to just install the drivers or toolkit of these devices.
- After successful installation you will be able to use these devices.
Description of Front Panel
- Press “Right Click” on the “Front Panel” window
- You can see the output of your designed algorithm on the “Front Panel” window.
- We can make our output’s look more and more beautiful.
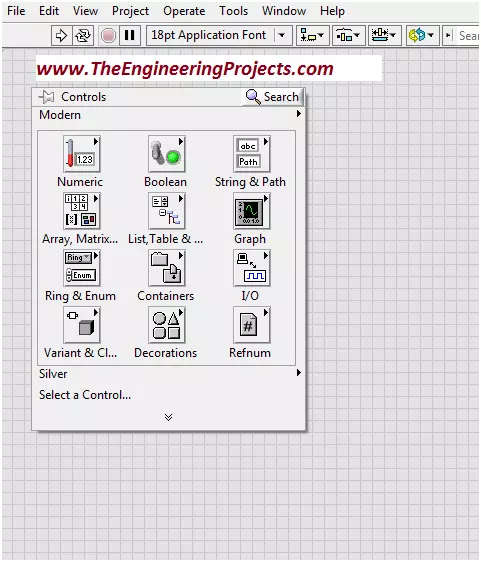
- For this purpose NI LabVIEW provides us with the “Decorations” section.
- Go to the Controls-> Modern-> Decorations and the following window will be appeared on your screen.
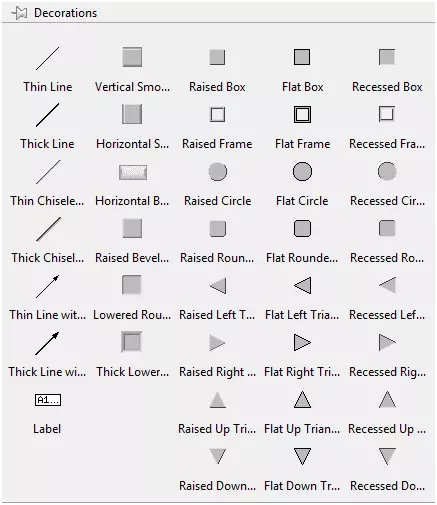
- These blocks are helpful while giving the better external look to the Front Panel.
- Now go to the Controls-> Modern-> Boolean and you will have a look at the Boolean Buttons which are different in shapes and sizes.
- You can see a new window on the screen as shown in below figure:
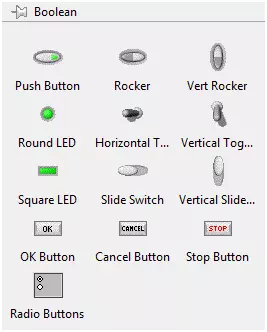
- Round LED, Square LED are used for some indication purposes.
- You can use a “Stop” button to terminate the program.
- You can use radio buttons for “checking” and un-checking purposes.
Graphical Visual Display
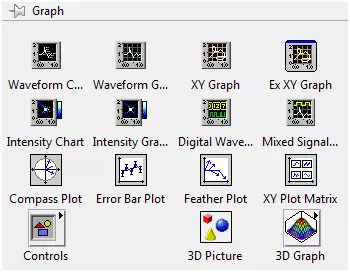
- Graphical Visual display is also a good function in NI LabVIEW.
- You can display your output on different graphs.
- Go to Controls-> Modern-> Graph and all the graphical Visual Displays open up.
- The figure shown below will be appeared on the screen.
- Select the graph you want and display your output on a particular graph.
- 3D graphs is a very good option for the good looking output.
Searching Desired Blocks
- Press “Right Click” in the front panel
- Go to the “Search” option as shown in the figure below

- Press the “Search” option
- You can see following window on the screen
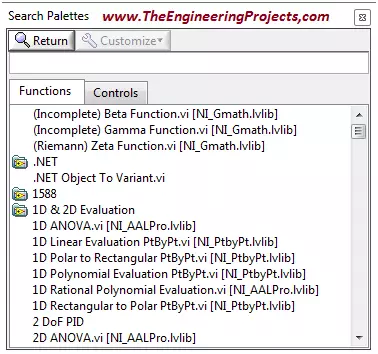
- Type the name of the block you want to find.
- Sometimes the “simple search” method takes a lot of time in finding the desired blocks.
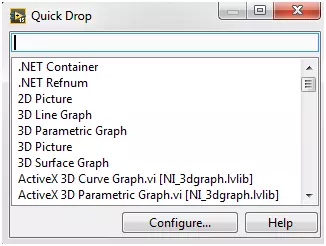
- So, I prefer to use the quick search method.
- So, you should use “Quick Search” method, it will be helpful in time saving perspective.
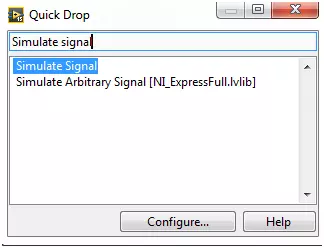
- Go to the “Front Panel” and press “Ctrl+Space Bar”.
- You can see a new window on the screen.
- You can see the window in the figure below.
- For example, I want to search the “Simulate Signal” block.
- So, I typed “Simulate Signal” in the search bar.
- The desired blocks are appeared as shown in the figure below.