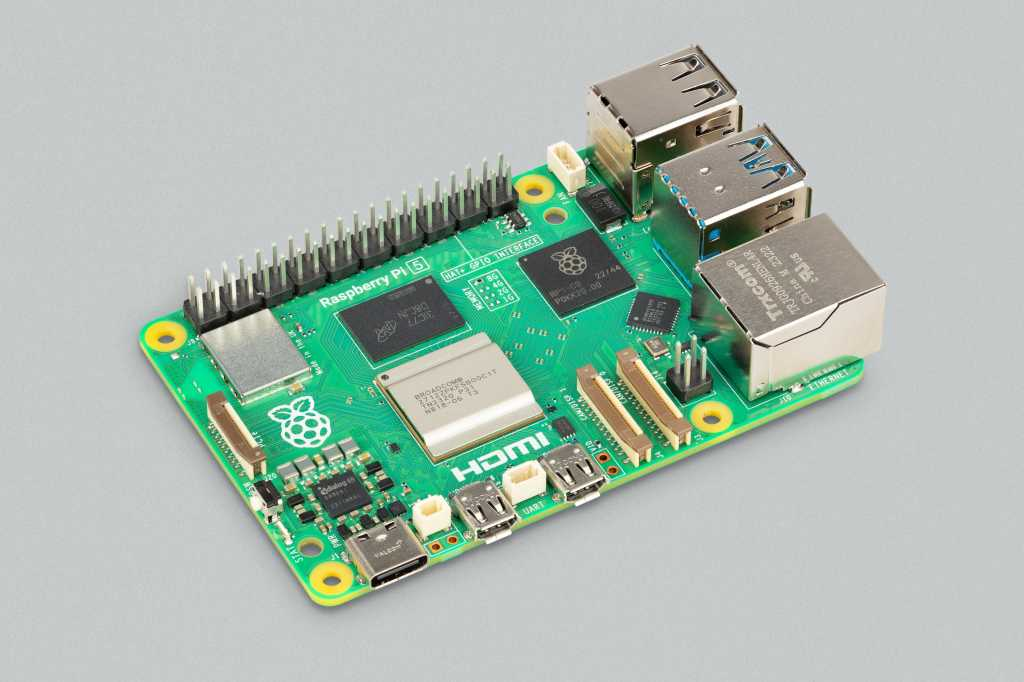
Hello everyone, I hope you all are doing great. In today's lecture, we will discuss one of the most advanced Embedded Microprocessors i.e. Raspberry Pi 5. At the time of this writing, Raspberry Pi 5 is the latest board designed in the Raspberry Pi series. Raspberry Pi 5 is designed by a UK-based charity foundation named Raspberry Pi Foundation. Initially, these boards were designed for students and hobbyists but because of their compact design and advanced features, they became popular among embedded engineers, especially for IoT Systems. Raspberry Pi boards can be used for simple tasks i.e. word processing, web browsing etc., and in the complex fields of robotics, multimedia
centers, home automation, etc.
In today's lecture, we will first dis ...
Welcome to the next tutorial of our raspberry pi 4 tutorial. In the previous tutorial, we learnt how to interface a gas sensor with a pi 4. However, in this tutorial will cover how to automate your home with a Raspberry Pi and Bluetooth Low Energy. To automate a home means to mechanize its environment, including the appliances within it. To that end, we've designed an intelligent lamp whose functionality can be adjusted from afar via a companion mobile app.
Using your smartphone, you'll be able to manage a variety of household gadgets. The following code demonstrates using a mobile device as a remote controller for a Raspberry Pi's GPIO pins. (Or another BleuIO Dongle).
Instructions Requirements
The recently introduced Raspberry Pi 4 will serve ...
Welcome to the next tutorial of our raspberry pi four programming course. Before, we saw how to connect a Raspberry Pi 4 to a relay with four independent channels. To complement the relay circuit, we programmed a python script to turn on and off a single bulb. However, in this tutorial, we'll show you how to connect a GPS module to a Raspberry Pi 4.
Raspberry Pi 4, one of the most popular embedded platforms, has made it simple for developers to obtain location data via a GPS module, allowing them to create devices with a greater reliance on precise positioning. Because of the Raspberry Pi's impressive processing capabilities, this essay focuses on the exciting prospect of creating GPS-based projects using the same inexpensive GPS chips.
Since thi ...
Hello friends, I hope you all are doing well. Today, I am going to share the 8th tutorial of Section-III in our Raspberry Pi Programming Series. In the previous tutorial, we interfaced the temperature sensor DS18B20 with Raspberry Pi 4. In today's guide, we'll discover another temperature sensor BMP180 and will interface it with Raspberry Pi 4.So, let's get started:
Project DescriptionIn today's tutorial, we will interface the BMP180 sensor with Raspberry Pi 4 and will display the values of temperature, barometric pressure and altitude in the Raspberry Pi Console Window.
Components Required
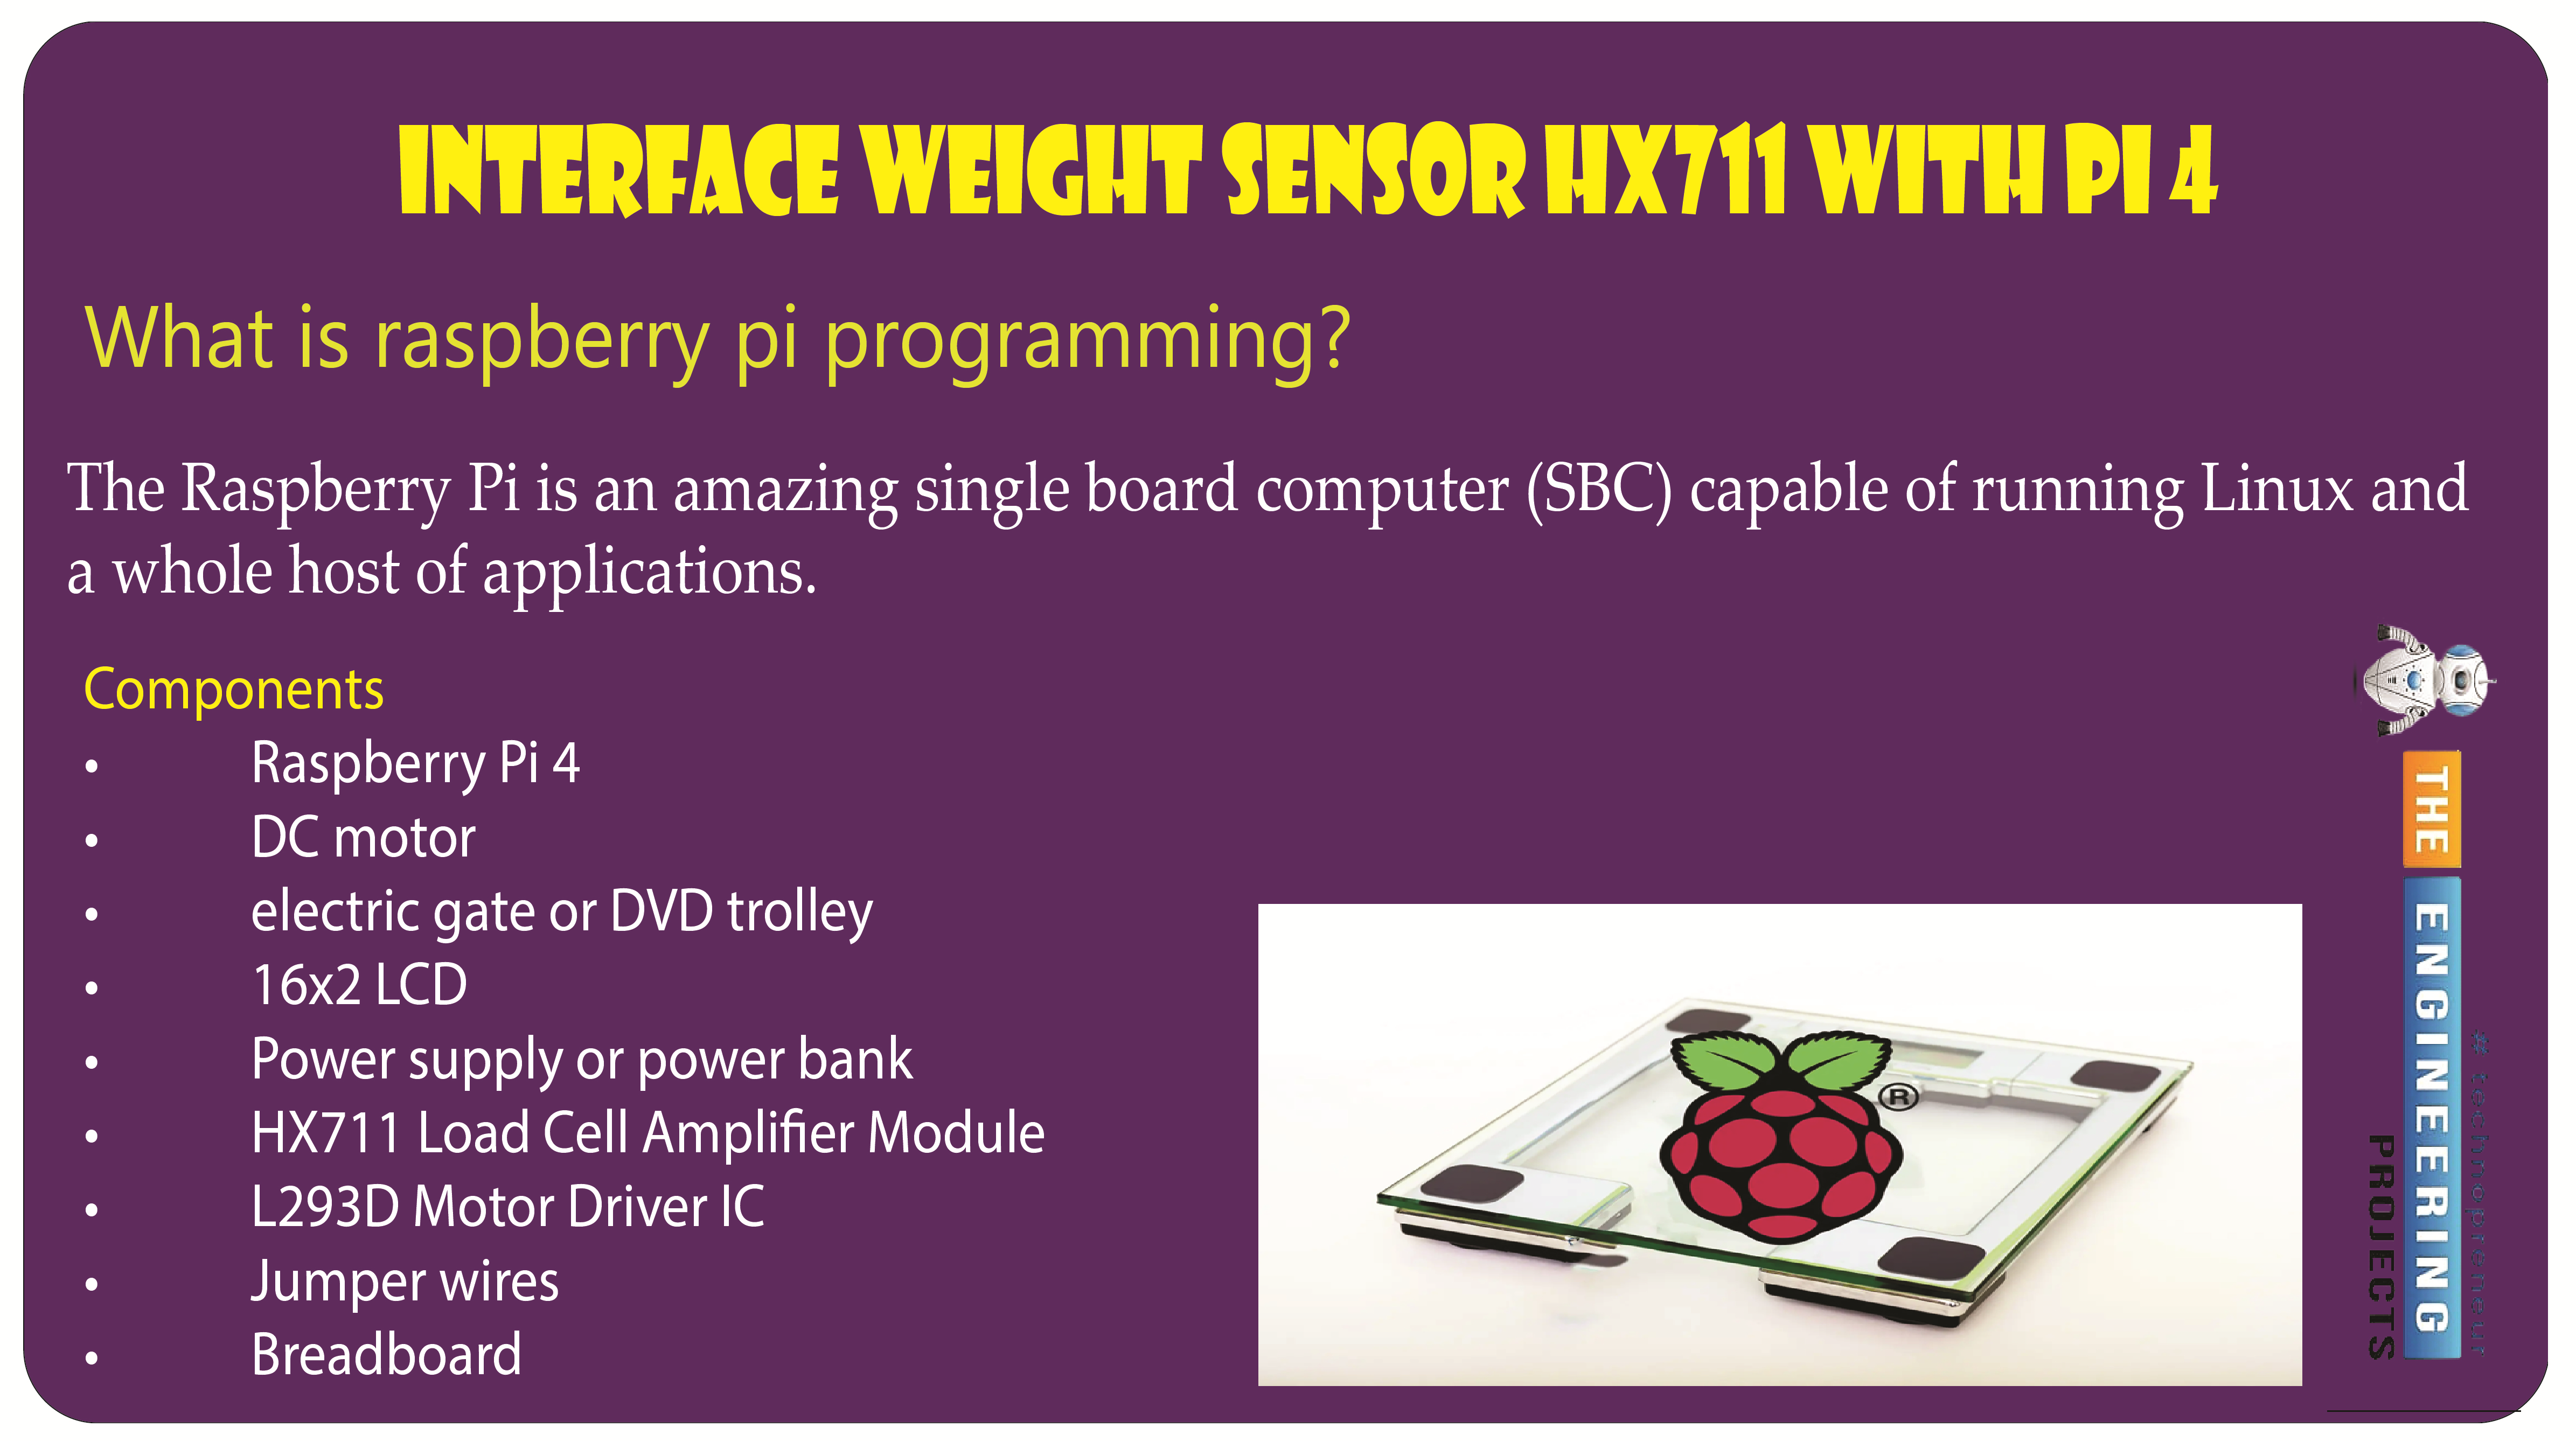
We will use the following components in today's project:Raspberry pi 4BMP180 sensorFemale-Female Jumper wiresBreadboard
BMP180 Air Pressure Sensor
BMP180 i ...
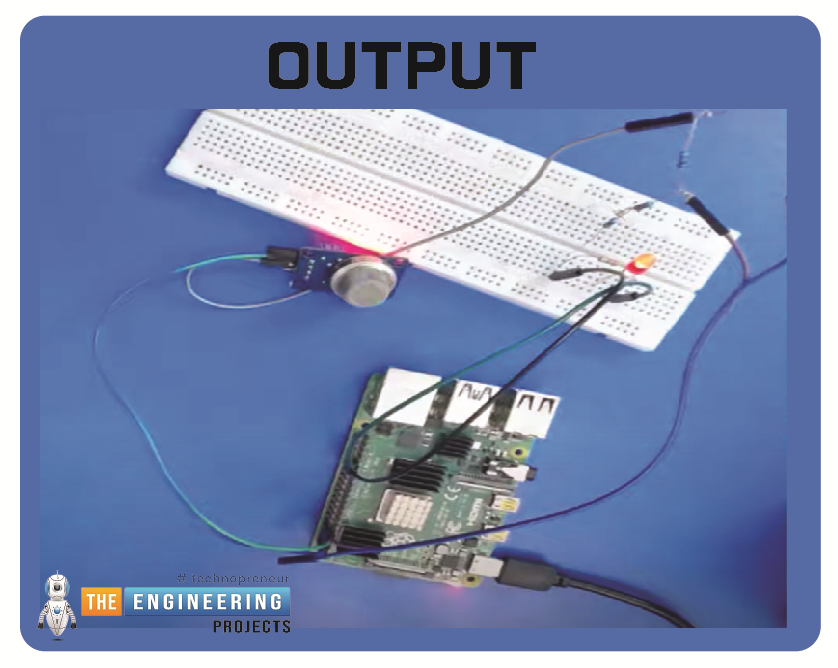
Hello friends, I hope you all are having fun. Today, I am going to share the 9th tutorial of Section-III in our Raspberry Pi 4 Programming Course. In the previous tutorial, we interfaced an air pressure sensor BMP180 with Raspberry Pi 4. In this tutorial, you'll learn how to interface an MQ-2 gas sensor with a Raspberry Pi 4. Many apartments, residences, and workplaces rely heavily on these gas sensors to detect smoke or gas and alert the appropriate personnel in an emergency. In addition to gas and smoke, this sensor is sensitive to various odorous gases.
Project DescriptionToday, we will interface a gas sensor MQ-2 with Raspberry Pi 4 and will display the values on Raspberry Pi Console Window.
Components Required
These are the components use ...
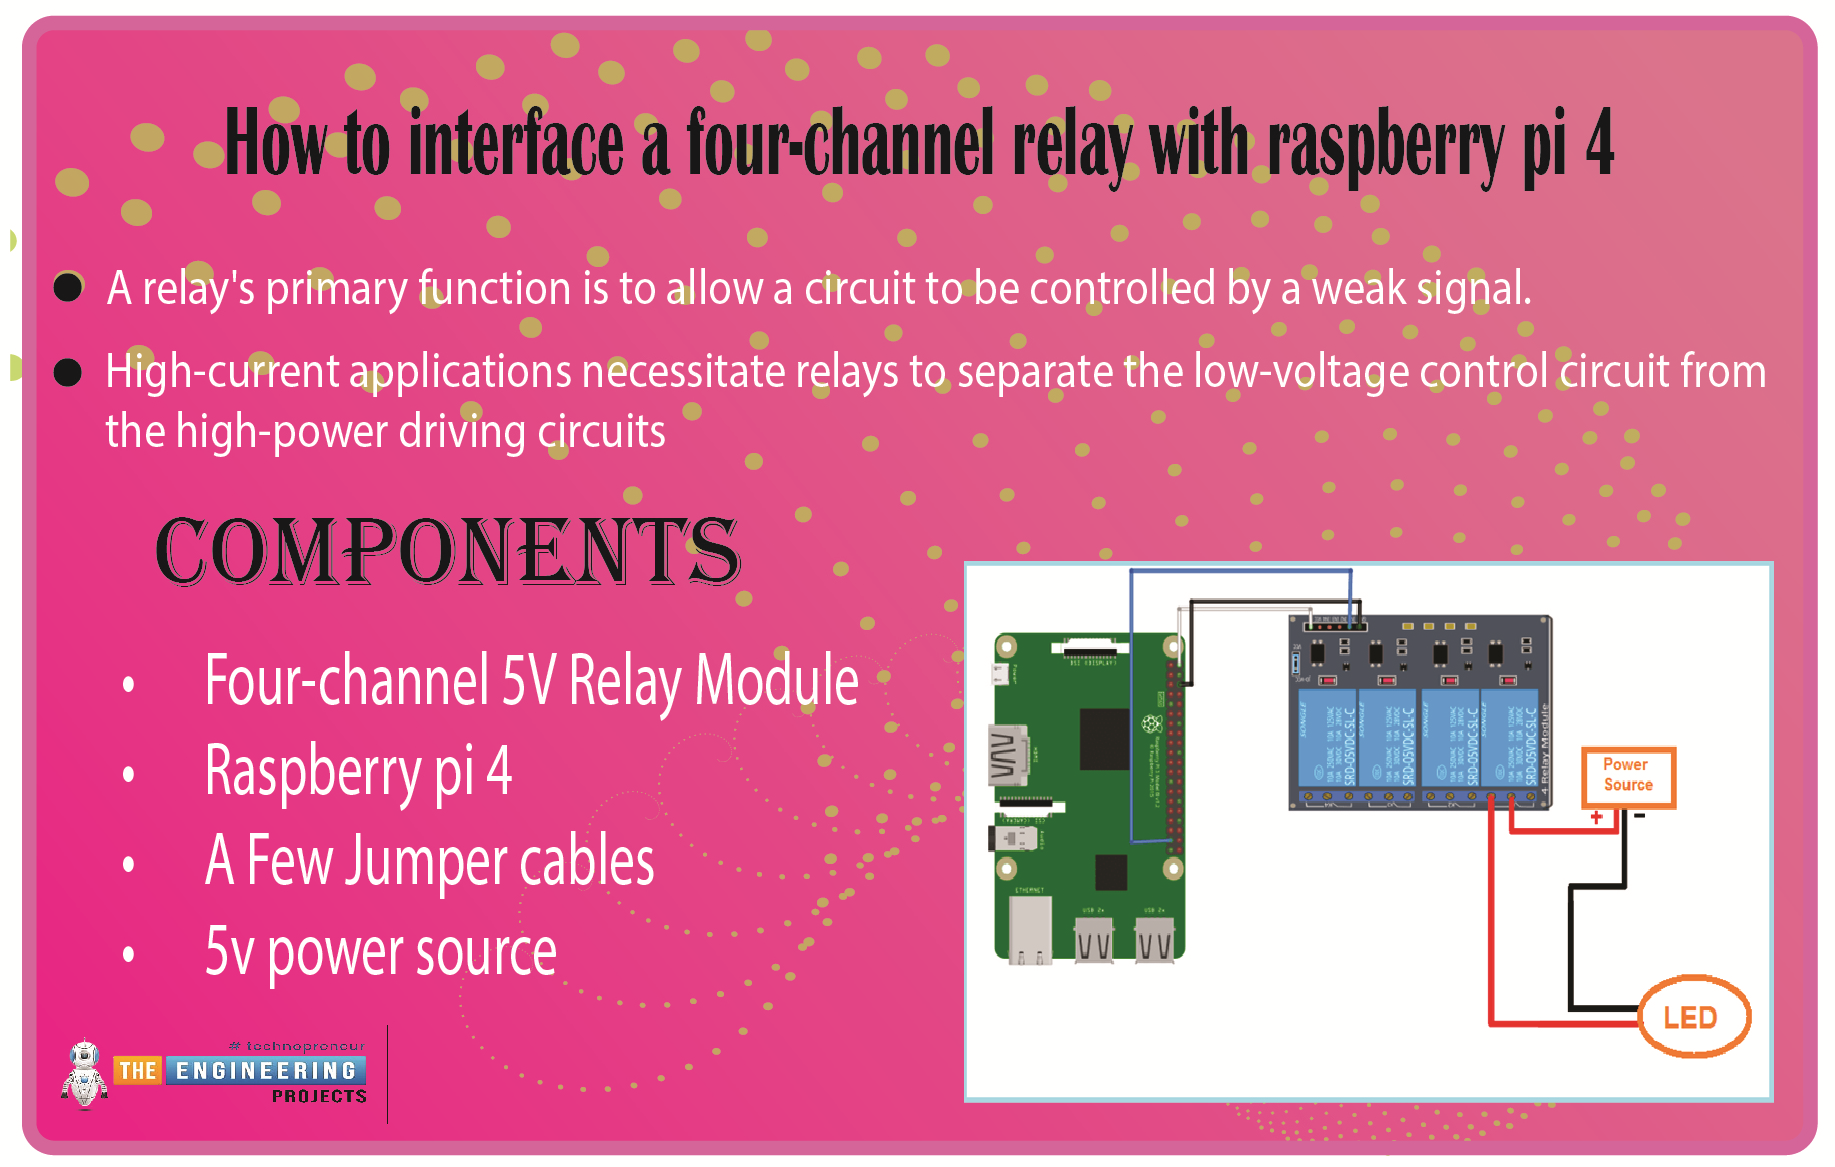
We learned in the previous tutorial how to connect a joystick to a Raspberry Pi 4 using an mcp3008 and an op-amp IC, the LM324A. For each of the interface methods we studied, we created a python script allowing us to interact with the circuit. This tutorial will show you how to connect a 4-channel relay module with a Raspberry Pi to carry out switching.
A relay's primary function is to allow a circuit to be controlled by a weak signal. High-current applications necessitate relays to separate the low-voltage control circuit from the high-power driving circuits. Because of this, understanding it is crucial for those interested in industrial or household automation.
If you've been tinkering with a raspberry pi for a while, consider the various ways ...
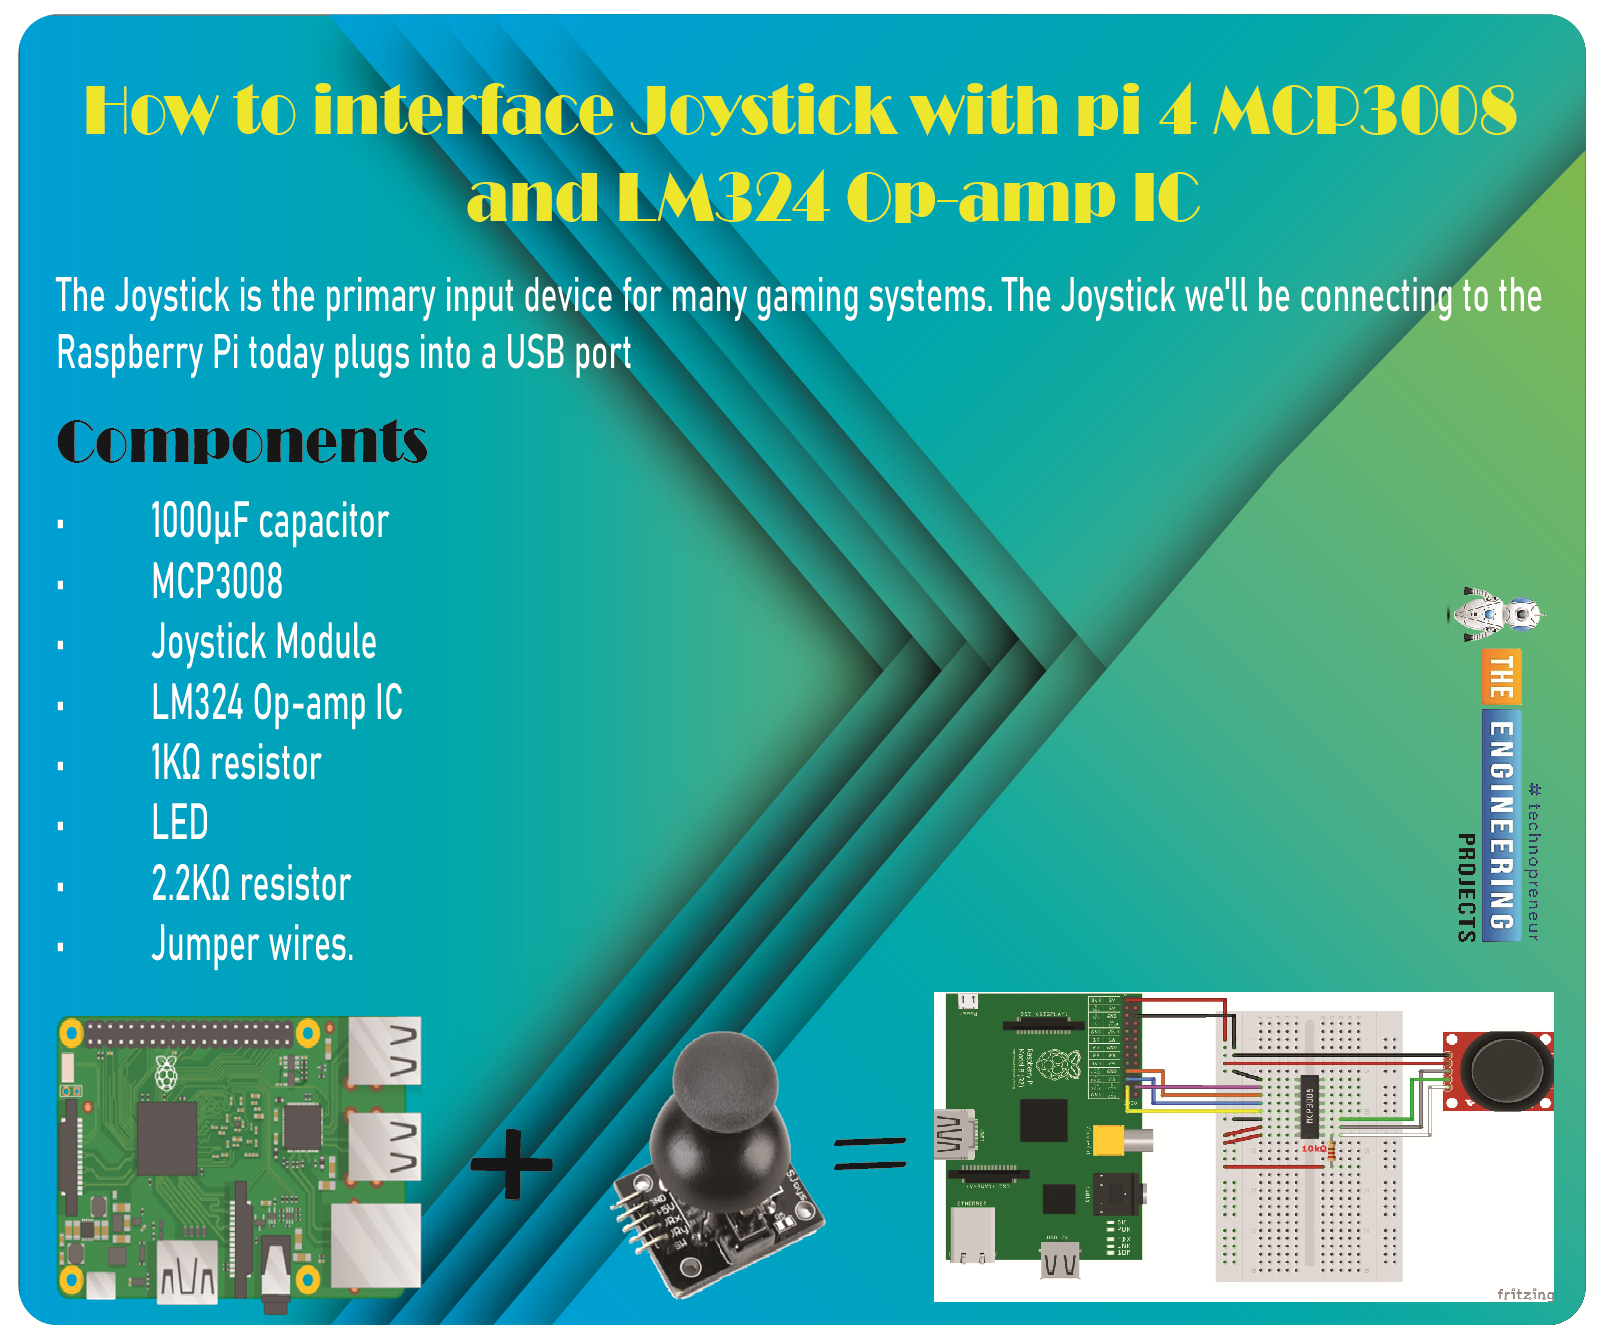
Greetings, and welcome to the next tutorial in our series on programming for the Raspberry Pi 4. The previous tutorial showed us how to connect a 4x4 keypad to a Raspberry Pi 4. In the previous tutorial, we examined the inner workings of the 4-by-4 keyboard; in this one, we'll use the MCP3008 and the LM324 Op-amp IC to connect a joystick to the Raspberry Pi 4. The Joystick is the primary input device for many gaming systems. The Joystick we'll be connecting to the Raspberry Pi today plugs into a USB port, but there are plenty of situations when having access to the Pi's GPIO pins would be useful. We'll review the steps for preparing the circuit for each interface technique and creating a corresponding python script.
So let’s dive in!
Components ...
Welcome to the next tutorial of our raspberry pi programming tutorial. The previous tutorial showed us how to set up a weather station using the Internet of Things (IoT) on a Raspberry Pi 4. First, we studied how a weather station works on a fundamental level. Then we developed a Python script to collect data from the station. In contrast, we'll construct an automatic gate using a Raspberry Pi, a load cell, and an HX711 weight sensor.
These pressure-sensitive gates are common in shopping centers and showrooms; they open when someone is in the immediate vicinity and close again when the person is out of sight. Like the Automatic Gate, we just made, this one will open in response to weight or pressure and stay that way until the force is removed. If ...
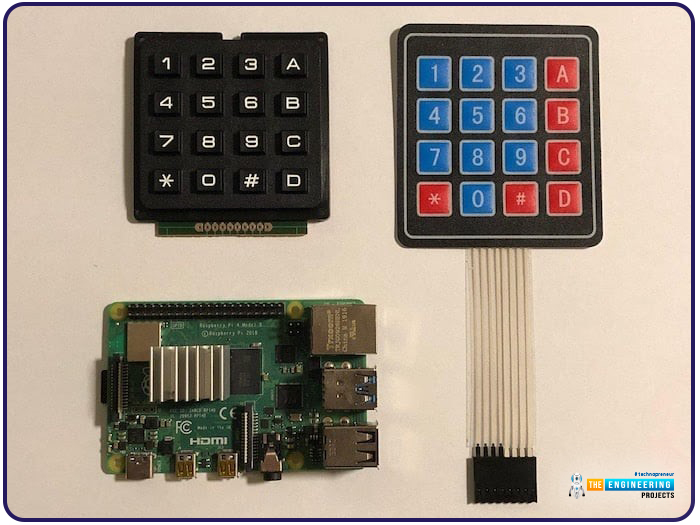
Hello friends, I hope you all are doing well. Welcome to the next tutorial of our Raspberry Pi 4 programming course. In the previous lecture, we interfaced LCD 16x2 with Raspberry Pi 4. Today, we will interface a keypad 4x4 to Raspberry Pi 4. In embedded projects, a keypad is used to get user input i.e. calculator, ATM keypad etc. Different types of Keypads are available i.e. 4x4, 4x3 etc.
So, let's get started:
Components Required
We will need the following components in our today's project:Raspberry Pi 4Keypad 4x4BreadboardConnecting Wires
Keypad 4x4
A keypad is a collection of push buttons, arranged in a matrix form.Keypad 4x3 means the keypad has 4 rows and 3 columns and 12 buttons in total. A 4 by 4 keypad membrane has 8 pins in t ...
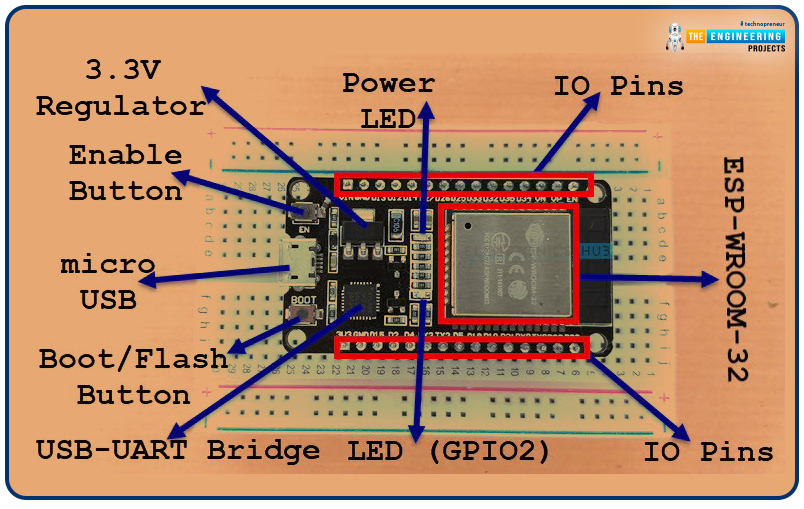
Welcome to the next tutorial of our raspberry pi 4 programming course. A previous article covered connecting a Remote Control Radio Frequency Module (433 MHz) to a Raspberry Pi 4. To turn things on and off wirelessly, we programmed a Raspberry Pi 4 to act as a radio-frequency (RF) remote control. However, this guide will study how to wirelessly pair a Raspberry Pi 4 and an ESP32. After reading this article, you'll get a good grounding in the fundamentals of Bluetooth module operation between two ESP32 and Pi 4 communication.
When it comes to sharing data over short distances using Ultra High-Frequency Radio Waves, Bluetooth is one of the most reliable and effective short-range wireless communication solutions. Since Bluetooth Technology was initially conceived as a cable substitution tech ...