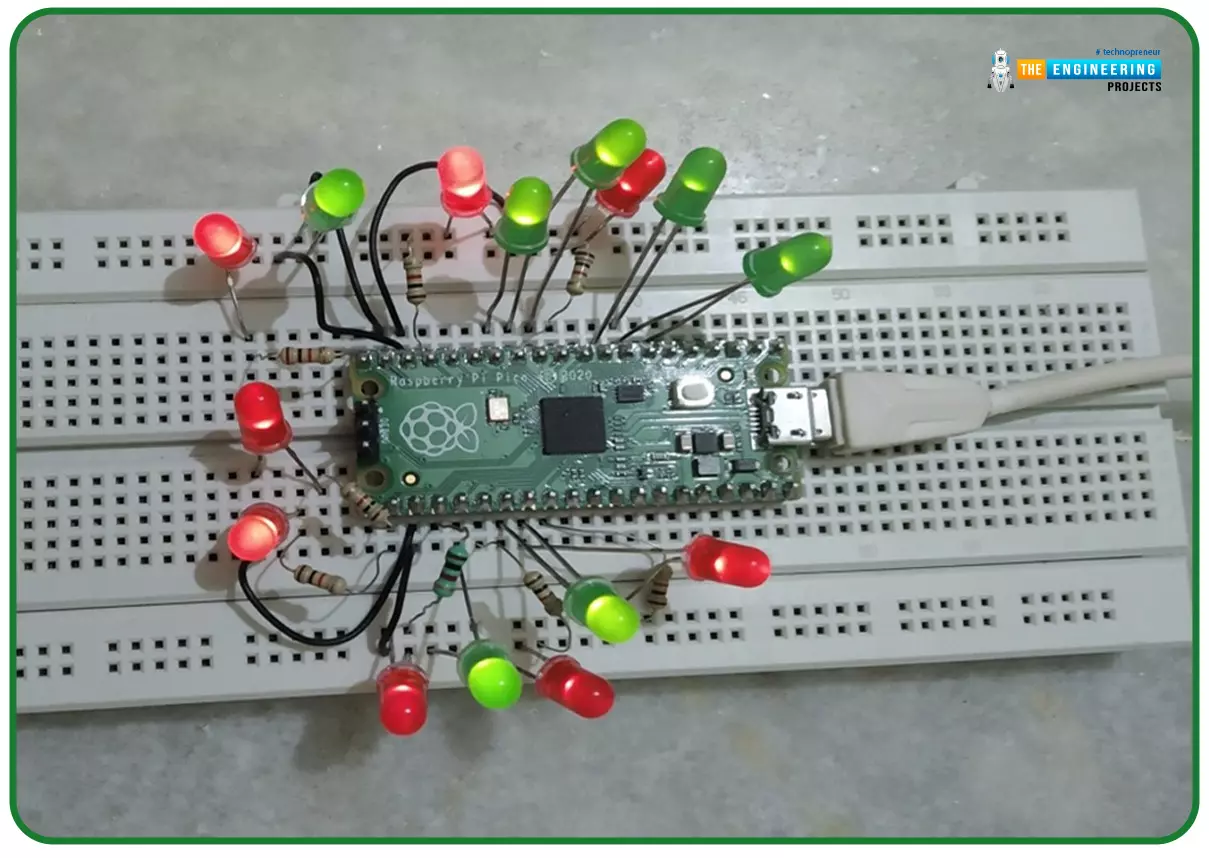
Hello readers, I hope you all are doing great. In our previous tutorial, we discussed the implementation of LED interfacing and blinking program with Raspberry Pi Pico using MicroPython programming language. So continuing with our previous tutorial, in this tutorial we will learn how to control the LED brightness using PWM (pulse width modulation technique).
As we mentioned above, in our previous tutorial we implemented the LED blinking program with a Raspberry Pi Pico board. Blinking an LED means turning ON and OFF and thus the process involves only two states that are ‘1’ (HIGH) and ‘0’ (LOW). But, sometimes it is required to change the digital output between these two (ON and OFF states) for example changing the LED brightness. PWM or Pulse Width Modulation technique is used to change ...
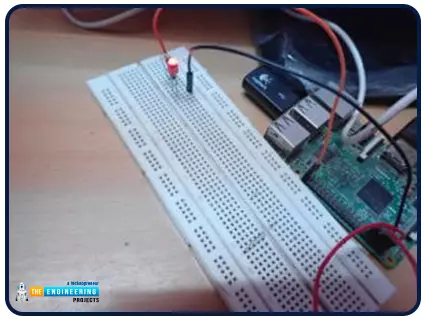
Hello friends, I hope you all are doing great. It's the 8th tutorial in our Raspberry Pi programming course. In the previous lectures, we interfaced LCD 16x2 and Keypad 4x4 with Raspberry Pi 4. In this chapter, we are not going to interface any external module with Pi, instead, we'll create a PWM signal in the raspberry pi using Python. Let's get started:
Components RequiredWe are going to use the below components in today's PWM project:
Raspberry Pi 4.
LED.
A resistor of 330 ohms.
Breadboard.
Jumper wires.Before going forward, let's first understand what is PWM:
What is PWM?
In PWM(Pulse Width Modulation), we simply turn on and off our power supply at regular intervals and thus ...