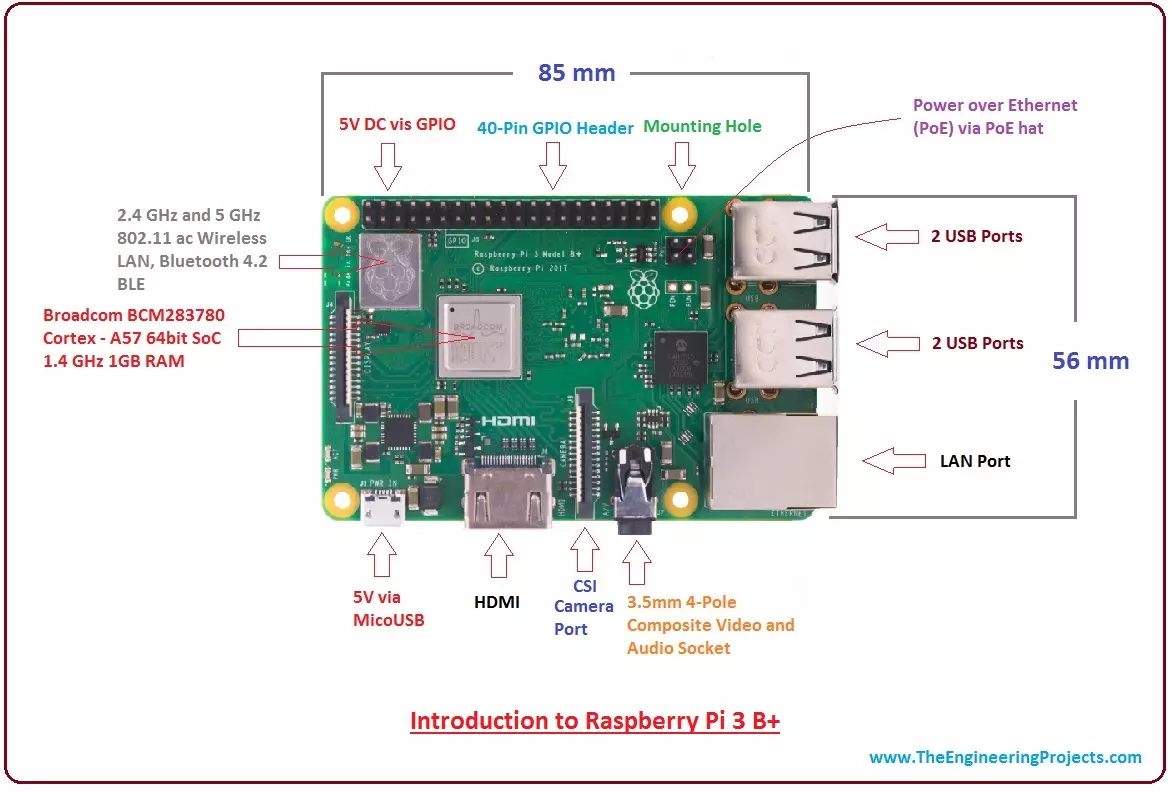
Hi Guys! Hope you are doing well. I am back to give you a daily dose of useful information. Today, I'll discuss the details on the Introduction to Raspberry Pi 3 B+. It is a small board computer, introduced by Raspberry Pi foundation in 14th March 2018 and is the most recent version of the Pi boards. It is a modified form of its predecessor Raspberry Pi 3 B that was introduced in 2016 and came with CPU, GPU, USP ports and I/O pins. Both versions are almost same in terms of functionality and technical specifications; however, there are some exceptions in the B+ model as it comes with USB boot, network boot, and Power over Ethernet option that are not present in the B model. Technology has been evolved over time with the purpose of making lives easy and convenient. This device was a major de ...
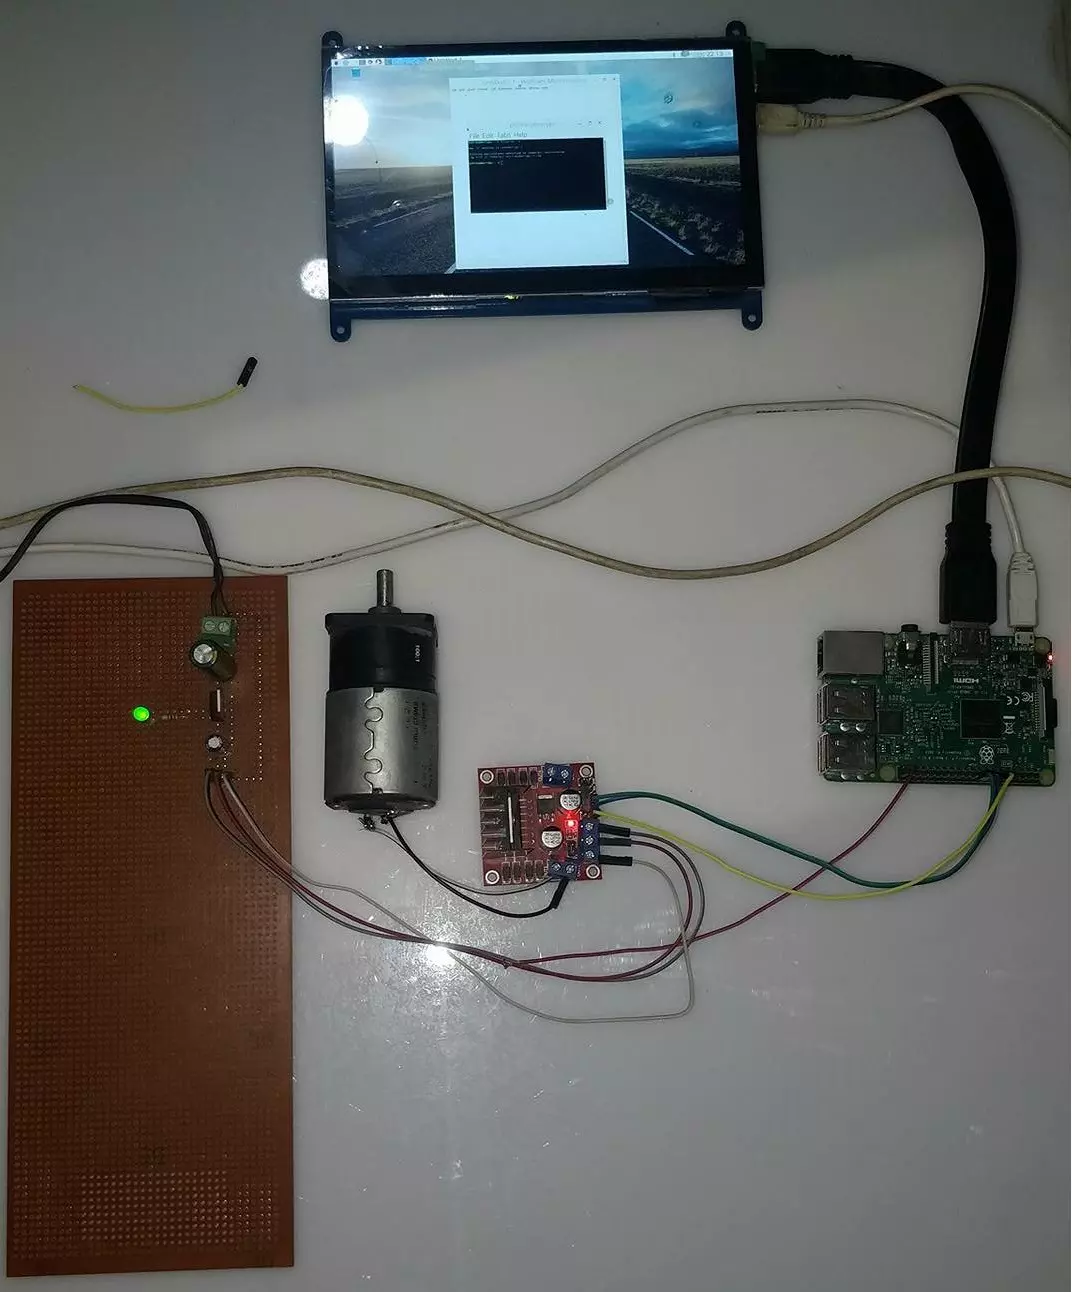
Hello friends, I hope you all are doing great. In today's tutorial, I am going to show you How to Control DC Motor with Raspberry Pi 3. We will control both the speed and direction of DC Motor. I hope you have read the previous tutorial on How to Create a GUI in Raspberry Pi 3 as we are gonna create a small GUI in this tutorial as well and then we are gonna control our DC Motor with Buttons on GUI. In order to control the DC Motor, we have to use some drivers in between our Microcontroller and DC Motor. This driver's functionality is to control a 12V DC Motor with a 5V signal from a microcontroller. In today's tutorial, we are gonna use L298 Motor Driver . So, let's get started with How to Control DC Motor with Raspberry Pi 3: How to Control DC Motor with Raspberry Pi 3 I have divided this ...
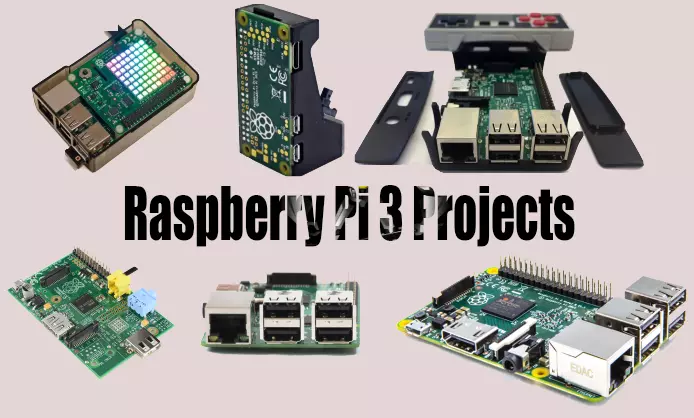
Hey Fellas! Hope you are doing great. Our team always keeps your needs and demands on the top so you keep coming back for what we have to offer. Based on recent comments and suggestions given by our valuable visitors, I have decided to arrange all of our Raspberry Pi 3 projects so you get a clear idea What is Raspberry Pi 3 and How it is used for the execution of many projects? Are you feeling skeptical about learning Raspberry Pi 3 basics? Don't you worry, I have got you covered. I'll arrange all articles related to raspberry pi 3 in a sequence from beginner to pro level, so you find all information in one place and grab the main concept easily. Let's dive in and explore each and everything related to Raspberry Pi 3. Raspberry Pi 3 - Basics Raspberry Pi 3 is not a new device and most of t ...
Hello friends, I hope you all are doing great. In today's tutorial, I am going to explain How to Create PWM in Raspberry Pi 3. In our previous tutorial, we have seen How to Create GUI in Raspberry Pi 3, & we have also controlled an LED from the GUI Buttons. So, I am gonna take that project and will add PWM code in it. So, I would recommend you to first have a look at LED Blinking with Raspberry Pi 3 in which we have designed this simple project and then check How to Create GUI in Raspberry Pi 3, where we have controlled that LED digitally with GUI. But today, we are gonna control the intensity of this LED by creating a PWM Pulse in Raspberry Pi 3. Along with that, we are also gonna have a look at How to use Scale in Raspberry Pi 3. I will add a new scale in the same GUI and when we change ...
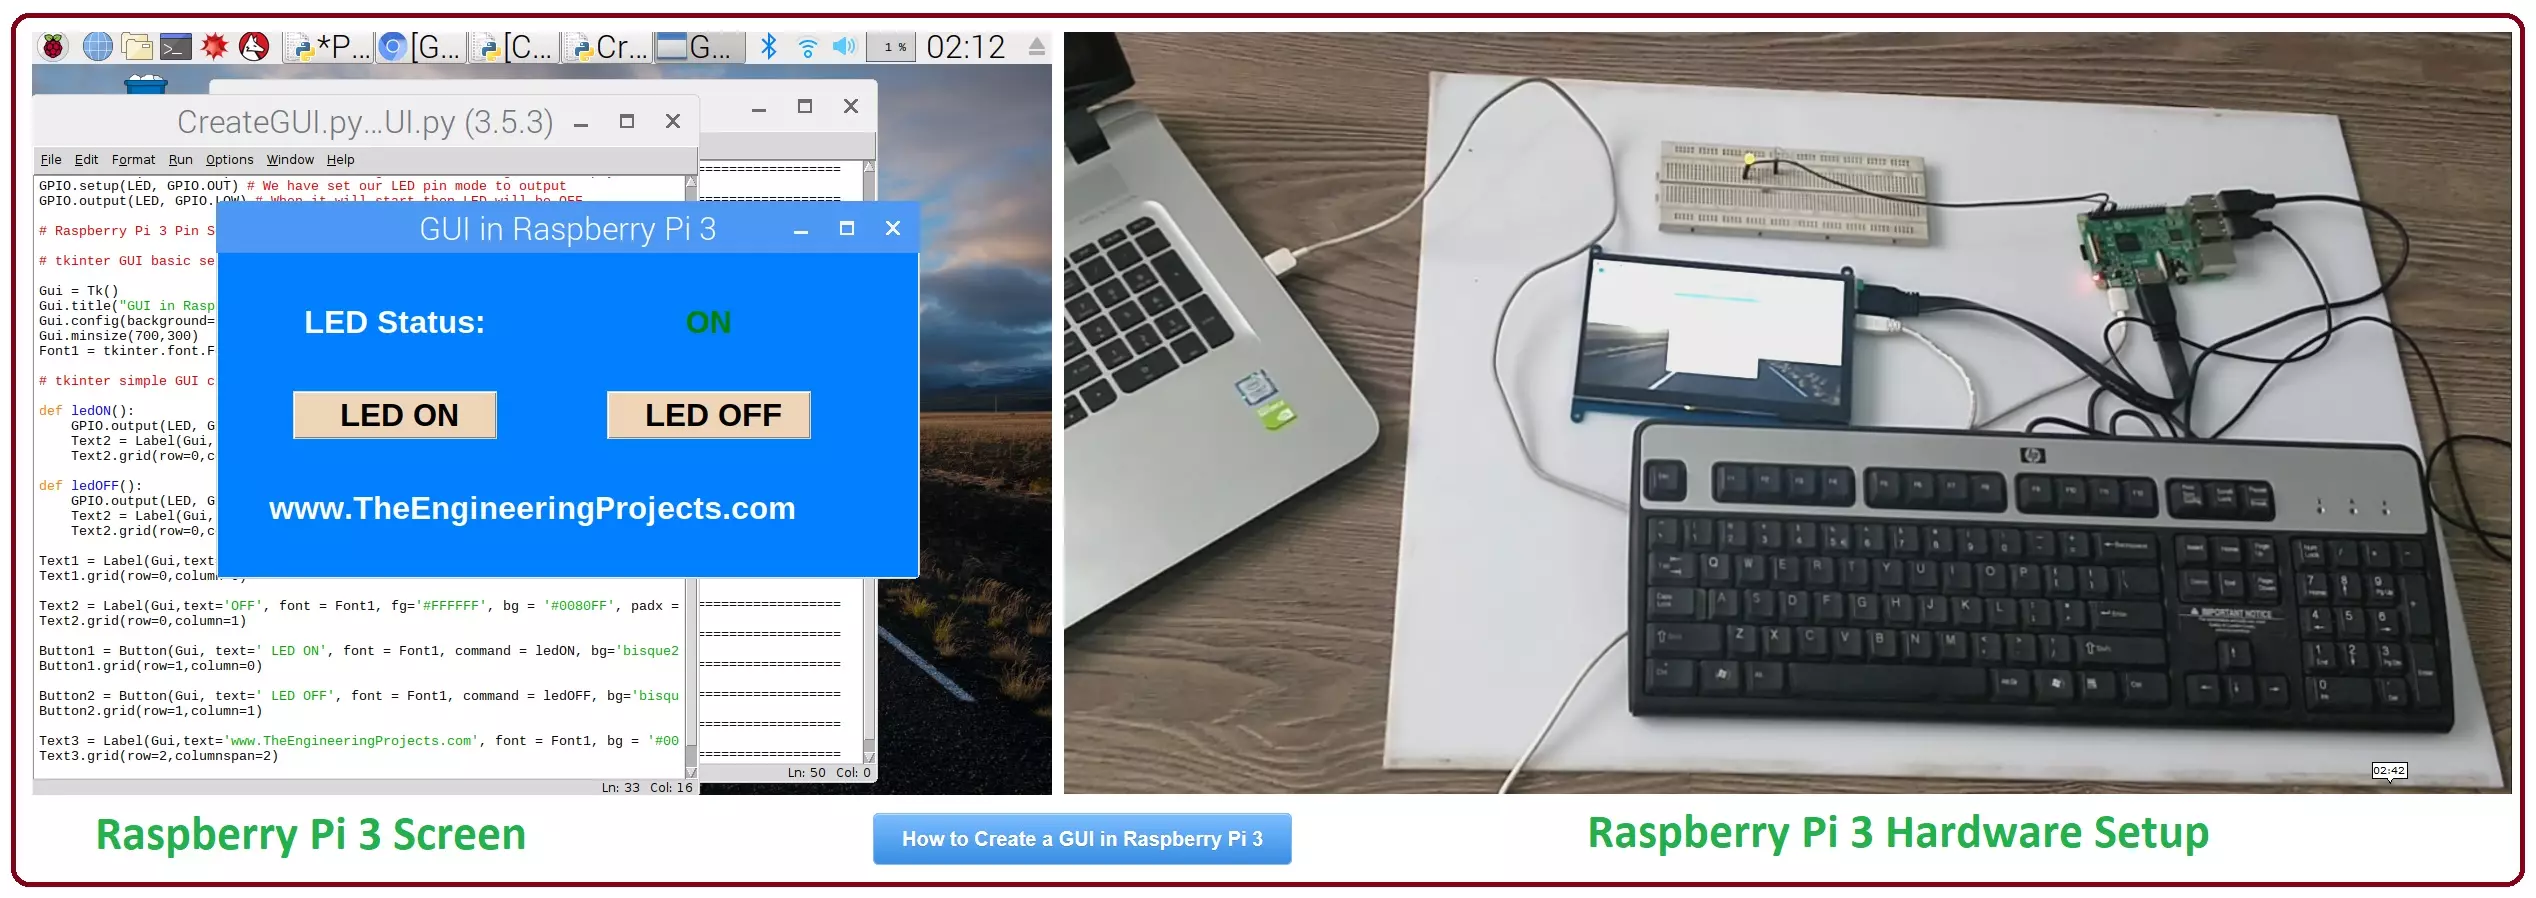
Hello friends, I hope you all are doing great. In today's tutorial, I am going to show you How to Create a GUI in Raspberry Pi 3. There are many different third party libraries available and the one I am going to use is tkinter. I have tried these libraries and I liked it the most so that's why I'm gonna use it in my future Raspberry Pi 3 Projects. In our previous tutorial on Raspberry Pi 3, we have had a look at LED Blinking using Raspberry Pi 3 . So, today I am gonna work on the same project and we will add a GUI in it. GUI is an abbreviation of Graphical User Interface and it is used to give a presentable form to your project. We will add some buttons on our GUI and we will turn ON or OFF our LED using buttons. It's quite a basic tutorial but its essential to cover before working on big ...
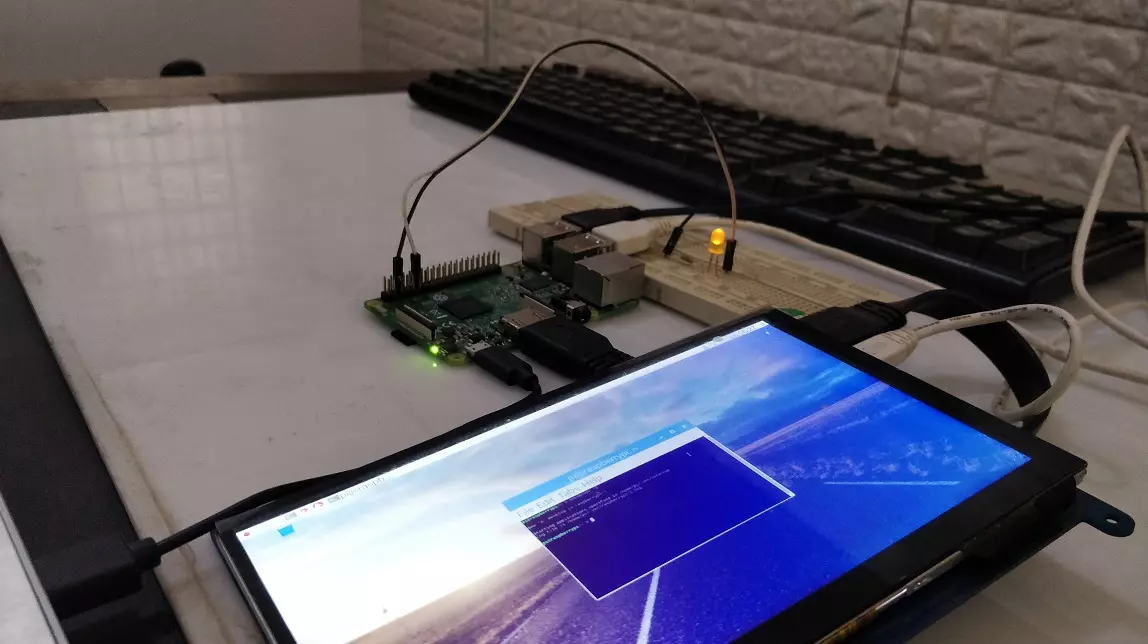
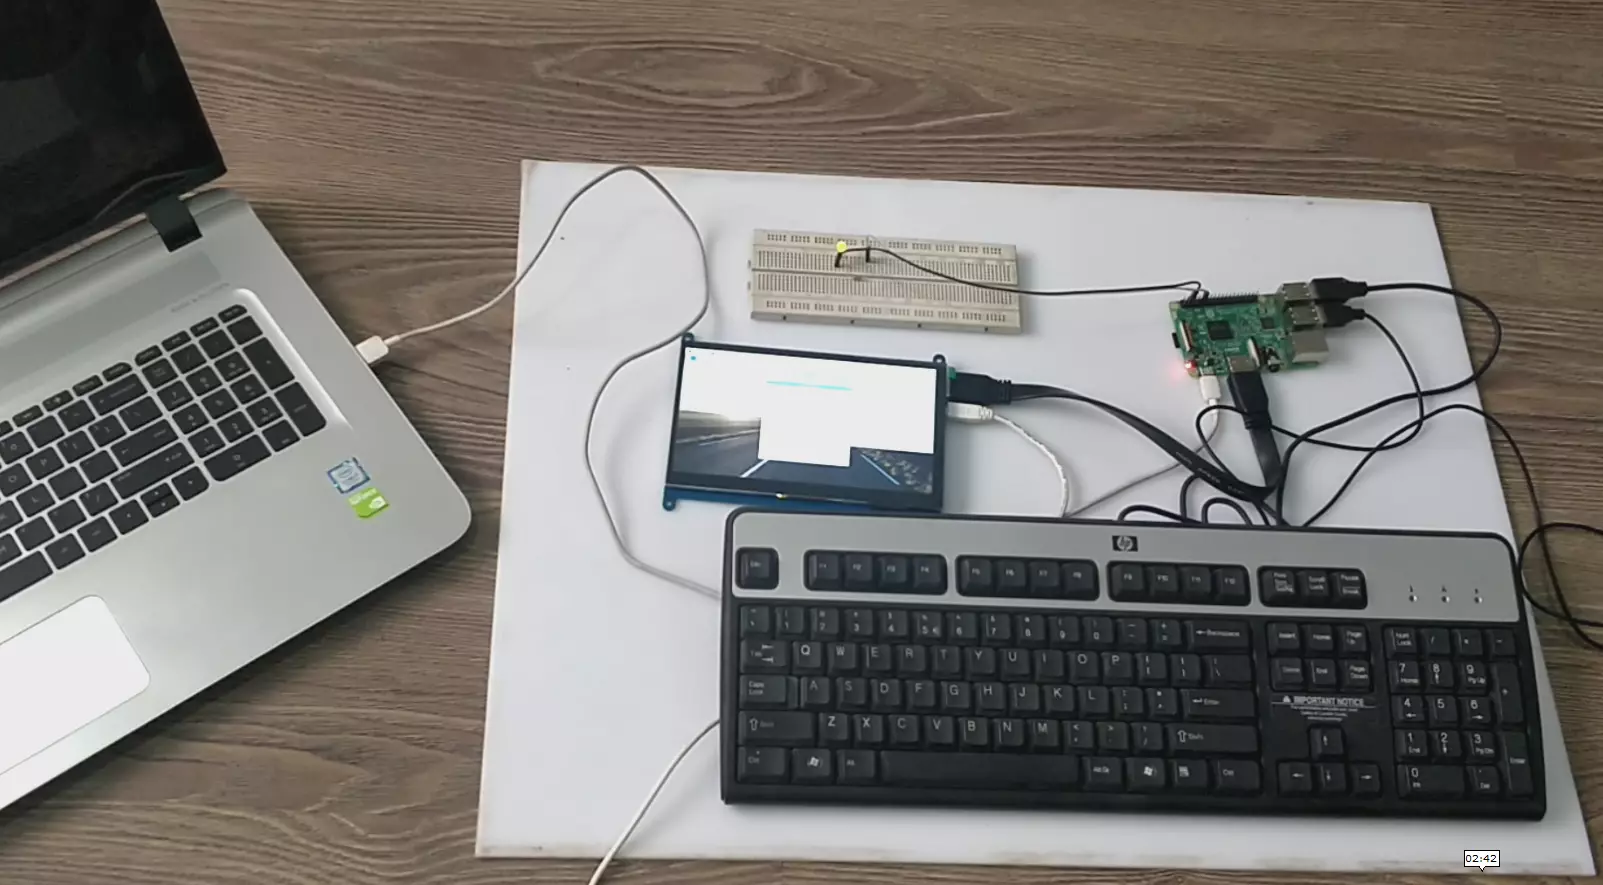
Hello friends, I hope you all are doing great. In today's tutorial, we are gonna have a look at LED Blinking using Raspberry Pi 3 . It's our first embedded project on Pi 3 and its quite simple. In our previous tutorials on Raspberry Pi 3, we have seen How to install Rasbian on SD Card for Pi 3 and then we have also setup HDMI LCD with Pi 3. So, now our raspberry Pi 3 is ready to program. In today's tutorial, we will interface a single LED with digital Pin of Raspberry Pi and then we will design a simple code in Python which will turn this LE ON and OFF. It will be quite simple and I will guide you step by step, but if you got into any trouble then ask in comments and I will help you out. So, let's get starteed with LEd Blinking using Raspberry Pi 3: LED Blinking using Raspberry Pi 3 On our ...
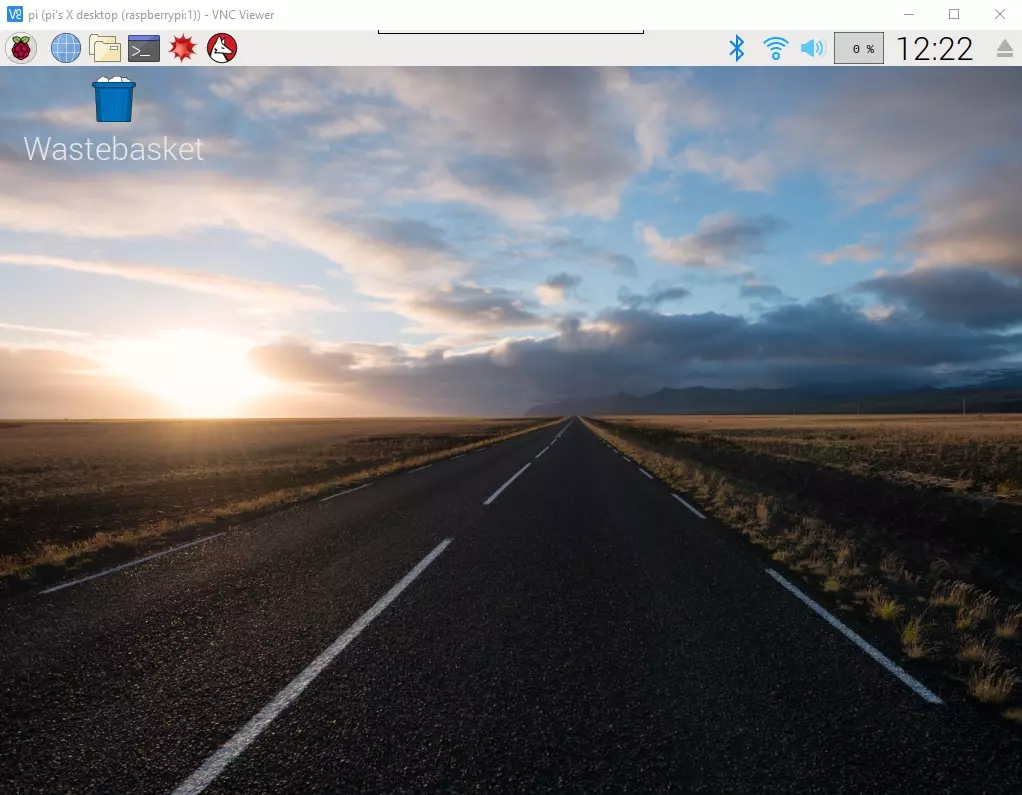
Hello everyone, I hope you all are doing great. In today's article, I am going to show you How to Control Raspberry Pi 3 from Laptop or Computer. In our previous tutorial, we have seen How to setup 7 inch HDMI LCD with Raspberry Pi 3 and you must have noticed that designing your code on TFT LCD is quite difficult. So, either you have the LCD or not, its always better to work on your Laptop. In order to control our raspberry Pi 3 from Laptop, we have to use VNC server & client. It's a third party tool designed by RealVNC. We have to install VNC server on the raspberry Pi and VNC viewer on our laptop & after that we can quite easily control our VNC Server from VNC Viewer (Client). So, let's get started with How to Control Raspberry Pi 3 from Laptop using VNC Server & Viewer: How to Control R ...
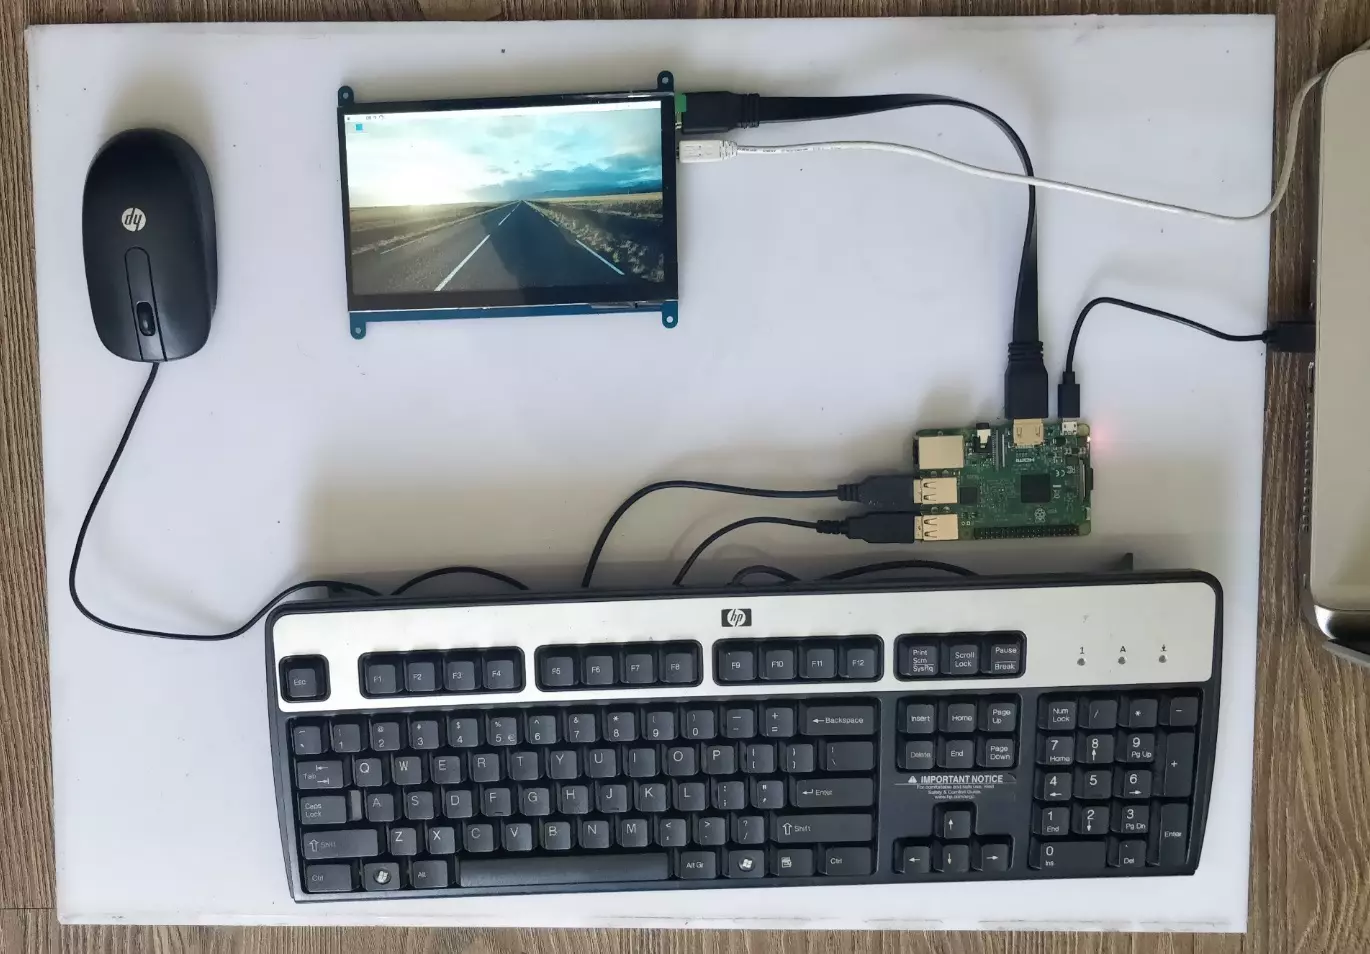
Hello friends, I hope you all are doing great. In today's tutorial, we are gonna have a look at How to Setup 7 inch HDMI LCD with Raspberry Pi 3 . It's our second tutorial in Raspberry Pi 3 series. In our previous tutorials, first we have seen the basic Introduction to Raspberry Pi 3 and after that in our first tutorial, we have had a look at How to Install Raspbian on SD Card for Raspberry Pi 3 . Now we are ready to Setup 7 inch HDMI LCD with Raspberry Pi3 and then will start our raspbian for the first time on Raspberry Pi 3. We will also connect keyboard and mouse. In simple words, we are developing our own simple computer. So, let's get started with How to Setup 7 inch HDMI LCD with Raspberry Pi3: How to Setup 7 inch HDMI LCD with Raspberry Pi3 ??? In our previous tutorial, we have Inst ...
Hello friends, I hope you all are doing great. In today's tutorial, we are gonna have a look at How to Install Raspbian on SD Card for Raspberry Pi 3. Today, I am going to start this new tutorial series on Raspberry Pi 3. In this series, we will first cover the basic tutorials for beginners and in the second phase, we will interface raspberry Pi 3 with different sensors and modules etc. In the third phase, we will involve cloud computing and will upload different data over to web server. I will take it step by step from basics to pro. I hope you will enjoy it. You should first have a look at Introduction to Raspberry Pi 3 , where I have discussed the basic overview of this board, along with what it is capable of doing. Consider it a zero tutorial of raspberry Pi series. So, now its time to ...
Hey Friends! Electronic experts always strive to develop new electronic devices that meet the needs and requirements of the customers. Technology has been evolved remarkably well where devices are becoming compact and composed. Using old conventional ways to develop electronic devices are becoming obsolete that occupied more weight and space, turned out to be expensive and capable of doing fewer number of operations. Today, I am going to discuss the details on the Introduction to Raspberry Pi 3 . It is just like a small computer that comes with CPU, GPU, USB ports and i/o pins and can be connected with external peripherals and helps in running number of operations like regular computer. First generation Raspberry Pi was developed in 2012, with the intention of making computer learning easy ...