Hello readers, I hope you all are doing great.
ESP32 is a powerful chip for Internet of Things applications. This tutorial is also based on one of the ESP32 applications in the field of IoT.
Project Overview
In this tutorial, we will learn how to update LCD display with new data or input using a web server created with ESP32.
Fig. 1
To achieve the target, we will be using an HTML (Hypertext Markup Language) form to provide web input and then update the text displayed on LCD. The values or input received from the webserver will be further stored inside a variable in the code for further use (to display on LCD).
We have already posted a tutorial on LCD (Liquid Crystal Display) interfacing with ESP32. In that tutorial, we demonstrated how to displa ...
Internet of Things is a system of multiple inter-related computing devices. The factor ‘thing’ in IoT is designated to an entity capable of communicating data over a network (IOT), which can be a digital machine, sensor, human being, animals etc. Each component that is included in IoT network is assigned with an unique identity called UID and the ability to communicate data over IoT network without any external human or computer intervention.
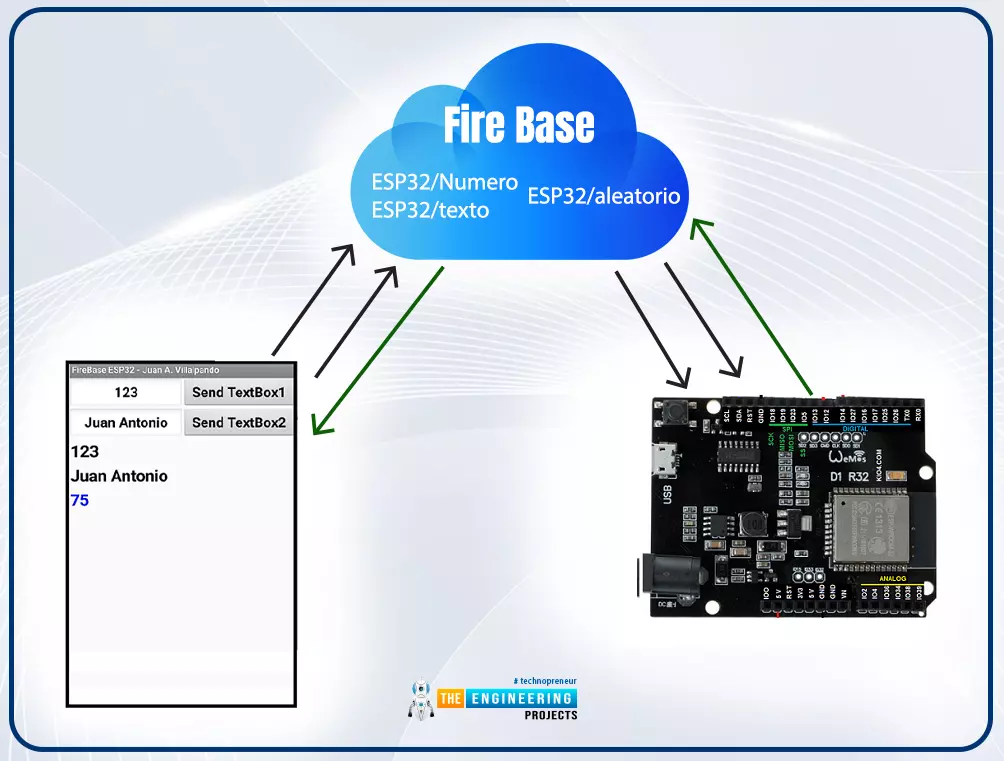
Hello readers, I hope you all are doing great. In our previous tutorial, we discussed how to upload data to Firebase Real-time Database using ESP32. In this tutorial, we will learn how to read the data stored on the Firebase Database with ESP32.
We can access the data stored in Firebase database from anywhere in the world, which makes this preferable ...
Welcome to the next tutorial of our Raspberry Pi programming course. Our previous tutorial looked at how to Interface DS18B20 with Raspberry Pi 4. This tutorial will teach us how to create a time-lapse video with still images and understand how phototimer and FFmpeg work.
What is time-lapse?
When photographing something over a lengthy period, "time-lapse" comes to mind. A video can be created by mixing the still photos. Plant development may be tracked with time-lapse movies, as can the changing of the seasons. They can also be utilized as low-resolution security cameras.
Components
Raspberry pi 4B
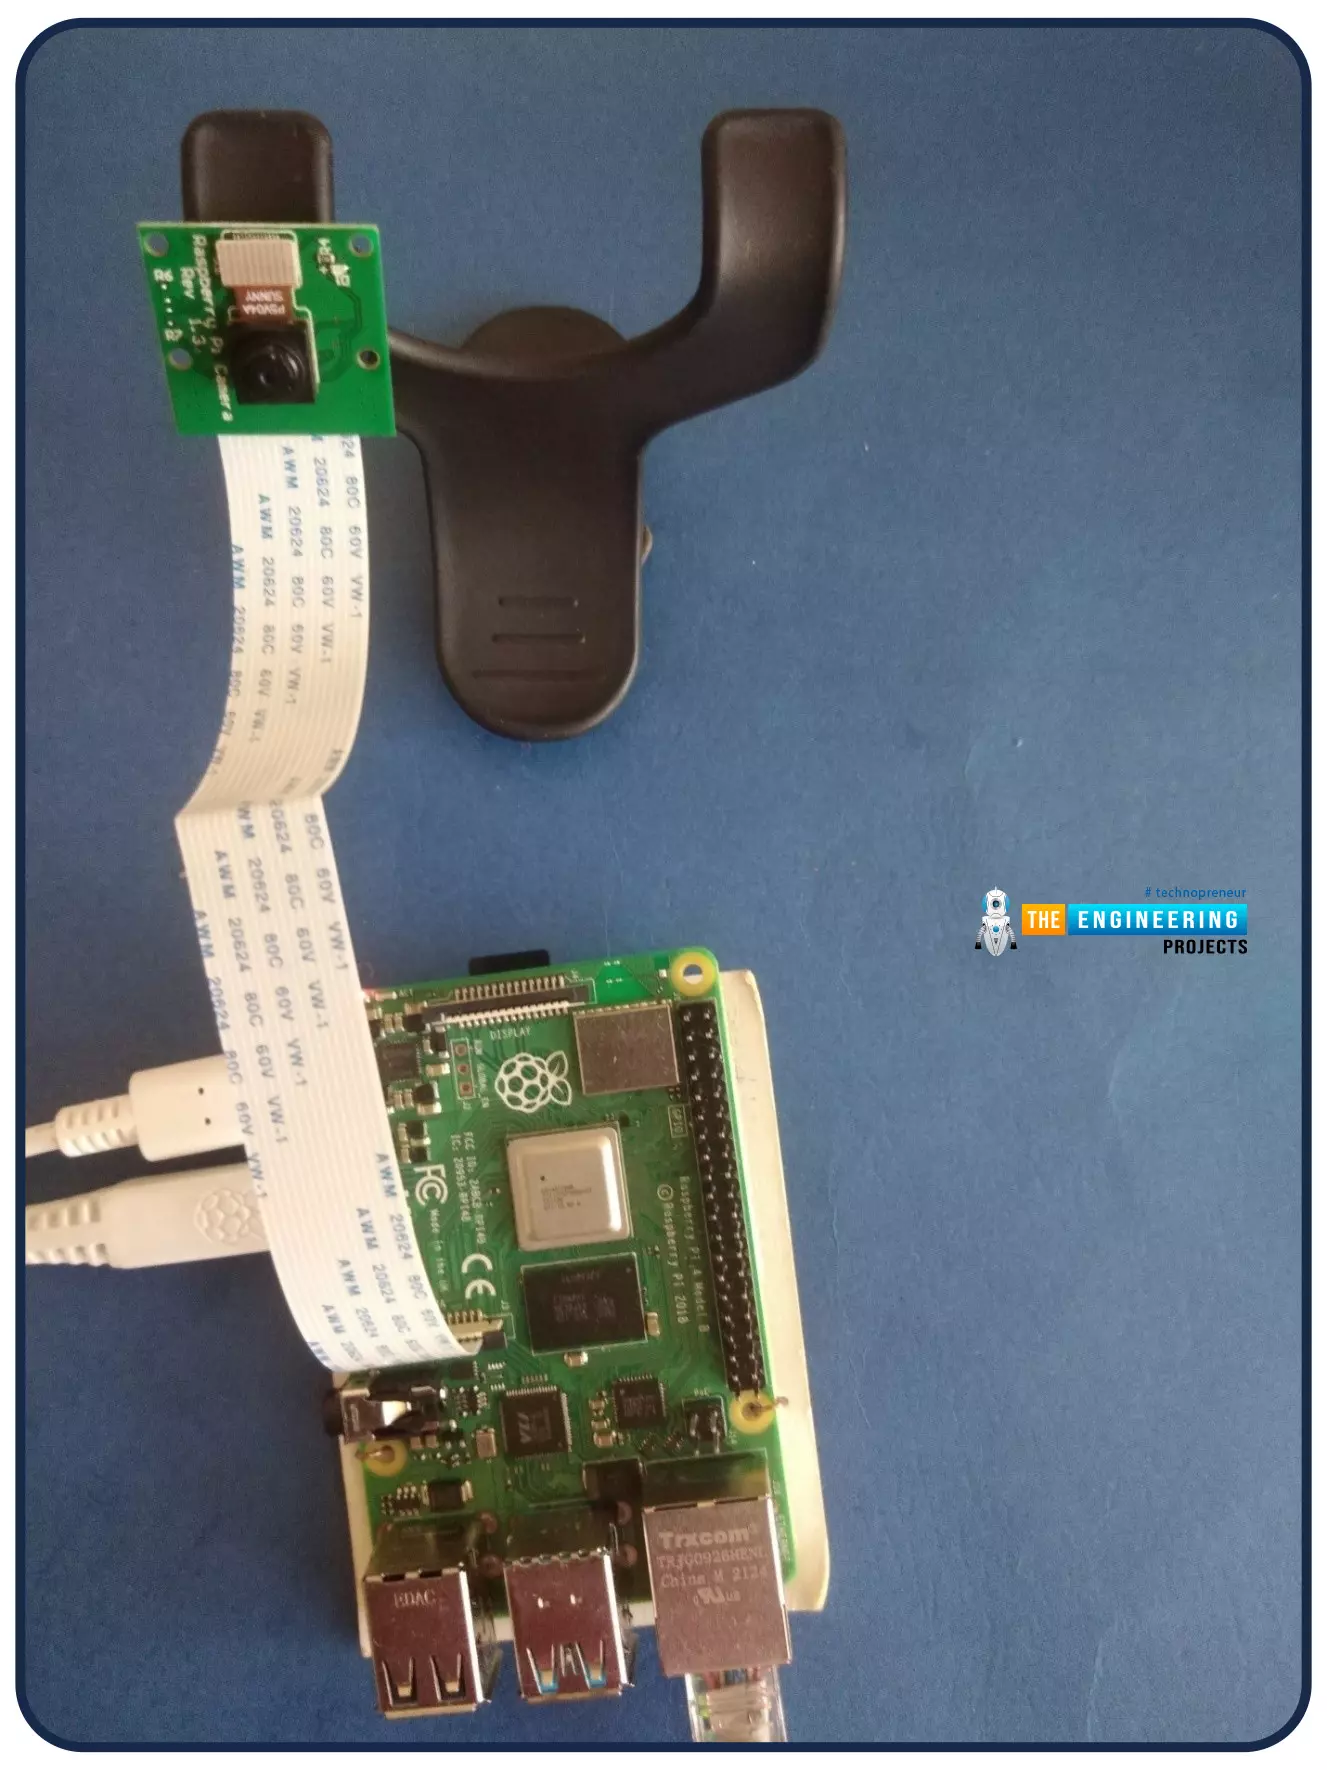
Pi camera
Connect to the Raspberry Pi
Cameras that can be used with the Raspberry Pi are a bit limi ...
Welcome to the next tutorial of our Raspberry Pi programming course. Our previous tutorial taught us to configure our raspberry pi for voice control. We also discussed some methods of reducing vexing noises so that the voice command program understands you. However, in this lesson, we will learn how to tweet from Raspberry pi.
What will we learn?
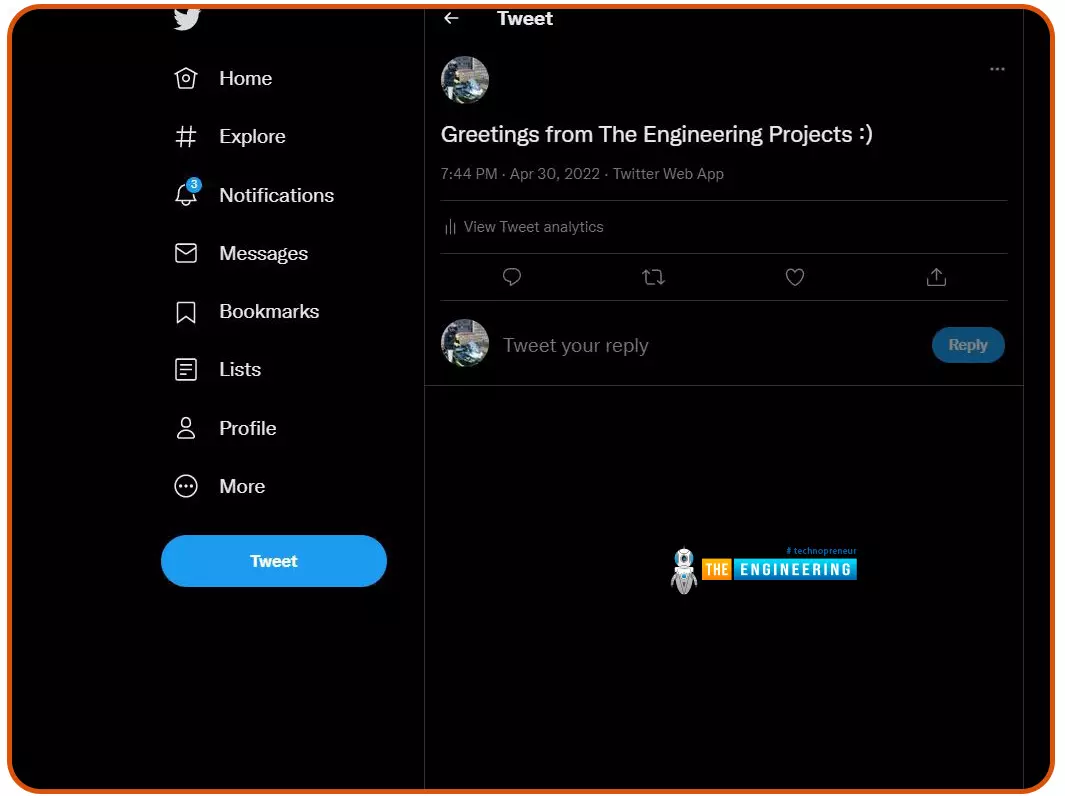
Assume you wish to add tweeting into a Raspberry Pi software you're developing. This article will show you how to build a Twitter app, get access privilege tokens, and post a tweet. On our Raspberry Pi, we'll make a simple program that tweets the result of the uptime command. This is a made-up example, but it demonstrates what is needed to tweet from a raspberry pi.
For this session, a repo has been set up. Because we'll be referring to code wit ...
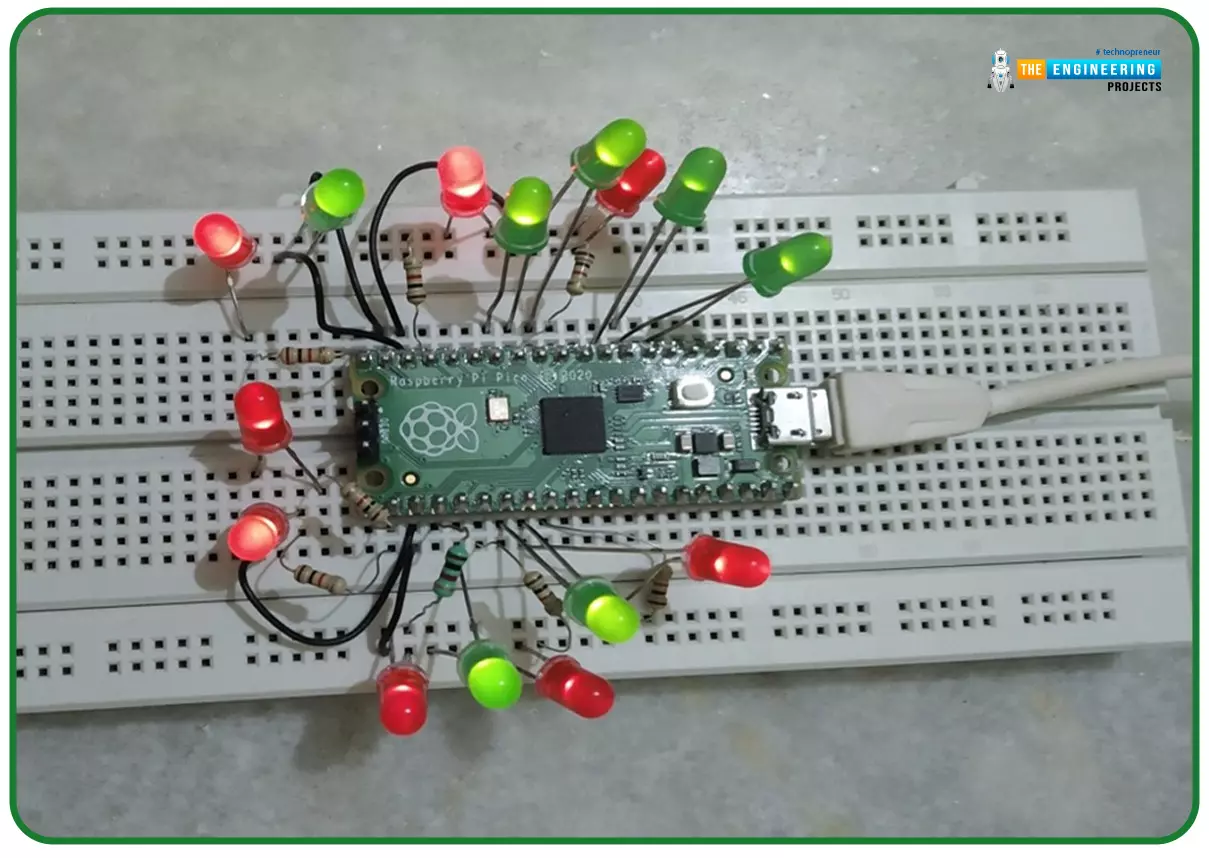
Hello readers, I hope you all are doing great. In our previous tutorial, we discussed the implementation of LED interfacing and blinking program with Raspberry Pi Pico using MicroPython programming language. So continuing with our previous tutorial, in this tutorial we will learn how to control the LED brightness using PWM (pulse width modulation technique).
As we mentioned above, in our previous tutorial we implemented the LED blinking program with a Raspberry Pi Pico board. Blinking an LED means turning ON and OFF and thus the process involves only two states that are ‘1’ (HIGH) and ‘0’ (LOW). But, sometimes it is required to change the digital output between these two (ON and OFF states) for example changing the LED brightness. PWM or Pulse Width Modulation technique is used to change ...
Hi friends and hope you are all very well. Today, we are going to deal with one of the most important and common problems that would be there in everyday tasks in industry and its solution. The problem is the safety of equipment and operators by preventing the machine from running under specific conditions for realizing the safety of equipment and human as well. Not only does it fulfill safety but also it is for performing the designed sequence of operation. If there is a problem, then it should be the solution for it. the solution is what so-called “Interlock”. So, what is interlock? And why do we need it? And how we can design a good interlock? Well! We may find such concerns exist in two aspects which are safety and operation sequence. In the f ...
Hello geeks, welcome to our new project. In this project, we are going to make a very interesting project which is an Up-Down counter. Most of us who have an electronics background or studied digital electronics must know the counter. Counter is a simple device which counts numbers. As per the digital electronics, there are two types of counter, the Up counter which counts in increasing order and another is Down counter which counts in decreasing order. And every counter has a reset limit, on which the counter resets to its initial value and starts the counting again. The limit of every counter depends on the bits of counter. For example, we have a 8 bit Up counter which means it will count upto 255 and afterwards it will reset and will start agai ...
Hi guys! Hope you’re well today. In this post today, I’ll cover What is Industrial IoT (Internet of Things?)
IIoT is now a talk of mainstream conversation. This term has blown up in the past couple of years. Before we move further to describe IIoT, it is evident that industries are no longer dependent on the traditional production processes that happened to be costly and guaranteed no optimal results. Now companies are willing to incorporate automation in manufacturing and production processes. Smart systems, no doubt, are dangerous for the traditional labor workforce, but on the other hand, they create more opportunities for the people equipped with the latest business trends.
Curious to know more about Industrial IoT, how does it work, the difference between IoT and IIoT, examples of II ...
Welcome to the next tutorial of our Raspberry Pi programming course. Our previous tutorial taught us to set up a webserver in raspberry pi. We also looked at configuring addclient and deploying apps to our repositories. This tutorial will teach us to set up a free media server on Raspberry Pi.
Using a Raspberry Pi as a multimedia server requires:
An operating system and miniDLNA program installed on your Raspberry Pi,
You can attach various cleanly formatted and fragmented hard disks to your Raspberry Pi for storing and streaming media files.
A basic understanding of how to use a computer, Client-server architecture skills, familiarity with Unix terminal and Secure shell, and a passion for computing and the media are a must!
Even if you ...
Hello friends, I hope you all are doing great. Today, we are going to share the 2nd tutorial of Section-VIII in the Raspberry Pi Programming Course. In the previous tutorial, we interfaced a Barcode Scanner with Raspberry Pi 4. In today's tutorial, we will discuss how to set up a web server in raspberry pi. So, let's get started:
Components Required
We are going to use the following components, in today's project:
Ethernet cable
MicroSD card
Keyboard
Mouse
HDMI cable
Monitor
Expand FileSystem
When configuring a Raspberry Pi, select the expand FileSystem option to ensure that all of the Micro SD storage is allocated for the operating system and modify the default Pi passwords to protect your server from attacker ...