Hello readers, I hope you all are doing great. This is the first tutorial of our Raspberry Pi programming series. In this tutorial, we are going to provide a brief description of the Raspberry Pi Pico module designed and developed by the Raspberry Pi organization itself. We will also discuss various features, memory, peripherals interfacing capabilities, hardware architecture, programming techniques etc.
Before moving towards the detailed study of the Raspberry Pi Pico module, let’s first understand the traditional Raspberry Pi Computers.
What is Raspberry Pi?
Raspberry Pi is a single-board computer or a minicomputer. It was created with the goal of making computing knowledge more accessible to those who cannot afford laptops or desktop computers ...
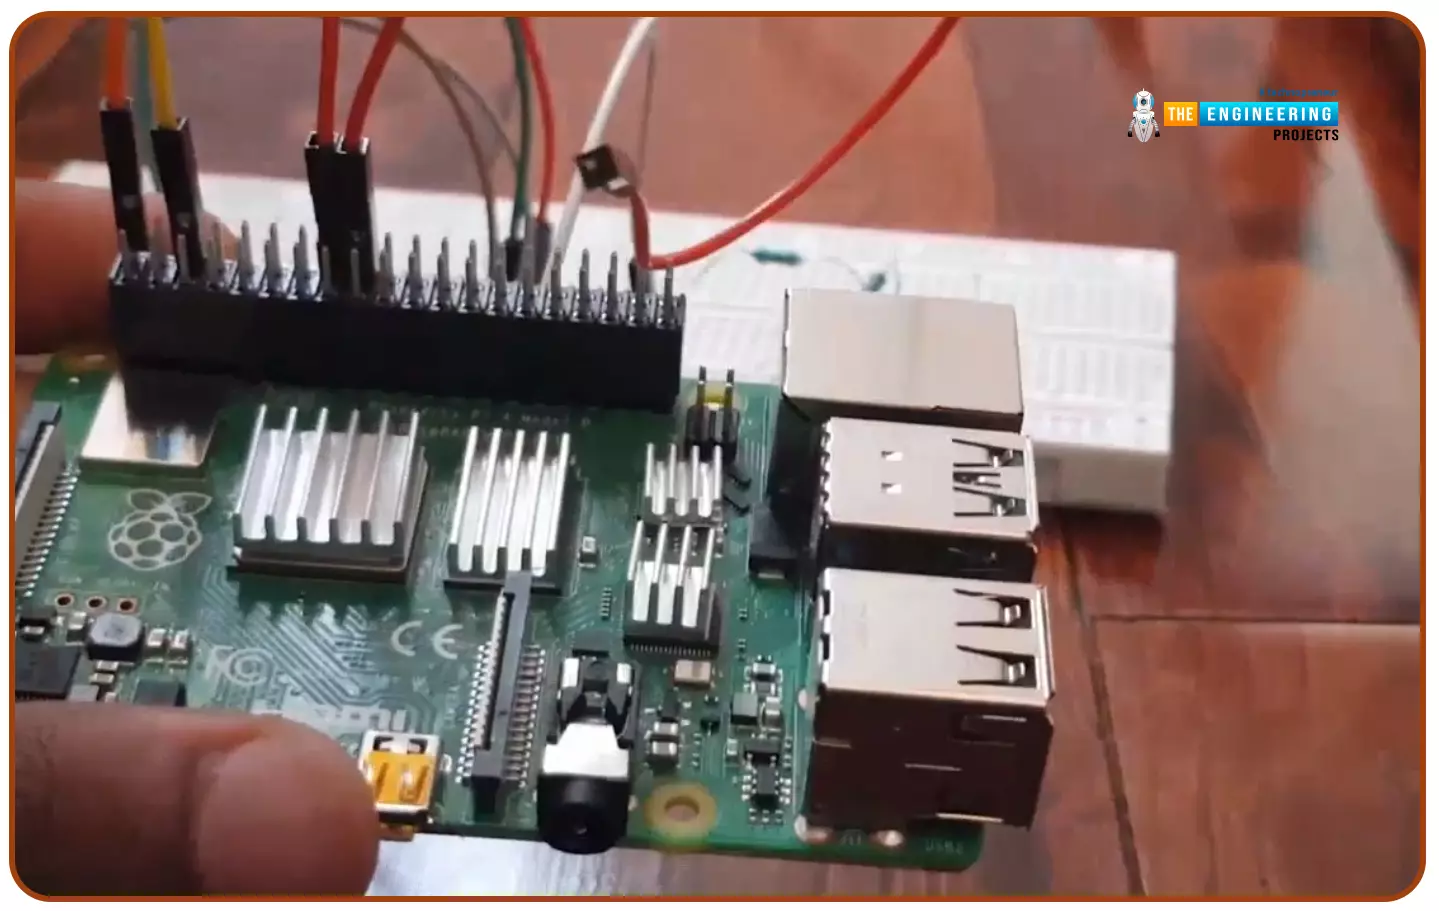
Hello friends, I hope you all are doing well. Today, I am going to share the 5th tutorial of Section-III in our Raspberry Pi Programming Course. In our previous tutorial, we have seen the interfacing of a PIR Sensor with Raspberry Pi 4. In today's tutorial, we will interface an Ultrasonic sensor with Raspberry Pi and will use Python to perform its calculations. So, let's get started:
Components:Here's the list of components, we are going to use in today's project:
Raspberry Pi 4
Ultrasonic sensor
Male-to-female jumper wires
Breadboard1k ohm resistor
2k ohm resistor
What are Ultrasonic Sensors?
An Ultrasonic Sensor consists of a transmitter and a receiver, the transmitter emits the ultrasonic wave, which after hitting some ob ...
Welcome to the next tutorial in our Raspberry Pi 4 programming tutorial. In the previous tutorial, we learned the basics of using a Raspberry Pi as the basis for an Internet of Things-based weather station. However, this is a continuation of the previous tutorial. In the subsequent session, we will learn how to develop the Python code that will bring our weather station circuit design to life. Before that, let us learn how to measure wind direction and rainfall.
Wind direction
Wind vanes
Despite their name, wind vanes do not indicate a change in wind direction. Since the arrow on most television weather maps goes in the opposite direction, this may come as a surprise at first. To determine the wind's direction, a wind vane uses the force of the wind on a vertical blade, which then spins ...
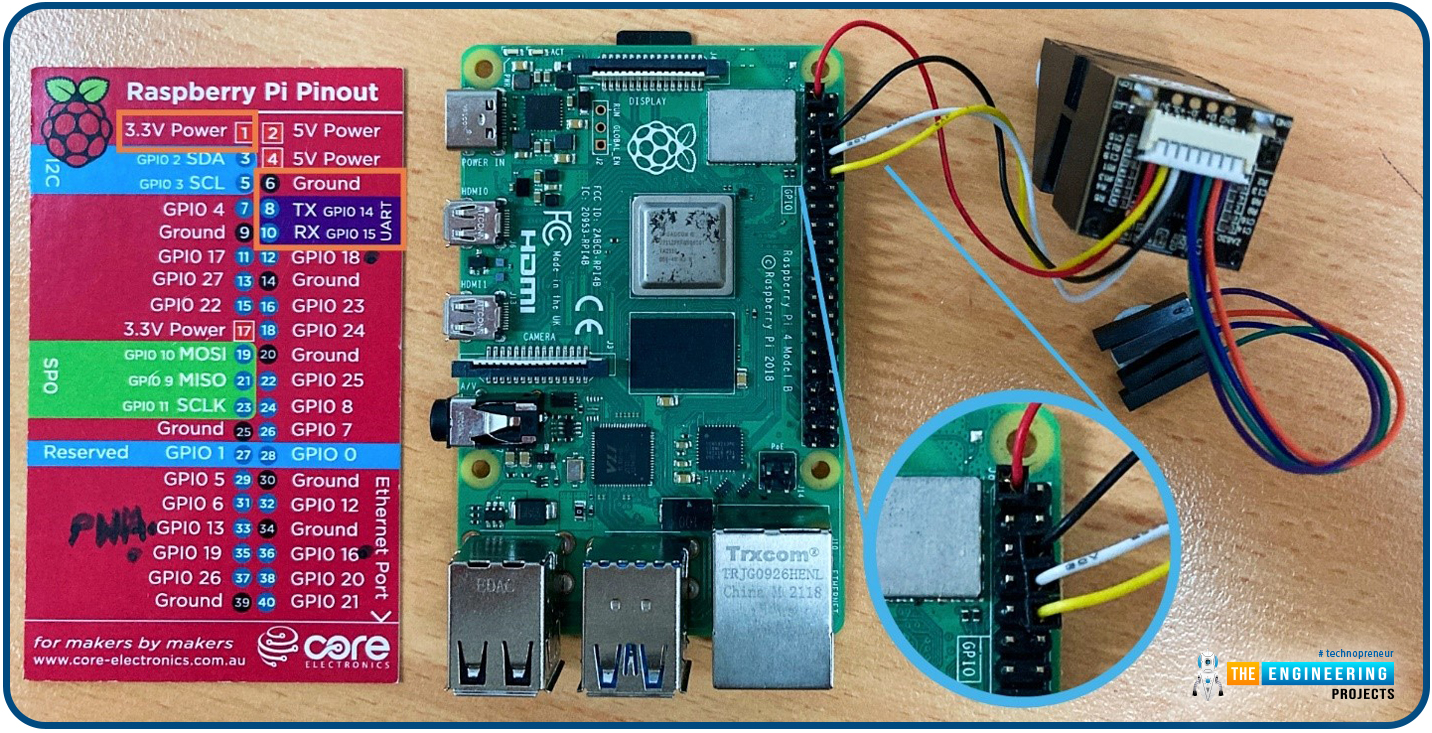
Hello friends, I hope you all are going great. Today, I am going to share the 10th tutorial of Section-III in our Raspberry Pi Programming Course. In our previous tutorial, we interfaced a Gas Sensor MQ-2 with Raspberry Pi 4. Today, we will be interfacing a Fingerprint Sensor with Raspberry Pi today.
After appearing only in science fiction films until recently, fingerprint sensors are often employed to confirm an individual's identity in various contexts. Today, fingerprint-based systems are used for everything from checking in at the office to verifying an employee's identity at the bank, withdrawing cash from an ATM, and proving one's identity at a government agency. For identifying purposes, fingerprint-detecting technology has been used for so ...
Following this, we will configure bitwarden and host it on our Raspberry Pi 4. The last tutorial discussed utilizing a Raspberry Pi to install and run zeroTire on pi 4. By the end of the project, you will have learned how to set up a Raspberry Pi 4 with the necessary software for password management, including bitwarden, docker containers, and portainer, and how to configure their respective user interfaces.
Why Would You Do This?
An effective password manager is a must-have. For the past decade-plus, I've relied on a password manager. The catch is that not all security-focused apps are created equal. Initially, I relied on password managers in my browser, but I soon switched to KeePass. It was an intelligent move ten years ago. The export f ...
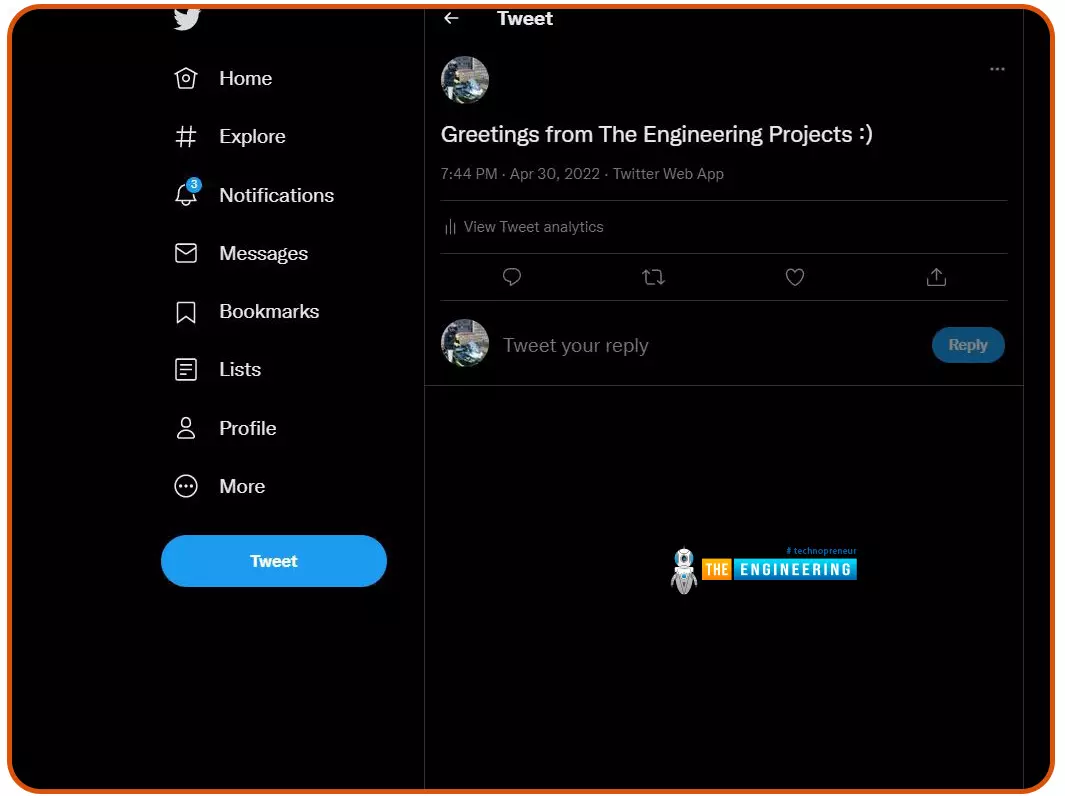
Welcome to the next tutorial of our Raspberry Pi programming course. Our previous tutorial taught us to configure our raspberry pi for voice control. We also discussed some methods of reducing vexing noises so that the voice command program understands you. However, in this lesson, we will learn how to tweet from Raspberry pi.
What will we learn?
Assume you wish to add tweeting into a Raspberry Pi software you're developing. This article will show you how to build a Twitter app, get access privilege tokens, and post a tweet. On our Raspberry Pi, we'll make a simple program that tweets the result of the uptime command. This is a made-up example, but it demonstrates what is needed to tweet from a raspberry pi.
For this session, a repo has been set up. Because we'll be referring to code wit ...
Thank you for being here for today's tutorial of our in-depth Raspberry Pi programming tutorial. The previous tutorial taught us how to install a PIR sensor on a Raspberry Pi 4 to create a motion detector. However, this tutorial will teach you how to connect a single seven-segment display to a Raspberry Pi 4. In the following sections, we will show you how to connect a Raspberry Pi to a 4-digit Seven-Segment Display Module so that the time can be shown on it.
Seven-segment displays are a simple type of Display that use eight light-emitting diodes to show off decimal numbers. It's common to find it in gadgets like digital clocks, calculators, and electronic meters that show numbers. Raspberry Pi, built around an ARM chip, is widely acknowledged as ...
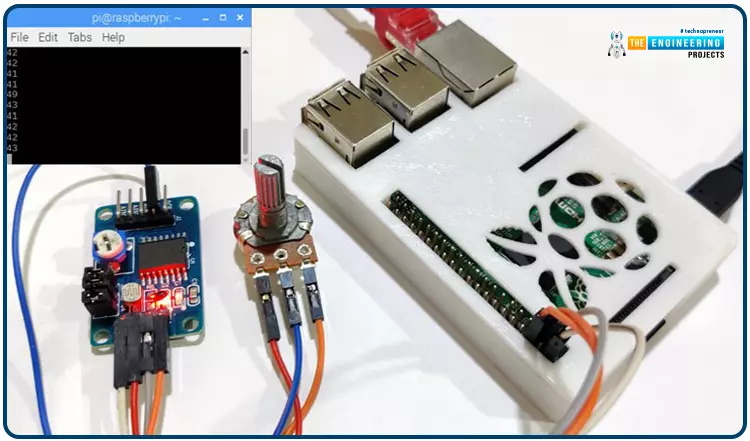
Welcome back to another Python tutorial for the Raspberry Pi 4! The previous tutorial showed us how to construct a Raspberry Pi-powered cell phone with a microphone and speaker for making and receiving calls and reading text messages (SMS). To make our Raspberry Pi 4 into a fully functional smartphone, we built software in Python. As we monitored text and phone calls being sent and received between the raspberry pi and our mobile phone, we experienced no technical difficulties. But in this tutorial, you'll learn how to hook up the PCF8591 ADC/DAC module to a Raspberry Pi 4.
Since most sensors only output their data in analog values, converting them to binary values that a microcontroller can understand is a crucial part of any integrated electroni ...
Hello friends, I hope you all are doing great. Today, we are going to share the 2nd tutorial of Section-VIII in the Raspberry Pi Programming Course. In the previous tutorial, we interfaced a Barcode Scanner with Raspberry Pi 4. In today's tutorial, we will discuss how to set up a web server in raspberry pi. So, let's get started:
Components Required
We are going to use the following components, in today's project:
Ethernet cable
MicroSD card
Keyboard
Mouse
HDMI cable
Monitor
Expand FileSystem
When configuring a Raspberry Pi, select the expand FileSystem option to ensure that all of the Micro SD storage is allocated for the operating system and modify the default Pi passwords to protect your server from attacker ...
Hello readers, I hope your all are doing great. We know that a Raspberry Pi Pico module comes with multiple inbuilt features for example onboard memory, processing units, GPIOs or General Purpose Input Outputs (used to control and receive inputs from various electronic peripherals) etc.
In our previous tutorials, we discussed how to access GPIO pins of the Raspberry Pi Pico module for both input as well as output operations.
In this tutorial, we are going to discuss another important feature of the Raspberry Pi Pico module (RP2040) which is Dual Core Processor. The Pico board features with 133MHz ARM Cortex-M0+, Dual Core Processor. This dual-core feature makes the Pico module capable of multiple thread execution or multithreading.
Now before writing the MicroPython program let’s first un ...