Introduction
Welcome to the next tutorial in our raspberry pi programming. In the previous tutorial, we learned how we could run Xbox cloud on our pi 4. We found that we can run any game easily without lag or having raspberry pi shut down, proving that pi 4 is quite a powerful minicomputer. However, this tutorial will demonstrate how to use Python on raspberry to monitor websites. This Python program will execute on Pi 4 and watch over a website, alerting you whenever it changes or goes down. This is accomplished by keeping a straightforward webpage duplicate locally and monitoring for updates. This webpage monitor is straightforward, so it should work well on pi Zero. Throughout this tutorial, we will demonstrate how to develop your custom code to monitor a webpage. With this information ...
Welcome to the next tutorial of our Raspberry Pi programming course. Our previous tutorial taught us to set up a free media server on Raspberry Pi. We also learned how to connect with different devices and stream media files. This tutorial will teach us how to use a Raspberry pi as a DNS server.
Prerequisites
You must have access to the following resources to follow this tutorial:
Raspbian Pi OS on Raspberry Pi (2-4).
Internet access is required.
There must be a unique identifier for every machine on the Internet to speak with each other Using IP addresses; clients can identify the servers they need to contact. However, no one is expected to remember the digits of an address; thus, DNS names are used instead. This DNS can be built on a Raspberry. It's a number-to-domai ...
Hello friends, I hope you all are doing great. Today, we are going to start a new section in our Raspberry Pi Programming Course. In this section-VIII, we will implement advance protocols in the RPi4 board. Today's our first lecture in this section and we are going to interface a USB Bar Code Scanner with Raspberry Pi 4.If you have visited any big grocery store, you must have seen, it's
quite important as well as difficult to maintain the products in stock
at all times. To ease the job, barcode technology is used because it can
easily maintain an organized database of your items, costs, and
inventory levels in one convenient location. Price changes can be
implemented whenever you desire without requiring new labels for
previously packaged goods. You can tell exactly when your s ...
Hello friends, I hope you all are doing great. In today's tutorial, we are gonna have a look at How to Setup 7 inch HDMI LCD with Raspberry Pi 3. It's our second tutorial in Raspberry Pi 3 series. In our previous tutorials, first we have seen the basic Introduction to Raspberry Pi 3 and after that in our first tutorial, we have had a look at How to Install Raspbian on SD Card for Raspberry Pi 3.
Now we are ready to Setup 7 inch HDMI LCD with Raspberry Pi3 and then will start our raspbian for the first time on Raspberry Pi 3. We will also connect keyboard and mouse. In simple words, we are developing our own simple computer. So, let's get started with How to Setup 7 inch HDMI LCD with Raspberry Pi3:
How to Setup 7 inch HDMI LCD with Raspberry Pi3 ? ...
Hello friends, I hope all are fine. Today, we are going to share the 3rd chapter of Section-III in our Raspberry Pi Programming Course. In our previous lecture, we interfaced the Soil Moisture Sensor with Raspberry Pi 4. Today, we are going to Interface the Infrared(IR) sensor with RPi4. IR Sensor is typically employed for the presence/motion detection of objects in the immediate area. With their low power consumption, straightforward design, and user-friendly features, IR sensors are a popular choice for detection purposes. Infrared(IR) impulses are invisible to the naked eye and lie between the visible and microwave parts of the electromagnetic spectrum. So let's get started:
Components Required
To learn how an IR sensor detects the existence o ...
Hello readers, I hope you all are enjoying our Raspberry Pi Pico programming series. In our previous tutorials, we learned how to access Raspberry Pi Pico’s GPIO pins for both input as well as output operations. For demonstration, we used LED as an output component and a push button as an input component.
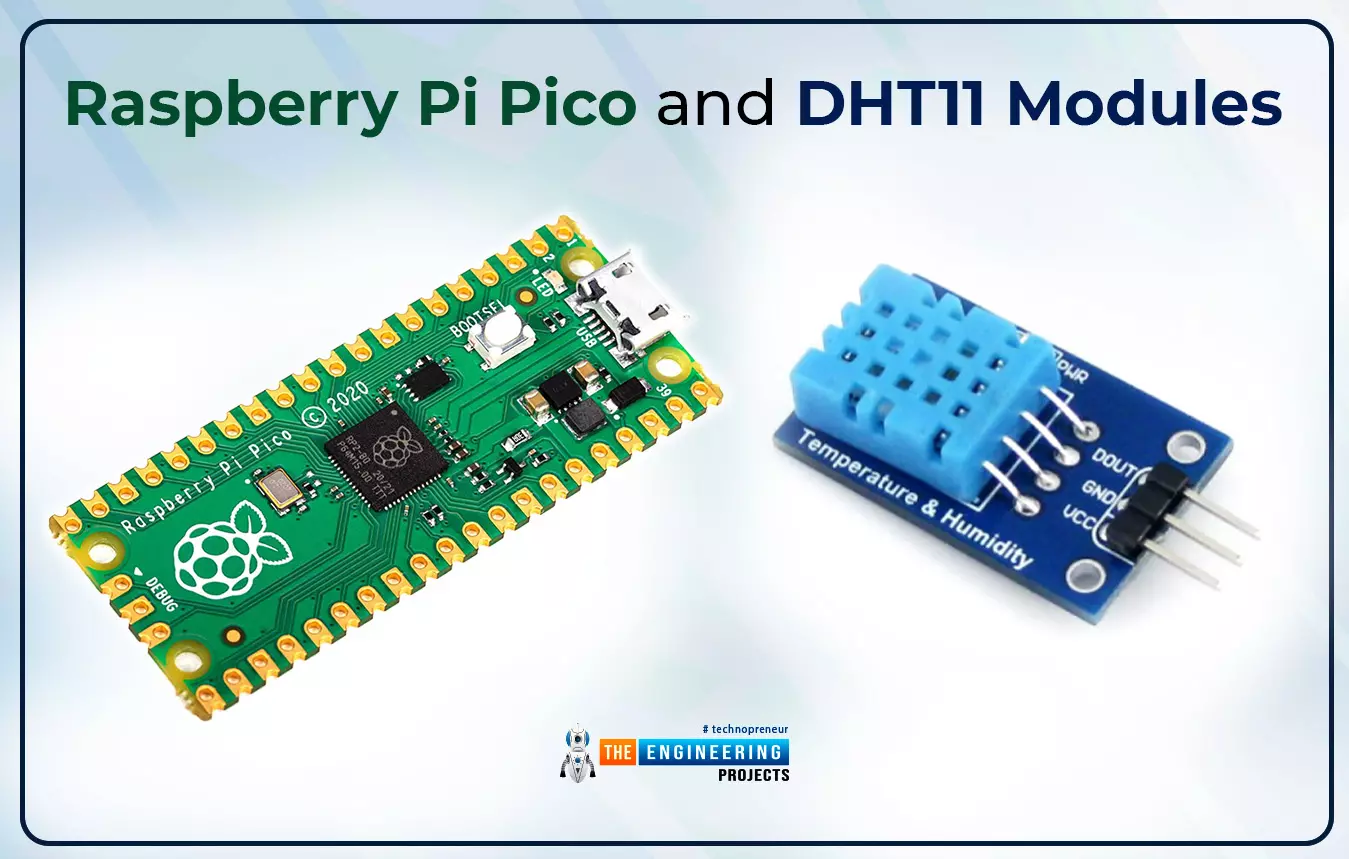
Now let’s learn how to interface sensor modules with the Raspberry Pi Pico module. So, in this tutorial, we will learn how to interface the DHT11 sensor with the Raspberry Pi Pico module and fetch the observed data (from its surrounding) using the MicroPython programming language.
Before writing the code for interfacing and fetching the data from the respective sensor, let’s first have a look at the working operation, features and properties of the DHT sensor.
...
Hello friends, I hope you all are doing great. In today's tutorial, we are gonna have a look at LED Blinking using Raspberry Pi 3. It's our first embedded project on Pi 3 and its quite simple. In our previous tutorials on Raspberry Pi 3, we have seen How to install Rasbian on SD Card for Pi 3 and then we have also setup HDMI LCD with Pi 3. So, now our raspberry Pi 3 is ready to program.
In today's tutorial, we will interface a single LED with digital Pin of Raspberry Pi and then we will design a simple code in Python which will turn this LE ON and OFF. It will be quite simple and I will guide you step by step, but if you got into any trouble then ask in comments and I will help you out. So, let's get starteed with LEd Blinking using Raspberry Pi 3 ...
Hello readers, I hope you all are doing great. In our previous tutorial, we discussed the installation procedure of Visual Studio Code for programming Raspberry Pi Pico.
We have already mentioned in our previous tutorials that RP2040 or Raspberry Pi Pico supports multiple programming languages like C/C++, Circuit python, MicroPython cross-platform development environments. Raspberry Pi Pico module consists of a built-in UF2 bootloader enabling programs to be loaded by drag and drop and floating-point routines are baked into the chip to achieve ultra-fast performance.
There are multiple development environments to program a Raspberry Pi Pico board like Visual Studio Code, Thonny Python IDE, Arduino IDE etc.
So, in this tutorial, we will learn how t ...
to our new beginner’s course on Raspberry Pi. This course is appropriate for anyone using either a traditional Raspberry Pi board or the new Raspberry Pi 400 board that includes an integrated keyboard and display. Learning how to code, building robots, and doing plenty of other strange and exciting things are all possible with this low-cost computer setup. The Raspberry Pi can do everything a computer can do, from surfing the web to viewing movies and music, and playing video games.
Raspberry Pi is much more than a modern computer. It`s created to educate young people on how to program in languages such as Scratch and Python, and it comes with all of the major programming languages pre-installed. The world is in desperate need of programmers now ...
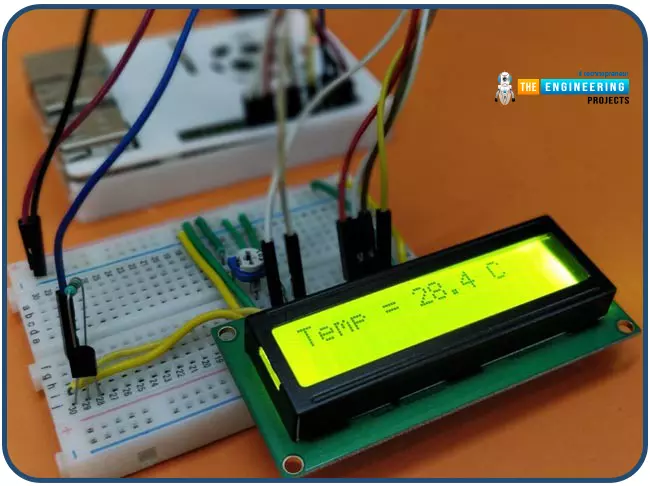
Hello friends, I hope you all are having fun. Today, we are going to share the 7th tutorial of Section-III in our Raspberry Pi Programming Course. In the last tutorial, we interfaced a DHT11 sensor with Raspberry Pi 4. Today, we are going to interface another temperature sensor i.e. DS18B20 with Raspberry Pi 4.
DS18B20 is a popular temperature sensor especially in severe/critical environments i.e. chemical plants, mines, industrial sites etc. because of its 1-wire operational technique and accurate readings up to 4 decimal digits.
Project Description
Today, we will interface a DS18B20 temperature sensor with Raspberry Pi 4 and will display the values on a 16x2 LCD.Let's have a look at the components required for this project:
Components ...