We're glad you could join us for another lesson in our comprehensive Raspberry Pi programming guide. I will show you how to install and connect the RFID card chip to your Raspberry Pi through step-by-step instructions.
Modern security systems would only be complete using radio frequency (RFID) devices. To control who can enter a facility or which rooms they can access, RFID chips and card readers are employed. The RFID card's unique identification number can be read wirelessly with a wall-mounted RFID reader. A door will only unlock and allow entry if the RFID card's unique identification number matches a list of approved cards.
It's fun to tinker with this circuit, and it may be used in many other applications, from opening locks to taking a ...
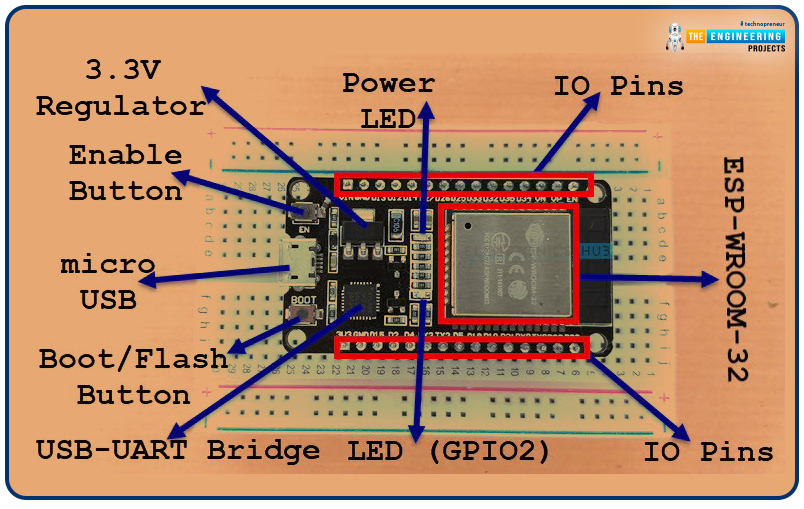
Welcome to the next tutorial of our raspberry pi 4 programming course. A previous article covered connecting a Remote Control Radio Frequency Module (433 MHz) to a Raspberry Pi 4. To turn things on and off wirelessly, we programmed a Raspberry Pi 4 to act as a radio-frequency (RF) remote control. However, this guide will study how to wirelessly pair a Raspberry Pi 4 and an ESP32. After reading this article, you'll get a good grounding in the fundamentals of Bluetooth module operation between two ESP32 and Pi 4 communication.
When it comes to sharing data over short distances using Ultra High-Frequency Radio Waves, Bluetooth is one of the most reliable and effective short-range wireless communication solutions. Since Bluetooth Technology was initially conceived as a cable substitution tech ...
Thank you for being here for today's tutorial of our in-depth Raspberry Pi programming tutorial. The previous tutorial taught us how to install a PIR sensor on a Raspberry Pi 4 to create a motion detector. However, this tutorial will teach you how to connect a single seven-segment display to a Raspberry Pi 4. In the following sections, we will show you how to connect a Raspberry Pi to a 4-digit Seven-Segment Display Module so that the time can be shown on it.
Seven-segment displays are a simple type of Display that use eight light-emitting diodes to show off decimal numbers. It's common to find it in gadgets like digital clocks, calculators, and electronic meters that show numbers. Raspberry Pi, built around an ARM chip, is widely acknowledged as ...
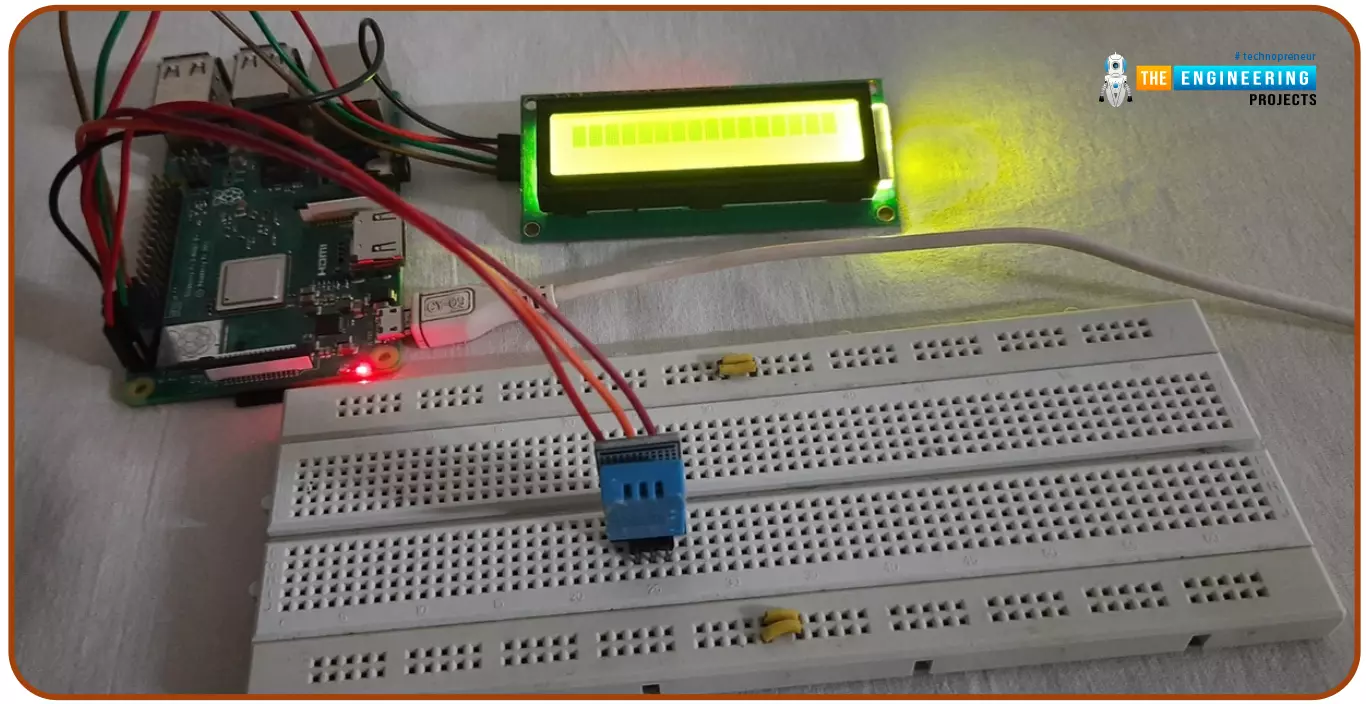
Hello friends, I hope you all are doing great. Today, I am going to share the 6th tutorial of Section-III in the Raspberry Pi Programming Course. In our previous tutorial, we have seen how to interface an Ultrasonic Sensor with Raspberry Pi 4 and used Python to perform its calculations. In today's tutorial, we'll discuss how to interface a DHT11 temperature and humidity sensor to a Raspberry Pi. So, let's get started:
ComponentsHere's the list of components, we are going to use in today's circuit:
LCD display
DHT11 sensor
Raspberry pi
Breadboard
Male-to-female jumper wires
What is a DHT11 sensor?
DHT11 is a low-cost digital sensor, used to measure temperature and humidity in the surr ...
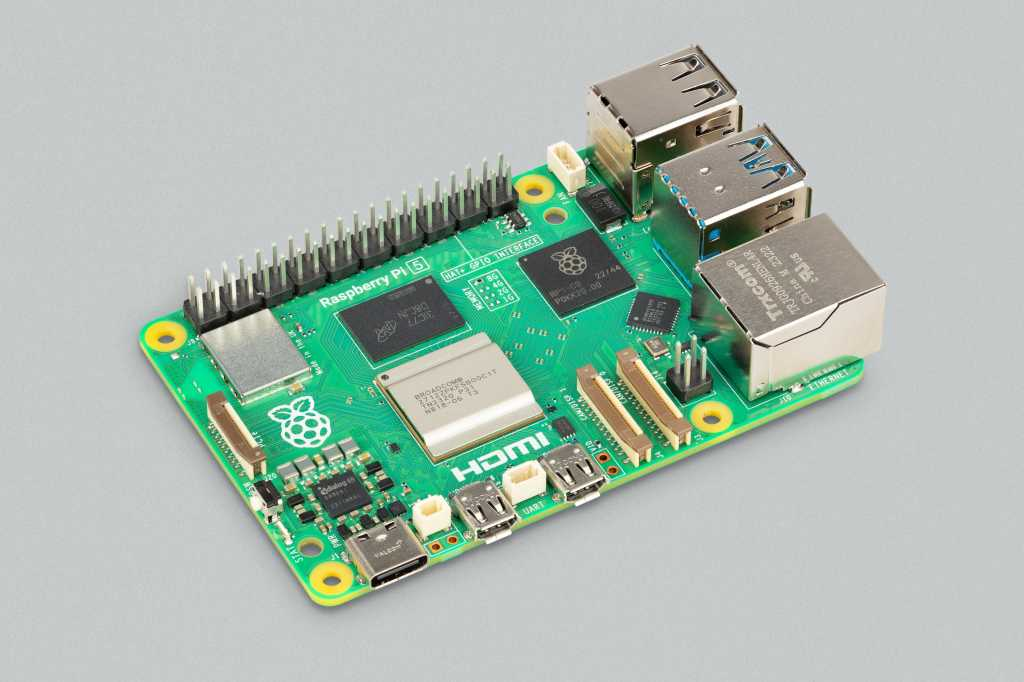
Hello everyone, I hope you all are doing great. In today's lecture, we will discuss one of the most advanced Embedded Microprocessors i.e. Raspberry Pi 5. At the time of this writing, Raspberry Pi 5 is the latest board designed in the Raspberry Pi series. Raspberry Pi 5 is designed by a UK-based charity foundation named Raspberry Pi Foundation. Initially, these boards were designed for students and hobbyists but because of their compact design and advanced features, they became popular among embedded engineers, especially for IoT Systems. Raspberry Pi boards can be used for simple tasks i.e. word processing, web browsing etc., and in the complex fields of robotics, multimedia
centers, home automation, etc.
In today's lecture, we will first dis ...
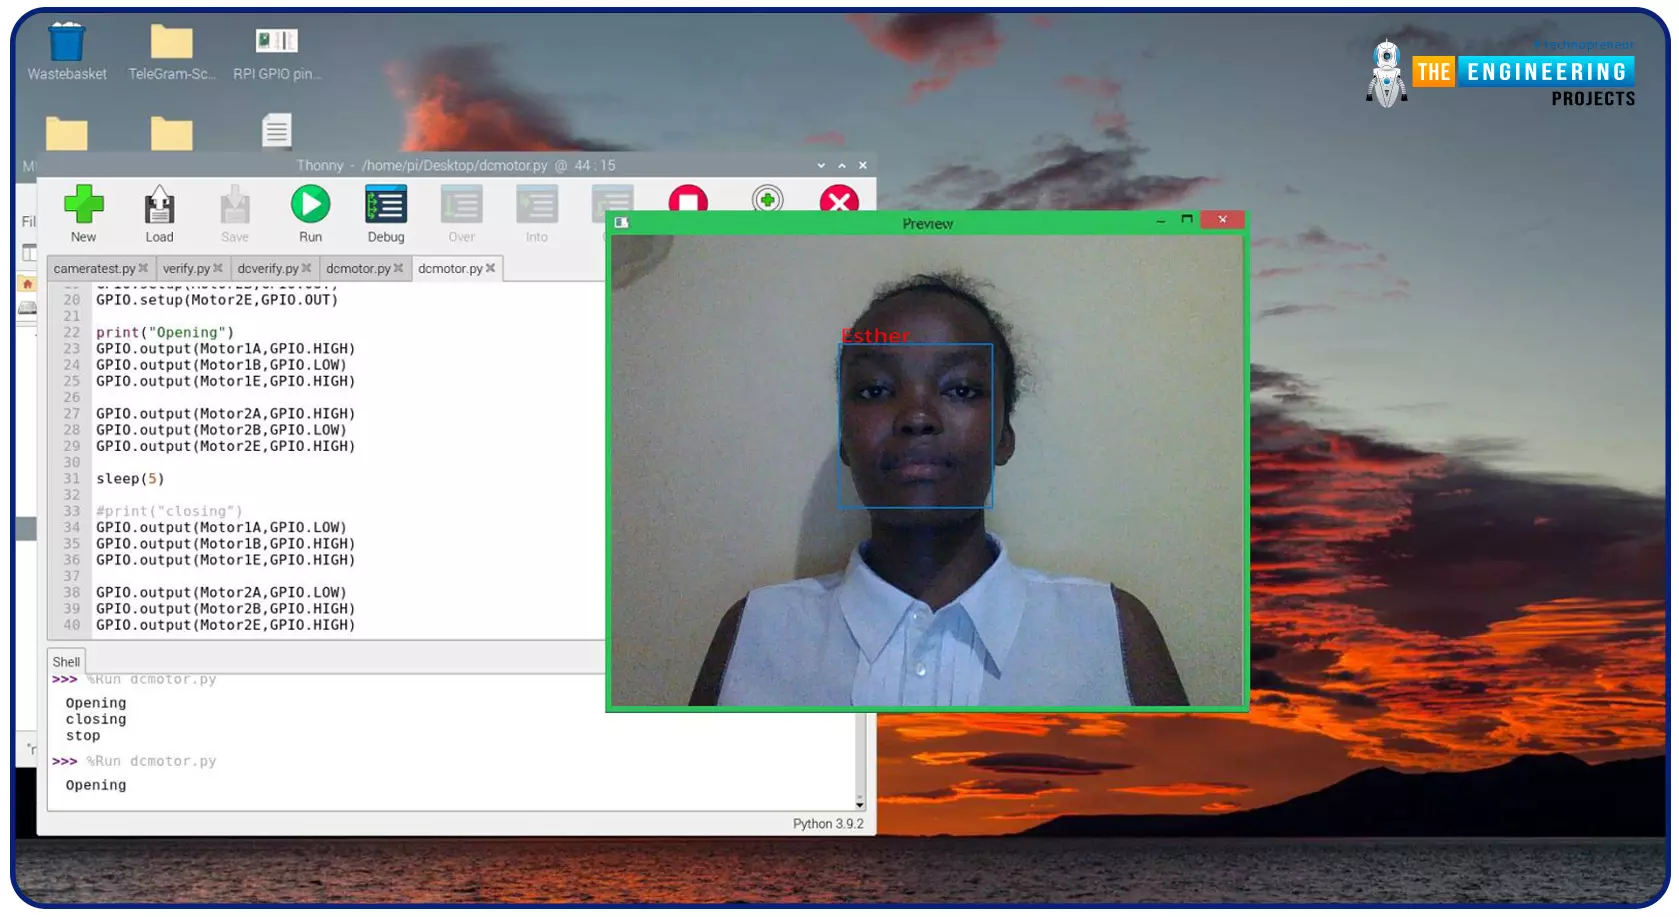
Greeting, and welcome to the next tutorial of our raspberry programming tutorial. In the previous tutorial, we learned how to build a smart attendance system using an RFID card reader, which we used to sign in students in attendance in a class. When it comes to building a face-recognition program on a Raspberry Pi, this tutorial will show you how. Two Python programs will be used in the lesson, one of which is a Training program that analyzes a collection of photographs of a certain individual and generates a dataset. (YML File). The Recognizer application uses the YML script to detect a face and afterward utters the person's name when the face is detected.
Components
Raspberry Pi
Breadboard
L293 or SN755410 motor driver chip
Jumper wir ...
Welcome to the next tutorial of our Raspberry Pi programming course. Our previous tutorial taught us to set up a free media server on Raspberry Pi. We also learned how to connect with different devices and stream media files. This tutorial will teach us how to use a Raspberry pi as a DNS server.
Prerequisites
You must have access to the following resources to follow this tutorial:
Raspbian Pi OS on Raspberry Pi (2-4).
Internet access is required.
There must be a unique identifier for every machine on the Internet to speak with each other Using IP addresses; clients can identify the servers they need to contact. However, no one is expected to remember the digits of an address; thus, DNS names are used instead. This DNS can be built on a Raspberry. It's a number-to-domai ...
Hello friends, I hope you all are doing great. In today's tutorial, I am going to explain How to Create PWM in Raspberry Pi 3. In our previous tutorial, we have seen How to Create GUI in Raspberry Pi 3, & we have also controlled an LED from the GUI Buttons. So, I am gonna take that project and will add PWM code in it.
So, I would recommend you to first have a look at LED Blinking with Raspberry Pi 3 in which we have designed this simple project and then check How to Create GUI in Raspberry Pi 3, where we have controlled that LED digitally with GUI. But today, we are gonna control the intensity of this LED by creating a PWM Pulse in Raspberry Pi 3. Along with that, we are also gonna have a look at How to use Scale in Raspberry Pi 3. I will add ...
Thank you for joining us for yet another session of this series on Raspberry Pi programming. In the preceding tutorial, we integrated a real-time clock with our raspberry pi four and used it to build a digital clock. However, In this tutorial, we will construct your personal Twitter bot using Tweepy, a Py framework for querying the Twitter application programming interface.
You will construct a Response to mentions robot that will post a response to everybody's tweet mentioning it with a certain keyword.
The response will be a photo we will make and put any text over it. This message is a quote you will acquire from a 3rd application programming interface. Finally, we will look at the benefits and drawbacks of bots.
This is what it looks like:
...
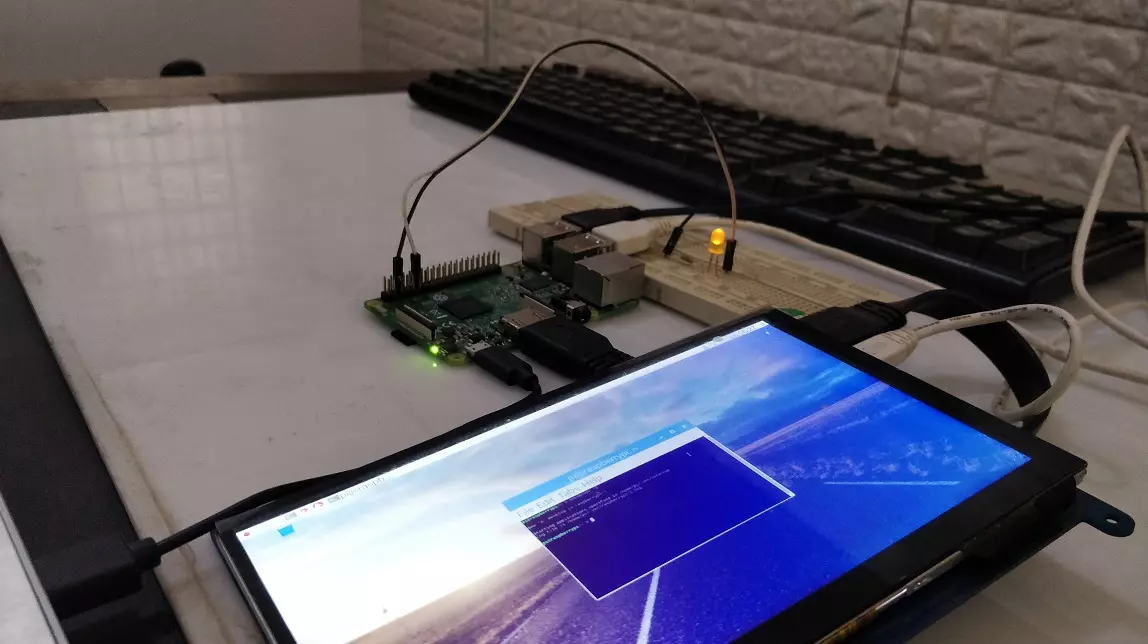
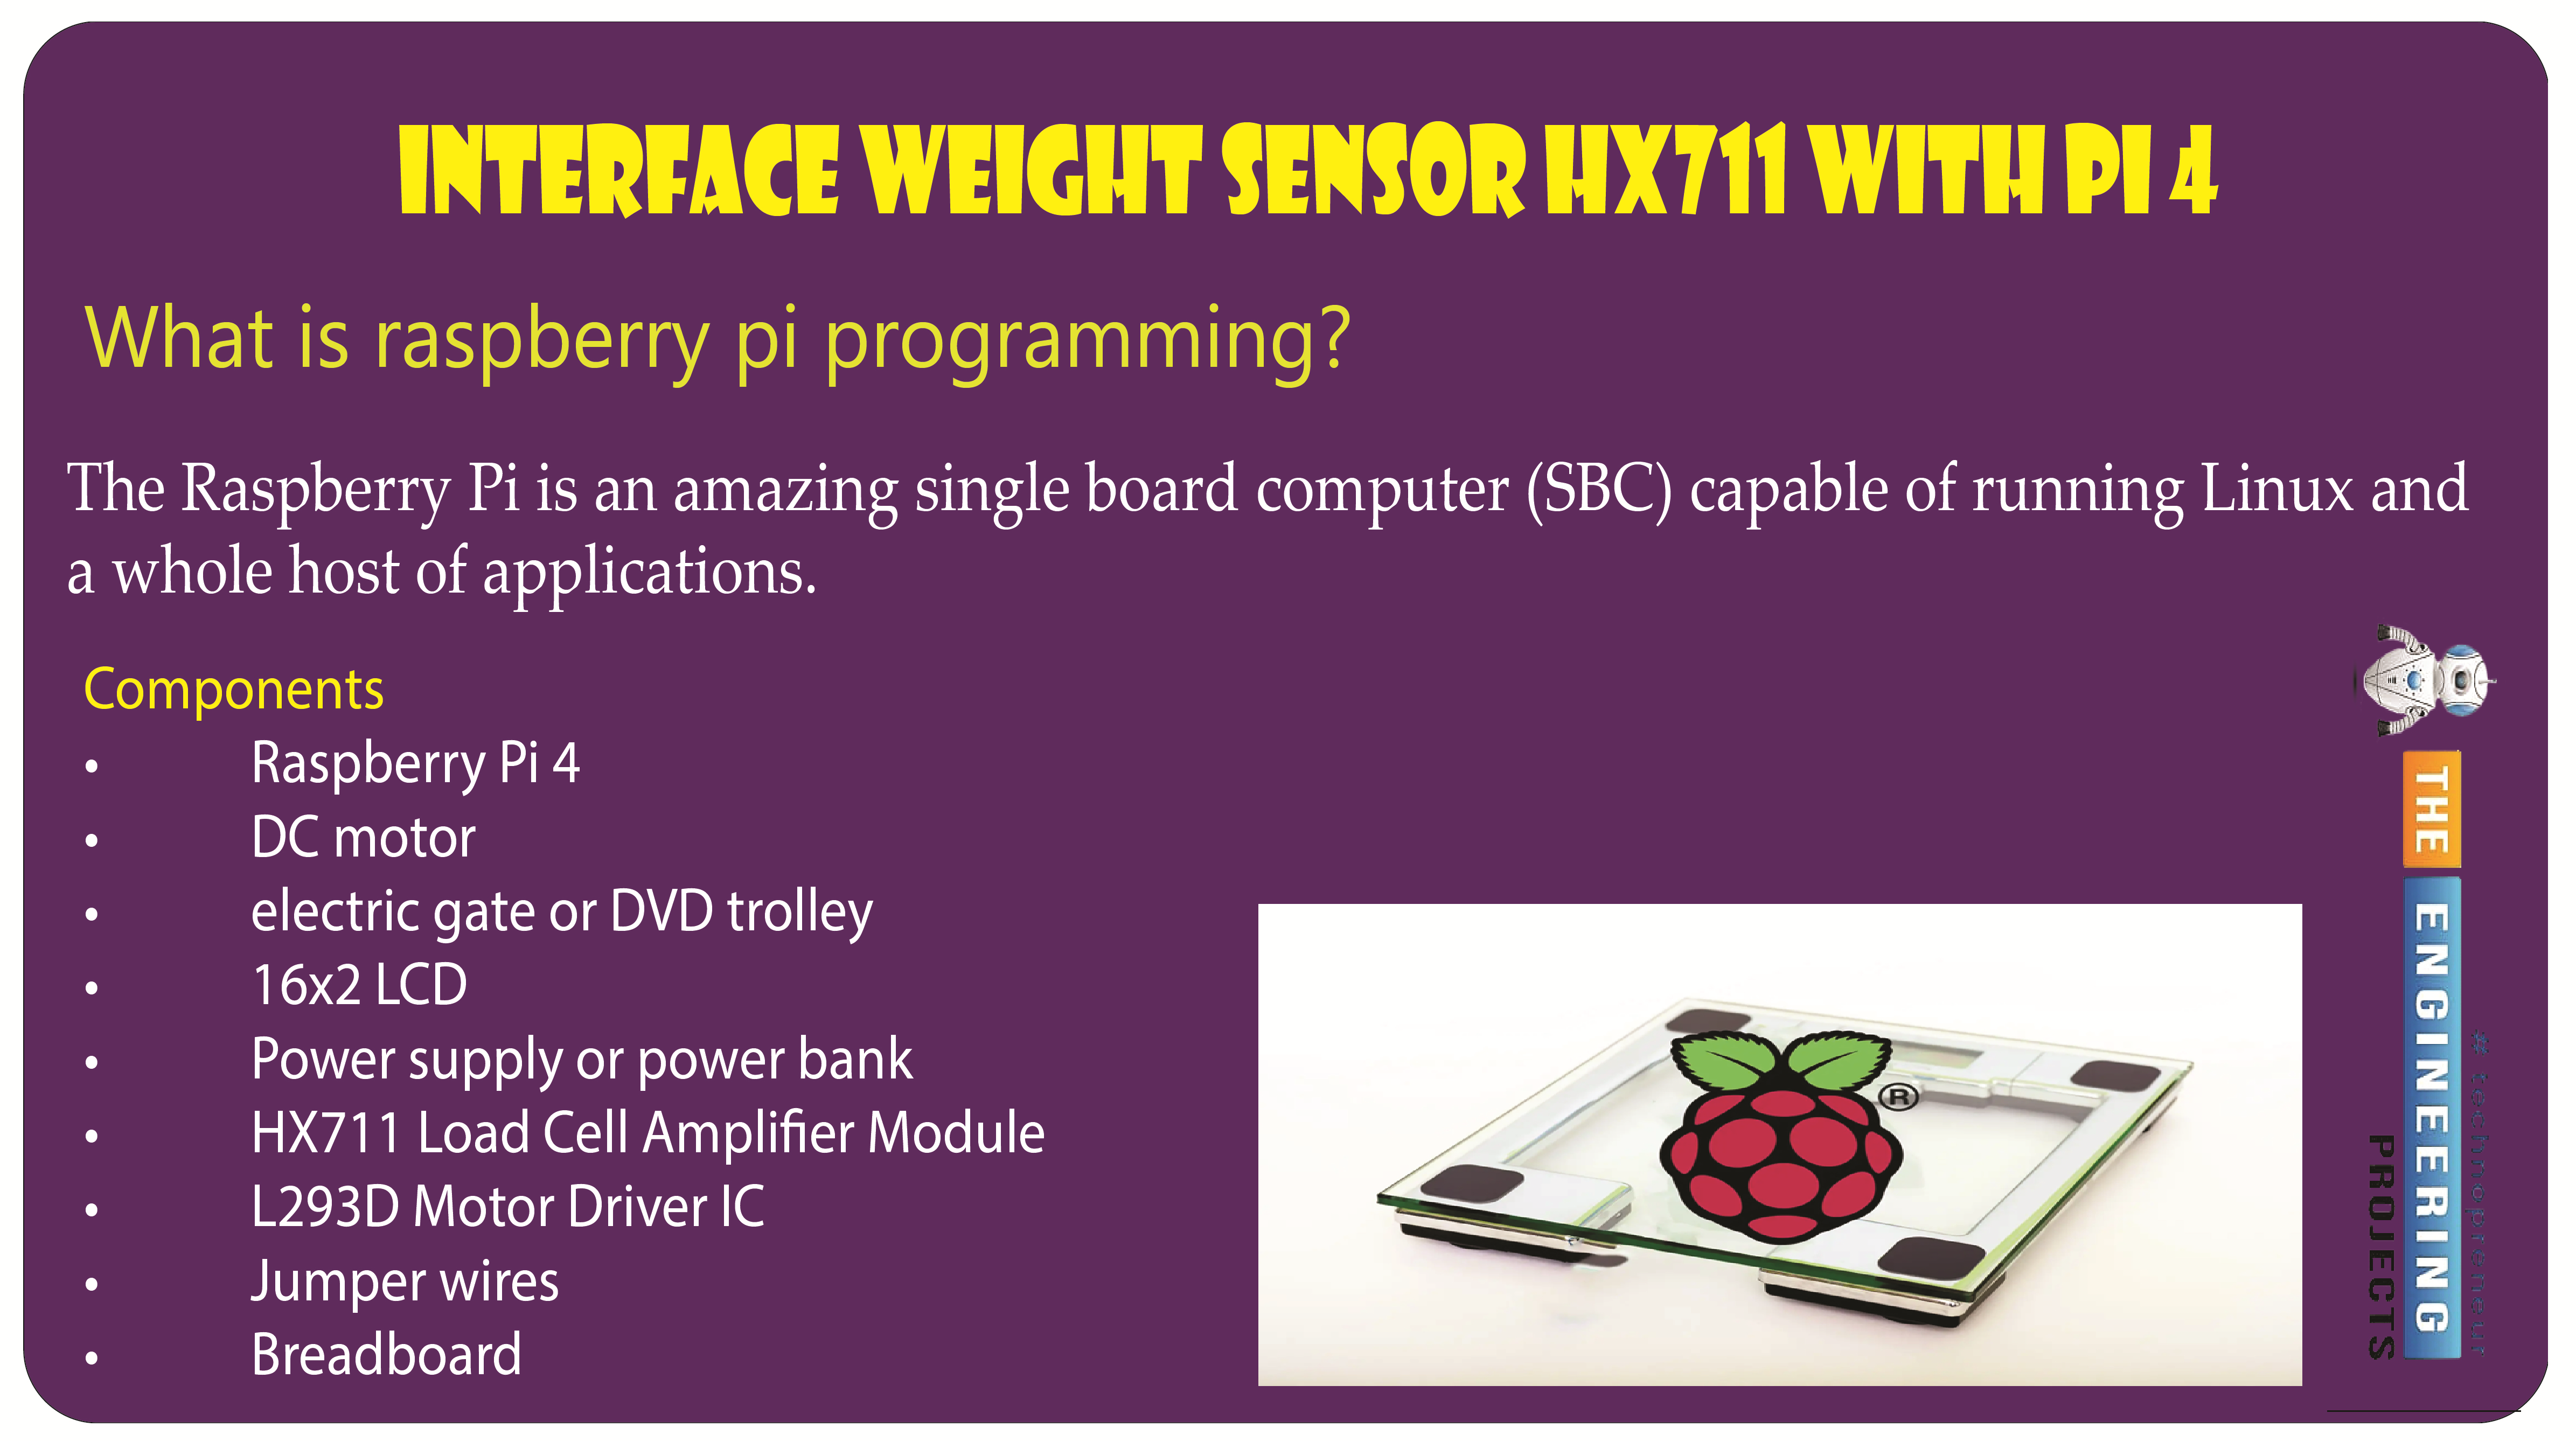
Welcome to the next tutorial of our raspberry pi programming tutorial. The previous tutorial showed us how to set up a weather station using the Internet of Things (IoT) on a Raspberry Pi 4. First, we studied how a weather station works on a fundamental level. Then we developed a Python script to collect data from the station. In contrast, we'll construct an automatic gate using a Raspberry Pi, a load cell, and an HX711 weight sensor.
These pressure-sensitive gates are common in shopping centers and showrooms; they open when someone is in the immediate vicinity and close again when the person is out of sight. Like the Automatic Gate, we just made, this one will open in response to weight or pressure and stay that way until the force is removed. If ...