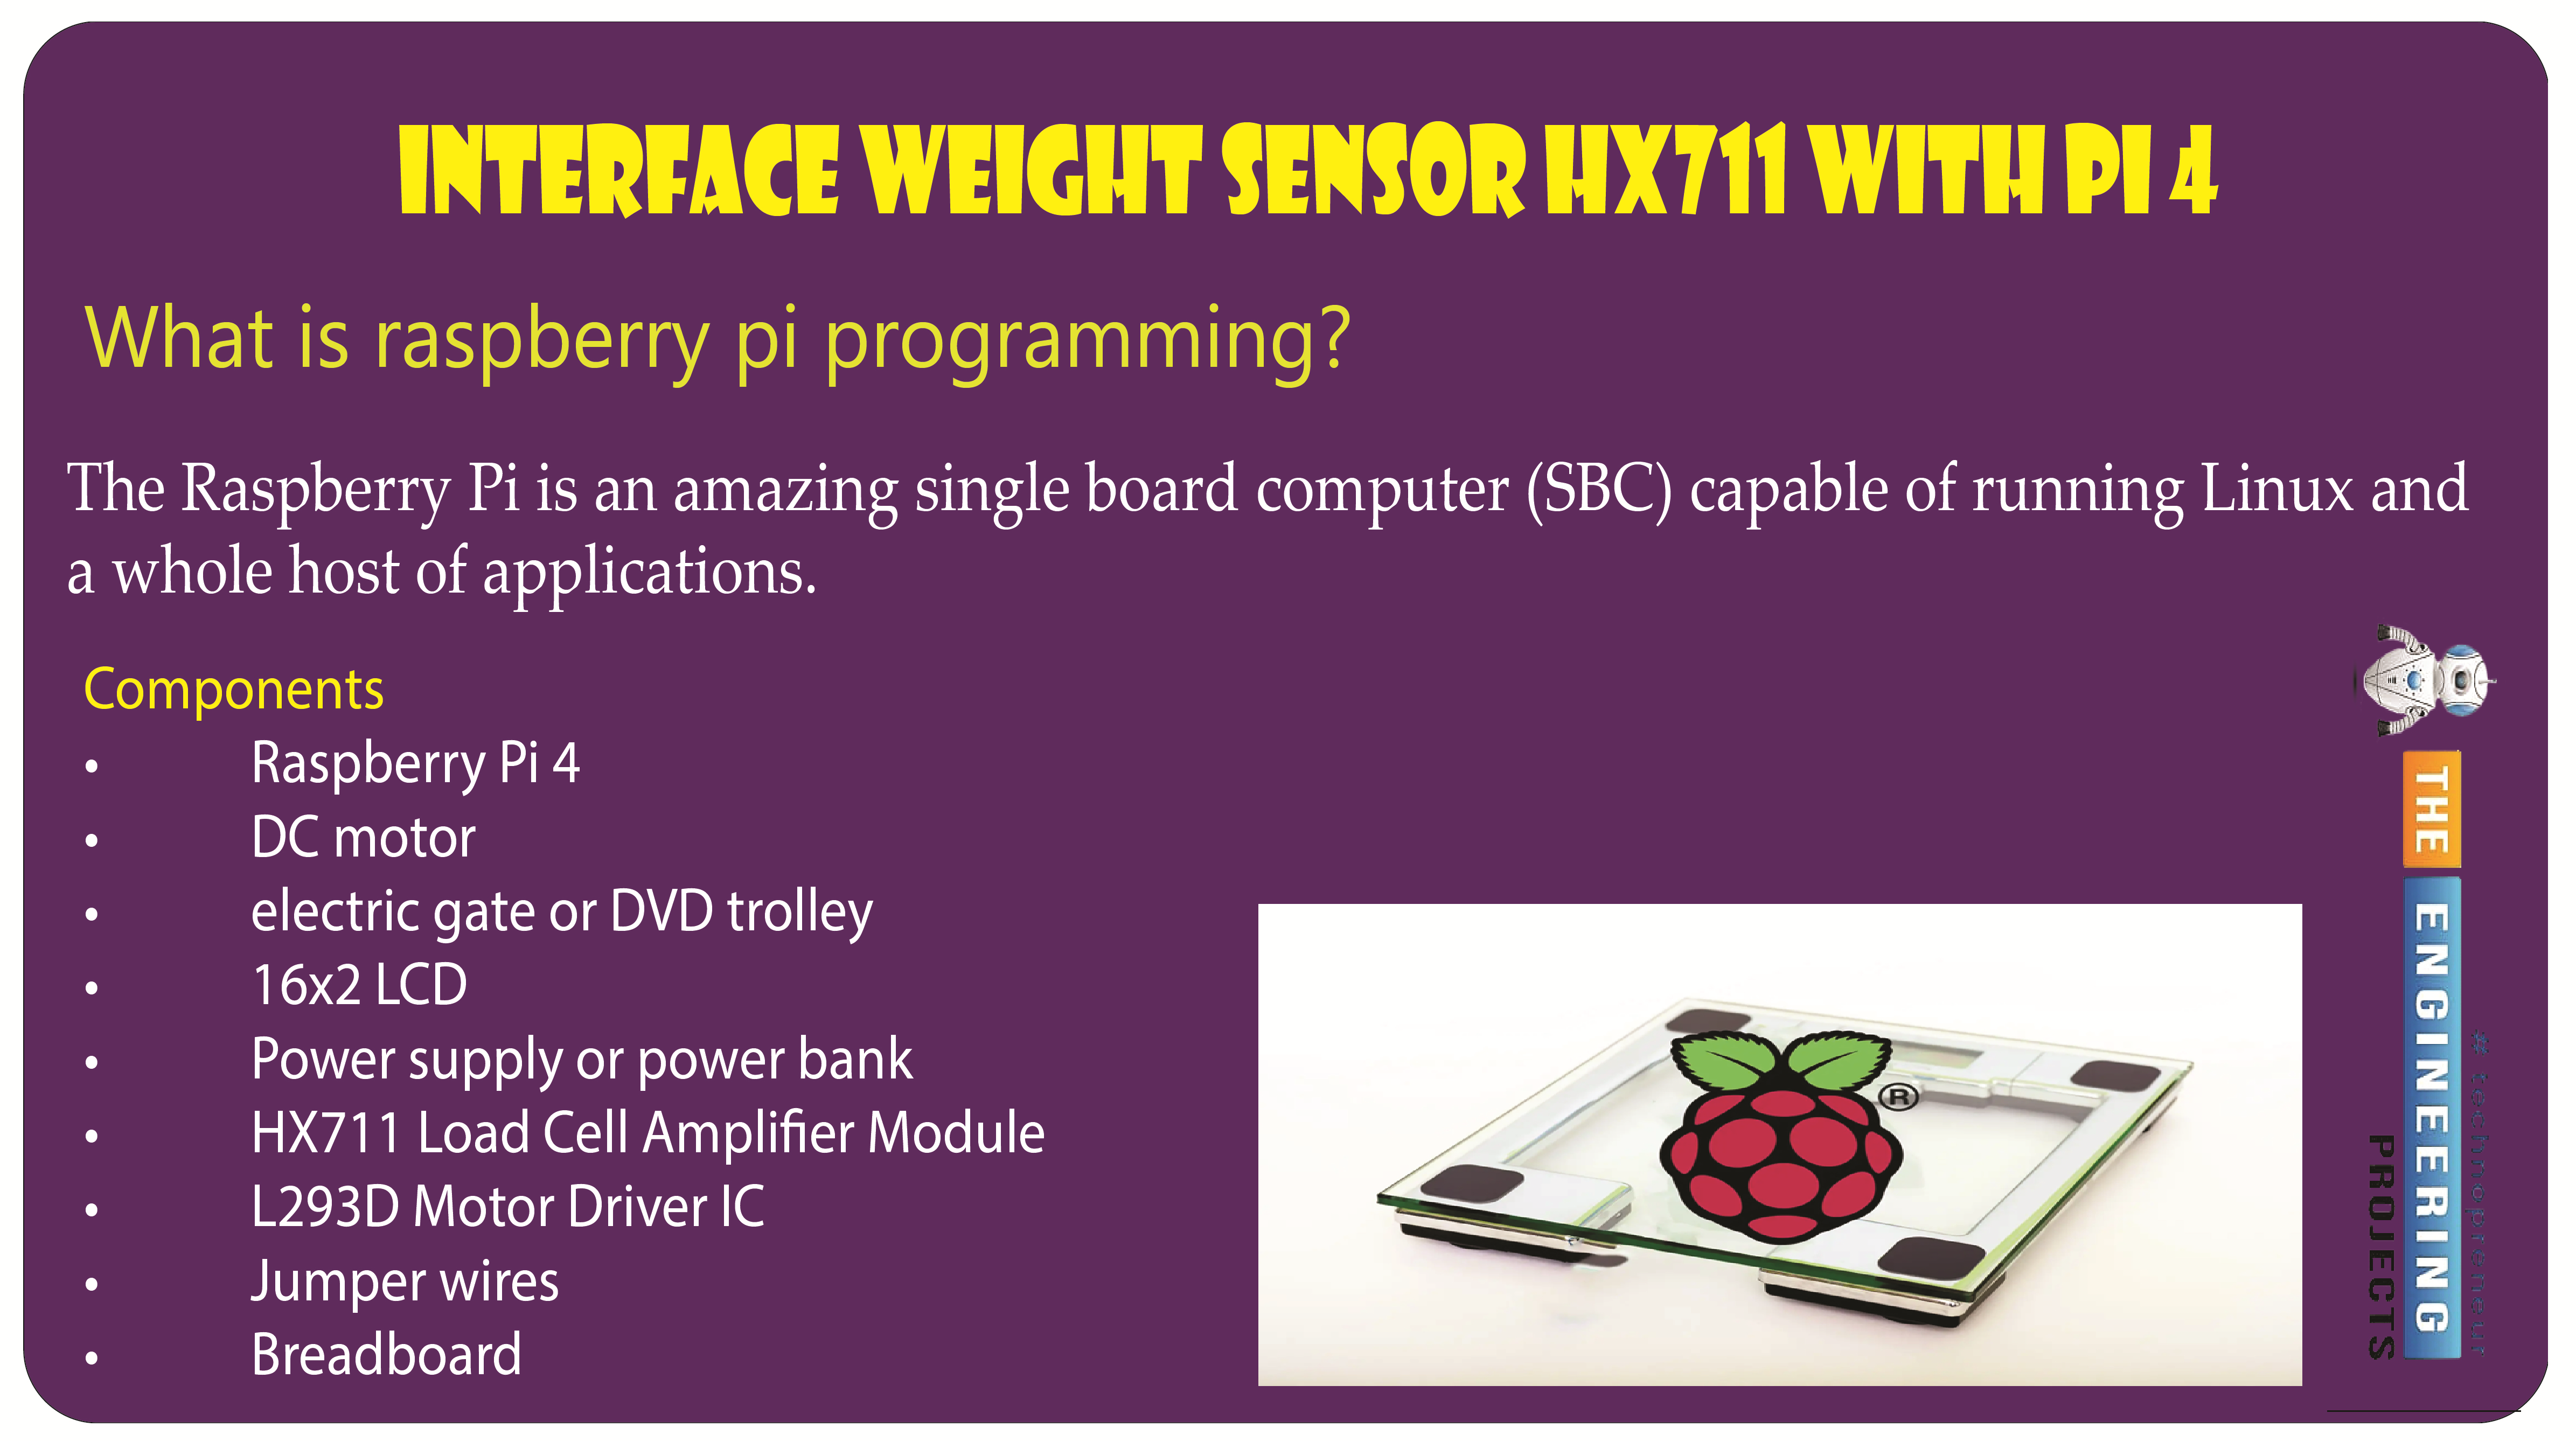
Welcome to the next tutorial of our raspberry pi programming tutorial. The previous tutorial showed us how to set up a weather station using the Internet of Things (IoT) on a Raspberry Pi 4. First, we studied how a weather station works on a fundamental level. Then we developed a Python script to collect data from the station. In contrast, we'll construct an automatic gate using a Raspberry Pi, a load cell, and an HX711 weight sensor.
These pressure-sensitive gates are common in shopping centers and showrooms; they open when someone is in the immediate vicinity and close again when the person is out of sight. Like the Automatic Gate, we just made, this one will open in response to weight or pressure and stay that way until the force is removed. If ...
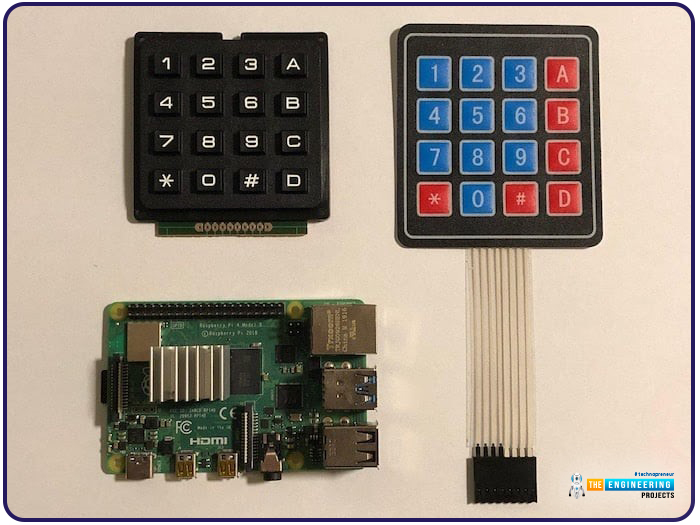
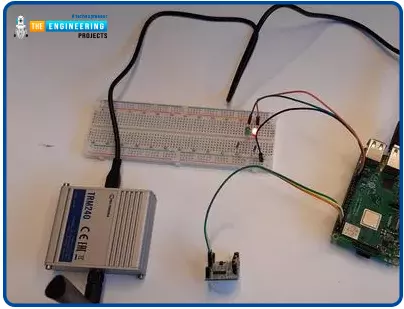
Hello friends, I hope you all are doing well. Welcome to the next tutorial of our Raspberry Pi 4 programming course. In the previous lecture, we interfaced LCD 16x2 with Raspberry Pi 4. Today, we will interface a keypad 4x4 to Raspberry Pi 4. In embedded projects, a keypad is used to get user input i.e. calculator, ATM keypad etc. Different types of Keypads are available i.e. 4x4, 4x3 etc.
So, let's get started:
Components Required
We will need the following components in our today's project:Raspberry Pi 4Keypad 4x4BreadboardConnecting Wires
Keypad 4x4
A keypad is a collection of push buttons, arranged in a matrix form.Keypad 4x3 means the keypad has 4 rows and 3 columns and 12 buttons in total. A 4 by 4 keypad membrane has 8 pins in t ...
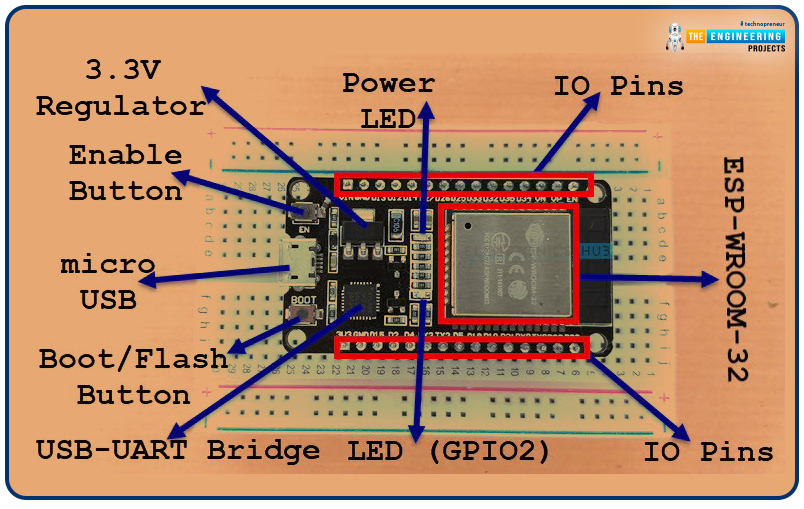
Welcome to the next tutorial of our raspberry pi 4 programming course. A previous article covered connecting a Remote Control Radio Frequency Module (433 MHz) to a Raspberry Pi 4. To turn things on and off wirelessly, we programmed a Raspberry Pi 4 to act as a radio-frequency (RF) remote control. However, this guide will study how to wirelessly pair a Raspberry Pi 4 and an ESP32. After reading this article, you'll get a good grounding in the fundamentals of Bluetooth module operation between two ESP32 and Pi 4 communication.
When it comes to sharing data over short distances using Ultra High-Frequency Radio Waves, Bluetooth is one of the most reliable and effective short-range wireless communication solutions. Since Bluetooth Technology was initially conceived as a cable substitution tech ...
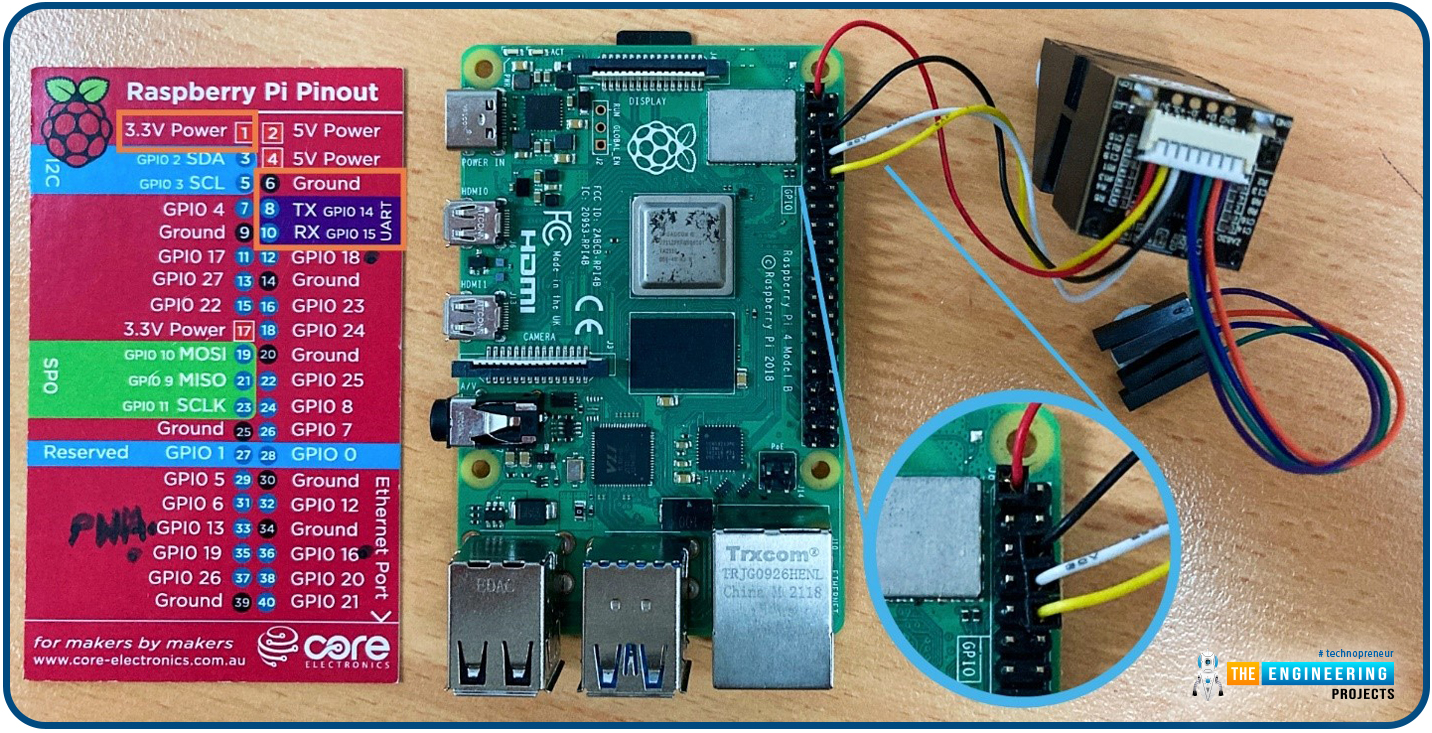
Welcome to the next tutorial of our raspberry pi 4 programming course. The last guide covered connecting a Sharp infrared distance measurement sensor to a Raspberry Pi 4. Infrared (IR) sensors were demonstrated to be widely used for nearby object recognition and motion tracking. But in this session, we'll utilize Raspberry Pi 4 to create a radio-frequency (RF) remote control that can be used to operate the gadgets wirelessly. With the help of this RF remote control, we can Power On/Off the devices.
Components
Transmitter Side
RF Transmitter
HT12E IC
4 Push Buttons
750k resistor
9 Volt battery
Receiver Side
Raspberry Pi
16x2 LCD
10K POT
Breadboard
1K Resistor (Five)
33K resistor
HT12D IC
RF Receiver
LEDs (Five)
4 10K resistor
Jumper wires
RF Module
This ...
Hello friends, I hope all are fine. Today, we are going to share the 3rd chapter of Section-III in our Raspberry Pi Programming Course. In our previous lecture, we interfaced the Soil Moisture Sensor with Raspberry Pi 4. Today, we are going to Interface the Infrared(IR) sensor with RPi4. IR Sensor is typically employed for the presence/motion detection of objects in the immediate area. With their low power consumption, straightforward design, and user-friendly features, IR sensors are a popular choice for detection purposes. Infrared(IR) impulses are invisible to the naked eye and lie between the visible and microwave parts of the electromagnetic spectrum. So let's get started:
Components Required
To learn how an IR sensor detects the existence o ...
Thank you for joining us today for our in-depth Raspberry Pi programming tutorial. The previous guide covered the steps necessary to connect a fingerprint scanner to a Raspberry Pi 4. In addition, we developed a python script to complement the sensor's ability to identify fingerprints. Yet, in this guide, we'll discover how to interface a ws2812 RGB to a Raspberry Pi 4.
Bright, colorful lights are the best, and this tutorial shows you how to set up Fully Configurable WS2812B led strips to run on a Pi 4 computer as quickly and flexibly as possible. In that manner, you can have the ambiance of your home reflect your tastes.
In most cases, when people talk about a "WS2812B Strip," they mean a long piece of extensible PCB with a bunch of different RG ...
Hello friends, I hope you all are going great. Today, I am going to share the 10th tutorial of Section-III in our Raspberry Pi Programming Course. In our previous tutorial, we interfaced a Gas Sensor MQ-2 with Raspberry Pi 4. Today, we will be interfacing a Fingerprint Sensor with Raspberry Pi today.
After appearing only in science fiction films until recently, fingerprint sensors are often employed to confirm an individual's identity in various contexts. Today, fingerprint-based systems are used for everything from checking in at the office to verifying an employee's identity at the bank, withdrawing cash from an ATM, and proving one's identity at a government agency. For identifying purposes, fingerprint-detecting technology has been used for so ...
Welcome to today's article on our comprehensive Raspberry Pi 4 programming guide. As we saw in the previous article, the Raspberry Pi 4 may power a single seven-segment display. In addition, we also interfaced a Raspberry Pi with 4 Seven-Segment Display Modules to display the time. However, this guide will show you how to construct a Raspberry Pi 4 crypto miner that uses very little electricity.
Cryptocurrencies have been the subject of widespread conversation for some time now. It's possible to use your computer to create them, and they can be used as currency. Because of this, the Raspberry Pi can also be used for Bitcoin mining. It's also possible to mine other cryptocurrencies. One drawback of mining is that the cost of electricity often excee ...
Thank you for being here for today's tutorial of our in-depth Raspberry Pi programming tutorial. The previous tutorial taught us how to install a PIR sensor on a Raspberry Pi 4 to create a motion detector. However, this tutorial will teach you how to connect a single seven-segment display to a Raspberry Pi 4. In the following sections, we will show you how to connect a Raspberry Pi to a 4-digit Seven-Segment Display Module so that the time can be shown on it.
Seven-segment displays are a simple type of Display that use eight light-emitting diodes to show off decimal numbers. It's common to find it in gadgets like digital clocks, calculators, and electronic meters that show numbers. Raspberry Pi, built around an ARM chip, is widely acknowledged as ...
Hello friends, I hope you all are doing well. Today, I am going to share the 4th chapter of Section-III in our Raspberry Pi programming course. In the previous lecture, we studied the Interfacing of IR sensor with Raspberry Pi 4. In this guide, you'll learn how to interface a PIR sensor with Raspberry Pi to create a motion detector. A passive infrared (PIR) sensor is a straightforward yet effective tool for motion detection.
As a bonus, a piezo speaker will play an audio clip whenever motion is detected. GPIO pins are required for both of these accessories. This tutorial is a great starting point for those who have never worked with electronic components and circuits.
These sensors are used in traditional, old-generation security
systems. In con ...