Interface DHT11 Sensor with Raspberry Pi 4


Hello friends, I hope you all are doing great. Today, I am going to share the 6th tutorial of Section-III in the Raspberry Pi Programming Course. In our previous tutorial, we have seen how to interface an Ultrasonic Sensor with Raspberry Pi 4 and used Python to perform its calculations. In today's tutorial, we'll discuss how to interface a DHT11 temperature and humidity sensor to a Raspberry Pi.
So, let's get started:
Components
Here's the list of components, we are going to use in today's circuit:
- LCD display
- DHT11 sensor
- Raspberry pi
- Breadboard
- Male-to-female jumper wires
What is a DHT11 sensor?
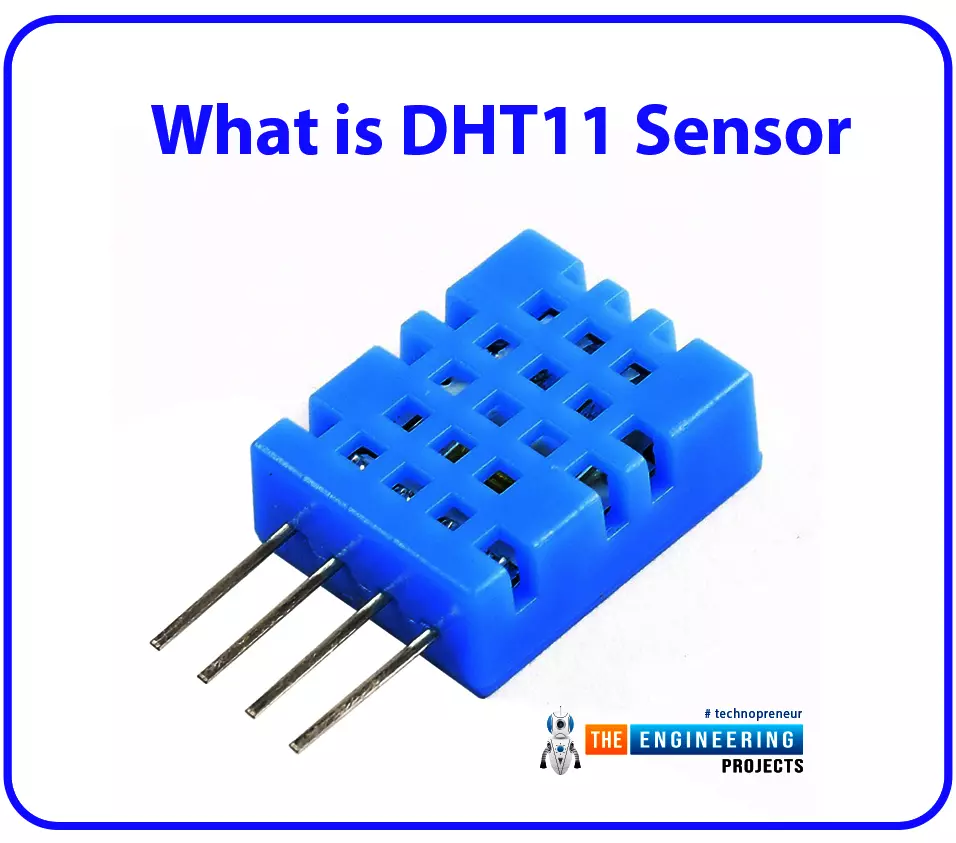
DHT11 is a low-cost digital sensor, used to measure temperature and humidity in the surroundings. DHT sensor has three main components i.e.
- A resistive-type sensor(used to measure humidity)
- NTC Temperature Sensor(used to measure temperature)
- 8-Bit Microcontroller(to calibrate & serially transmit the values as a digital signal)
Now, let's have a look at the Pinout of DHT11 sensor:
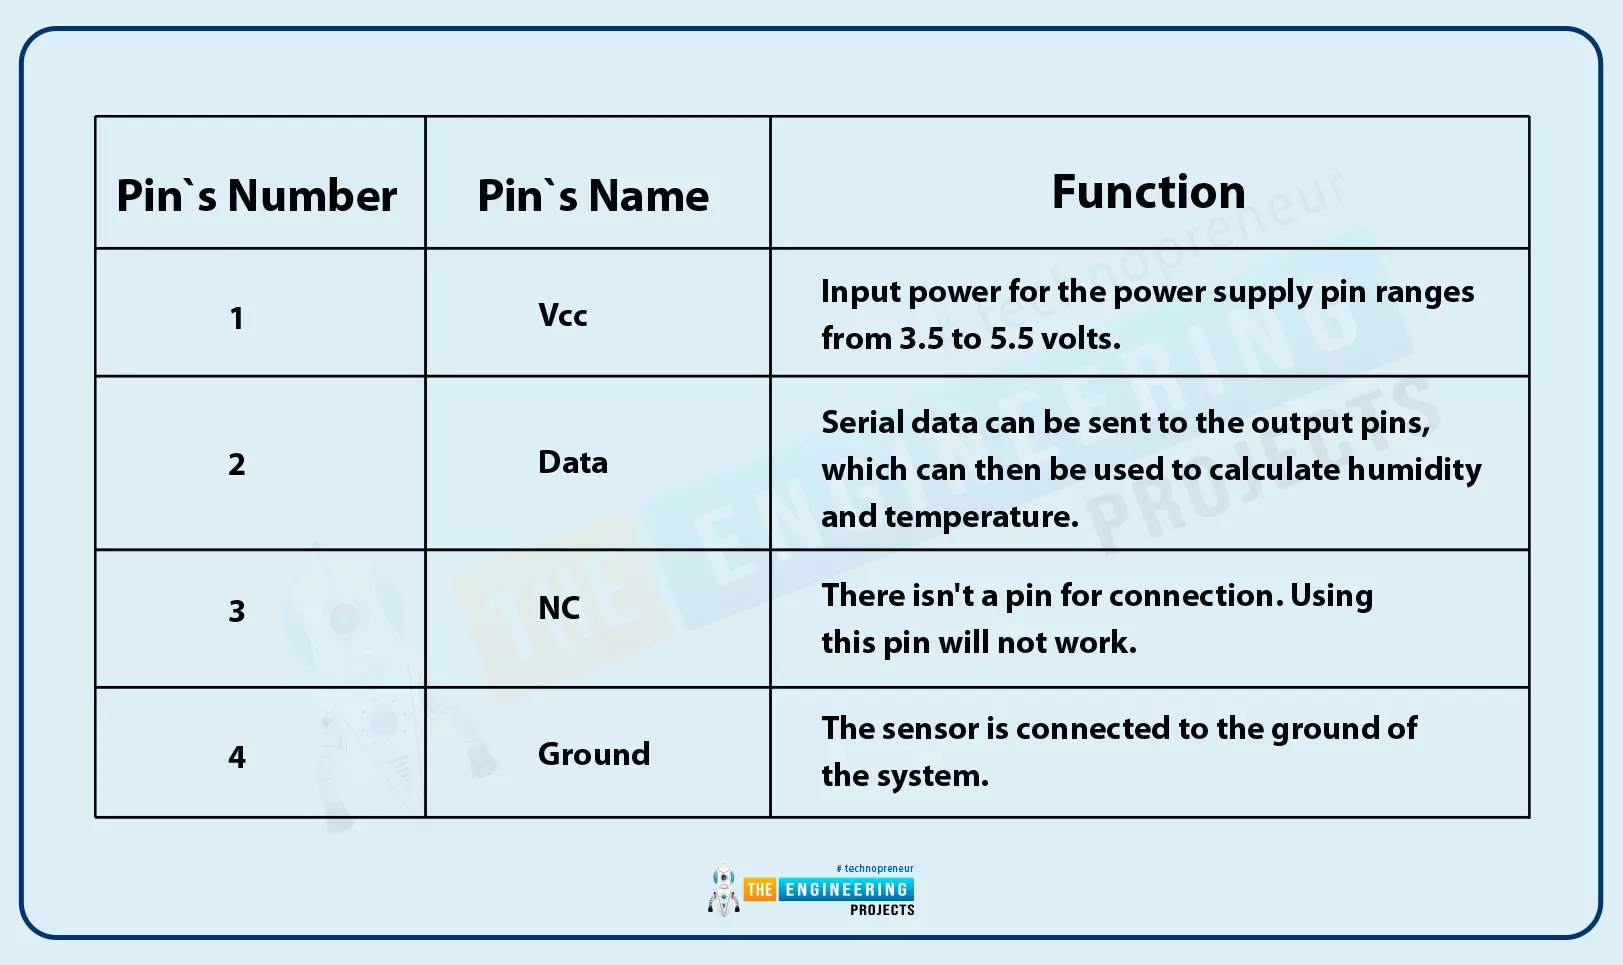
DHT11 Pinout
DHT11 has 4 pins in total, which are:
- Vcc: We need to provide +5V at this pin.
- Data Pin: We need to connect it to the Digital Pin of the Microcontroller to get humidity & temperature data.
- NC: Not Connected.
- GND: We need to connect it to the Ground Pin.
- Here's the Pinout of the DHT11 Module:

DHT11 Working Principle
The DHT11 timing diagram is shown in the below figure:
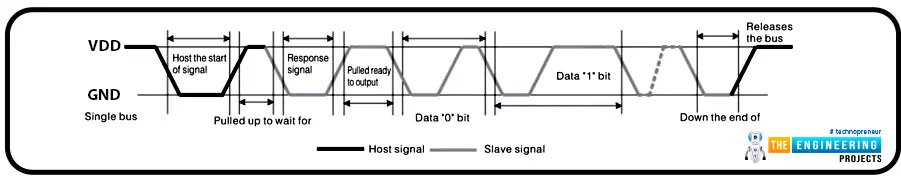
This device uses a thermistor to monitor temperature and a capacitive humidity sensor to measure relative humidity. A humidity-detecting capacitor's electrodes are separated by a dielectric substrate that retains moisture. When the humidity level fluctuates, the capacitance value changes as well. Analog resistance values are measured, processed, and stored by the IC, which then translates them into digital values.
The resistance value of this sensor is monitored, as it warms up using a negative temperature coefficient thermometer(NTC). This sensor is commonly made of semiconductor ceramics in order to achieve a higher resistance value even at the smallest temperature change.
With a 2°C precision, the DHT11's temperature range is 0 to 50 degrees Fahrenheit. This sensor can accurately monitor humidity levels from 20% to 80% with a 5% degree of precision. One reading per second, or 1Hz, is the sampling rate of this sensor. The microcontroller DHT11 has a power consumption of 3 to 5 volts. The maximum amount of current that can be drawn during a measurement is 2.5 mA.
The sensor and the microcontroller are connected via a 5K to 10K ohm pull-up resistor.
Types of Temperature and Humidity Sensors
There are many types of temperature sensors available. Factors involved in selecting a correct sensor are: what we're measuring, how precise we need it to be, and where we're taking the readings. The Negative Temperature Coefficient (NTC) thermistor, thermocouple, semiconductor sensors, and Resistance Temperature Detector(RTD) are the most commonly used temperature sensors.
Grove – AHT20
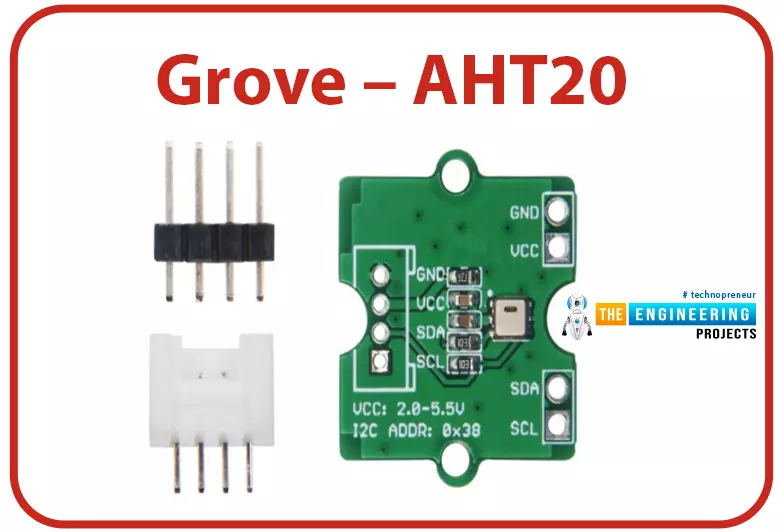
With its dual-row flat, no-lead SMD design, Grove's new AHT20 temperature and humidity sensor is ideal for use in reflow soldering applications. In addition to the standard temperature sensor, the AHT20 has a capacitive humidity sensor made by MEMS semiconductors that is more accurate than the standard sensors.
DHT11
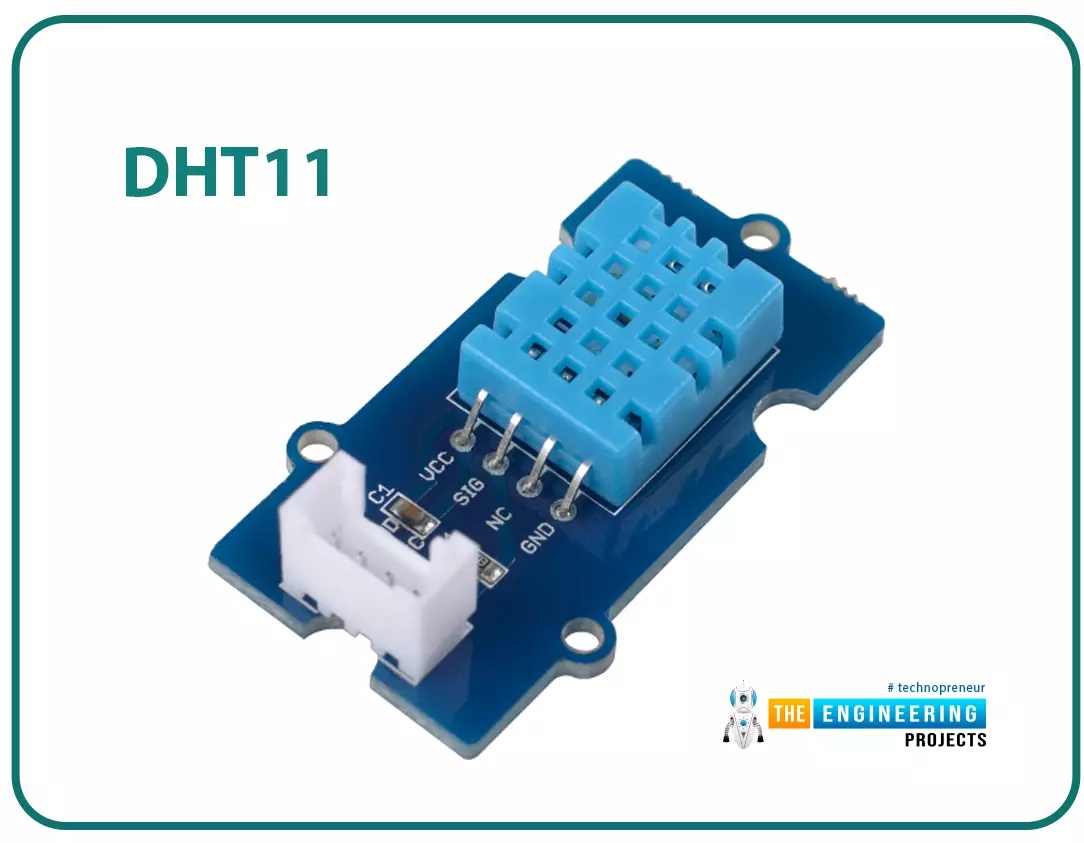
Digital sensors can monitor temperature as well as relative humidity. Two measurements are converted into a digital signal via an analog-to-digital converter chip. Temperature sensors with long-term stability and great performance are among the most popular.
DHT22
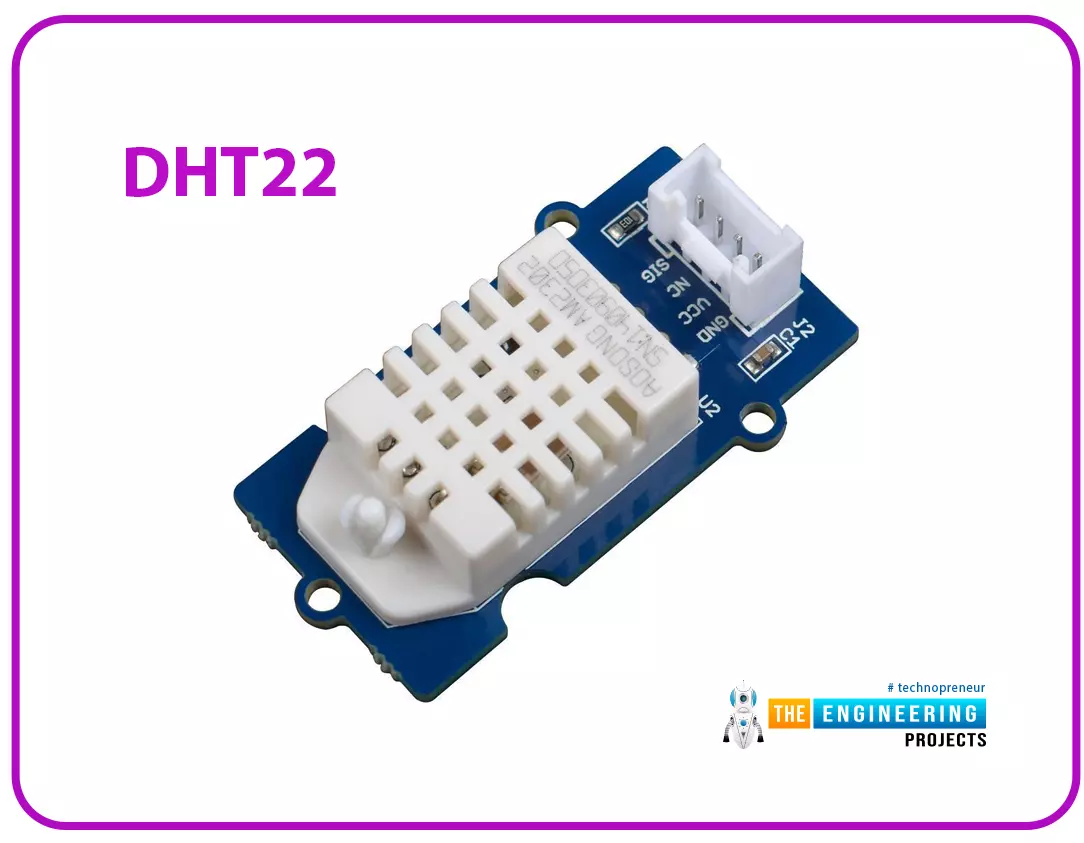
Both temperature and humidity are monitored by the DHT22, quite similar to DHT11. The DHT22 costs a little more because it has a wider temperature and humidity range than DHT11, making it more precise. In terms of how it's handled and coded, the DHT22 is identical to DHT11. A temperature sensor that performs better and is more accurate should definitely be considered.
BMP280
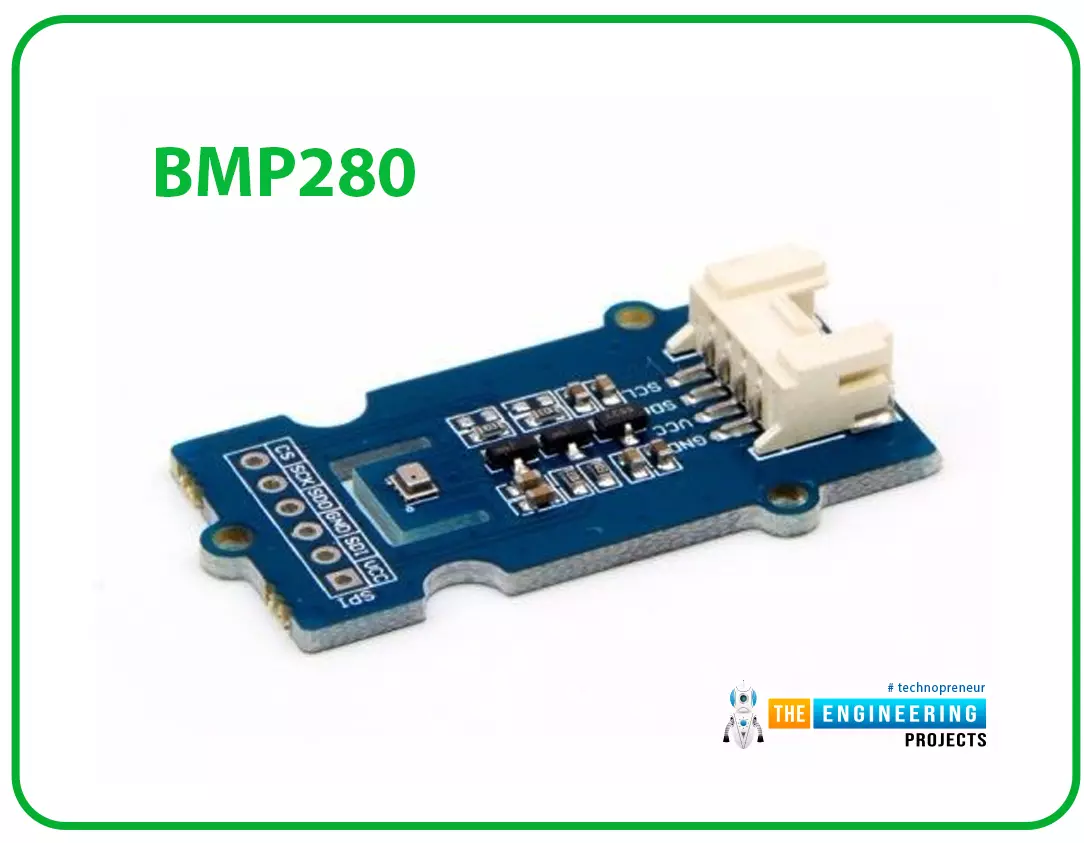
When compared to the DHT series, the BMP280 has the capability to measure both temperature and barometric pressure. You can use this in both SPI and I2C modes, making it an upgrade from the BMP180. Because the air pressure changes with elevation, it can estimate a location's altitude as well.
BME280
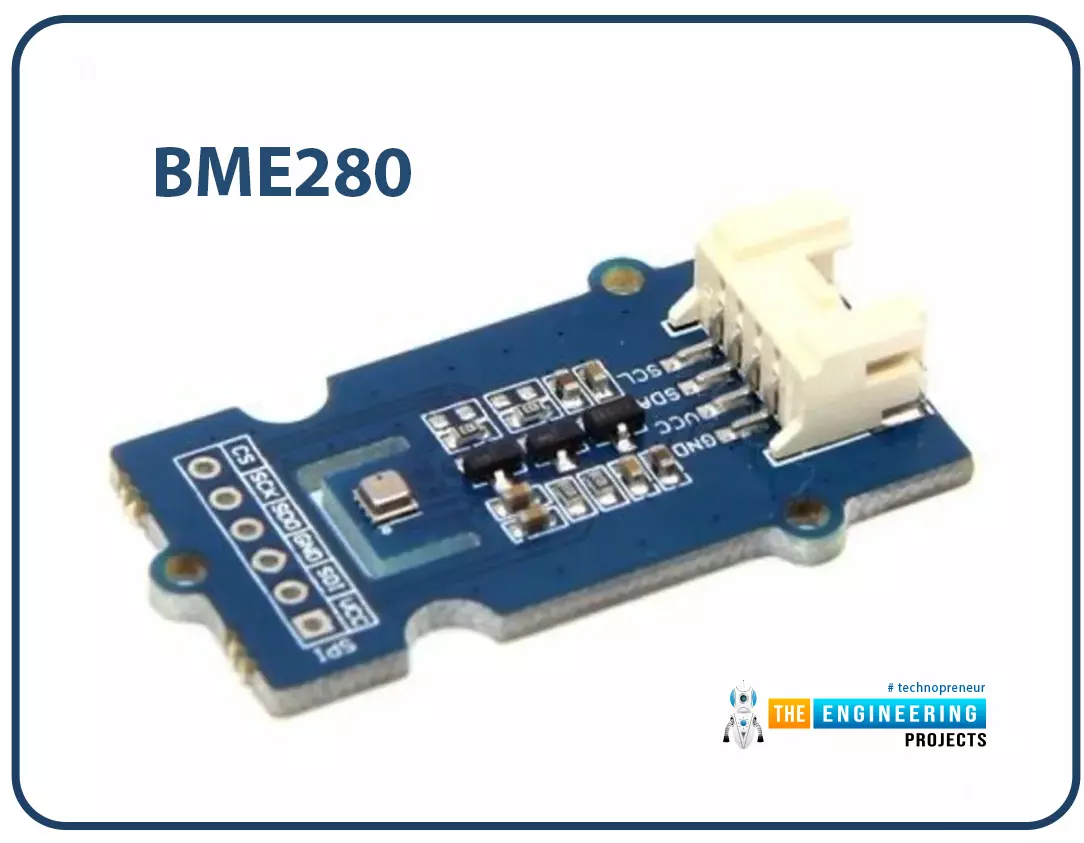
While the BMP280 only monitors temperature and air pressure, the BME280 has a humidity measurement in addition.
DS18B20
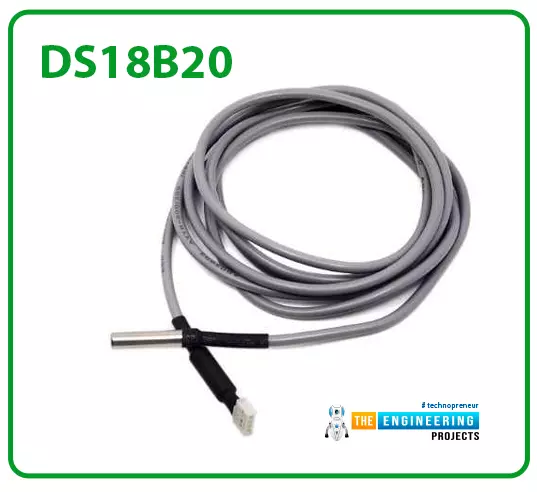
DS18B20 is a one-wire temperature sensor and gives accurate values up to 4 decimal digits.
AF5485
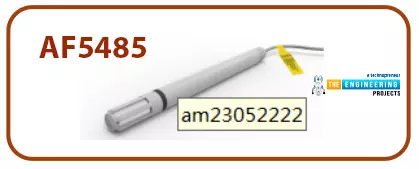
AF5485 is a small and light-weight sensor but it has an impressively complex internal system that allows it to provide the best accuracy. Building automation, weather stations, and temperature monitoring are just a few possible applications.
AM2311A
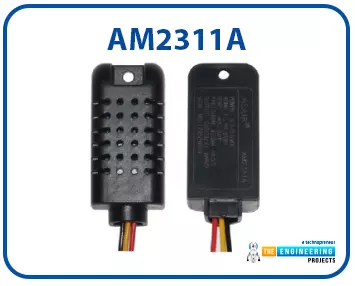
Compact and lightweight, the AM2311A is an auto-calibration module that consumes minimal power. Furthermore, it is capable of transmitting data at distances greater than 20 meters. It goes without saying that this sensor is extremely dependable and stable over the long run. As a result, it can be employed in a variety of settings.
Circuit Diagram of DHT11 with Raspberry Pi 4
- Here's the circuit diagram of DHT11 with any microcontroller:
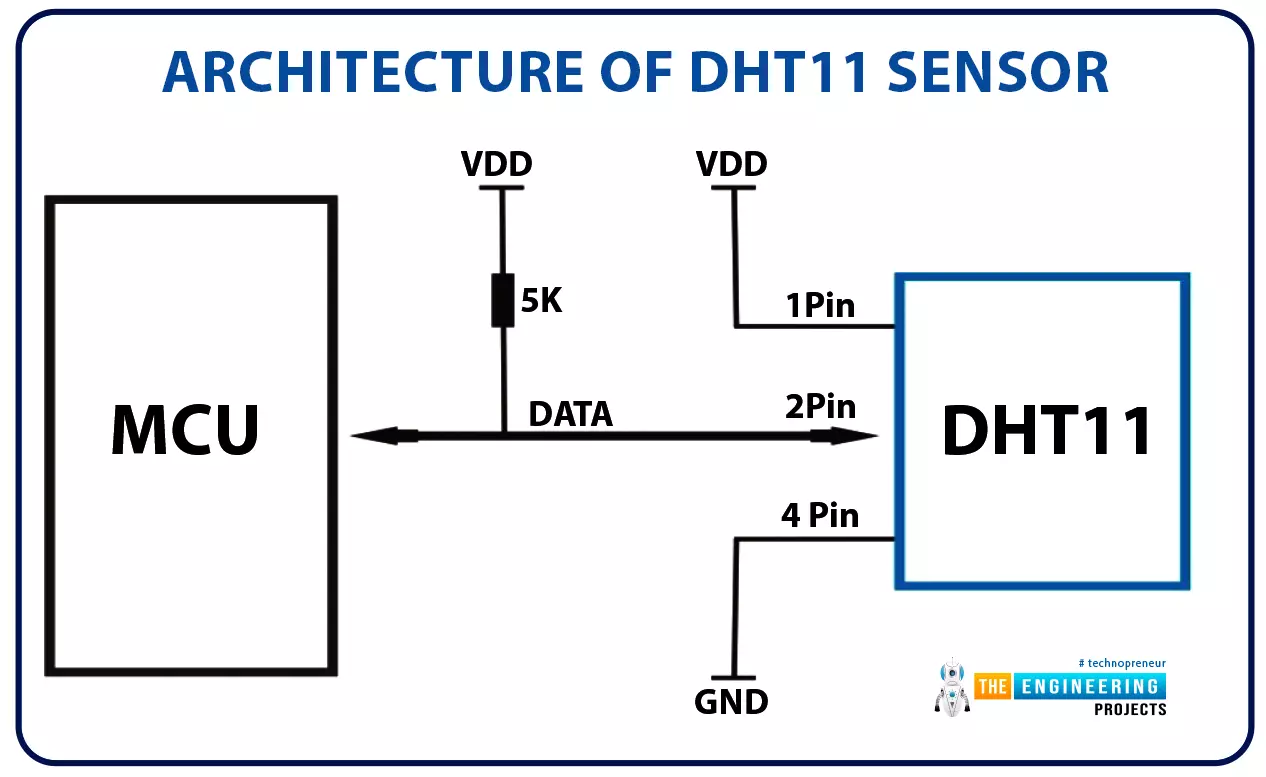
As you can see in the above figure, the circuit diagram is quite straightforward. To avoid noise in the DHT11 output, a 5K pull-up resistor is connected to the Data Pin. The temperature and humidity readings are transmitted as serial data through this pin.
- Here's the Circuit Diagram of DHT11 with Raspberry Pi 4:
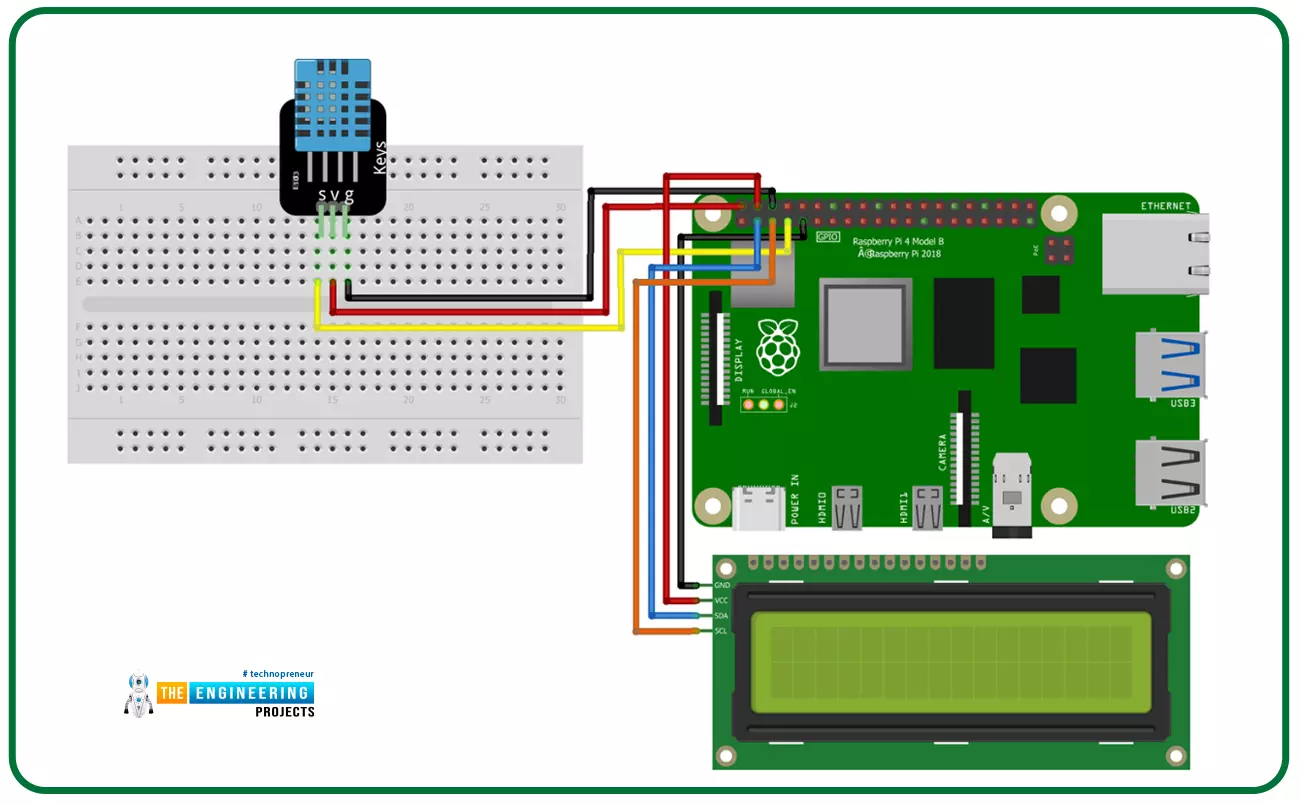
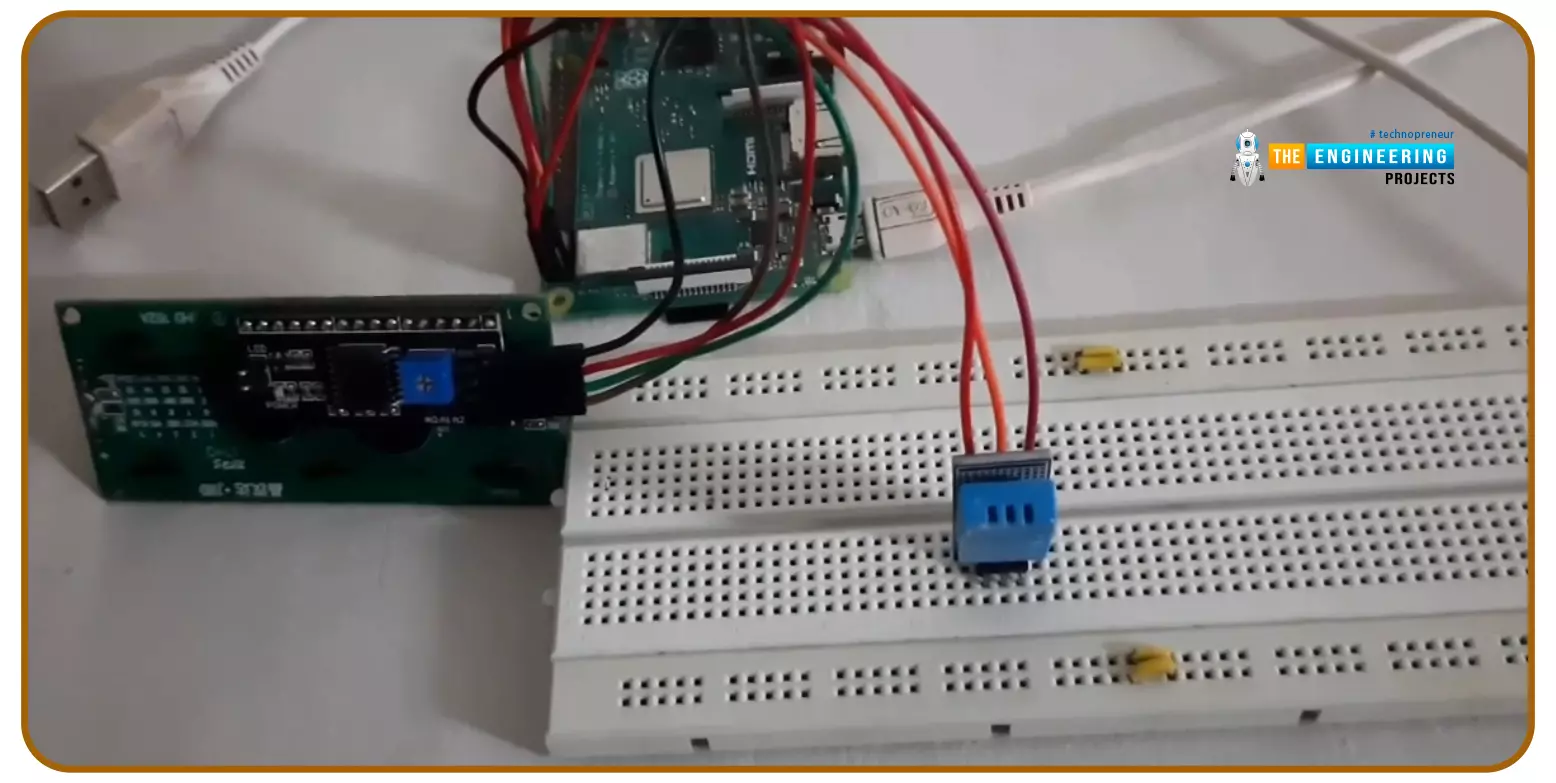
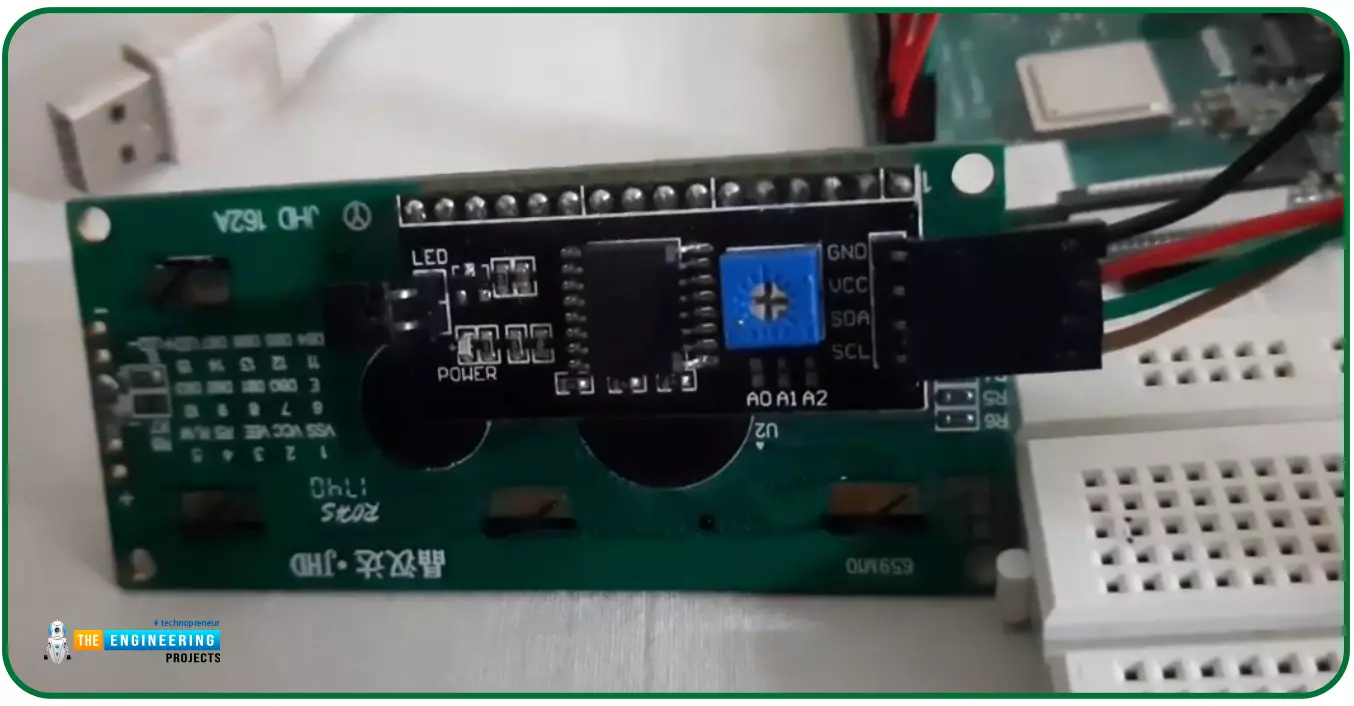
We have also placed an LCD 16x2 to display the values. We have already discussed LCD Interfacing with RPi4, but in that tutorial, we used data pins to write on the LCD, but today, we will use an I2C LCD and send the data via I2C pins.
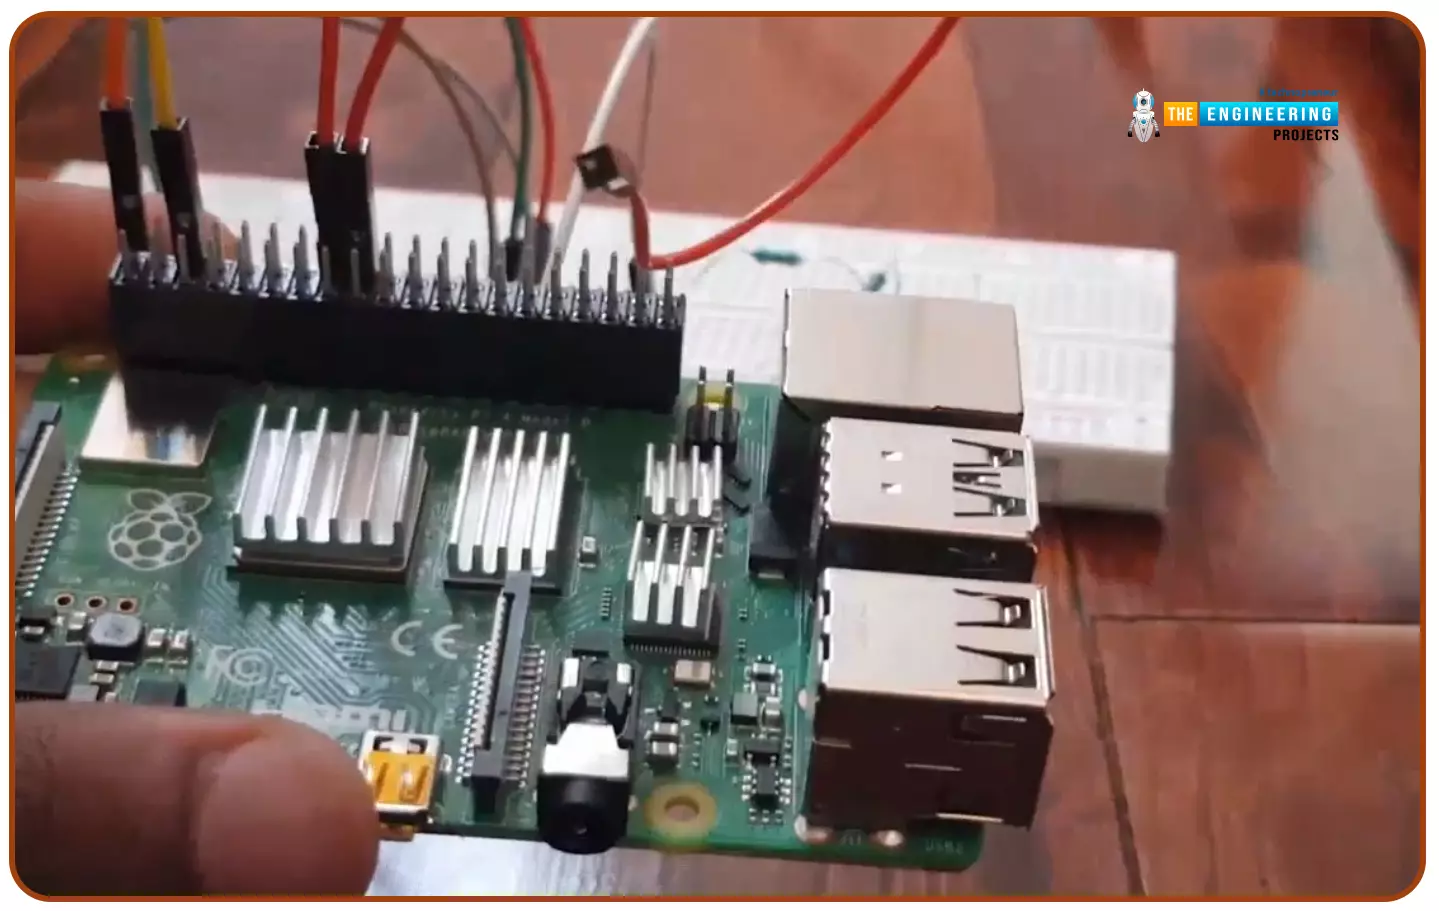
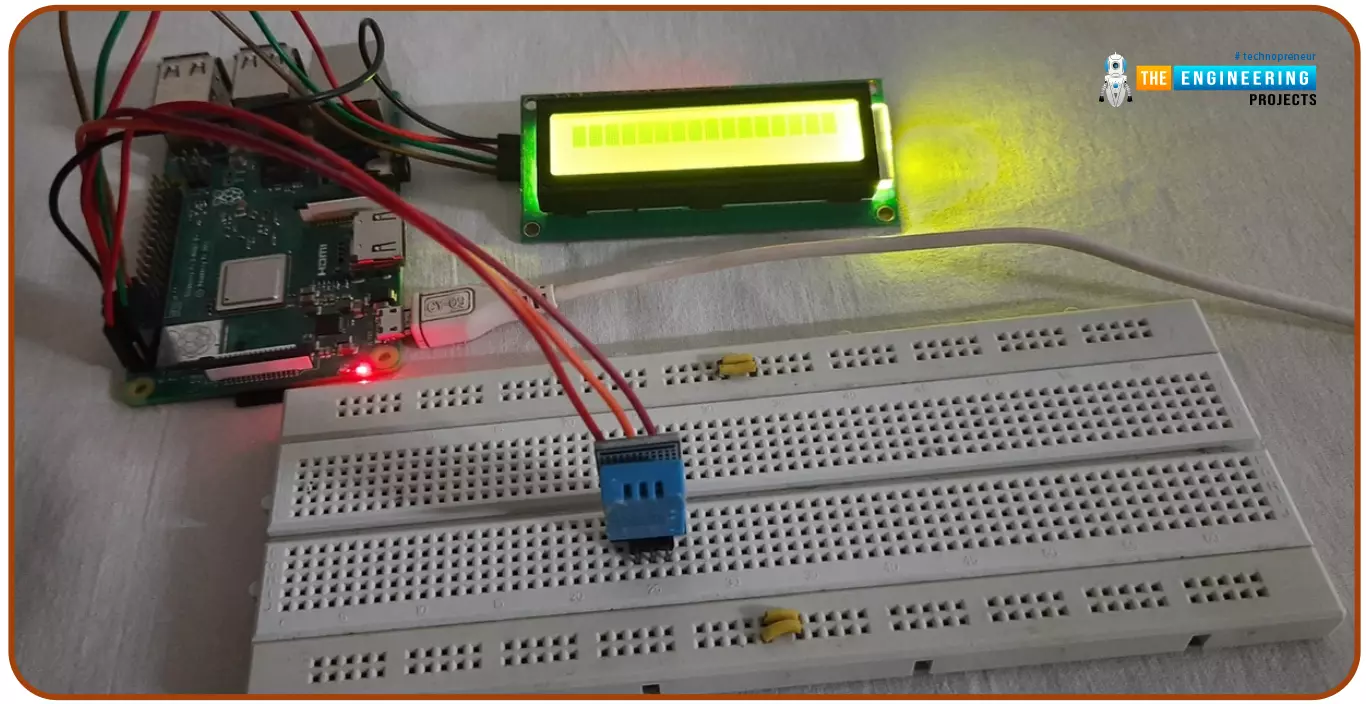
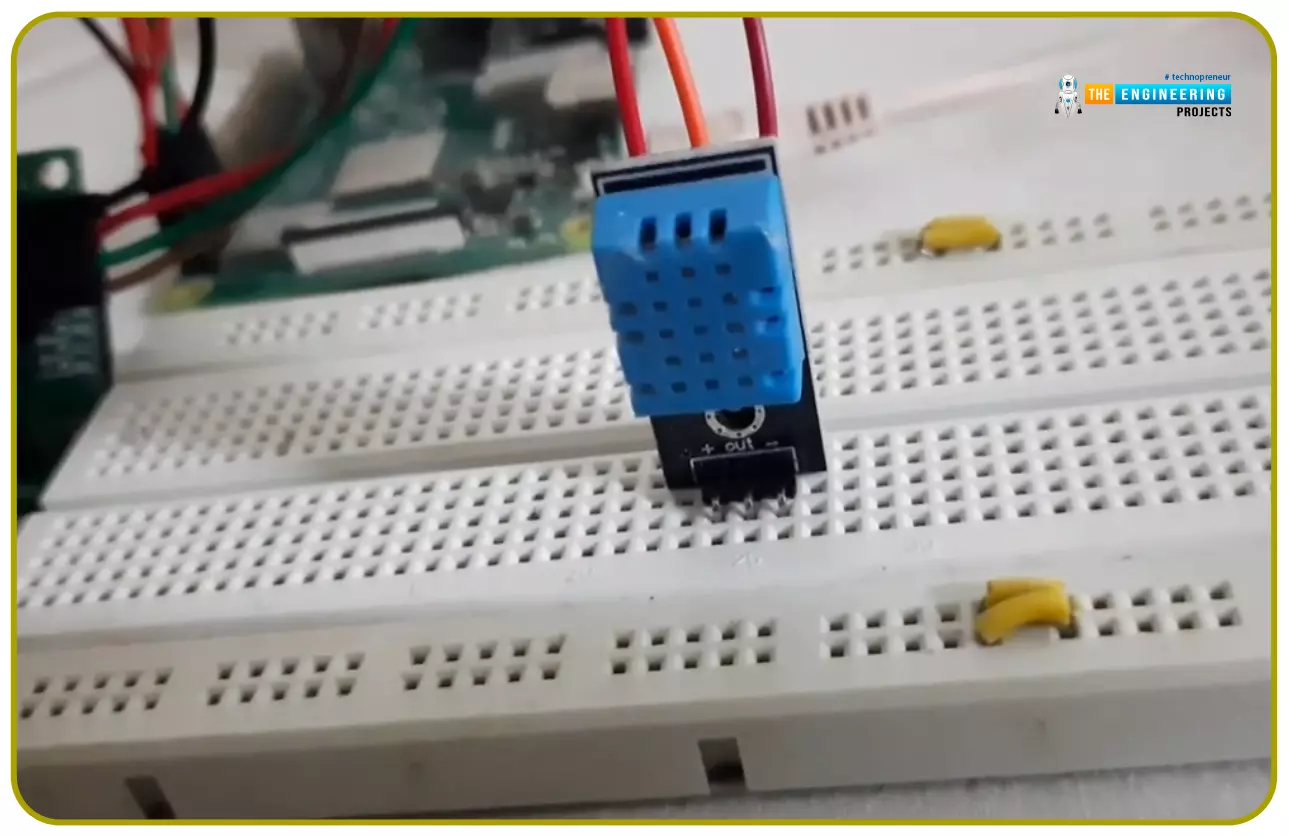
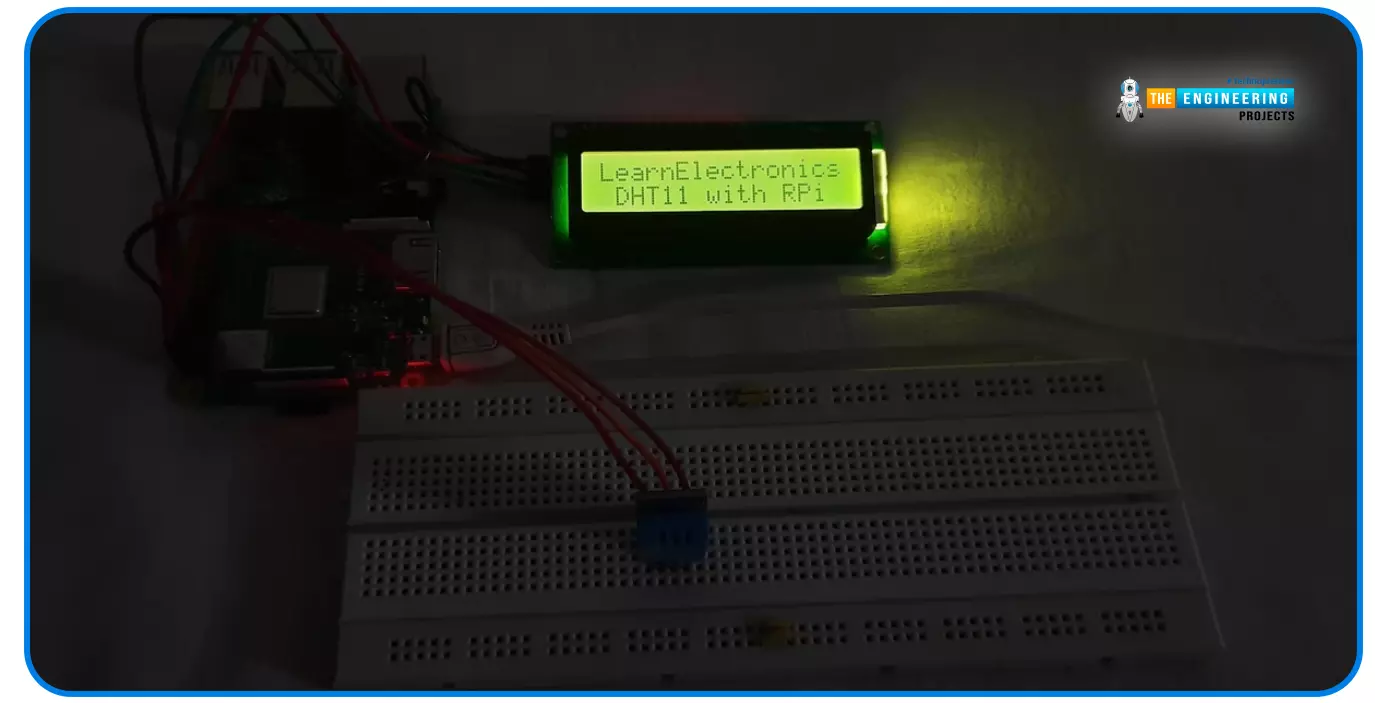
- Here are few of the images of our hardware setup and as you can see, we have interfaced both DHT11 and I2C LCD with our Raspberry Pi board:
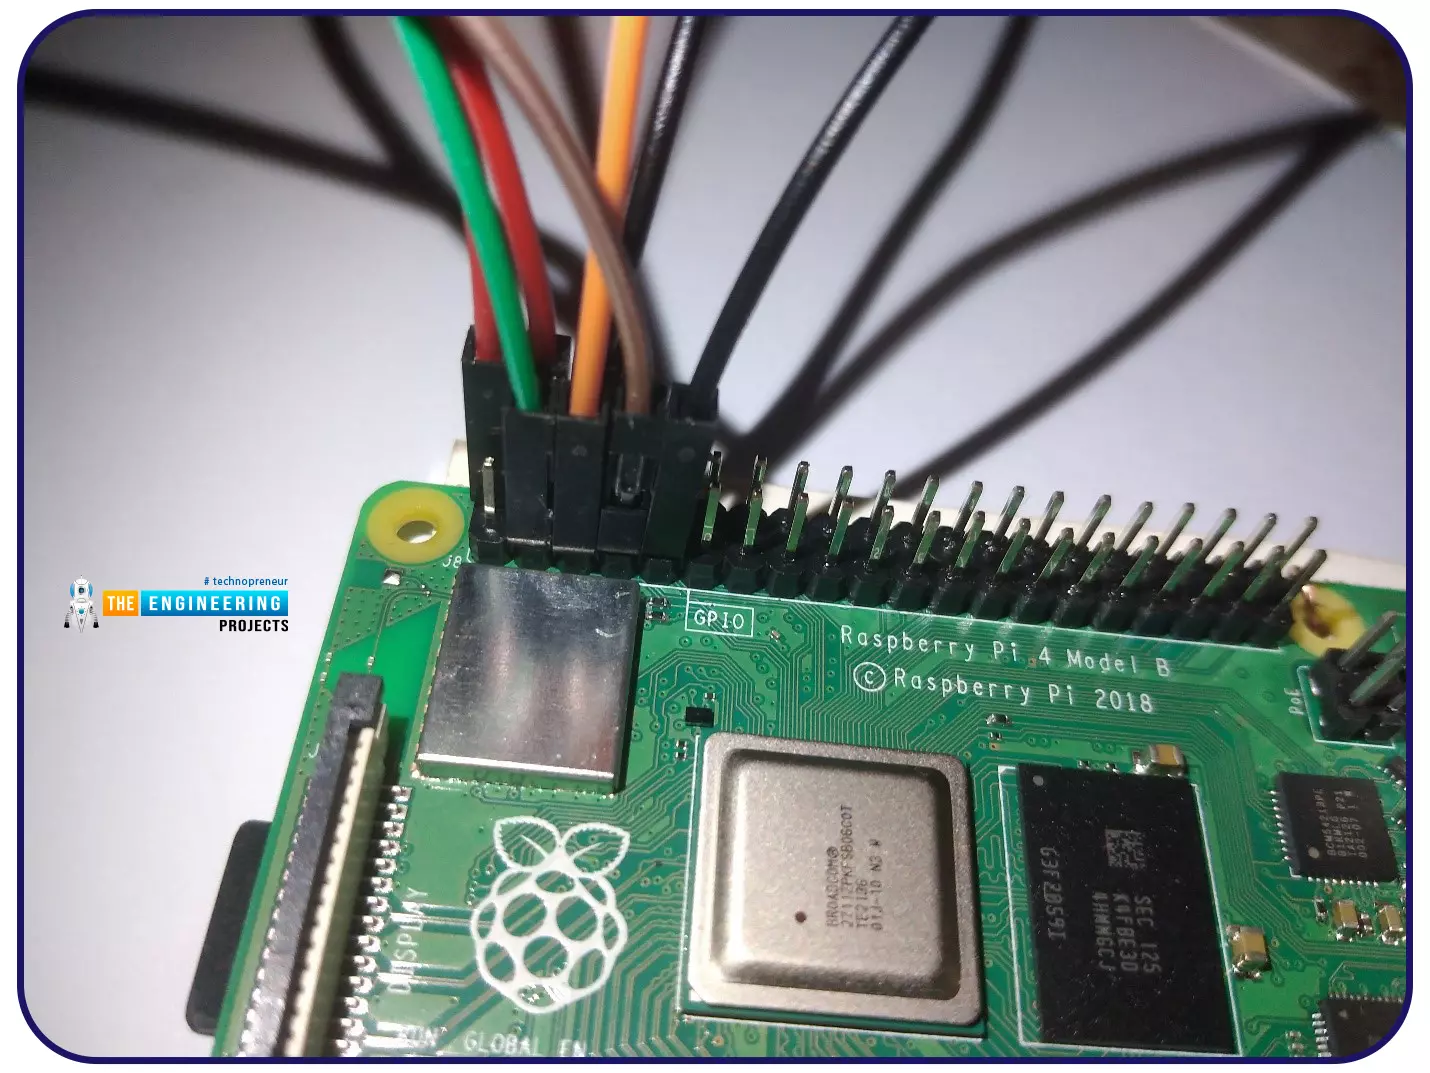
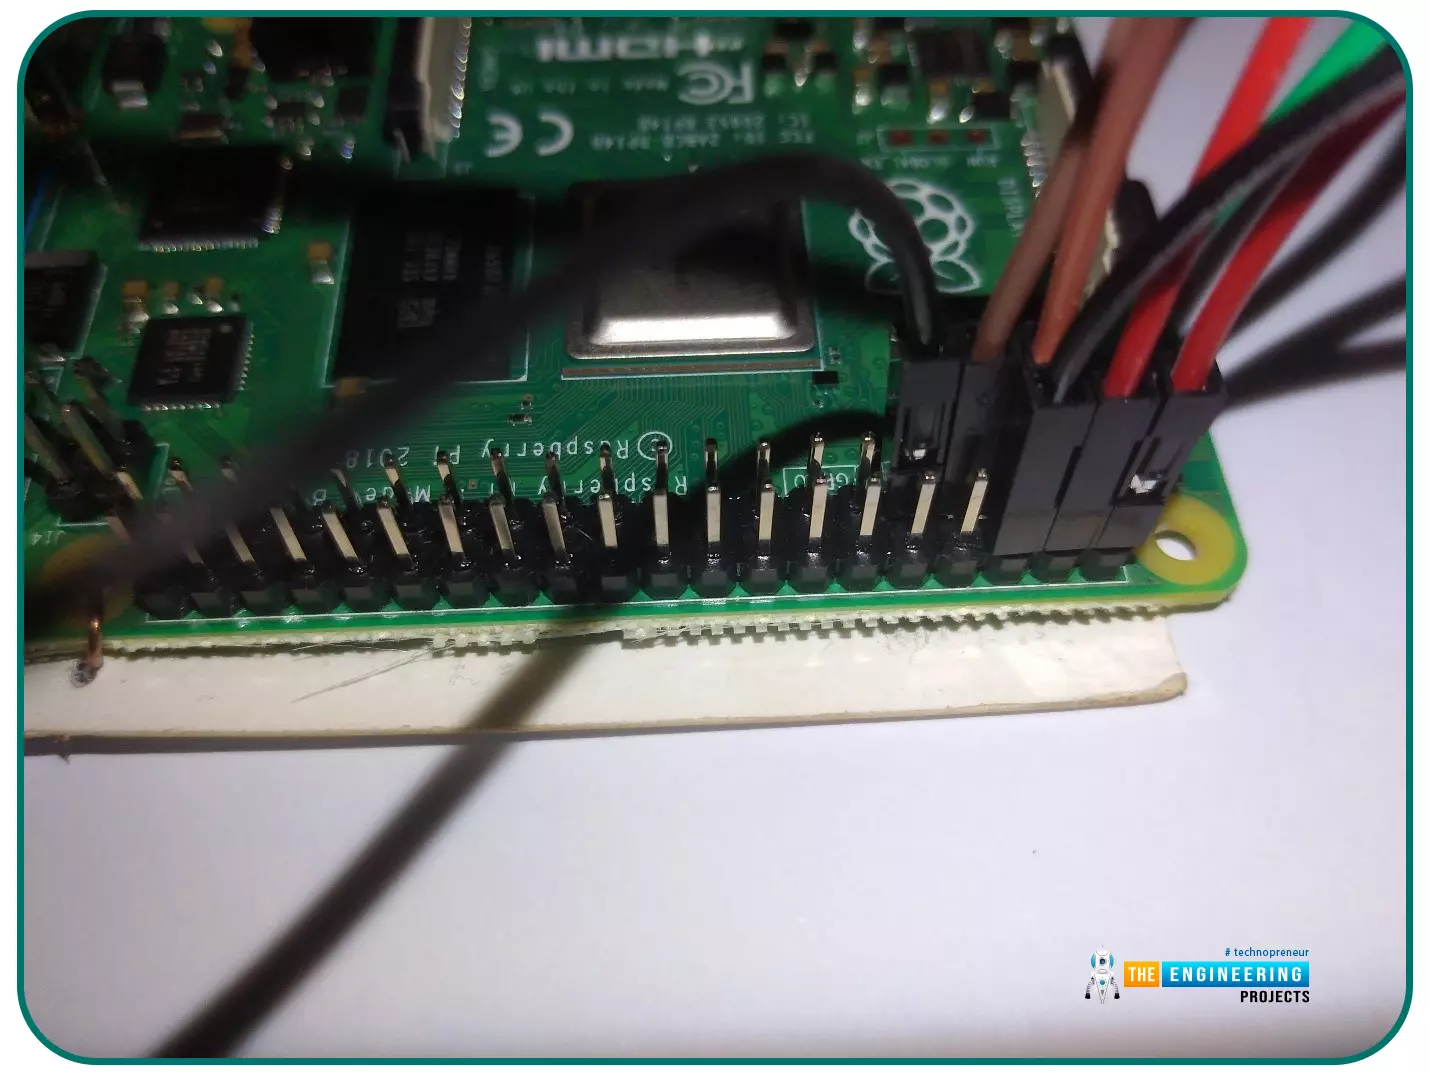
To connect the DHT11 sensor to the Raspberry Pi, the following steps must be followed.
- The DHT11 sensor's signal pin is connected to GPIO 4 of the Raspberry Pi board via the yellow wire.
- The sensor's power pin is connected to the 5V pin on the Rpi board using the red wire.
- The sensor's GND pin is connected to the Raspberry Pi's GND pin with a black wire.
Now, Raspberry Pi 4 has to be connected to the 16x2 LCD screen:
- The GND Pin of LCD is connected to the Raspberry Pi's GND pin through a black wire.
- Connecting the LCD display's voltage pin to the Raspberry Pi board's 5V pin is done using the red wire.
- The LCD display's SDA pin is connected to the Raspberry Pi's SDA pin by a blue cable.
- The SCL pin of the LCD display is connected to the Raspberry Pi board using an orange wire.
- Now let's power up the Pi board to check, if everything's correct:
All our modules are powered up, so everything's correct. Now it's time to write the Python Code for getting DHT11 values and displaying them on the LCD screen:
Python Code for DHT11 Sensor with Raspberry Pi 4
We need to install the DHT11 Adafruit library to read the sensor values from Raspberry Pi 4.
DHT11 Adafruit Library
- Step 1: To download the Adafruit module for DHT11, use the following command in the RPi console.

- Step 2: To install the library on your RPi, follow the below instructions one by one.

- Step 3: The device must be rebooted, after the library installation.
Now let's design our Python code:
Python Code to read DHT11 data
Here's the complete Python Code to read the data from the DHT11 sensor using Raspberry Pi 4:

Let's understand the code line by line:
- First of all, we need to import the required Python modules in our code.
- In order to use system-specific parameters in our program, we first need to import the sys module.
- To control the I2C LCD screen, we need to import the I2C LCD Driver.
- When connecting a DHT11 sensor to a Raspberry Pi, the Adafruit DHT module is used.
- We also need to import the time module to add delays to our program.
- After importing RPi modules, we initialized an I2C LCD object named "mylcd" and printed a welcome message on the LCD screen.
- In the Try code, we are reading the Humidity and Temperature values from the DHT11 sensor.
- If we got the values, we printed them on the LCD screen.
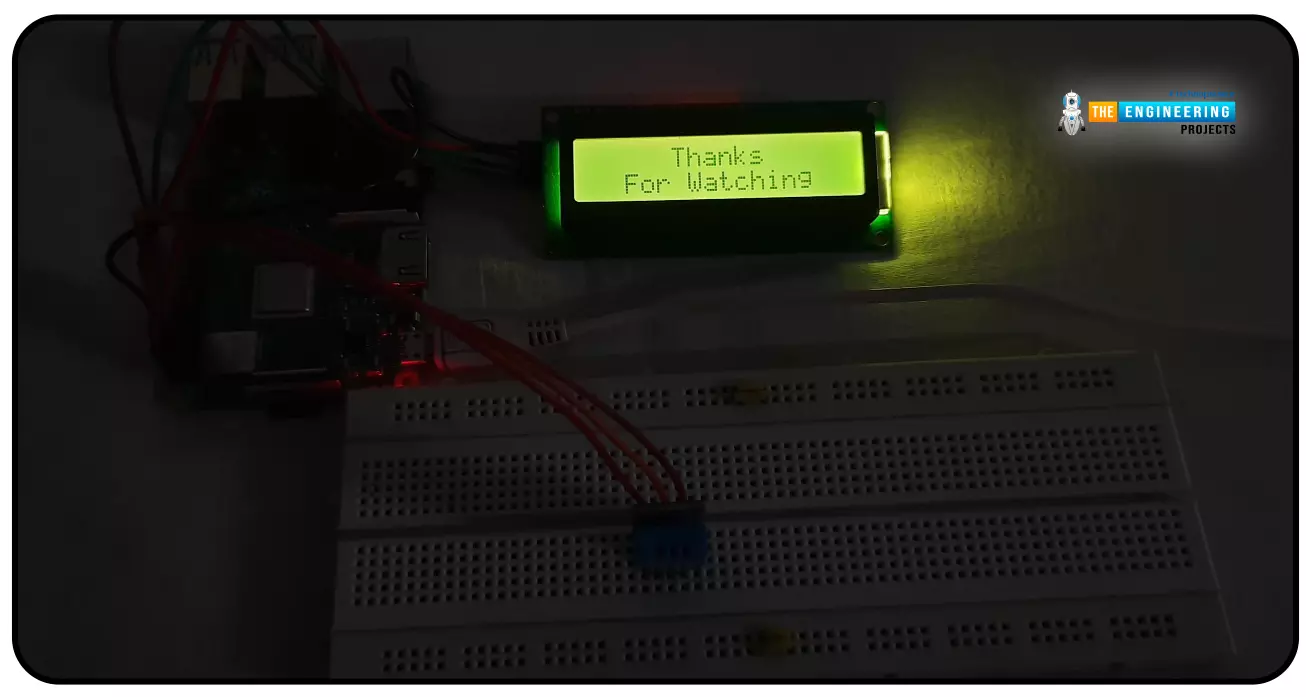
- If someone exits the code, a Greeting Message will be displayed.
Reading DHT11 Output with RPi4
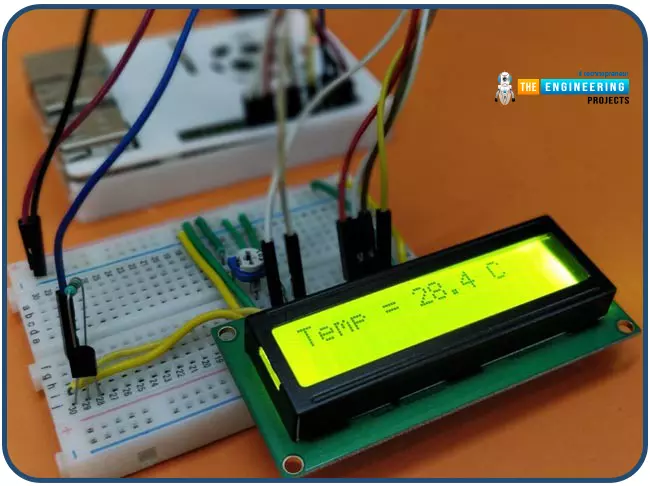
- Before the temperature and humidity values are shown on the screen, the following text appears on the screen.
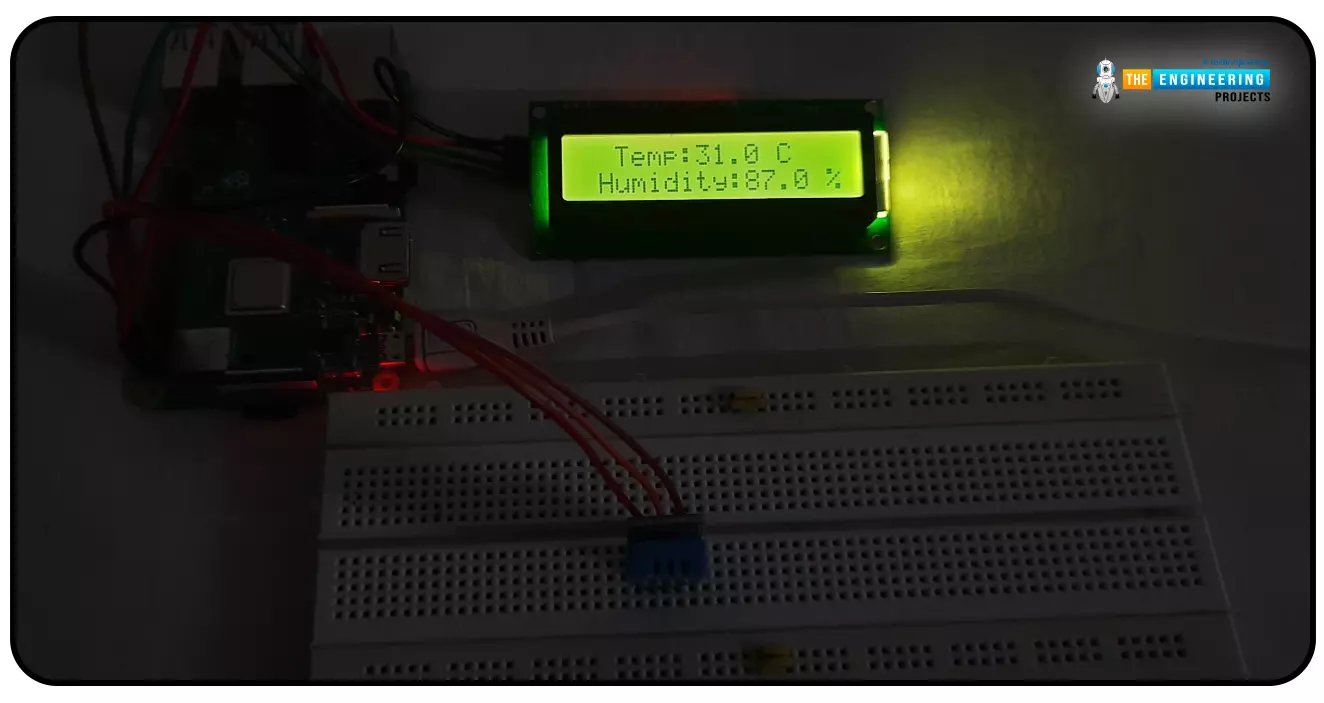
- The LCD display will show the first reading from the sensor after a short delay:
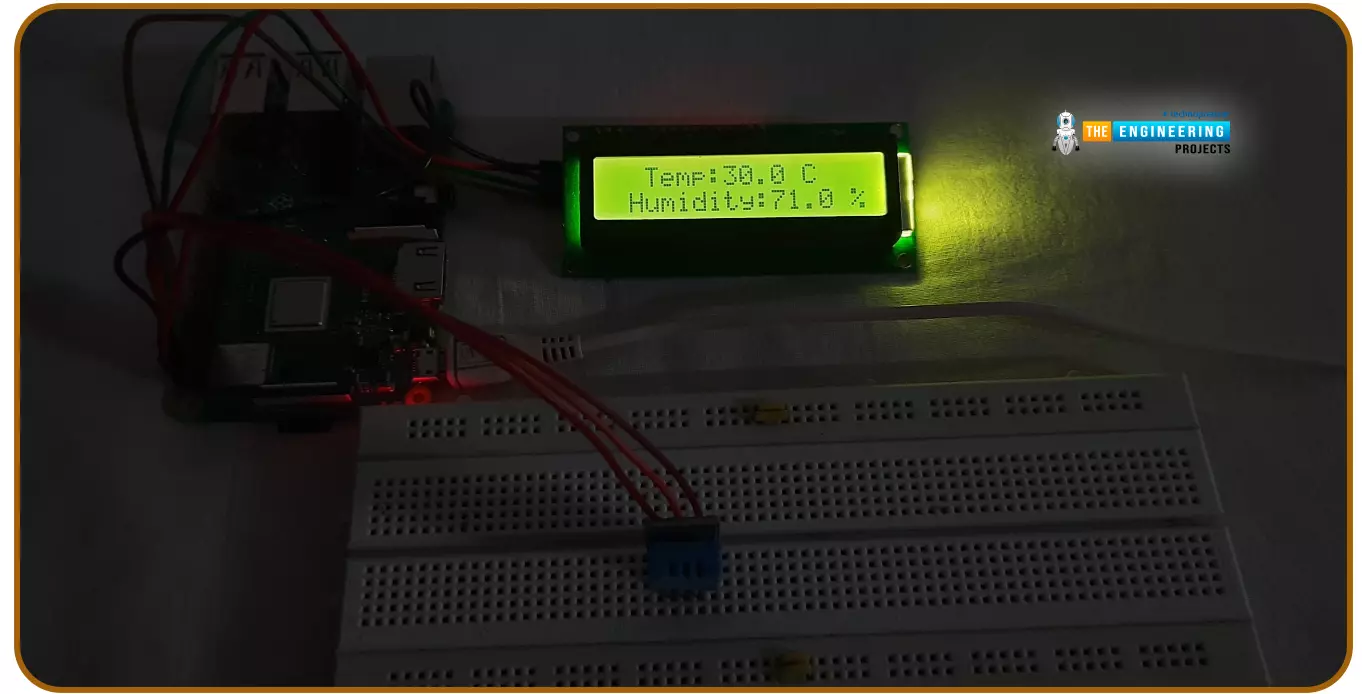
- It will take some time for a new set of values to appear, as shown below:
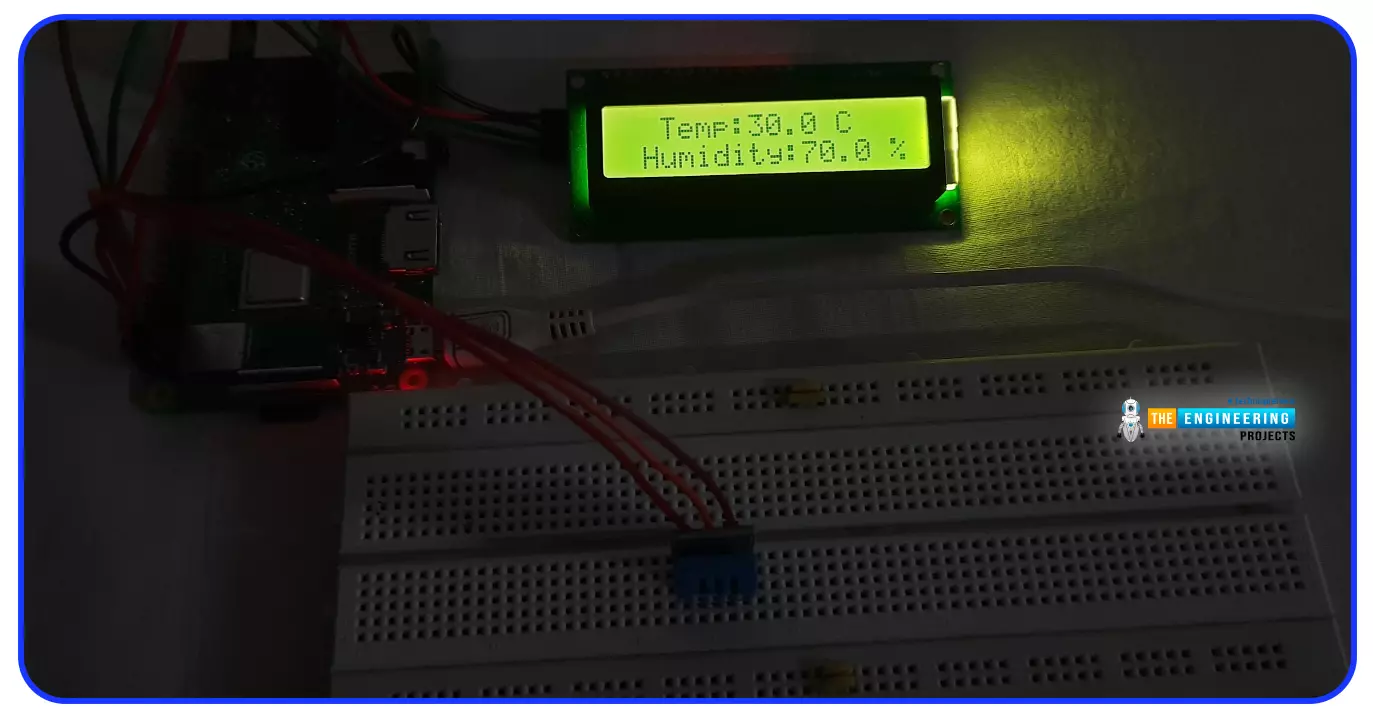
- Any warm object placed near the sensor will alter the sensor's reading:
- You'll see the following text if you provide a keyboard interrupt, while the program is running:
DHT11 Applications
Networked IoT Environment Monitoring
Monitoring or controlling environmental quality is the main goal of environmental monitoring. The DHT11 humidity and temperature sensors are widely used in such systems.
Weather Station
Since this temperature sensor is inexpensive, it can be used in low-cost but effective weather stations that show the temperature and humidity of the surrounding environment.
Climate Control
Climate control is a method of managing the temperature. So, the DHT11 temperature and humidity sensors may be useful in ensuring that the environmental readings are accurate. Temperature and humidity sensors are sent to the microcontroller, and the system will respond if the temperature exceeds a predetermined upper or lower limit.
Conclusion
In this tutorial, we have studied how to connect a DHT11 sensor for humidity and temperature readings with Raspberry Pi 4. The sensor's principles and applicability in the current world were also studied. In the next tutorial, we'll learn how to interface DS18B20 with Raspberry Pi 4. So, stay tuned. Have a good day.