


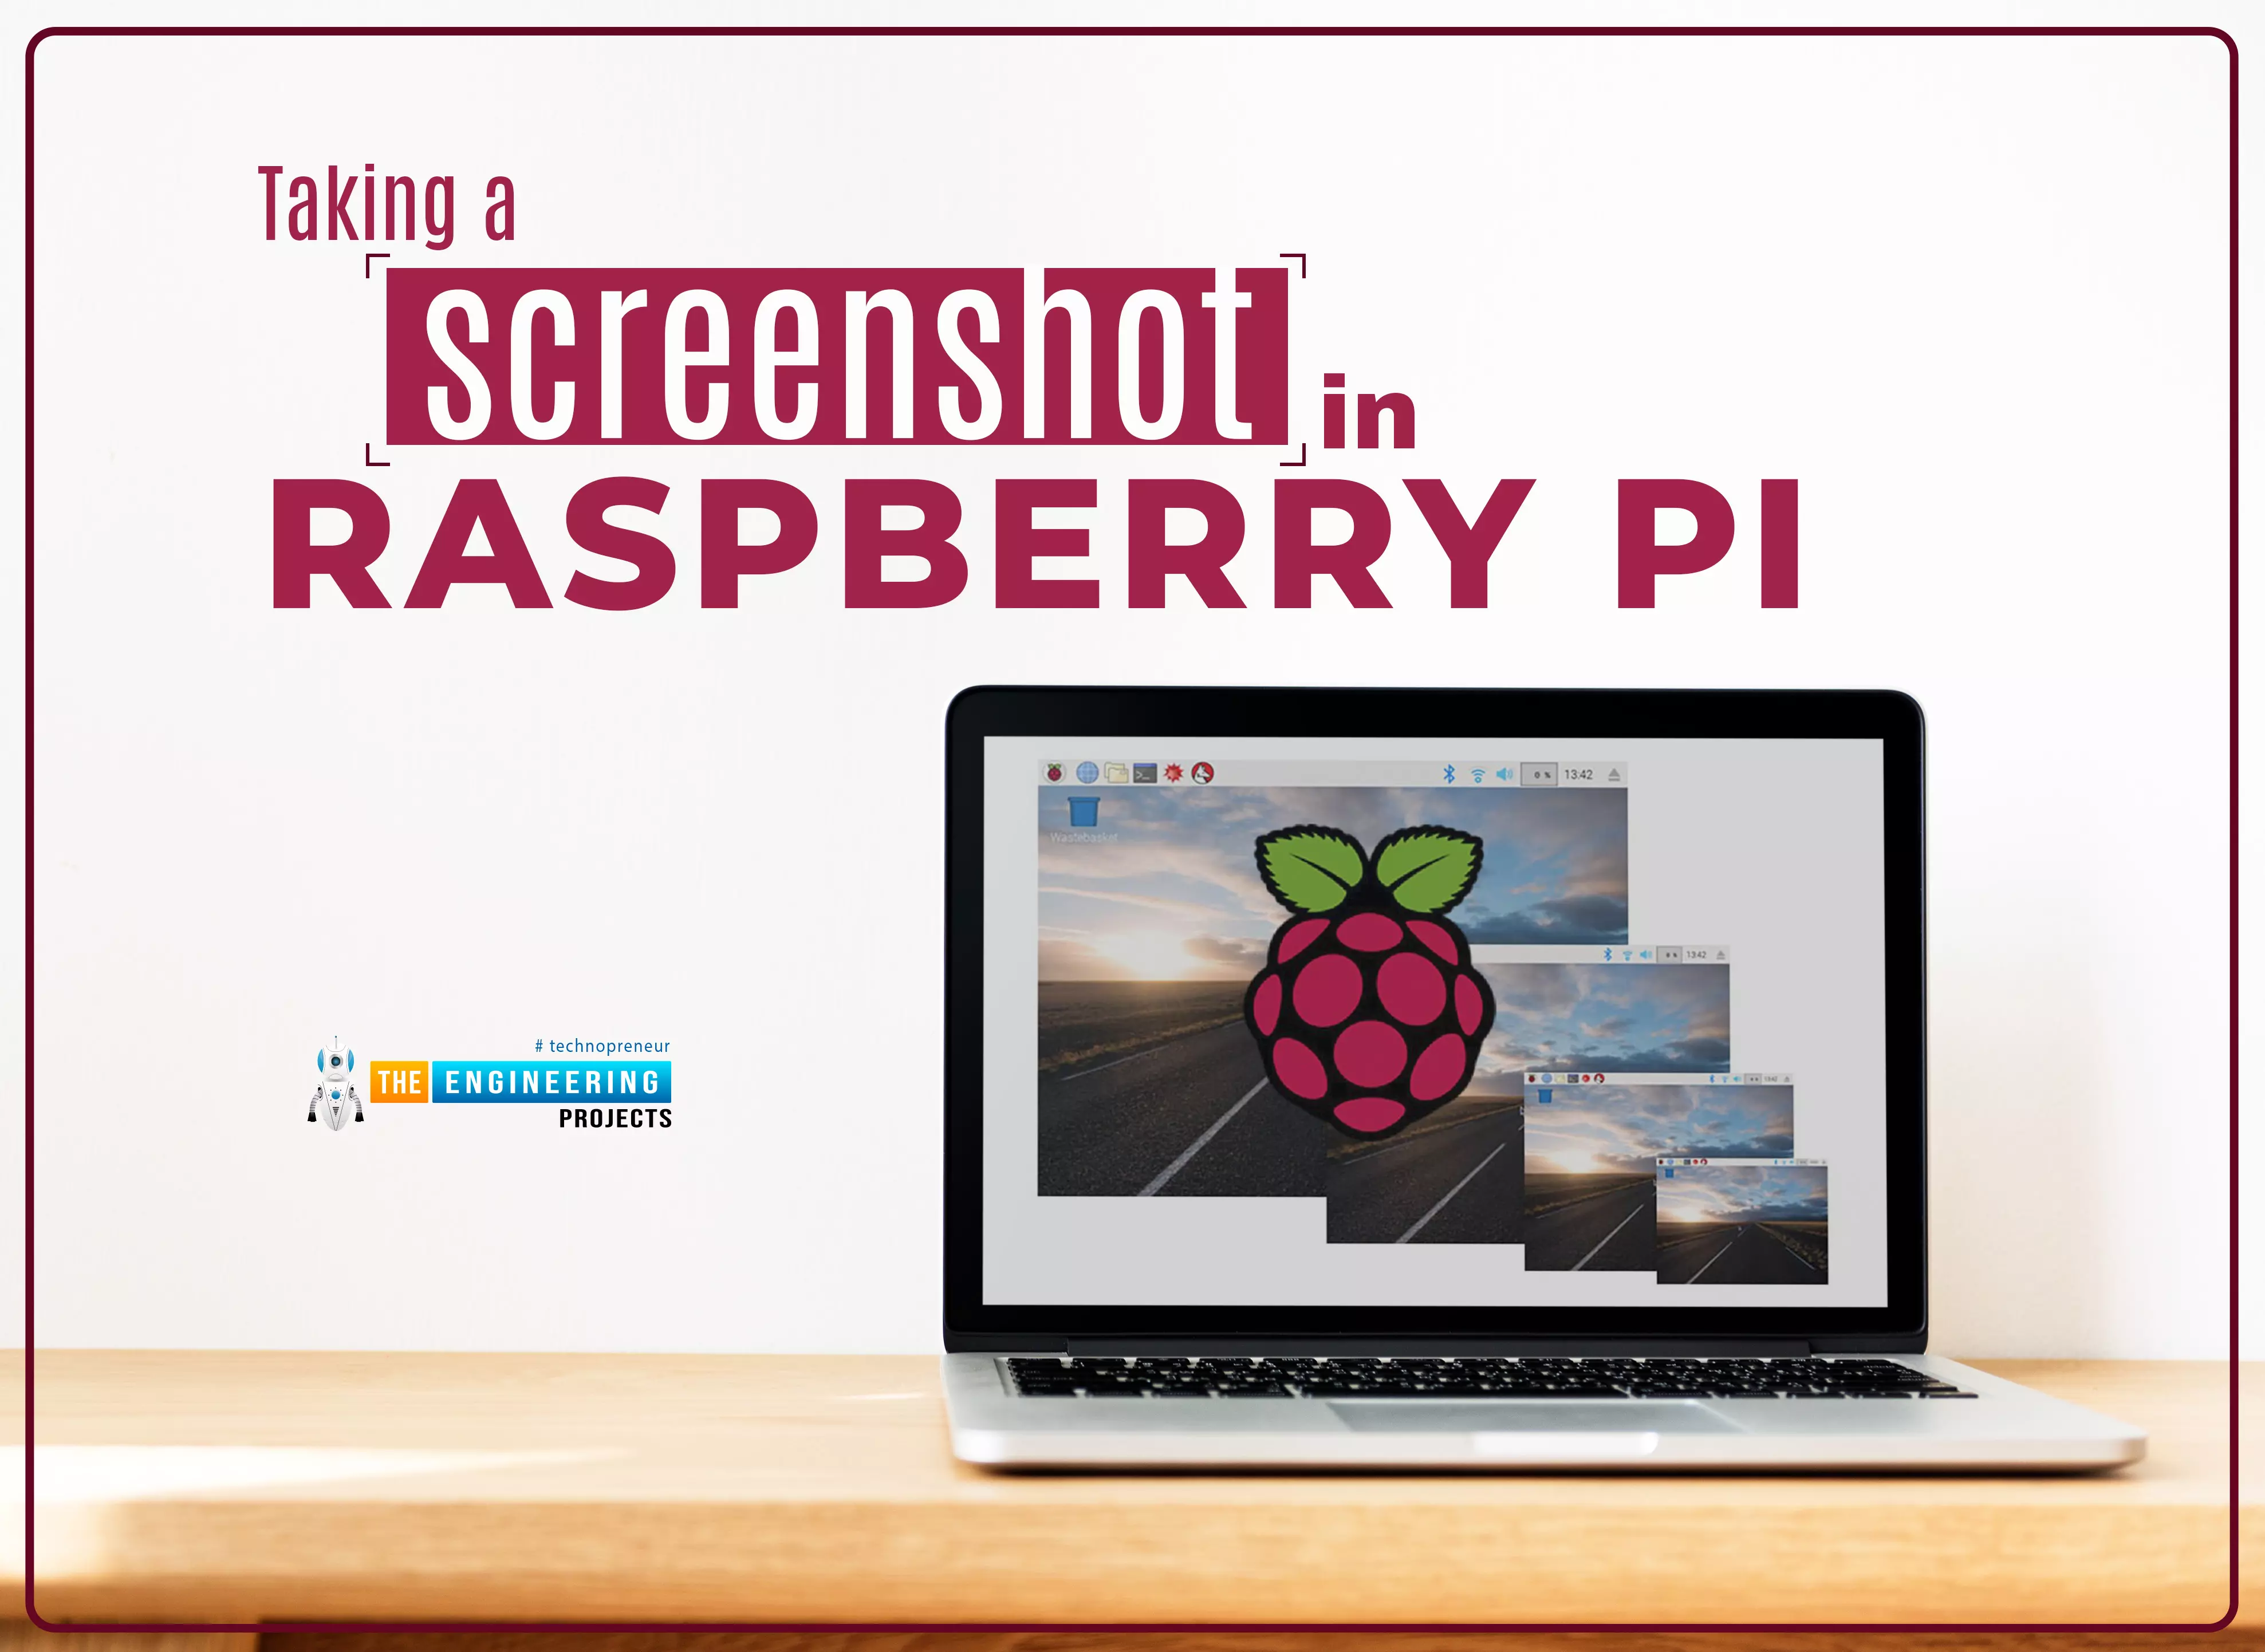
Taking a screenshot in Raspberry pi 4


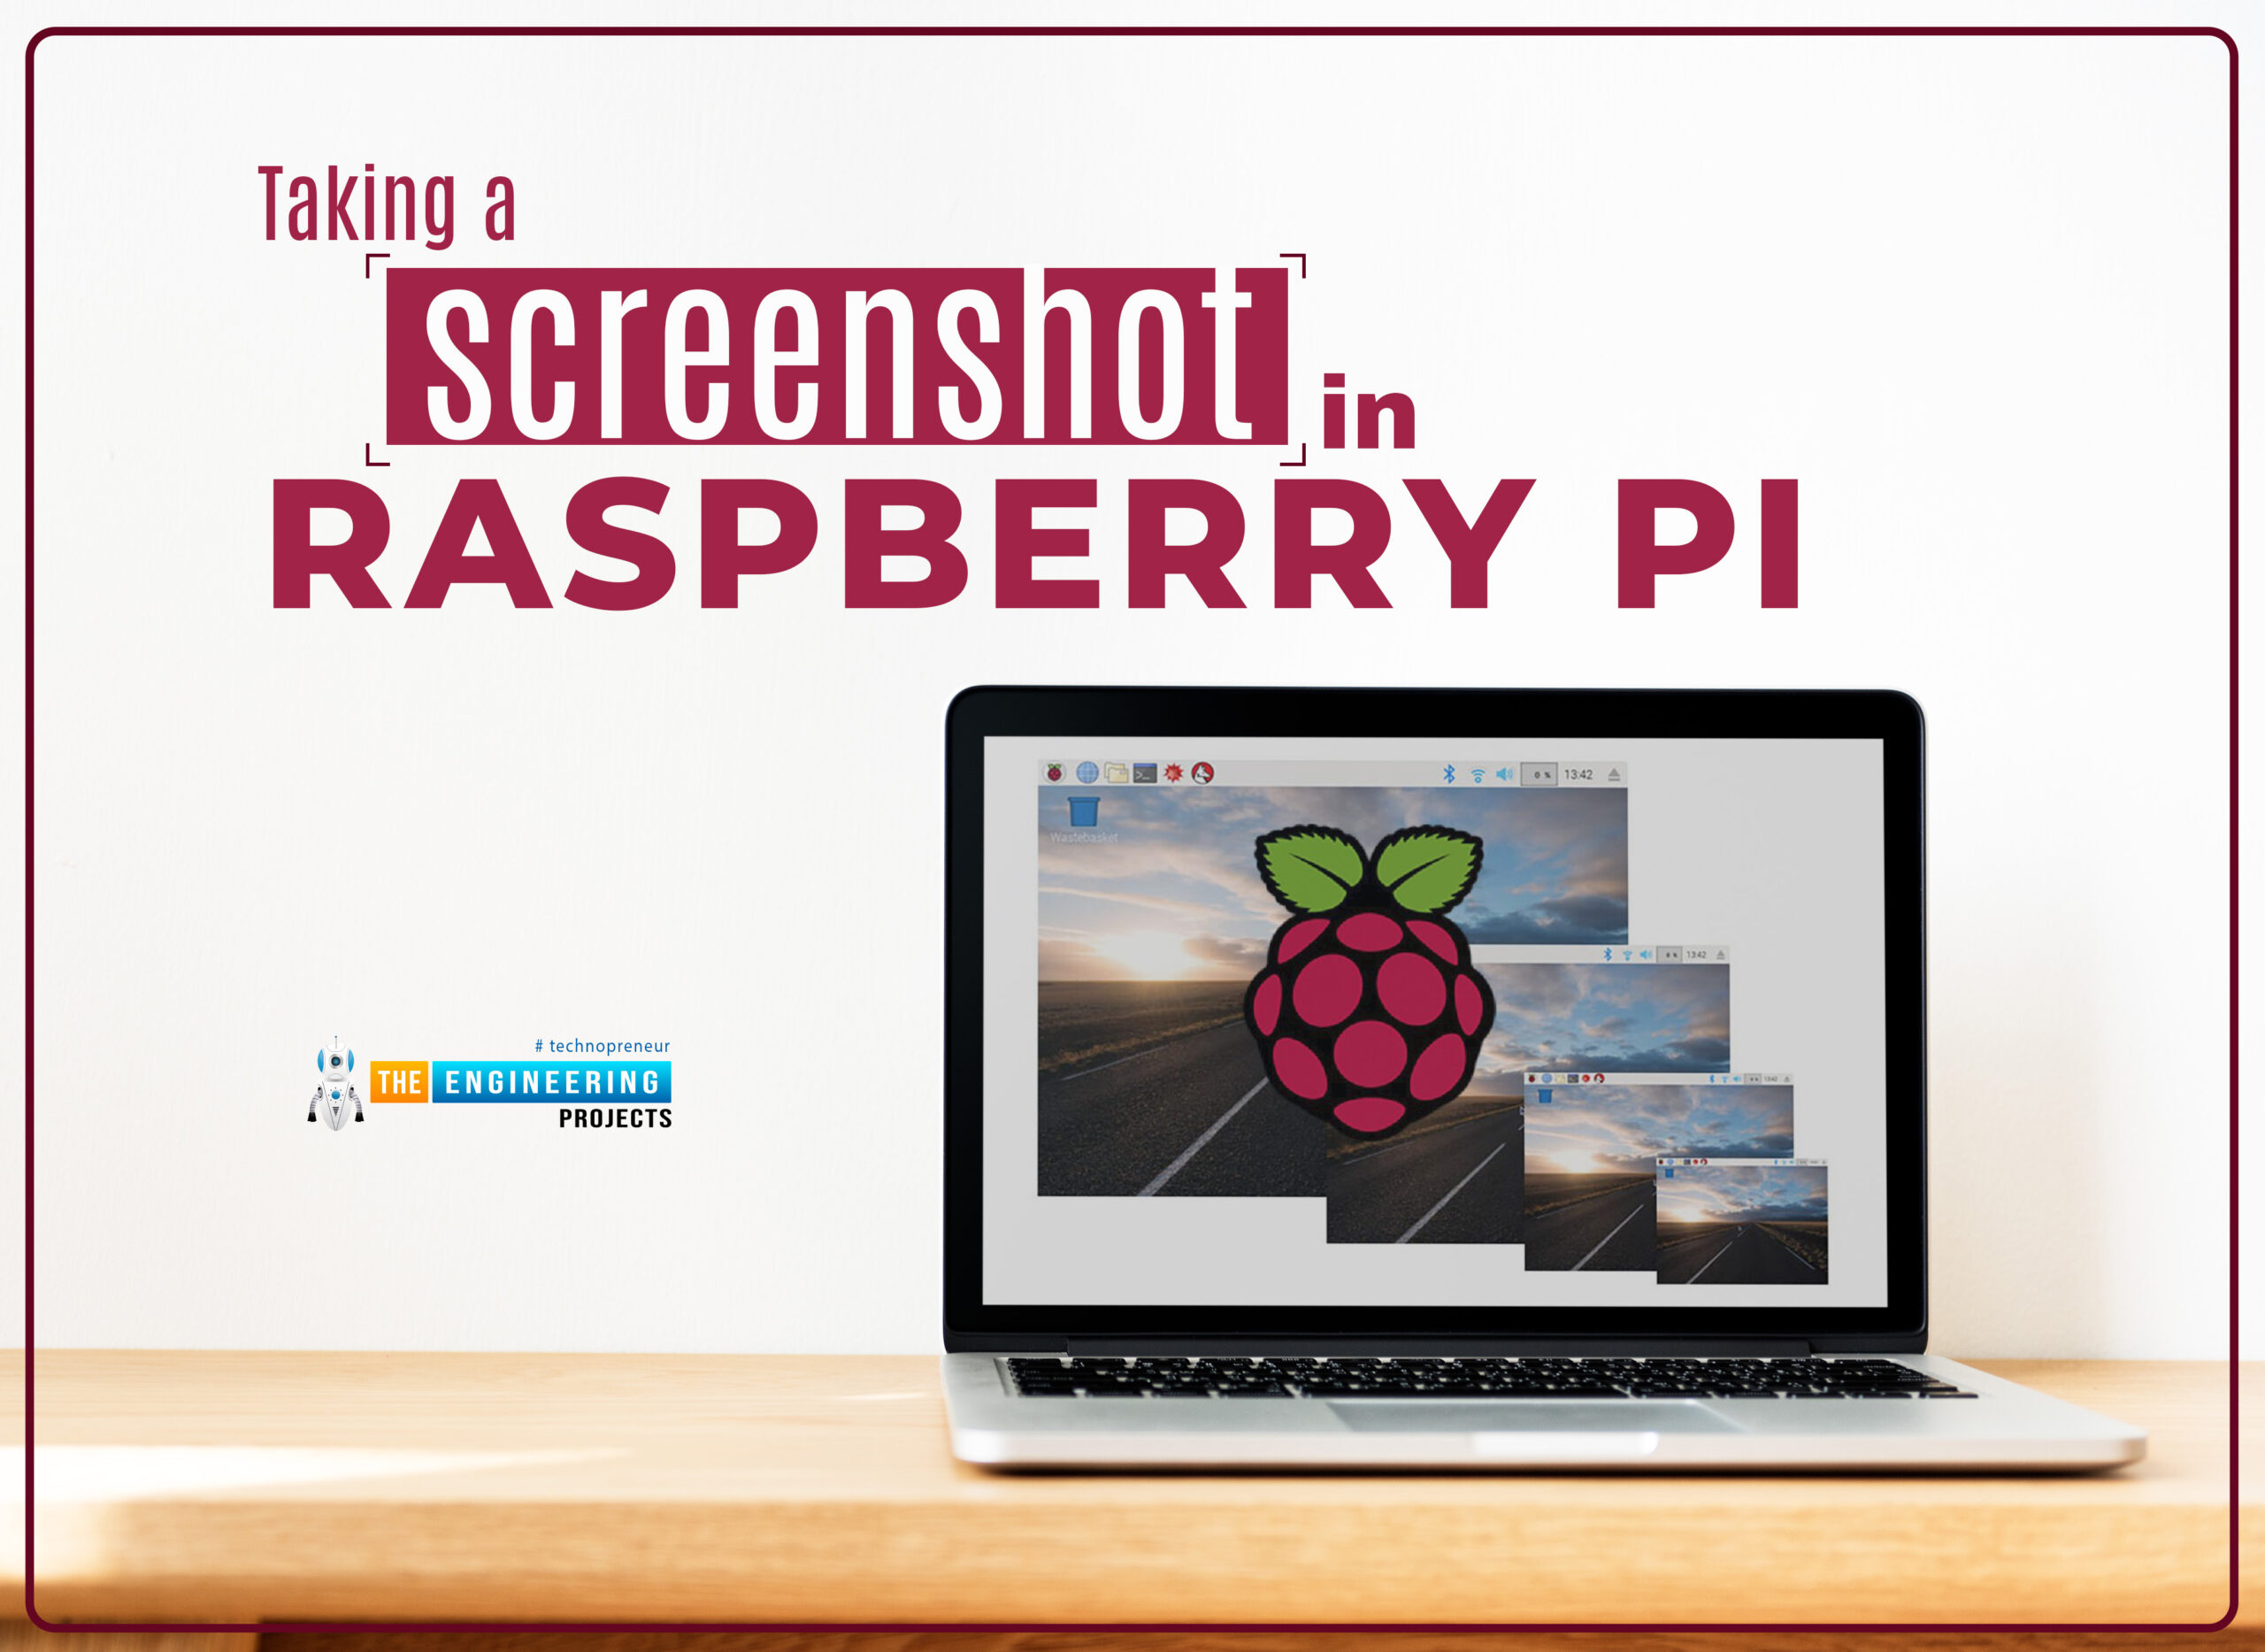
Welcome to the next tutorial of our Raspberry Pi programming course. Our previous tutorial taught us to how to print from a Raspberry pi. We also discussed some libraries to create a print server in our raspberry pi. We will learn how to take screenshots on Raspberry Pi using a few different methods in this lesson. We will also look at how to take snapshots on our Raspberry Pi using SSH remotely.
Why should you read this article?
This article will assist you when working with projects that require snapshots for documenting your work, sharing, or generating tutorials.
So, let us begin.
Screenshots are said to be the essential items on the internet today. And if you have seen these screenshots in tutorial videos or even used them in regular communication, you're already aware of how effective screenshots can be. They are quickly becoming a key internet currency for more efficient communication. Knowing how and when to utilize the correct ones will help you stand out from the crowd.
Requirements
- Raspberry Pi
- MicroSD Card
- Power Supply
- Ethernet Cable
Taking Screenshots Using Scrot
In this case, we'll employ Scrot, a software program, to help with the PrintScreen procedure. This fantastic software program allows you to take screenshots using commands, shortcut keys, and enabled shortcuts.
Features of Scrot
- We could easily snap screen captures using scrot with no other tasks.
- We could also improve the image quality of screen photos by using the -q option and a level of quality from 1 to 100. The quality level is currently at 75 by default.
- It is straightforward to set up and use.
- We may capture a particular window or even a rectangle portion of the display using the button.
- Capable of retrieving all screen captures in a specific directory and storing all screen captures on a distant Computer or networked server.
- Automatically monitor multiple desktop PCs while the administrator is away and prevent unauthorized behaviors.
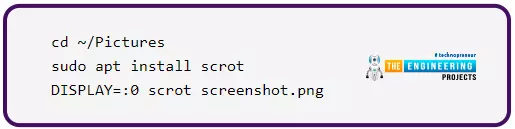
Scrot is already installed by default in the latest release of the Raspbian Operating system. In case you already have Scrot, you may skip this installation process. If you're not sure whether it's already installed, use the command below inside a pi Terminal window.

If your Pi returns a "command not found" error, you must install it. Use the following command line to accomplish this:

After installing it, you may test its functionality by using the scrot instruction again. If no errors occur, you are set to go on.
Capturing a snapshot on a Raspberry Pi isn't difficult, especially if Scrot is installed. Here are a handful of options for completing the work.
-
Using a Keyboard Hotkey
If you have the Scrot installed on your Pi successfully, your default hotkey for taking screenshots will be the Print Screen key.
You can try this quickly by pressing the Print Screen button and checking the /home/pi directory. If you find the screenshots taken, your keyboard hotkey (keyboard shortcut) is working correctly.
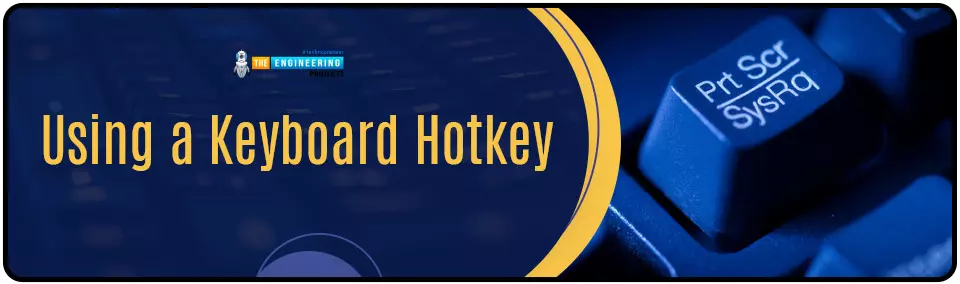
In addition, screenshots and print screen pictures will be stored with the suffix _scrot attached to the end of their filename. For instance,

-
Using Terminal Window
This is easy as pie! Execute the following command on your Pi to snap a screenshot:

That is all. It is that easy.
Taking a Delayed Screenshot
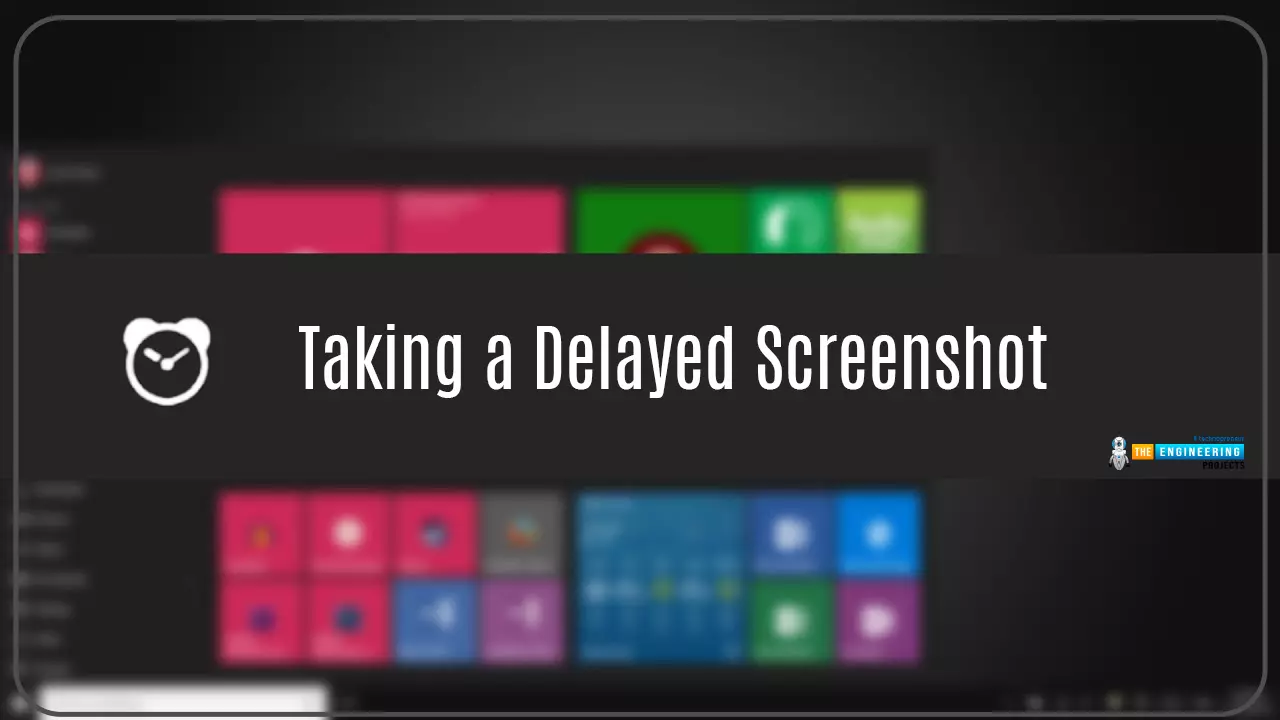
The following approach will not work unless you have the navigation closed and have to snap a screenshot without the menu. To get a perfect snapshot with no menu, you must wait a few seconds after taking the picture. You may then close your menu and allow the Scrot to initiate the image capture.
To capture in this manner, send the following command to postpone the operation for five seconds.

Other Scrot settings are as follows:
- scrot -b : for taking a window's border.
- scrot -e : To issue a command after taking a snapshot.
- scrot -h : To bring up an additional assistance panel.
- scrot -t : To generate a snapshot thumbnail.
- scrot -u : To take a screenshot of the currently active tab.
- scrot -v : Scrot's most recent version will be displayed.
Changing Screenshot Saving Location
You might need to give the images a unique name and directory on occasion. Add the correct root directory, followed by the individual title and filename extension, exactly after scrot.
For instance, if you prefer to assign the title raspberryexpert to it and store it in the downloads directory, do the following command:

Remember that the extension should always follow the file name .png.
Mapping the Screenshot Command to a Hotkey
If the capture command isn't already mapped as a hotkey, you'll have to map it by altering your Pi's config file, and it'll come in handy.
It would be best if you defined a hotkey inside the lxde-pi-rc.xml script to use it. To proceed, use this syntax to open the script.

We'll briefly demonstrate how to add the snapshot hotkey to the XML script. It would be best to locate the <keyboard> section and put the following lines directly below it.

We will map the scrot function to the snapshot hotkeys on the keyboard by typing the above lines.
Save the script by hitting CTRL X, Yes, and afterward ENTER key when you've successfully added those lines.
Enter the command below to identify the new changes made.

How to Take a Screenshot Remotely over SSH
You may discover that taking snapshots on the raspberry is impractical in some situations. You'll need to use SSH to take the image here.
When dealing with Ssh, you must first activate it, as is customary. You may get more information about this in our previous tutorials.
Log in with the command below after you have enabled SSH:

Now use the command below to snap an image.
If you've previously installed the Scrot, skip line 2.
Using the command below, you can snap as many snapshots as you like using varying names and afterward transferring them over to your desktop:

Remember to change the syntax to reflect the correct username and Ip.
Saving the Screenshot Directly on your Computer
you can snap a screenshot and save it immediately to your Linux PC. However, if you regularly have to take snapshots, inputting the passcode each time you access the Rpi via SSH will be a tedious chore. So you can use publicly or privately keys to configure no passcode ssh in raspberry pi.
To proceed, use the following command to install maim on raspberry pi.

Return to your computer and use the command below to take a snapshot.

We're utilizing the maim instead of other approaches since it's a more elegant method. It sends the image to stdout, allowing us to save it to our laptop via a simple URL redirect.
Taking Screenshots Using Raspi2png
Raspi2png is a screenshot software that you may use to take a screenshot. Use the code below for downloading and installing the scripts.

After that, please place it in the /usr/local/bin directory.

Enter the following command to capture a screenshot.

Ensure to use your actual folder name rather than <directory_name> used.
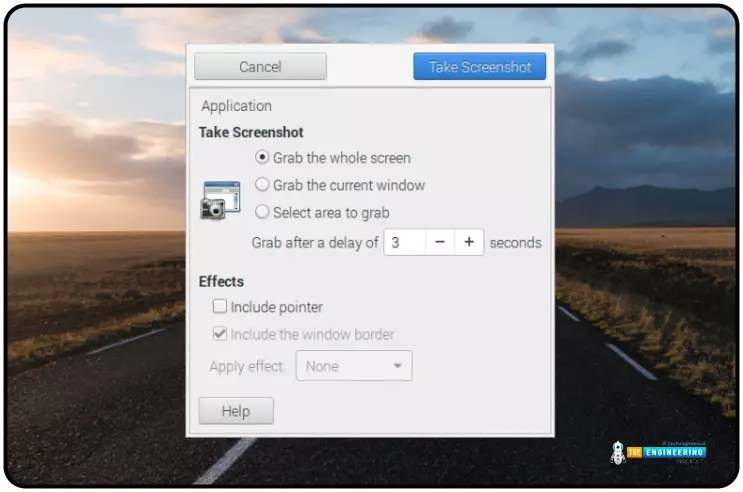
Taking Screenshots Using GNOME Tool
Because we are using a GUI, this solution is relatively simple and easy to implement.
First, use the following command to download the GNOME Snapshot tool.

After it has been installed, go to the Raspberry navbar, select the menu, select Accessories, and finally, Screenshot.
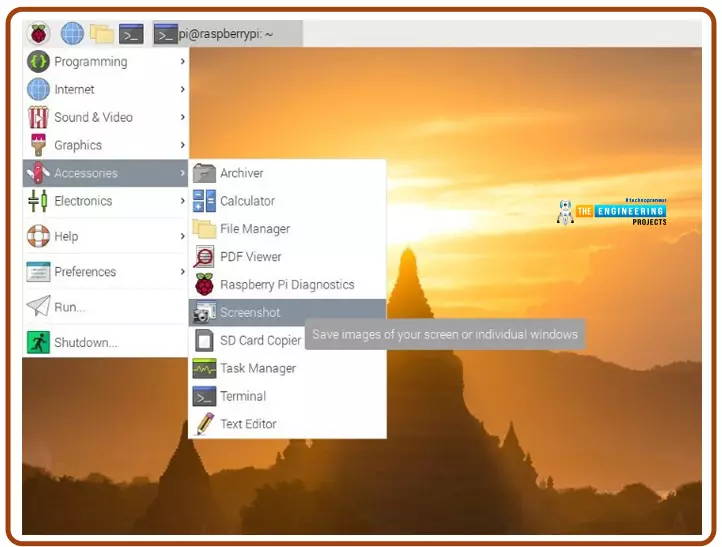
This opens the GNOME Picture window, where you can find three different taking options, as seen below.
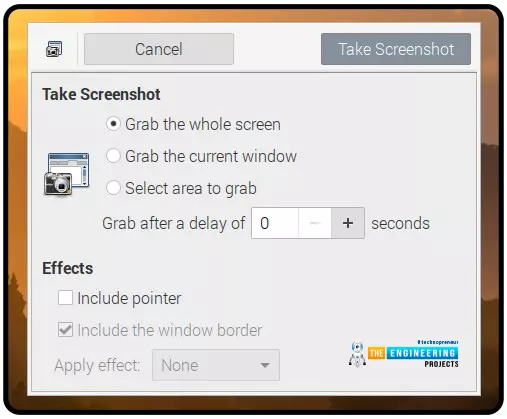
Choose the appropriate capture method and select Capture Image. If you pick the third choice, you will have to use a mouse to choose the location you wish to snip. If you use this option, you will not need a picture editor to resize the snapshot image. The first choice will record the entire screen, while the second will snip the active window.
GNOME gives you two alternatives once you capture a screen. The first is to save the snapshot, and the other is to copy it to the clipboard. So select it based on your requirements.
What are the Different Types of Screenshots to know?
-
Screenshot
It all begins with a simple screenshot. You don't need any additional programs or software to capture a basic screenshot. At this moment, this feature is built into almost all Raspberry Pi versions and Windows, Mac PCs, and cellphones.
-
Screen capture
It is the process of capturing all or a part of the active screen and converting it to a picture or video.
While it may appear the same thing as a screenshot and a screen capture, they are not the same. A screenshot is simply a static picture. A desktop window capture is a process of collecting something on the screen, such as photographs or films.
Assume you wish to save a whole spreadsheet. It's becoming a little more complicated now.
Generally, you would be able to record whatever is on your window. Still, in case you need to snip anything beyond that, such as broad, horizontal spreadsheets or indefinitely lengthy website pages, you'll need to get a screen capture application designed for that purpose. Snagit includes Scrolling snapshot and Panorama Capture capabilities to snap all of the material you need in a single picture rather than stitching together many images.
-
Animated GIF

This is a GIF file containing a moving image. An animated succession of picture frames is exhibited.
While gif Images aren't limited to screen material, they may be a proper (and underappreciated) method to express what's on your display.
Instead of capturing multiple pictures to demonstrate a process to a person, you may create a single animated Version of what is going on on your computer. These animations have small file sizes, and they play automatically, making them quick and simple to publish on websites and in documents.
-
Screencast
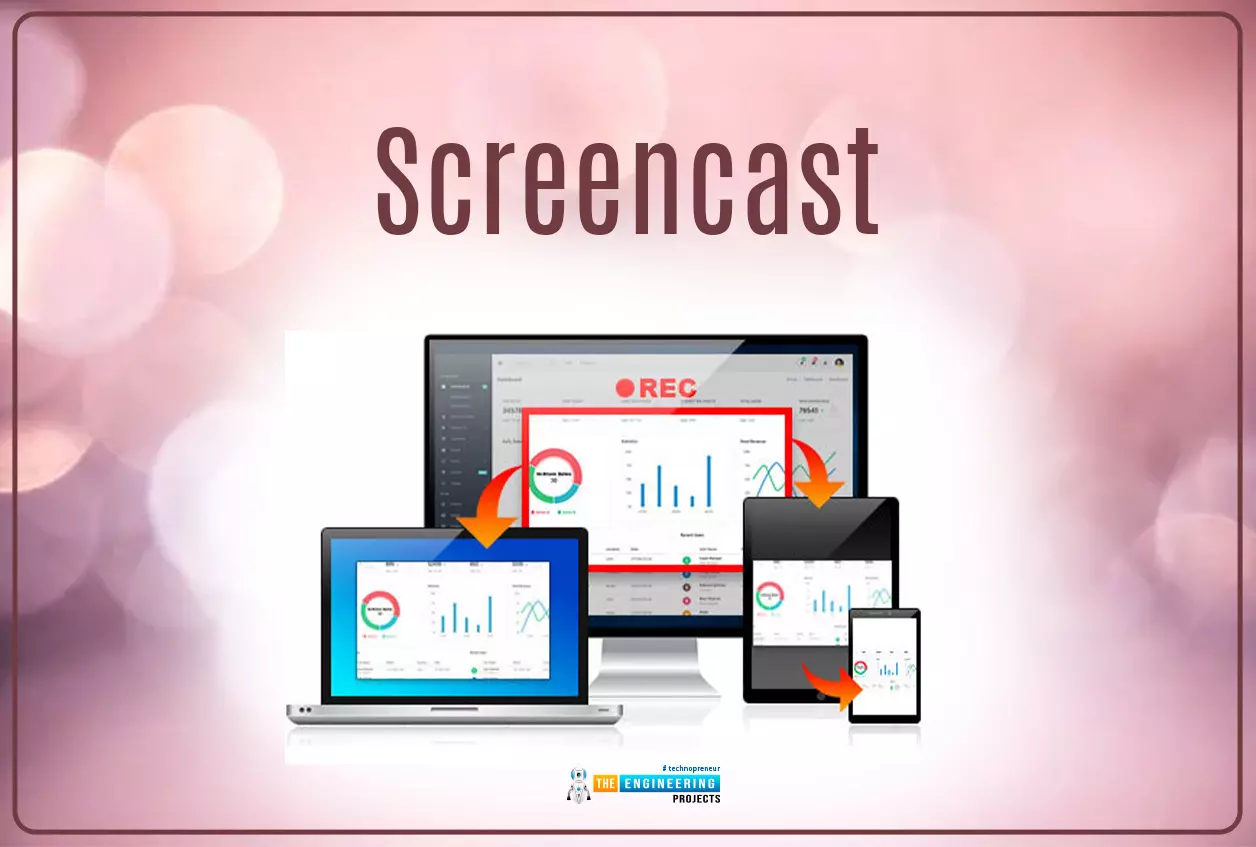
This is making a video out of screen material to educate a program or sell a product by displaying functionality.
If you want to go further than a simple snapshot or even gif Animation, they are a good option. If you have ever looked for help with a software program, you have come across a screencast.
They display your screen and generally contain some commentary to make you understand what you are viewing.
Screencasts can range from polished movies used among professional educators to fast recordings showing a coworker how to file a ticket to Information technology. The concept is all the same.
Three reasons Why Screenshot tool is vital at work
-
Communicate Effectively
Using screenshots to communicate removes the guesswork from graphical presentations and saves time.
The snapshot tool is ideal for capturing screenshots of graphical designs, new websites, or social media posts pending approval.
-
Demonstrate to Save Time
This is a must-have tool for anybody working in Information Technology, human resource, or supervisors training new workers. Choose screenshots over lengthy emails, or print screen pictures with instructions. A snapshot may save you a lot of time and improve team communication.
Furthermore, by preserving the snapshot in Screencast-O-Matic, your staff will be able to retrieve your directions at any time via a shareable link.
To avoid confusion, utilize screen captures to show. IT supervisors, for instance, can utilize images to teach their colleagues where to obtain computer upgrades. Take a snapshot of the system icon on your desktop, then use the Screen capture Editor to convert your screen capture into a graphical how-to instruction.
Any image editing tool may be used to improve pictures. You may use the highlighting tool to draw attention to the location of the icons.
-
Problem Solve and Share
Everybody has encountered computer difficulties. However, if you can't articulate exactly what has happened, diagnosing the problem afterward will be challenging. It's simple to capture a snapshot of the issue.
This is useful when talking with customer service representatives. Rather than discussing the issue, email them an image to help them see it. Publish your image immediately to Screencast and obtain a URL to share it. Sharing photos might help you get help quickly.
It can also help customer support personnel and their interactions with users. They may assist consumers more quickly by sending screenshots or photographs to assist them in resolving difficulties.
Snapshots are a simple method for social media administrators to categorize, emphasize, or record a specific moment. Pictures are an easy method to keep track of shifting stats or troublesome followers. It might be challenging to track down subscribers who breach social network regulations. Comments and users are frequently lost in ever-expanding discussions.
Take a snapshot of the problem to document it. Save this image as a file or store it in the screenshots folder of Screencast. Even if people remove their remarks, you will have proof of inappropriate activity.
Conclusion
This tutorial taught us how to take screenshots from a Raspberry Pi using different methods. We also went through how to remotely take snapshots on our Pi using SSH and discussed some of the benefits of using the screenshot tool. However, In the following tutorial, we will learn how to use a raspberry pi as a webserver.


