Build a GPIO Soundboard in Raspberry Pi 4


What you will learn
Connect button pushes to function calls using the Python gpiozero package and uses the Python dictionary data structure
Components
- Raspberry Pi
- Breadboard
- Buttons
- Jumper wires
- Speaker
Set up your project
For this project, you'll need some audio samples. On Raspbian, there are many audio files; however, playing them with Python can be challenging. You can, however, transform the audio files to a more simply used format for Python.
Please make a new folder and rename it because all of your project files will be saved in the new location.
Copy the sample sounds
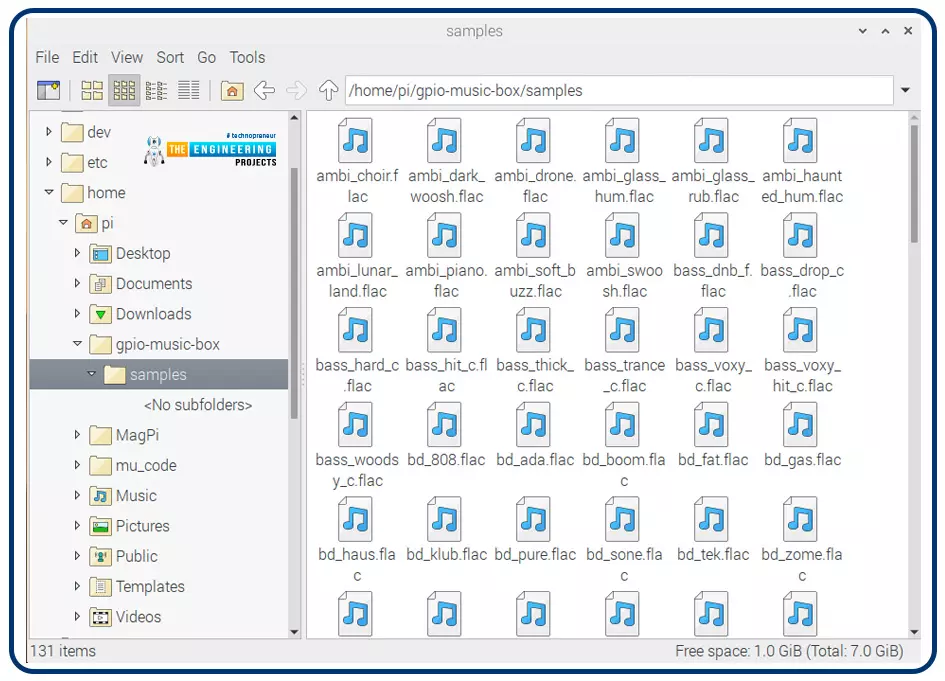
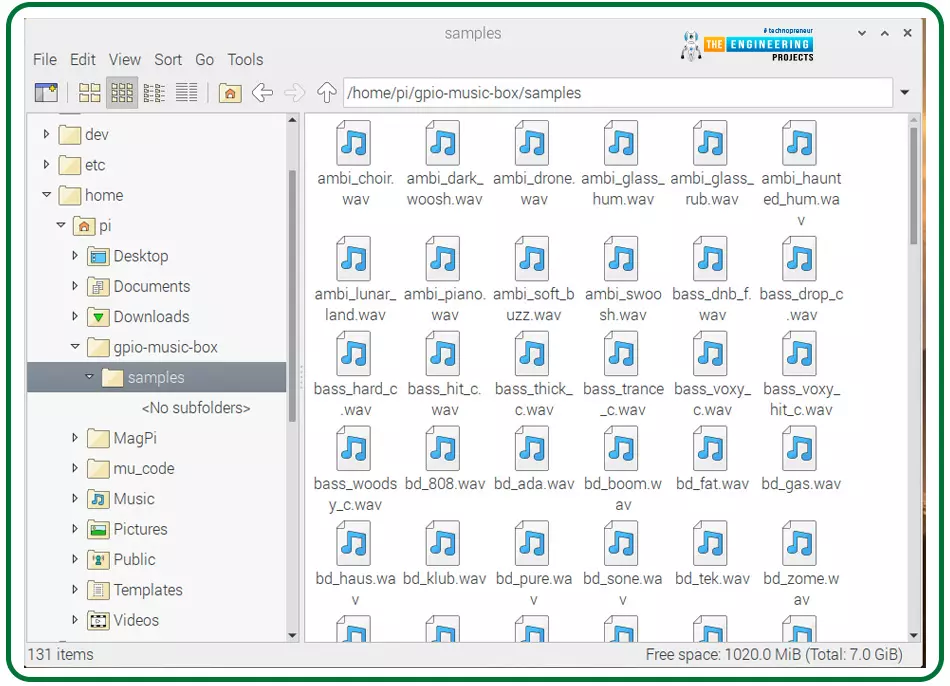
Create a new folder named samples using the same technique as before in your new folder.
In /usr/share/sonic-pi/sample, you'll find a bunch of sample sounds. These sounds will be copied into the samples folder in the following phase.
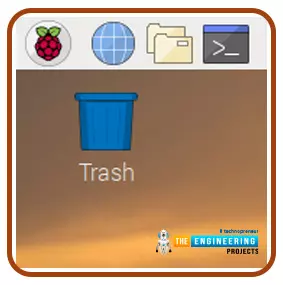
Open the command window by selecting the icon in the upper left corner of your screen.
To transfer all items from one folder to another, execute the following lines:

You should now see all the .flac audio files inside the sample folder.
Convert the sound files
To use Python to play sound files, you must first convert them from .flac to .wav format.
Go to the sample folder inside a terminal.

How can we converting the media files?
FFmpeg is a software program that can quickly transcode video files on Raspberry Pi. This comes preloaded on the most recent Raspbian releases.
You may use this simple command to convert music or movie files format:

To transform an audio (.wav) to a mp3 format (.mp3), for example, type:

Running batch operations on a file using bash
What are batch operations?
A batch operation is a process for processing or treating a large quantity of material. When creating modest amounts of goods, the batch operation is preferred. Because this procedure provides superior traceability and flexibility, it is highly prevalent in pharmaceutical and specialized chemical manufacturing.
It's simple to rename a file with bash. For example, you may use the mv command.

But what if you had a thousand files to rename?
When you run a script or a series of commands on several files, this is known as a batch operation.
- Try your first simple batch process with any directory containing a few files. The first thing you should do is try something simple.
The first step is to notify bash that you wish to work with all the files inside the folder.
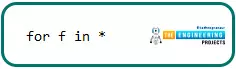
- f will be used to denote each directory listing inside the folder individually.
- After that, you must instruct bash which operations to perform on each file. The file name should be echoed to standard output in this scenario.
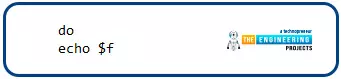
The dollar symbol indicates that you're referring to f in this case. Finally, inform bash that you're finished.

If you press enter after each statement, bash will wait until you input done before running the loop; therefore, the command would appear as shown below:
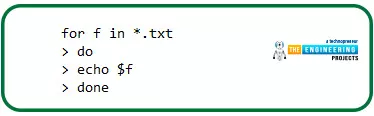
You might also use a semi-colon to separate the instructions rather than pressing Return after every line.

How do we manipulate strings?
The process of processing and analyzing strings is referred to as string manipulation. It entails several processes involving altering and processing strings to utilize and change their data.
That final command was meaningless, but batch operations can accomplish a lot more. You can use the following command to rename each file.

- If you run ls in the terminal, you'll notice that all files will be renamed. So, how did it all come together?
- The first portion of the f inside *.txt instructs bash to do the action on all files ($f) with the.txt extension.
- The command does mv $f instructs bash to relocate each file. After that, you must tell bash what the new name of the relocated file is. To do so, delete the.txt extension and replace it with .md. Fortunately, bash includes an inherent operator for removing string ends. Please take a look at this sample to understand how it works.
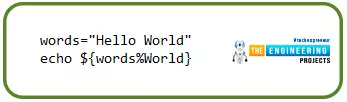
- At this point, you may add something more to the string's end.

As a result, the $f percent.txt.MD syntax replaces all.txt strings with .md strings. Use the hash operator instead of the % sign to remove a string from the beginning rather than the end.
Write the following lines in your terminal. All .flac files will be converted to .wav files, and the old ones will be deleted.

Based on the Raspberry version you're using, it might take a couple of minutes.
All of the new.wav files will then be visible inside the sample folder.
How do we play sounds using python?
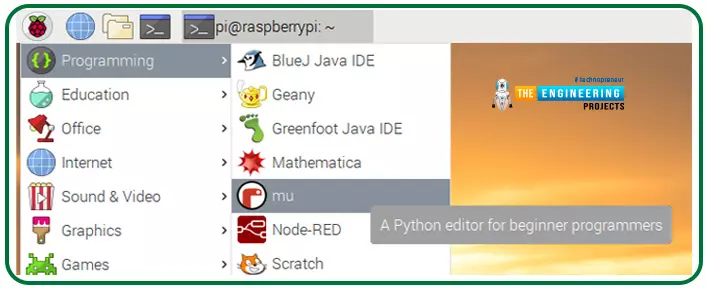
After that, you'll begin writing Python code. You can do this with any code editor or IDE, but Mu is often an excellent option.
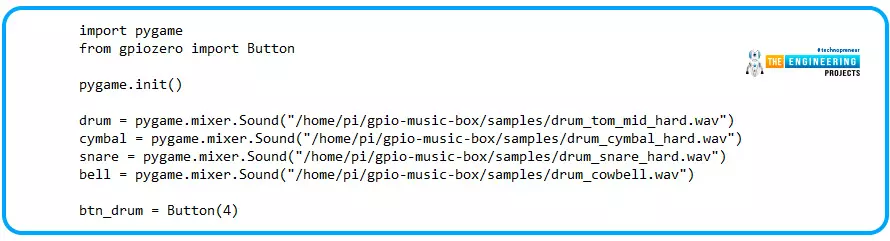
To play audio files, import and initialize the pygame library.

This file should be saved in the gpio-music-box directory.
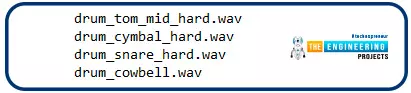
Select four audio files to utilize in your composition, such as:
Then make an object which references an audio file. Give the file a different name. Consider the following case:

For the following three sounds, create labelled objects.
Hint
Because all of your audio files are in the sample folder, the path will be as follows:

Each audio object should be given a name, for example, cymbal:

This is how your program should appear:

Please make a backup of your code and execute it. Then use the .play() function inside the shell from the code editor to play the audio.

Ensure that the speaker is functional and the volume is cranked up if you don't hear anything.
Connect your buttons
Four pushbuttons will be required, each connected to a different GPIO pin.
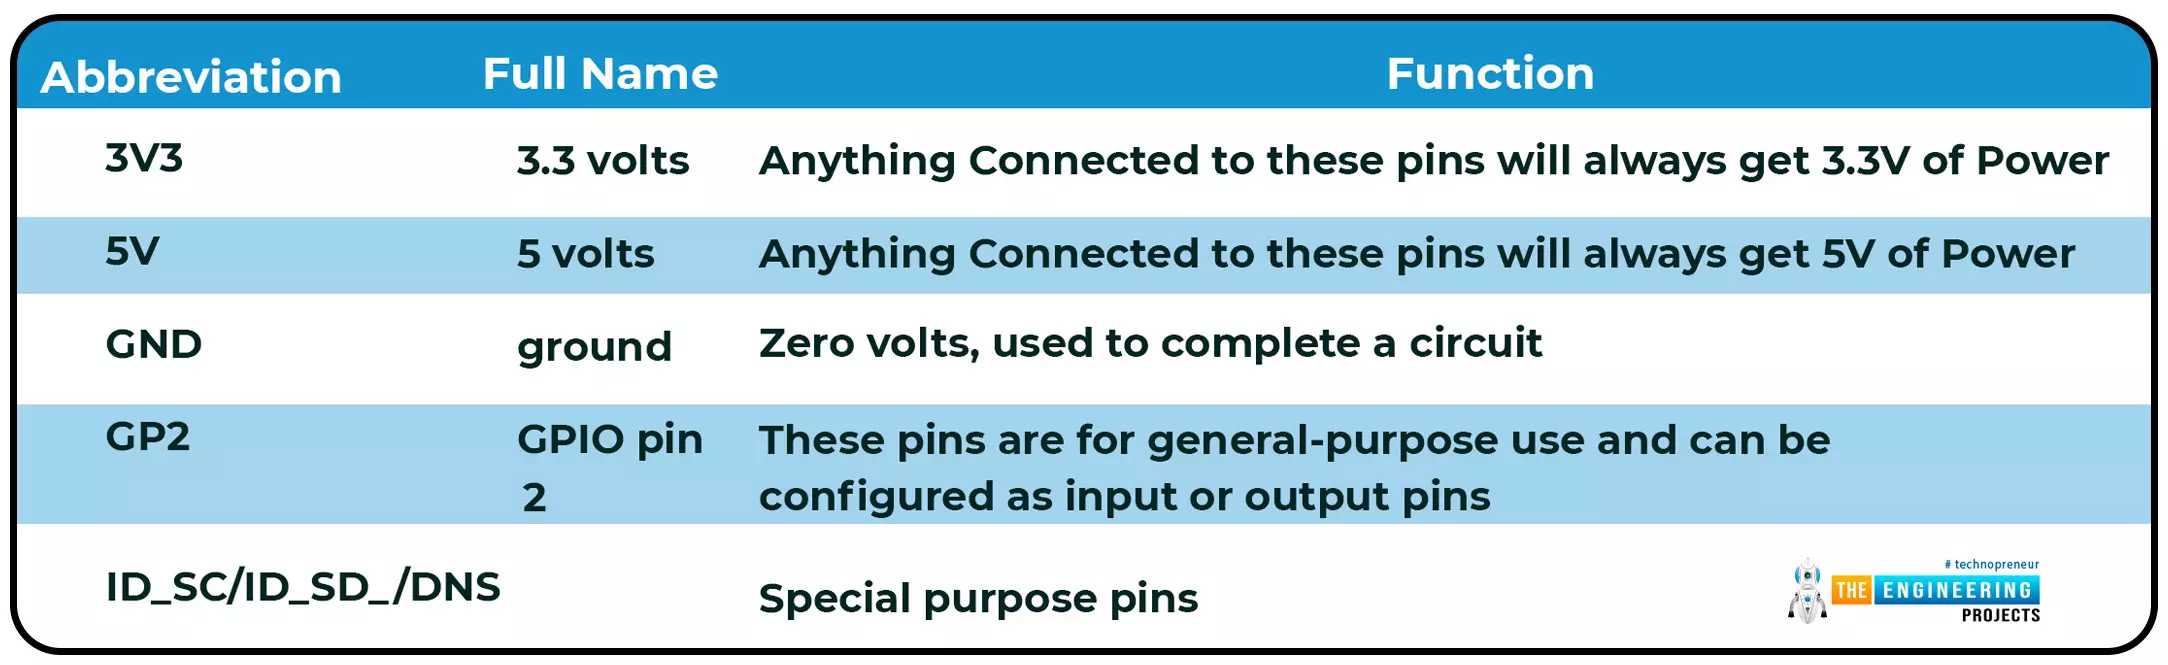
There are 26 GPIO pins on a Raspberry Pi. You may use them to transmit on/off pulses to/from electrical components like Led, actuators, and switches.
The GPIO pins are laid out as below.
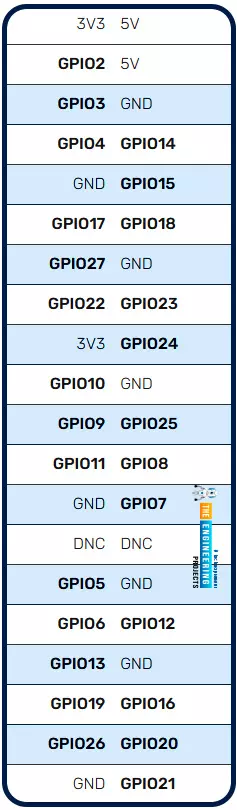
There are extra pins for 3.3 V, 5v, and Grounded connections and a number for each pin.
Another illustration of the pin placement may be seen here. It also displays some of the unique pins that are available as options.

A figure with a quick explanation is shown below.
How can we use a button with a Raspberry Pi?
One of the basic input components is a button.
Buttons come in various shapes and sizes, with two or four legs, for example. Flying wire is commonly used to link the two-leg variants to a control system. Four-legged buttons are usually put on a breadboard.
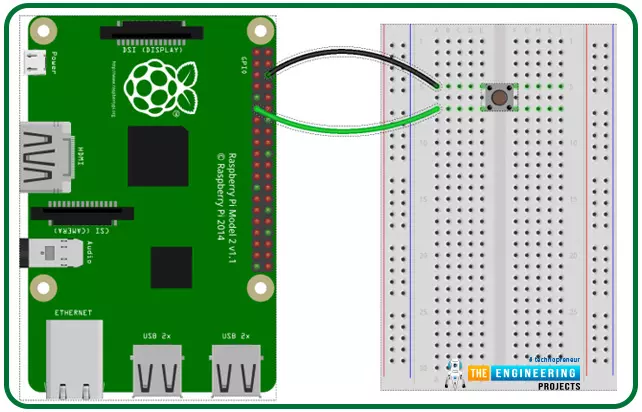
The illustrations below illustrate how to connect a Raspberry Pi to a button. Pin 17 is indeed the input in both scenarios.
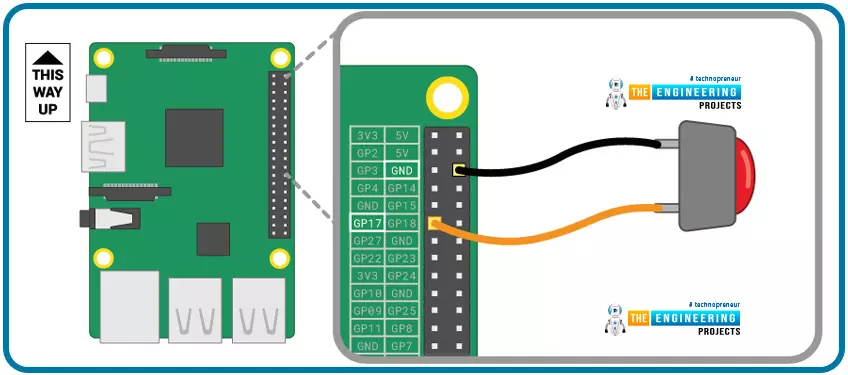
The breadboard's negative rail may be connected to a single GND, allowing all pushbuttons to share the same grounded rail.
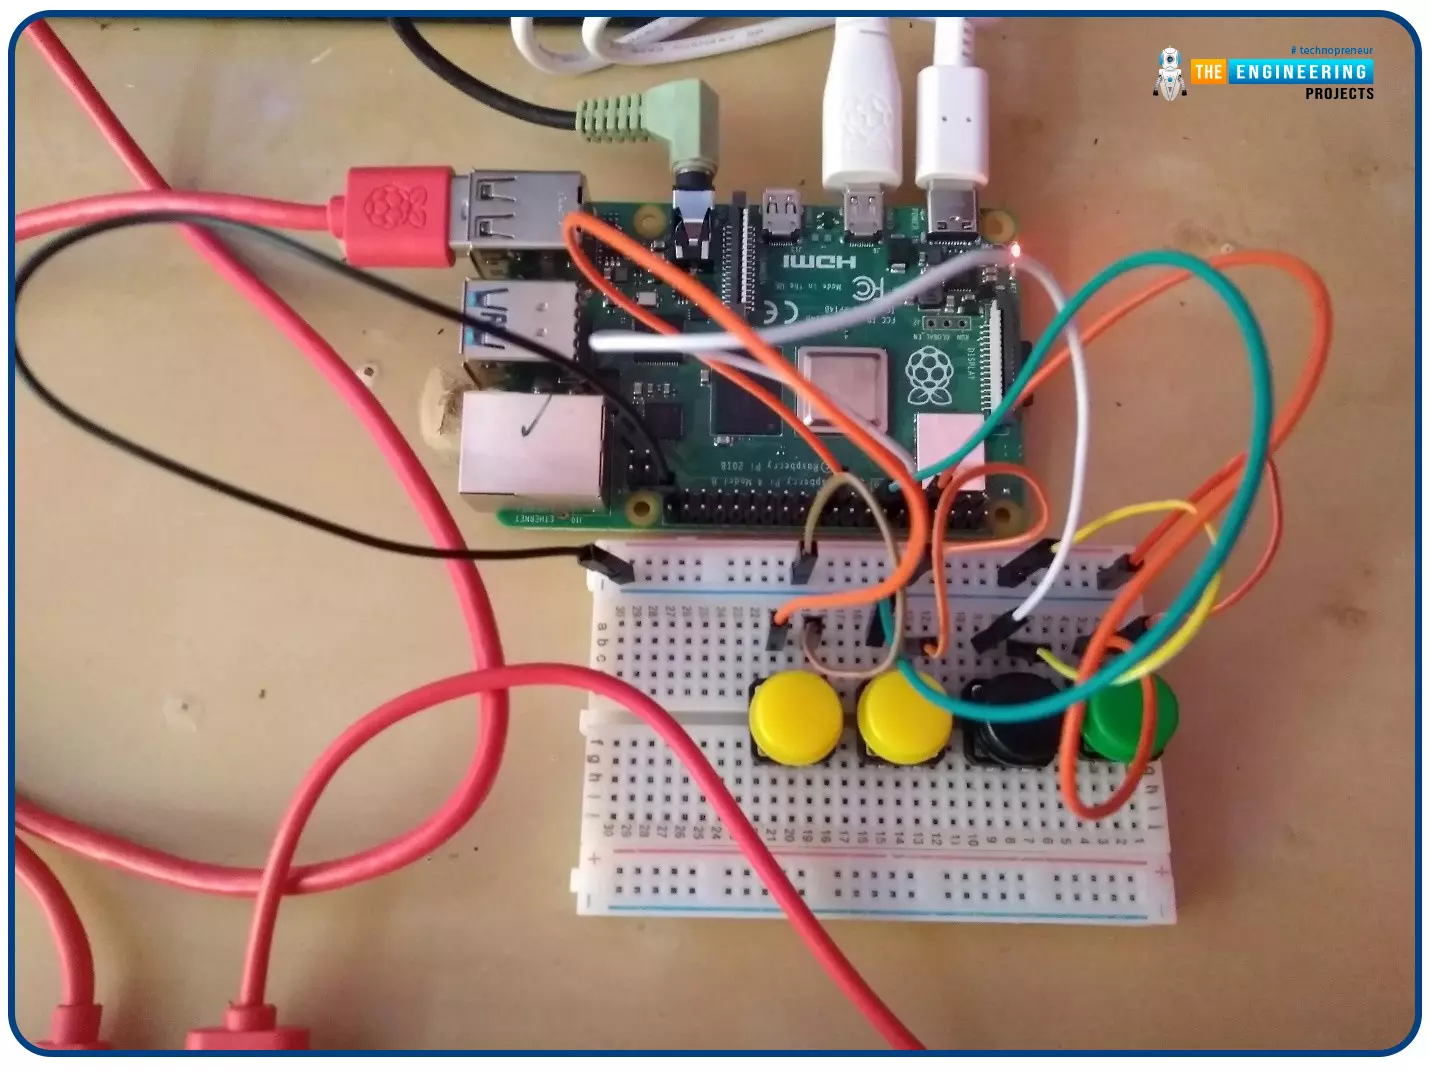
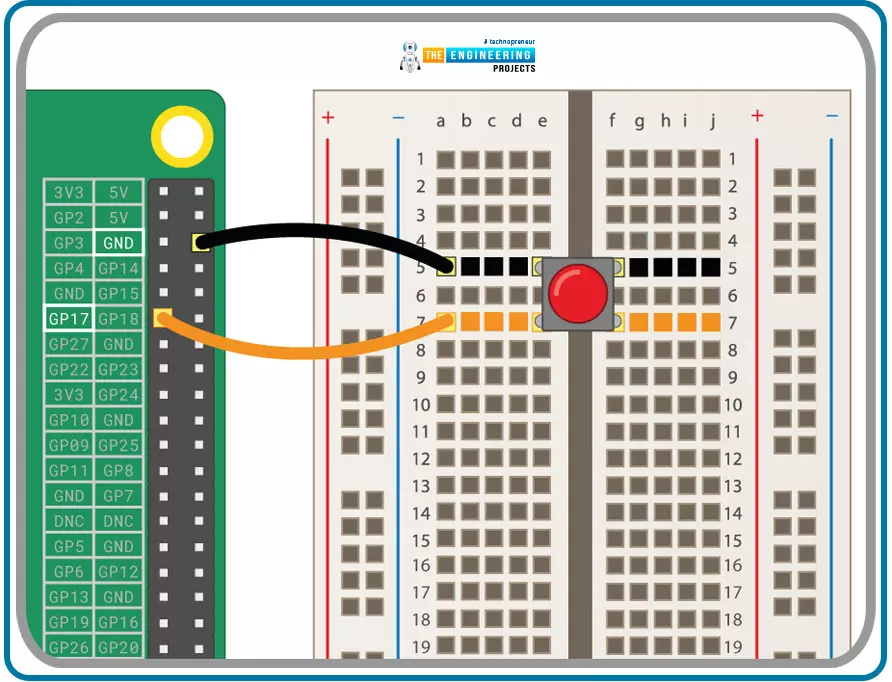
On the breadboard, attach the four buttons.
Connect each pushbutton to a GPIO pin with a specific number. You are free to select whatever pin you prefer, but you must recall its number.
Hint
Connect one Ground pin to the breadboard's neutral rail. Then connect one of each button's legs to this rail. Finally, connect the remaining buttons' legs to separate GPIO pins.
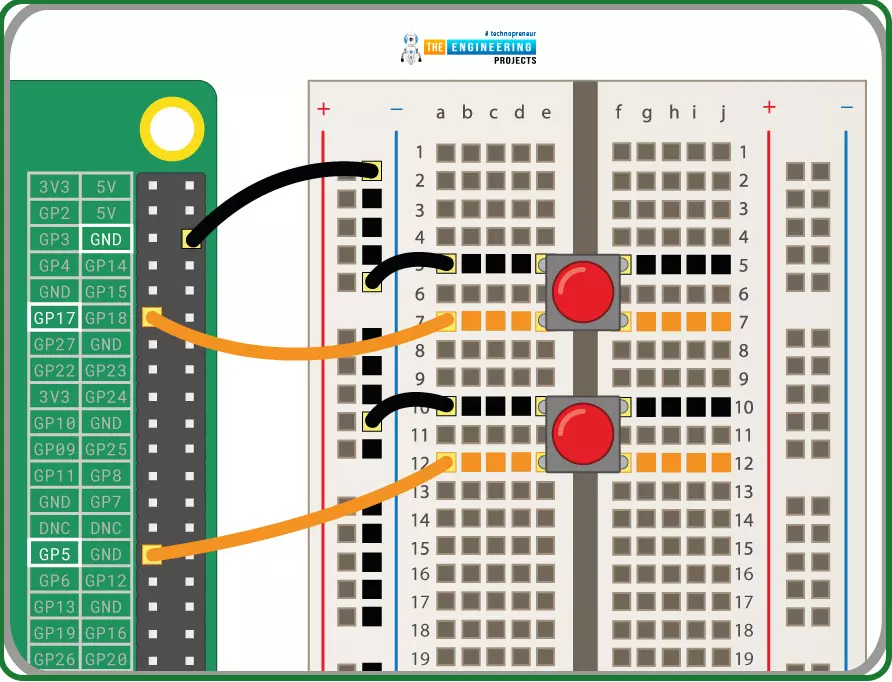
Here's a wiring schematic that may be of use. The extra legs of the pushbuttons are connected to Pin 4, pin 17, pin 27, and Pin 10 in this case.

Play sounds at the press of a button.
A single pushbutton has been connected to pin 17 in the figure below.
The button may be used to invoke methods that don't need any arguments:
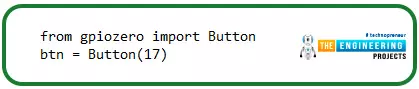
First, use Python language and the gpiozero library to configure the button.
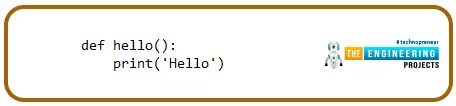
The next step is to design a function with no parameters. This straightforward method prints the phrase Hello in the terminal.
Finally, build a function-calling trigger.

You can now see Hello displayed in the terminal each time that button is clicked.
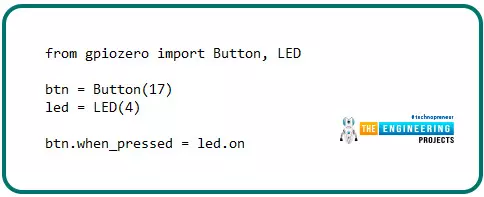
You may make your function as complicated as you want it to be, and you can also call methods which are part of modules. In this case, hitting the button causes an LED in pin 4 to turn on.
The application should execute a function like drum.play() whenever the button is pushed.
However, brackets are not used when using an action (like a button push) to invoke a function
. The software must call that method whenever the button is pushed, not immediately. All you have to do is use drum.play in this situation.
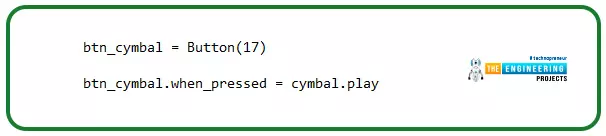
First, establish one of the buttons. Ensure to replace the numbers from the example with the ones of the pins you've used.
Add the following line of code at the end of your script to play the audio whenever the button is pushed:

Push the button after running the software. If you don't hear the sound, double-check your button's connections.
Add code to the three remaining buttons to have them play their audio.
For the second button, you may use the code below.
How can we improve our script?
Good code is clear, intelligible, tested, never overly convoluted, and does the task at hand.
You should be able to run your code with no issues. However, once you have a working prototype, it's typically a good practice to tidy up your code.
Subsequent stages are entirely optional. If you're satisfied with your writing, leave it alone. Follow the instructions on this page and make your code a little cleaner.
Instead of creating eight individual objects, you may keep your pushbutton objects and audio in a dictionary. These are, nonetheless, the seven characteristics of good code.
-
Readability
If you're writing one-time discard code that no one, including yourself, will have to see in the future, you may write in any way you like. However, the majority of useful software that has been produced has to be updated regularly.
-
Scalable
The next important feature of excellent programming is scalability, or the capacity to expand with the demands of your organization. Scalability is primarily concerned with the code's efficiency. Scalable code doesn't always require frequent design changes to maintain performance and resolve various workloads.
-
Testable
Last-minute adjustments are unavoidable while developing software. It will be difficult to send new changes through if the code can not be rapidly and automatically tested.
-
Meet functional requirement
Every piece of software that is built has a certain goal in mind. For persons familiar with the functionality, a code that adheres to its requirements is simple to understand. As a result, one important characteristic of excellent code is that it meets the functional requirements.
-
Gracefully fails
Mistakes and flaws are an inherent element of software development. You can't anticipate every conceivable manufacturing case, no matter how cautious you were during the design process. You should, however, shield your application against the negative effects of such situations.
-
Extendable
This is an important feature of excellent coding. A reusable and sustainable code is extendable. You write code and double-check that it works as expected. Extensions and related advances can be added to the feature by modules that require it.
-
The Code Is Reusable
For every software application, reusable coding is essential and highly beneficial. It aids in the simplification of your source code and avoids redundancy. Reusable codes save time and are cheaper in the long term.
Learn how to create simple dictionaries and iterate over them by following the methods below.
First, establish a dictionary where the Buttons serve as keys and audio as values.

Whenever the pushbutton is pressed, you can loop through the dictionary to instruct the computer to play the audio:

Conclusion
We learned how to make a "music box" with buttons that play sounds depending on which button is pushed in this lesson. We also learnt how to interface our raspberry pi with buttons via the GPIO pins and wrote a python program to control the effects of pressing the buttons. In the following tutorial, we will learn how to perform a voice control on Raspberry pi.