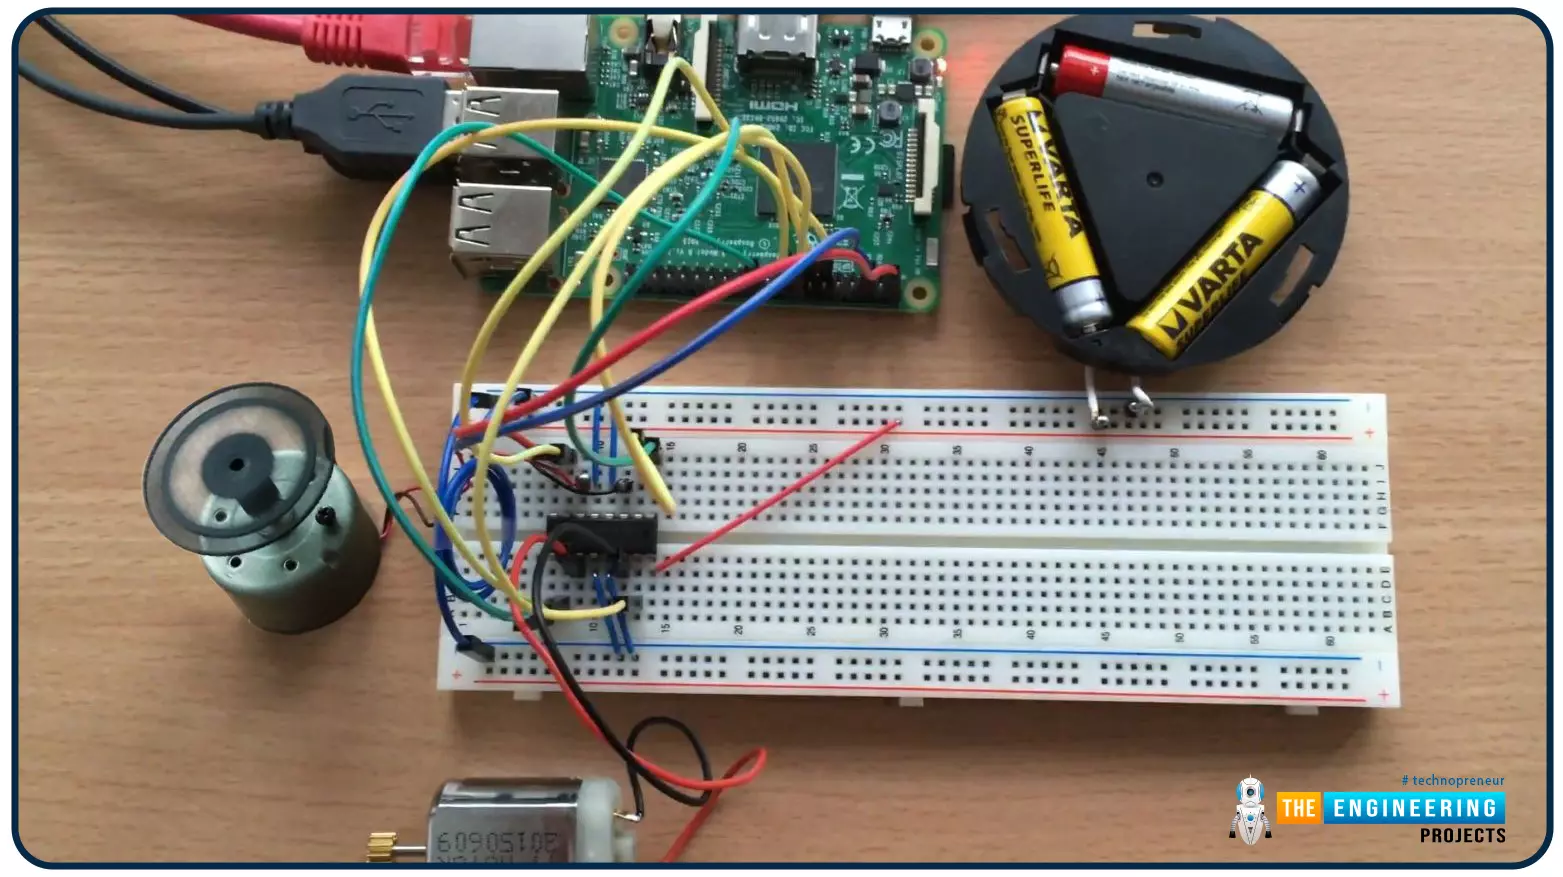
Hello friends, I hope you all are doing well. Welcome to the 9th tutorial of our Raspberry Pi programming course. In the last chapter, we generated a PWM signal from our Raspberry Pi to control the brightness of an LED. We also studied different functions used in Python to perform PWM. In this chapter, we'll get a bit advanced with PWM and use it to control the speed and direction of a DC motor with the help of a motor driver IC.
To control the speed & direction of the DC Motor, we will:
Design a Circuit Diagram.Write Python code.
Components RequiredWe will use the following components to control the DC motor speed:
Raspberry Pi 4.DC Motor.Motor driver IC(L293D).Breadboard.
Jumper wires.
Controlling DC Motor speed wi ...
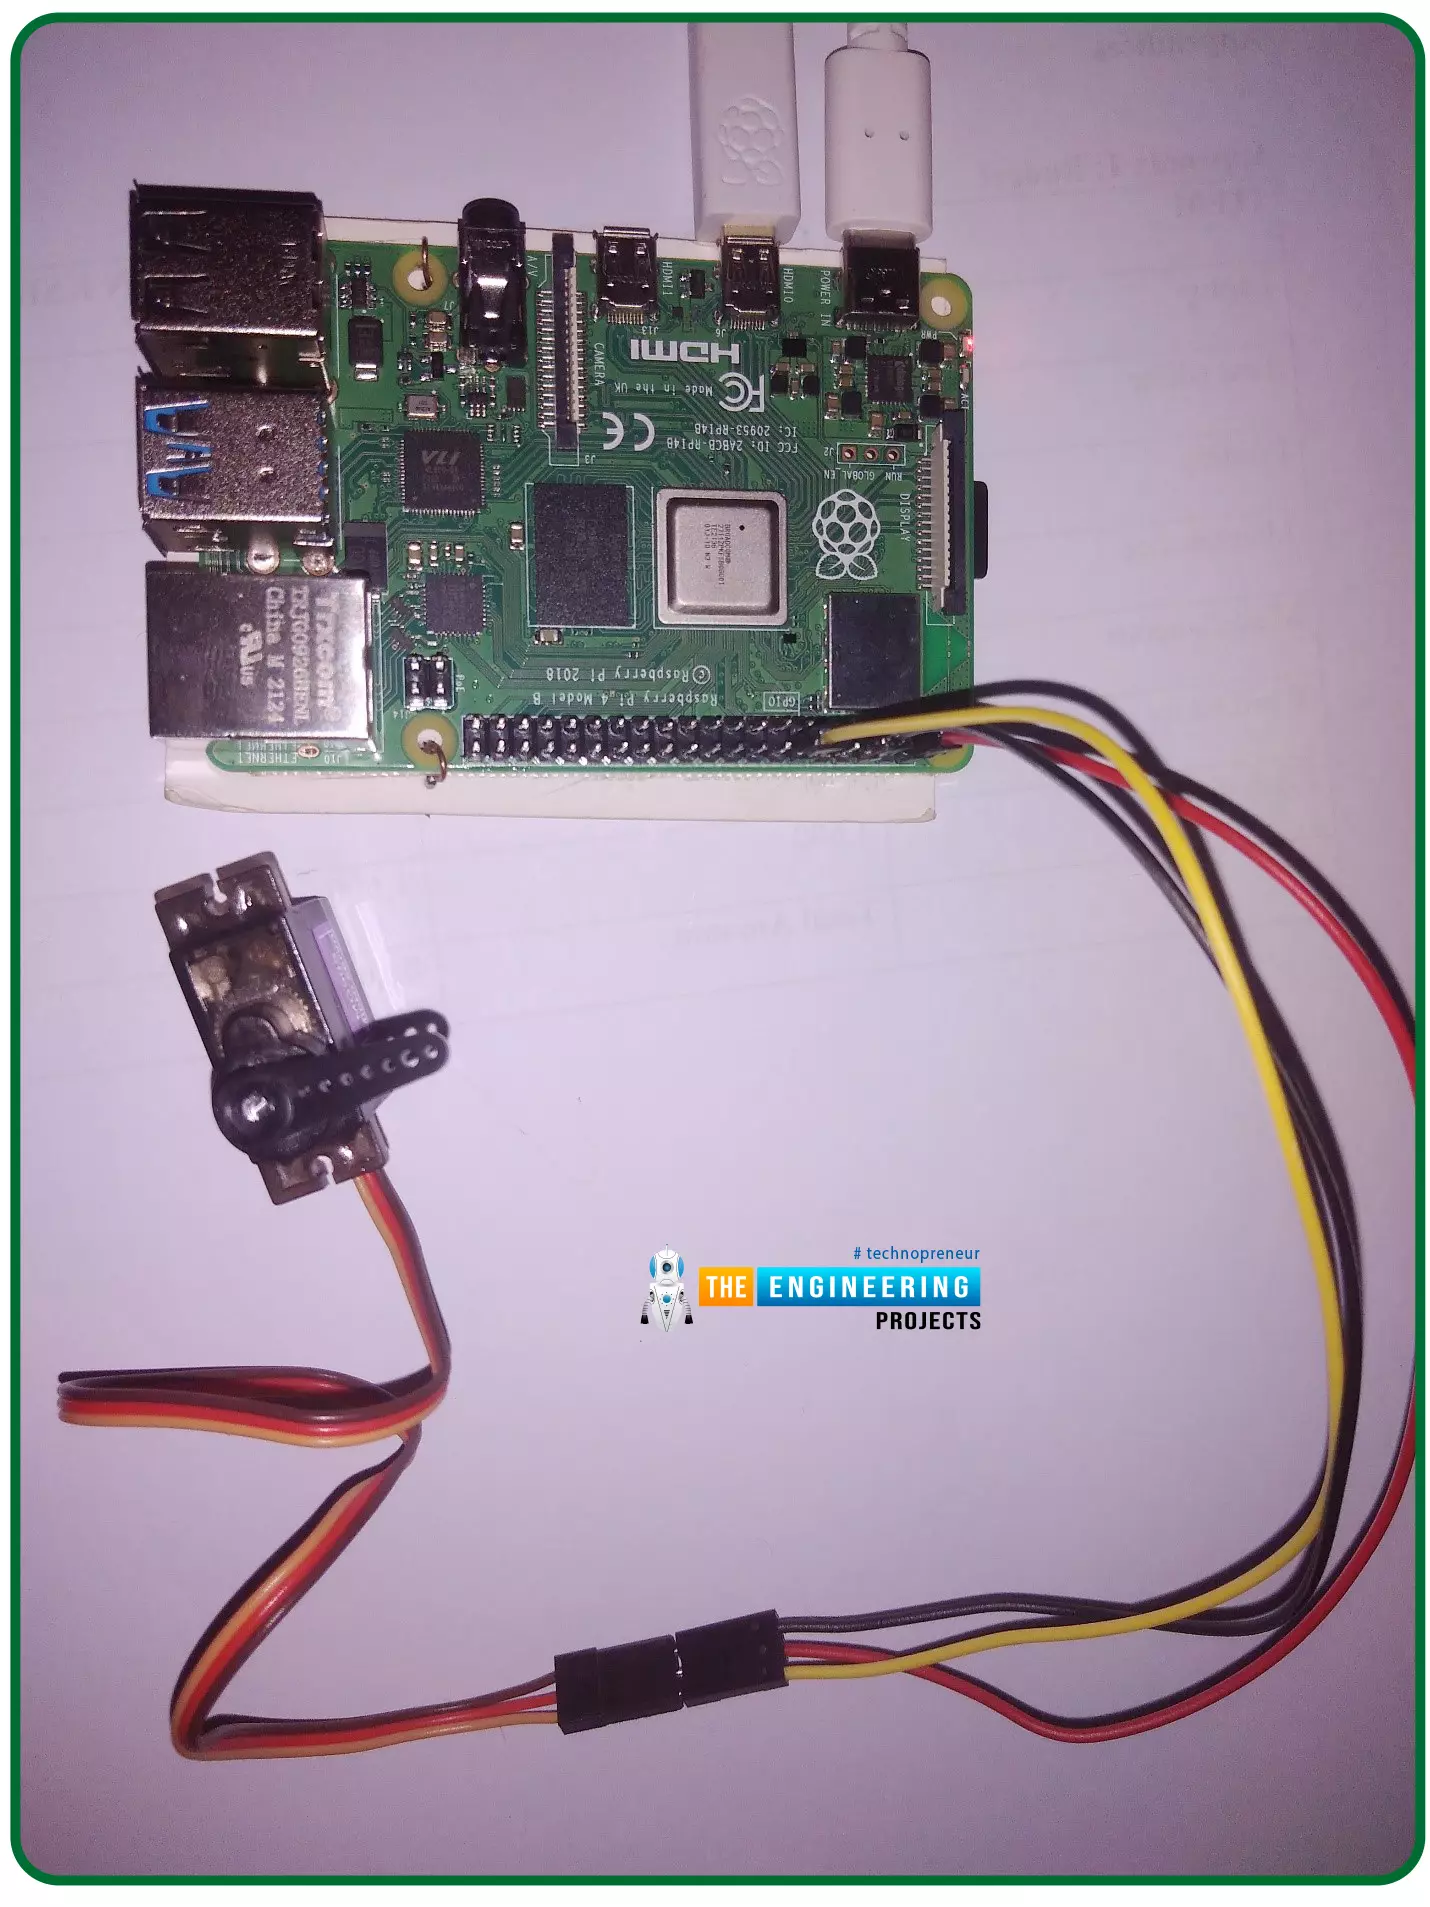
Hello friends, I hope you all are doing well. Welcome to the 11th tutorial of our Raspberry Pi programming course. In the previous chapter, we have seen how to regulate the speed of a Stepper motor with Raspberry Pi 4. Today, we'll work on the servo motor and will control it with RPi4. So, let's get started:
Components Required:We will need the following components to control Servo Motor with Raspberry Pi 4:
Raspberry Pi 4.
Servo Motor.
Male-to-female jumper wires.
What is a servo motor?
A Servo Motor is a simple DC motor with a position feedback Control System and a gearbox.A Servo Motor's primary advantage is its ability to maintain its shaft's angular position at any desired angle i.e. if we want to keep our shaft at 67 degre ...
Hello friends, I hope you all are doing great. In today's tutorial, we are gonna have a look at How to Install Raspbian on SD Card for Raspberry Pi 3. Today, I am going to start this new tutorial series on Raspberry Pi 3. In this series, we will first cover the basic tutorials for beginners and in the second phase, we will interface raspberry Pi 3 with different sensors and modules etc. In the third phase, we will involve cloud computing and will upload different data over to web server. I will take it step by step from basics to pro. I hope you will enjoy it. You should first have a look at Introduction to Raspberry Pi 3, where I have discussed the basic overview of this board, along with what it is capable of doing. Consider it a zero tutorial o ...
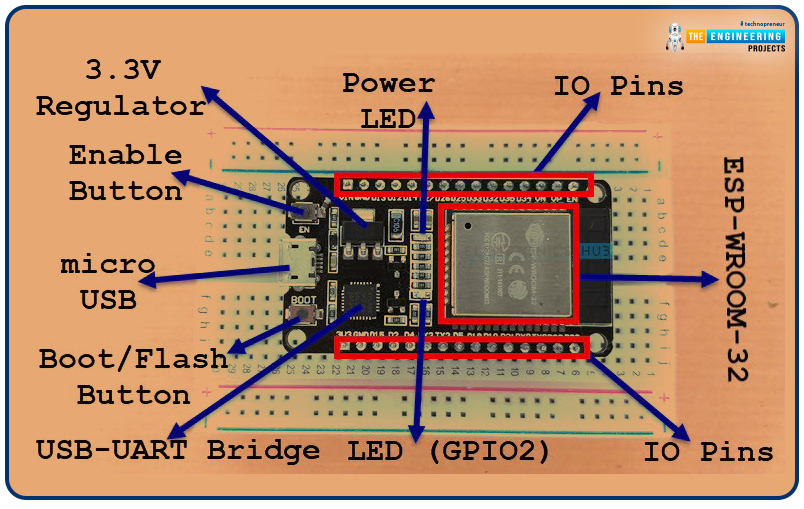
Welcome to the next tutorial of our raspberry pi 4 programming course. A previous article covered connecting a Remote Control Radio Frequency Module (433 MHz) to a Raspberry Pi 4. To turn things on and off wirelessly, we programmed a Raspberry Pi 4 to act as a radio-frequency (RF) remote control. However, this guide will study how to wirelessly pair a Raspberry Pi 4 and an ESP32. After reading this article, you'll get a good grounding in the fundamentals of Bluetooth module operation between two ESP32 and Pi 4 communication.
When it comes to sharing data over short distances using Ultra High-Frequency Radio Waves, Bluetooth is one of the most reliable and effective short-range wireless communication solutions. Since Bluetooth Technology was initially conceived as a cable substitution tech ...
Thank you for joining us for yet another session of this series on Raspberry Pi programming. In the preceding tutorial, we integrated a real-time clock with our raspberry pi four and used it to build a digital clock. However, In this tutorial, we will construct your personal Twitter bot using Tweepy, a Py framework for querying the Twitter application programming interface.
You will construct a Response to mentions robot that will post a response to everybody's tweet mentioning it with a certain keyword.
The response will be a photo we will make and put any text over it. This message is a quote you will acquire from a 3rd application programming interface. Finally, we will look at the benefits and drawbacks of bots.
This is what it looks like:
...
Greetings, and welcome to today's tutorial. In the last tutorial, we learned how to construct a system for tallying individuals using Raspberry Pi, astute subtraction, and blob tracking. We demonstrated the total number of building entrances and exits. Feature computation and HOG theory were also discussed. The tests proved that a device based on the raspberry pi could effectively function as a people counting station. One of the many benefits of the Pi 4 is its internet connectivity, which is especially useful for home automation projects due to its low price and ease of use. We're going to see if we can use a web page's buttons to manage our air conditioner today. With this Internet of Things (IoT) based home automation, you can command your home gadgets from the comfort of your couch. T ...
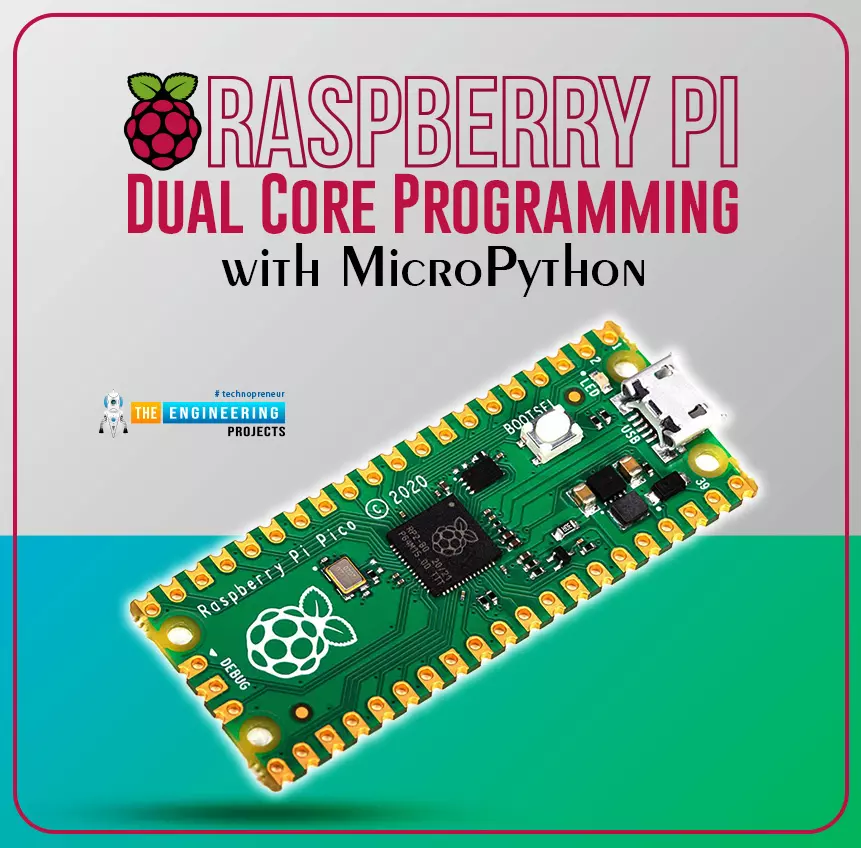
Hello readers, I hope your all are doing great. We know that a Raspberry Pi Pico module comes with multiple inbuilt features for example onboard memory, processing units, GPIOs or General Purpose Input Outputs (used to control and receive inputs from various electronic peripherals) etc.
In our previous tutorials, we discussed how to access GPIO pins of the Raspberry Pi Pico module for both input as well as output operations.
In this tutorial, we are going to discuss another important feature of the Raspberry Pi Pico module (RP2040) which is Dual Core Processor. The Pico board features with 133MHz ARM Cortex-M0+, Dual Core Processor. This dual-core feature makes the Pico module capable of multiple thread execution or multithreading.
Now before writing the MicroPython program let’s first un ...
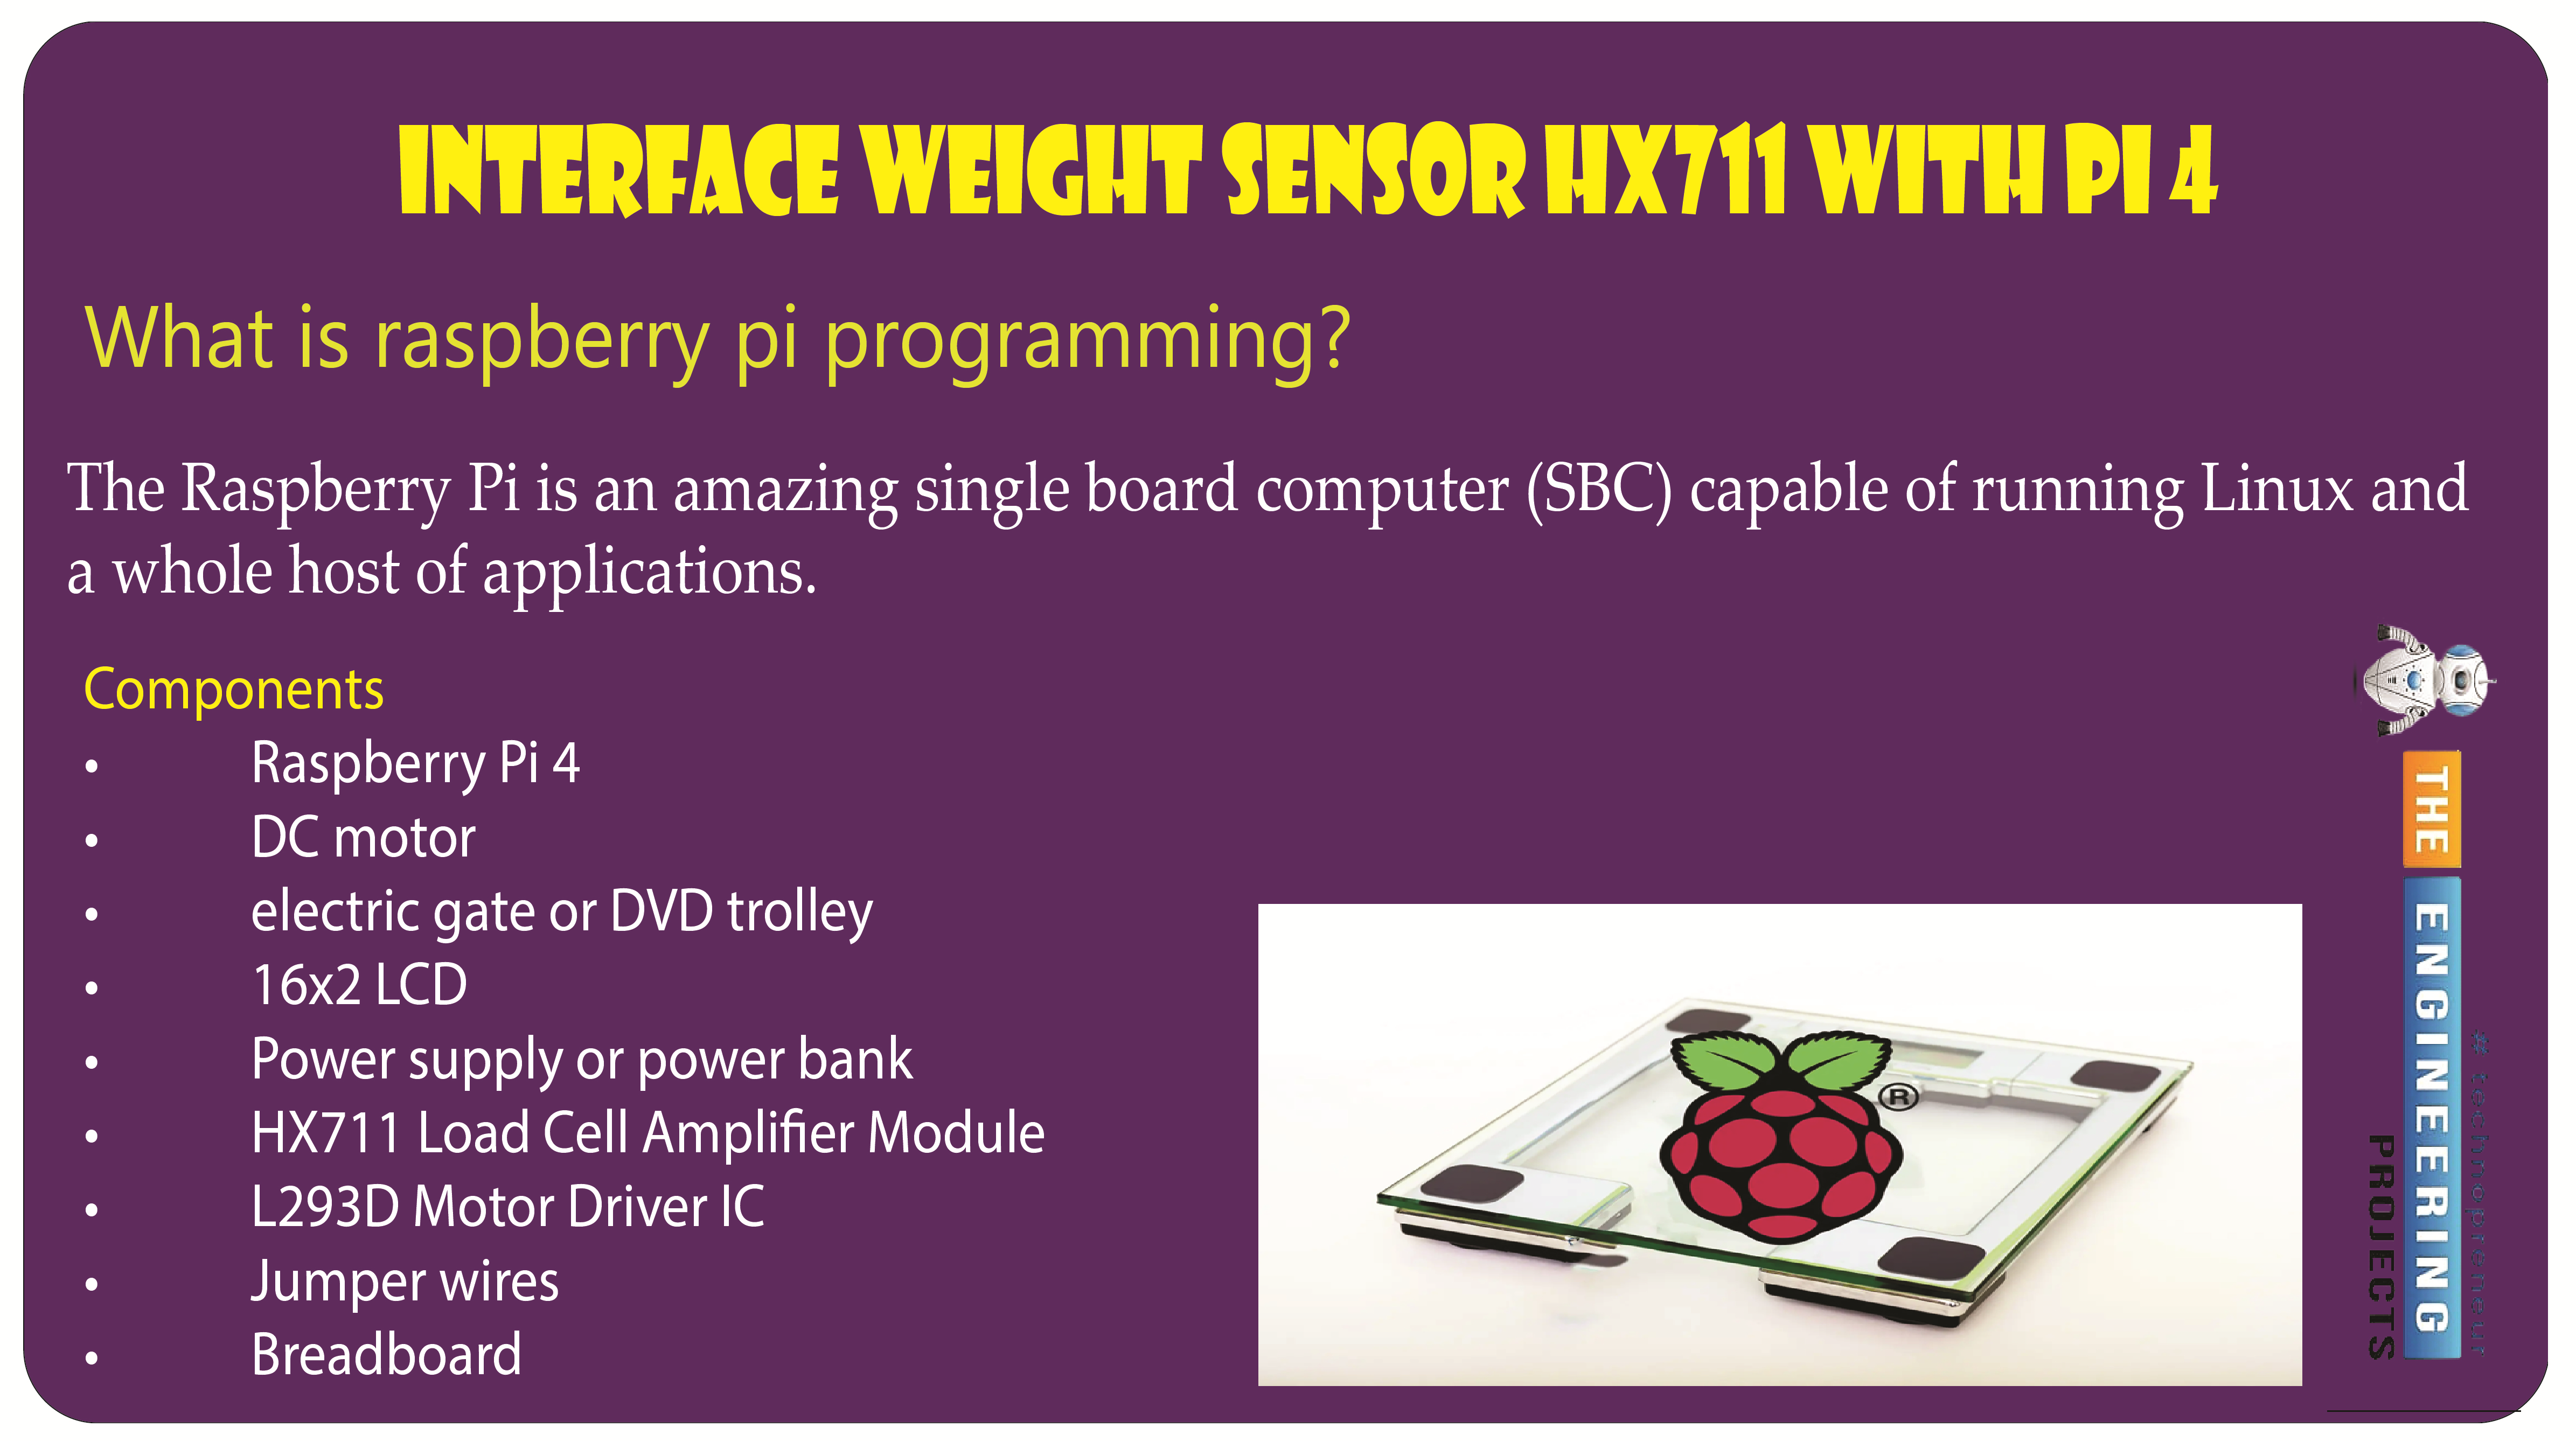
Welcome to the next tutorial of our raspberry pi programming tutorial. The previous tutorial showed us how to set up a weather station using the Internet of Things (IoT) on a Raspberry Pi 4. First, we studied how a weather station works on a fundamental level. Then we developed a Python script to collect data from the station. In contrast, we'll construct an automatic gate using a Raspberry Pi, a load cell, and an HX711 weight sensor.
These pressure-sensitive gates are common in shopping centers and showrooms; they open when someone is in the immediate vicinity and close again when the person is out of sight. Like the Automatic Gate, we just made, this one will open in response to weight or pressure and stay that way until the force is removed. If ...
Welcome to the next tutorial in our Raspberry Pi 4 programming course. In the previous tutorial, we learned how to automate your home with a Raspberry Pi and Bluetooth Low Energy. We found that using a Raspberry Pi 4 and Bluetooth Low Energy (BLE), users may command their household appliances from their smartphone or a web interface, and the Pi 4 will carry out the commands. This allows for a versatile and adaptable method of managing lights, thermostats, and smart plugs.
However, this Internet of Things (IoT) project aims to create a real-time Raspberry Pi weather station that displays the current humidity, temperature, and pressure values via an LCD and an online server. With this arrangement, you can track the local climate from any location in the globe over the internet and see what ...
Hey Friends! Electronic experts always strive to develop new electronic devices that meet the needs and requirements of the customers. Technology has been evolved remarkably well where devices are becoming compact and composed. Using old conventional ways to develop electronic devices are becoming obsolete that occupied more weight and space, turned out to be expensive and capable of doing fewer number of operations. Today, I am going to discuss the details on the Introduction to Raspberry Pi 3. It is just like a small computer that comes with CPU, GPU, USB ports and i/o pins and can be connected with external peripherals and helps in running number of operations like regular computer. First generation Raspberry Pi was developed in 2012, with the ...