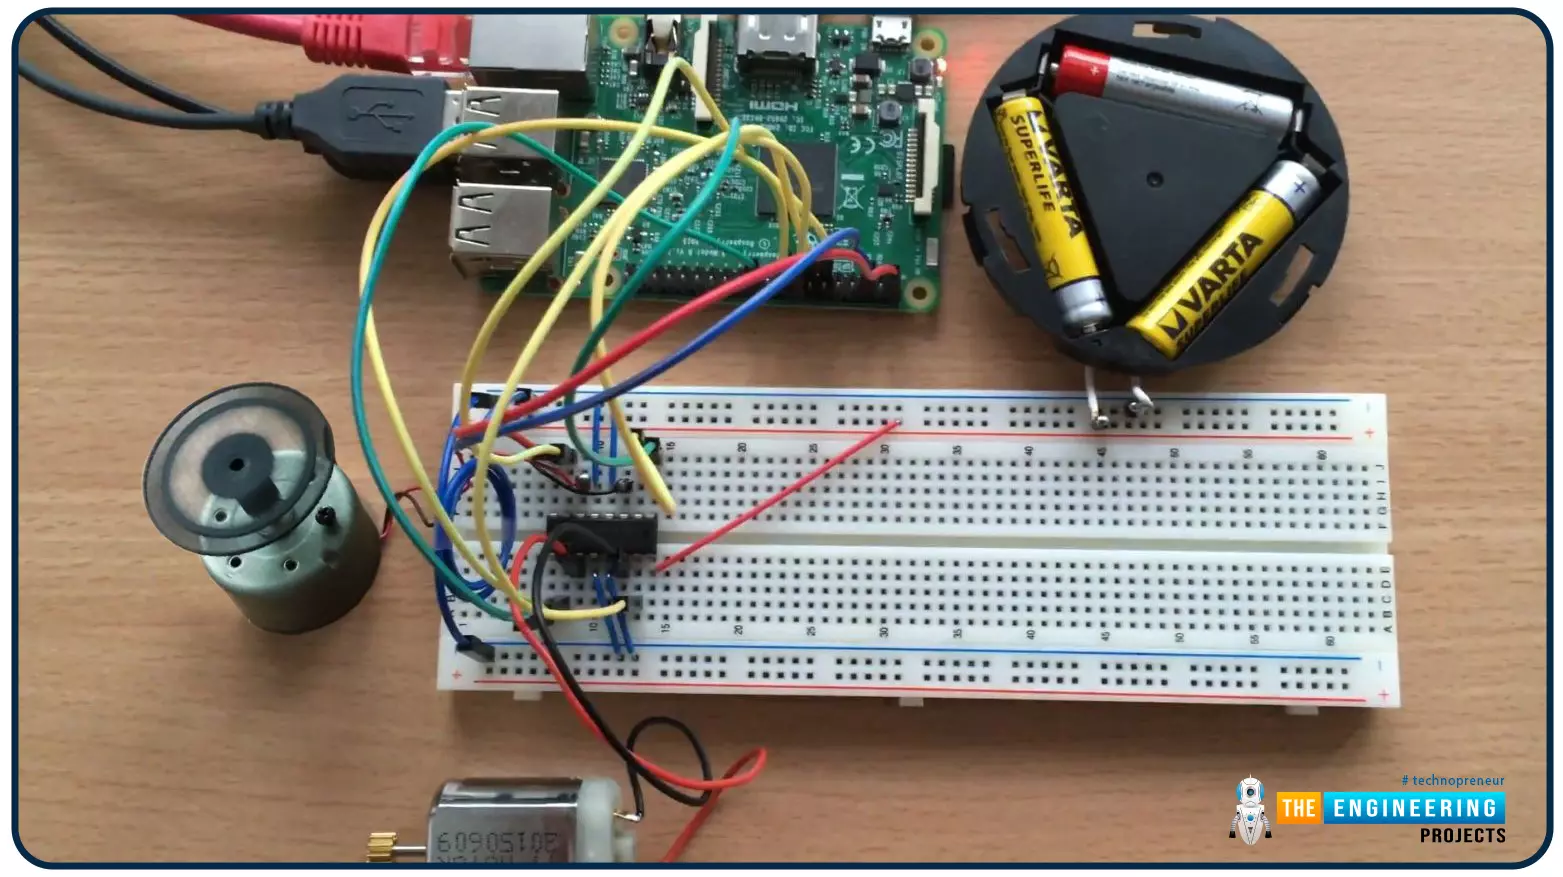
Hello friends, I hope you all are doing well. Welcome to the 9th tutorial of our Raspberry Pi programming course. In the last chapter, we generated a PWM signal from our Raspberry Pi to control the brightness of an LED. We also studied different functions used in Python to perform PWM. In this chapter, we'll get a bit advanced with PWM and use it to control the speed and direction of a DC motor with the help of a motor driver IC.
To control the speed & direction of the DC Motor, we will:
Design a Circuit Diagram.Write Python code.
Components RequiredWe will use the following components to control the DC motor speed:
Raspberry Pi 4.DC Motor.Motor driver IC(L293D).Breadboard.
Jumper wires.
Controlling DC Motor speed wi ...
Hi friends and hope you are all very well. Today, we are going to deal with one of the most important and common problems that would be there in everyday tasks in industry and its solution. The problem is the safety of equipment and operators by preventing the machine from running under specific conditions for realizing the safety of equipment and human as well. Not only does it fulfill safety but also it is for performing the designed sequence of operation. If there is a problem, then it should be the solution for it. the solution is what so-called “Interlock”. So, what is interlock? And why do we need it? And how we can design a good interlock? Well! We may find such concerns exist in two aspects which are safety and operation sequence. In the f ...
Hello Folks! Glad to have you on board. Thank you for clicking this read. In this post today I’ll walk you through What is Cloud Computing?
Cloud computing is not a buzzword anymore. Even though most companies are familiar with this term, they don’t know what it does and how it works. If you’re one of them, this read is for you. In simple terms, cloud computing allows you to use computer system resources over the internet. This means you can manage your data remotely over the internet from anywhere in the world. We’ll touch this further in our article.
I suggest you read this post all the way through as I’ll cover what is cloud computing, how does it work, the types of cloud computing, the advantages of cloud computing, and the future of cloud computing.
Let’s get started.
What is Cloud ...
Welcome to the next tutorial of our Raspberry Pi programming course. Our previous tutorial taught us to set up a free media server on Raspberry Pi. We also learned how to connect with different devices and stream media files. This tutorial will teach us how to use a Raspberry pi as a DNS server.
Prerequisites
You must have access to the following resources to follow this tutorial:
Raspbian Pi OS on Raspberry Pi (2-4).
Internet access is required.
There must be a unique identifier for every machine on the Internet to speak with each other Using IP addresses; clients can identify the servers they need to contact. However, no one is expected to remember the digits of an address; thus, DNS names are used instead. This DNS can be built on a Raspberry. It's a number-to-domai ...
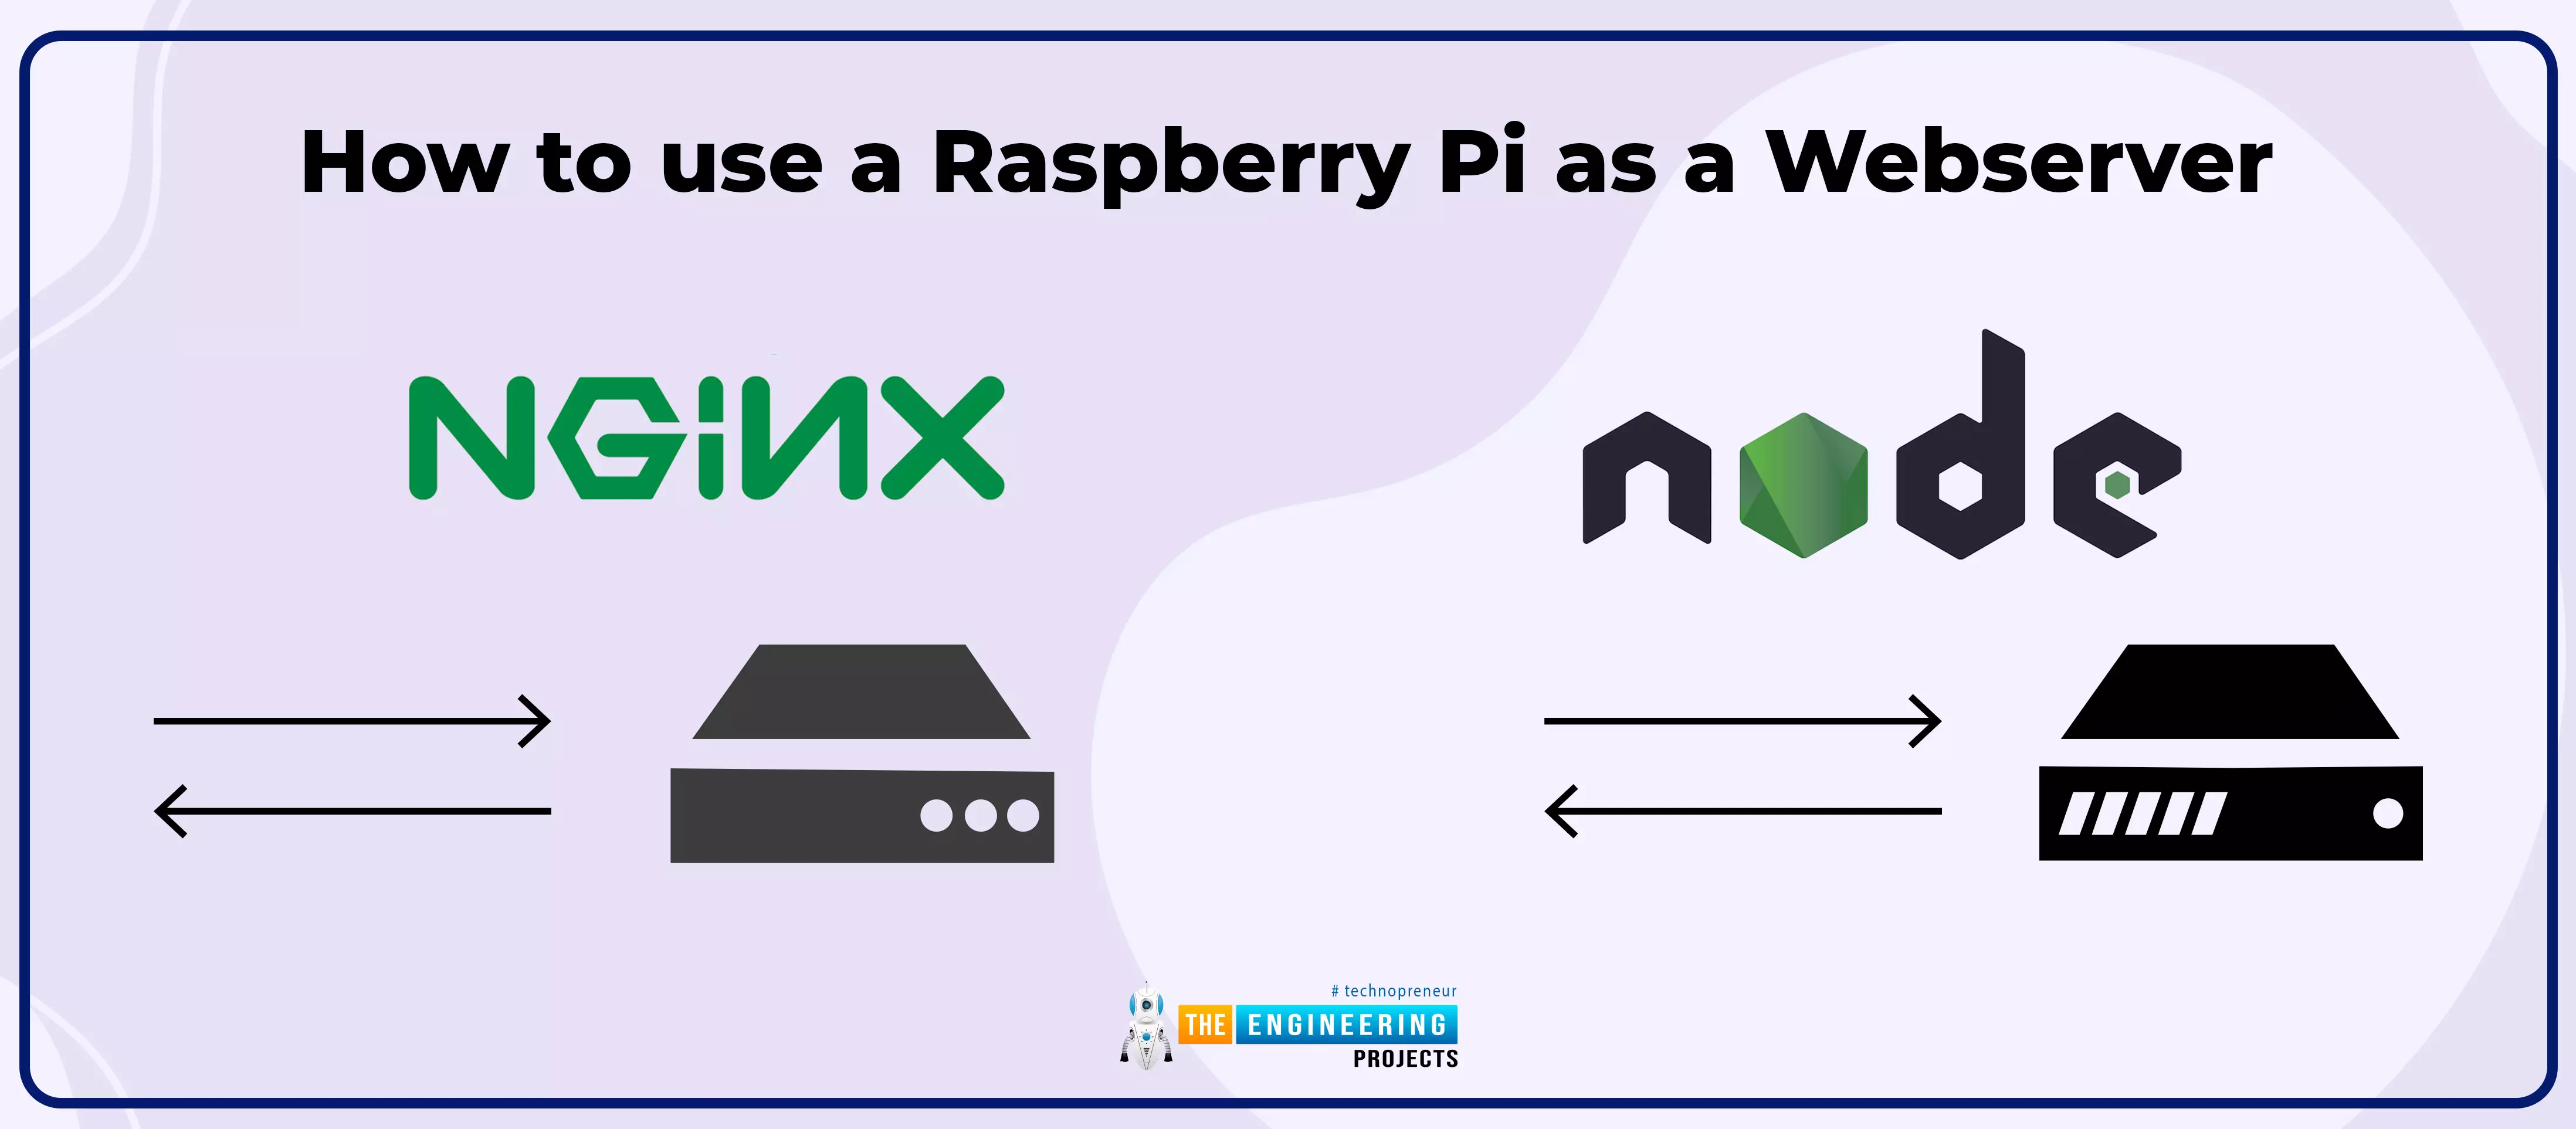
Hello friends, I hope you all are doing great. Today, we are going to share the 2nd tutorial of Section-VIII in the Raspberry Pi Programming Course. In the previous tutorial, we interfaced a Barcode Scanner with Raspberry Pi 4. In today's tutorial, we will discuss how to set up a web server in raspberry pi. So, let's get started:
Components Required
We are going to use the following components, in today's project:
Ethernet cable
MicroSD card
Keyboard
Mouse
HDMI cable
Monitor
Expand FileSystem
When configuring a Raspberry Pi, select the expand FileSystem option to ensure that all of the Micro SD storage is allocated for the operating system and modify the default Pi passwords to protect your server from attacker ...
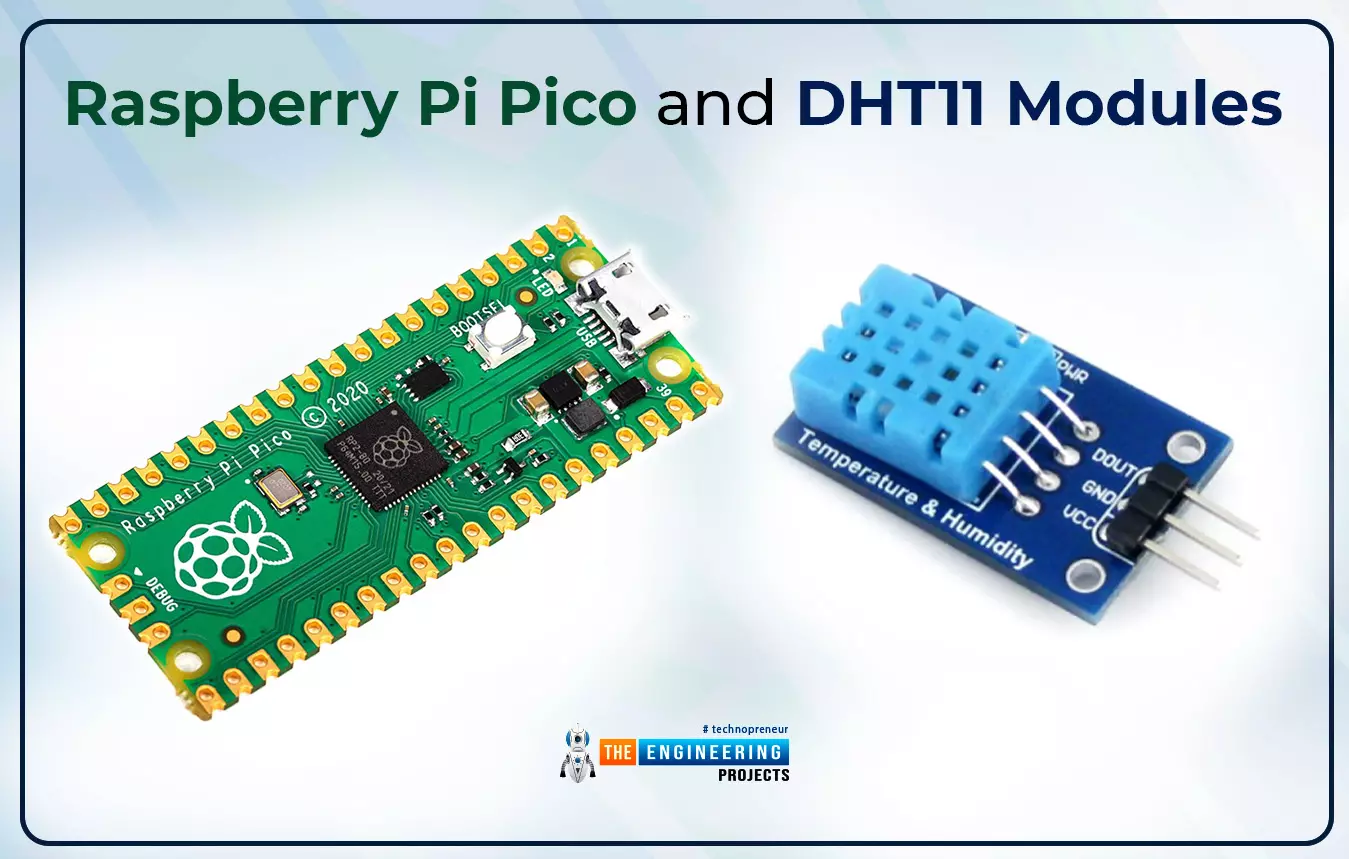
Hello readers, I hope you all are enjoying our Raspberry Pi Pico programming series. In our previous tutorials, we learned how to access Raspberry Pi Pico’s GPIO pins for both input as well as output operations. For demonstration, we used LED as an output component and a push button as an input component.
Now let’s learn how to interface sensor modules with the Raspberry Pi Pico module. So, in this tutorial, we will learn how to interface the DHT11 sensor with the Raspberry Pi Pico module and fetch the observed data (from its surrounding) using the MicroPython programming language.
Before writing the code for interfacing and fetching the data from the respective sensor, let’s first have a look at the working operation, features and properties of the DHT sensor.
...
Hi Friends! Hope you’re well today. I welcome you on board. In this post today, I’ll walk you through Cloud Computing Services.
The requirement to process and store data varies from business to business. Some organizations can handle data in on-site data centers. They have a team of experts who handle IT infrastructure and install, maintain and upgrade hardware based on the availability of data. This approach is expensive, no doubt. Some companies, however, don’t accept this model. They prefer cloud computing which is the availability of on-demand IT infrastructure over the internet. This model sets them free from handling and managing on-site data centers, instead, everything is managed and controlled by the cloud service providers. End users only pay for the computing services they use. ...
Hello readers, I hope you all are doing great. In our previous tutorial, we discussed the implementation of pulse width modulation (PWM) in Raspberry Pi Pico using the MicroPyton programming example. We also implemented the LED brightness control program to demonstrate an application of the pulse width modulation technique.
In this tutorial, we are going to implement another application of pulse width modulation technique which is ‘Direction and position control of a servo motor’ with Raspberry Pi Pico module and MicroPython programming language.
Later in this tutorial, we will also discuss how to control the position of a servo motor with push buttons (to be used as control inputs) and also to use LEDs for indication purposes.
What is Servo Motor?
Before interfacing the servo motor with ...
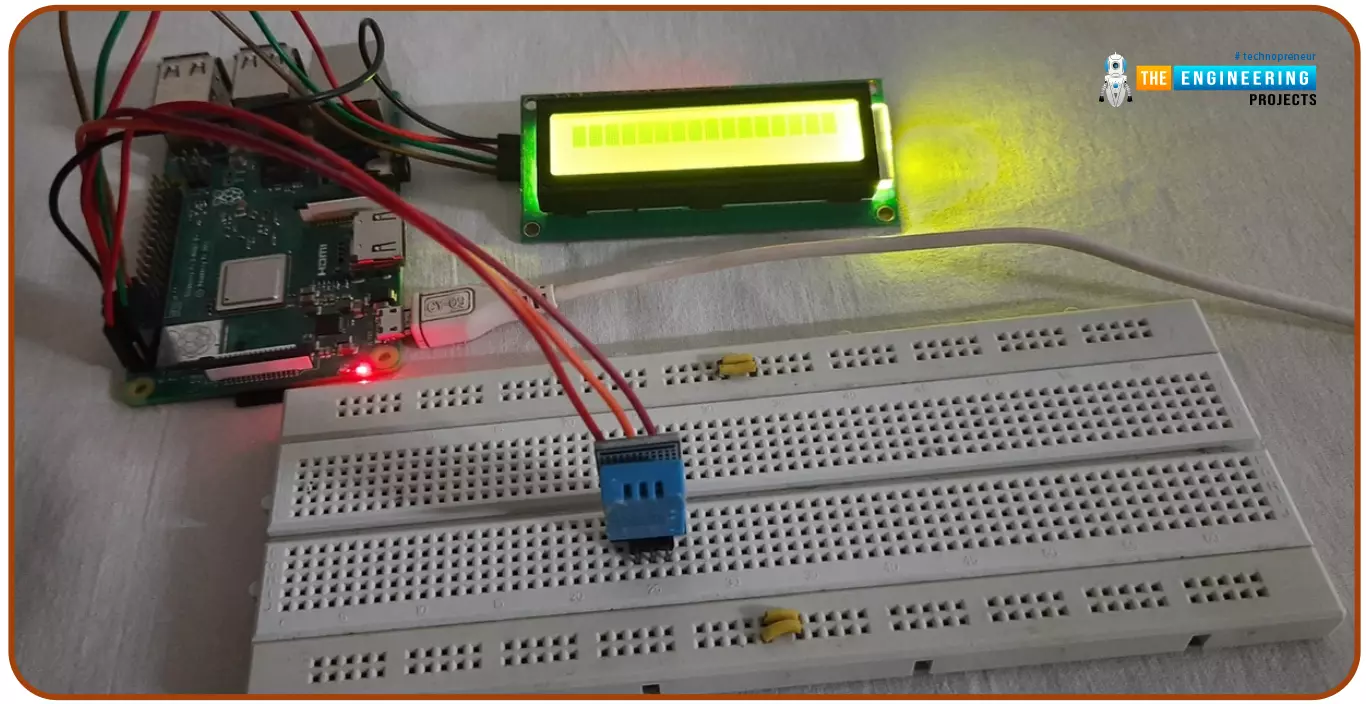
Hello friends, I hope you all are doing great. Today, I am going to share the 6th tutorial of Section-III in the Raspberry Pi Programming Course. In our previous tutorial, we have seen how to interface an Ultrasonic Sensor with Raspberry Pi 4 and used Python to perform its calculations. In today's tutorial, we'll discuss how to interface a DHT11 temperature and humidity sensor to a Raspberry Pi. So, let's get started:
ComponentsHere's the list of components, we are going to use in today's circuit:
LCD display
DHT11 sensor
Raspberry pi
Breadboard
Male-to-female jumper wires
What is a DHT11 sensor?
DHT11 is a low-cost digital sensor, used to measure temperature and humidity in the surr ...
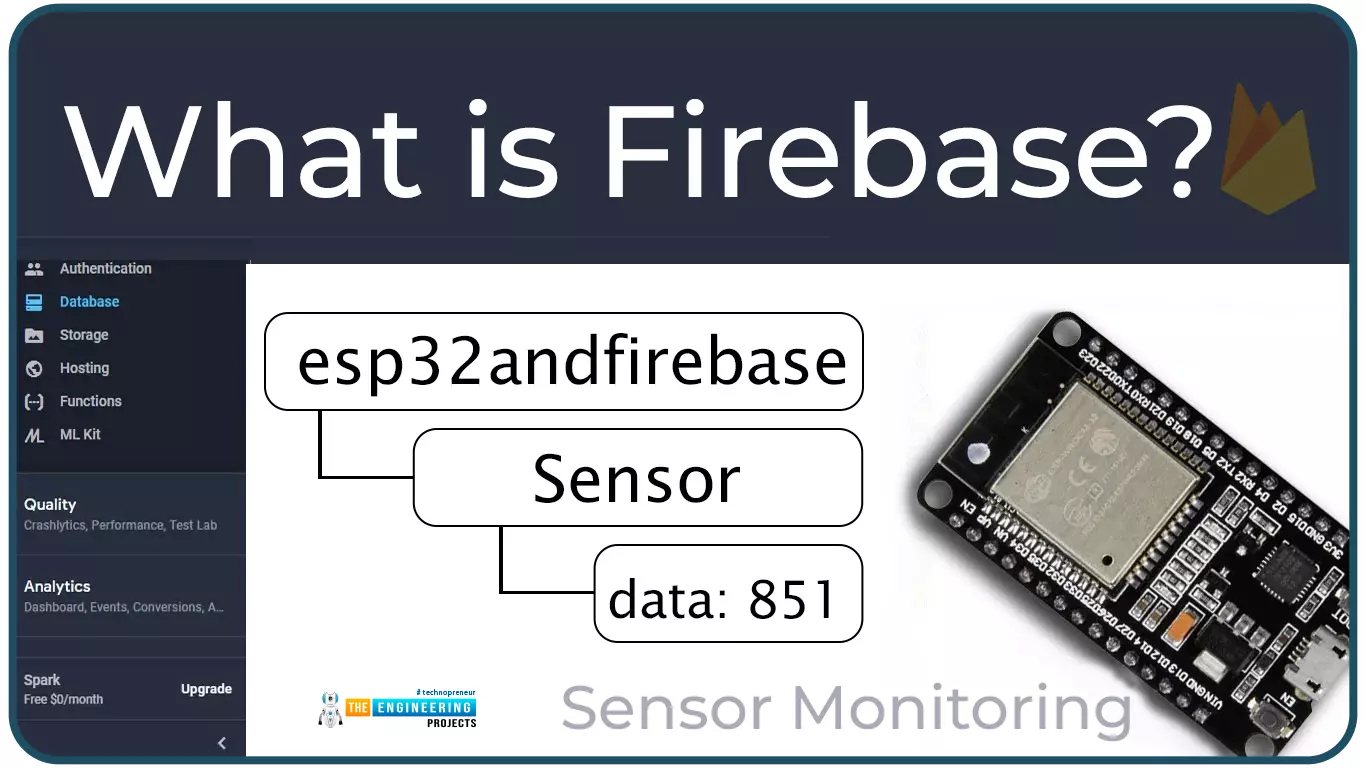
Hello readers, I hope you all are doing great. In this tutorial, we will learn how to access Firebase (a real-time database) to store and read values or data with ESP32.
It is Google’s mobile application development platform that can be used to can access, monitor and control ESP32 from anywhere in the world with its (firebase) real-time database.
What is Firebase?
Firebase real-time database is a development platform provided by Google which included multiple services to manage and authenticate data.
Firebase is basically a mobile and web app development platform I as works great with Android APIs) that includes features like firebase cloud, real-time data and Firebase authentication etc.
As per Firebase’s official documentation (https://firebase.google.com/docs/database), whenever a us ...