


Project Files of LCD Library for Proteus V2.0
 Libraries
 Code
 Projects
 Simulation
lcd-library-for-proteus-v20.zip

LCD Library for Proteus V2.0
LCD Library for Proteus V2.0 comes as a ZIP archive of 6 files (43.6 KB, 303.9 KB unpacked) holding Proteus library files, a Proteus simulation and an Arduino sketch.
- LIBProteus library
- IDXProteus library index
- DSNProteus simulation
- INOArduino sketch
Description
This is the download page of LCD Library for Proteus V2.0, the file package of the tutorial LCD Library for Proteus V2.0, published on The Engineering Projects in August 2023. Here you get the ZIP file (43.6 KB) with the Proteus library files (LIB and IDX), a ready Proteus simulation and an Arduino sketch, the list of files it contains, the README when there is one, and the installation steps in order.
What this library is
LCD Library for Proteus V2.0 adds LCD to Proteus as a schematic component: once installed, the part appears in the Pick Devices list under its own name, with its real pin layout, and can be placed and wired like any built-in device. It is a symbol-and-footprint library: it draws and routes the part; to see it work in simulation, pair it with the HEX file or the controller model as the tutorial shows. This is version 2.0, the release the tutorial was written for; older or newer releases, when they exist, are listed in the Development tab.
What is inside the ZIP file
- LCDLibraryTEPV2.0.LIB – Proteus library, 55 KB
- LCDLibraryTEPV2.0.IDX – Library index, 238 B
- New LCD Library for Proteus.DSN – Proteus simulation, 123.6 KB
- New_LCD_Library_for_Proteus.ino – Arduino sketch, 384 B
- Last Loaded New LCD Library for Proteus.DBK – DBK file, 123.4 KB
- New LCD Library for Proteus.PWI – PWI file, 1.3 KB
The archive unpacks to 303.9 KB; there is no README inside, so the steps below stand in for it.
How to download
Use the download panel at the top of this page: after the counter (30 seconds for guests, 10 for members) the black button unlocks and lcd-library-for-proteus-v20.zip comes straight from our content network. If the browser opens it instead of saving, use Save as; extract the whole archive before using anything inside it.
How to install
- Step 1: Extract lcd-library-for-proteus-v20.zip with Windows (Extract All), 7-Zip or WinRAR, keeping its folders.
- Step 2: Close Proteus and copy LCDLibraryTEPV2.0.LIB and LCDLibraryTEPV2.0.IDX into its LIBRARY folder (Proteus 8: C:\Program Files (x86)\Labcenter Electronics\Proteus 8 Professional\LIBRARY).
- Step 3: Start Proteus, press P and search for "LCDLibraryTEPV2.0"; place and wire it as in the tutorial.
- Step 4: Open New_LCD_Library_for_Proteus.ino in the Arduino IDE, pick board and port and Verify (Export Compiled Binary gives the HEX).
- Step 5: Open New LCD Library for Proteus.DSN in Proteus and press Play.
Read the detailed guide
This page is for the files. The tutorial above explains the circuit and the code step by step and shows the working results and the simulation; read it before you build. Questions about the download or the installation go in the comments below; more Proteus downloads are listed further down this page.
The package is free for personal, educational and research projects; credit The Engineering Projects and link to this page when you share it rather than re-uploading the file.

File Structure
 File Structure
384 B238 B55 KB123.4 KB123.6 KB1.3 KBGallery7 images from the tutorialOpen the tutorial
 Gallery7 images from the tutorial
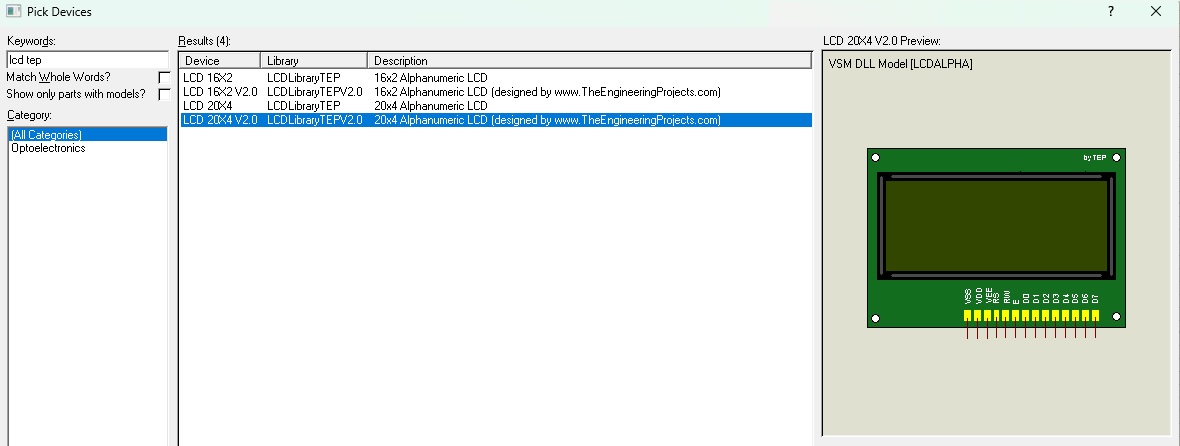
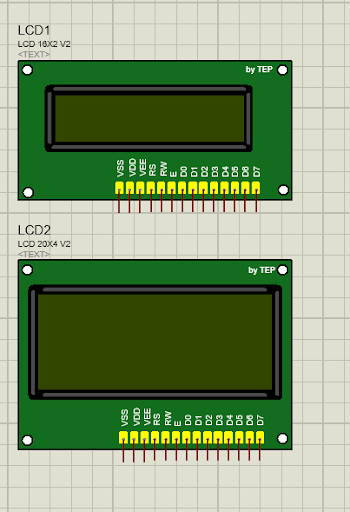
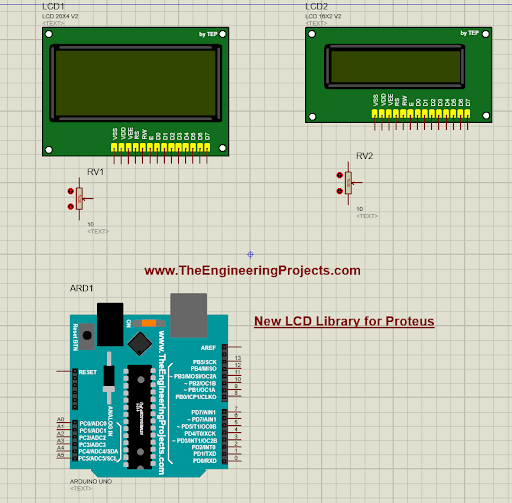
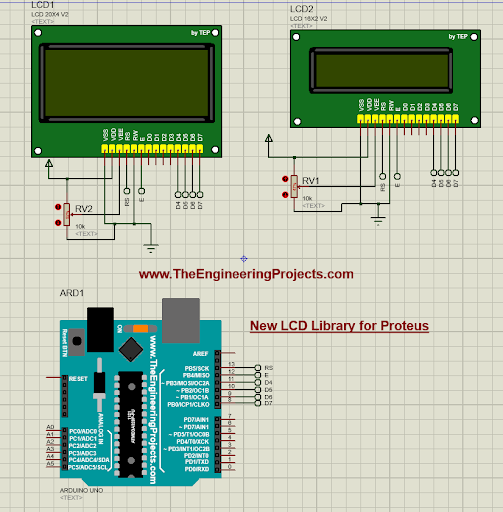
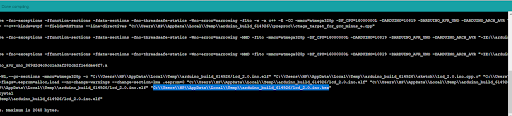
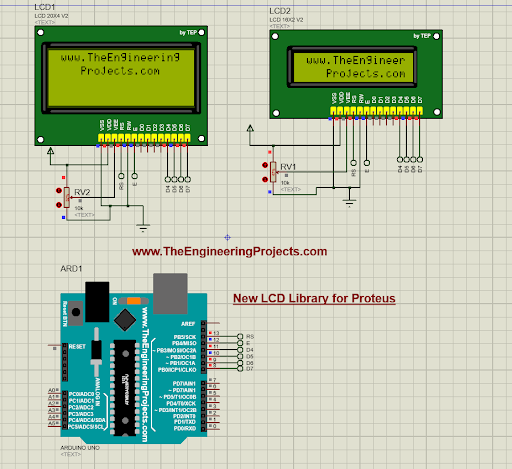
The circuit, the board and the results as they appear in LCD Library for Proteus V2.0. Open an image for its full size.
README
 README
Development1 release
 Development1 release
-
V2.0LCD Library for Proteus V2.0this page
V2.0 is the only release in the Download Center so far. When a newer version is published, it appears above with its own download page.
Installation6 steps
 Installation6 steps
From the download to a working project, in order. The steps follow what the package contains.
You will need
- Proteus Design SuiteProteus 8 or newer (Labcenter), on Windows
- Arduino IDE1.8 or 2.x, with the board of the tutorial chosen under Tools → Board
- Any archive toolWindows, macOS and Linux extract ZIP files on their own
Steps
- 1
Extract the archive
Right-click lcd-library-for-proteus-v20.zip and choose Extract All (or open it with 7-Zip or WinRAR) into a folder you can find again. Keep its folder structure (LCD Library for Proteus V2.0) as it is.
- 2
Copy the library files into Proteus
Move LCDLibraryTEPV2.0.LIB and LCDLibraryTEPV2.0.IDX into the LIBRARY folder of your Proteus installation: C:\Program Files (x86)\Labcenter Electronics\Proteus 8 Professional\LIBRARY for Proteus 8, or the matching Proteus 7 folder. Older versions keep it under ProgramData\Labcenter Electronics. If Proteus is open, close it first.
- 3
Restart Proteus and place the component
Start Proteus, open a schematic, press P (Pick Devices) and search for the component by the name used in the tutorial. It appears with its pins ready to wire.
- 4
Open the sketch in the Arduino IDE
Open New_LCD_Library_for_Proteus.ino, select your board and port under Tools, then Verify. Sketch → Export Compiled Binary writes the HEX file a simulation needs.
- 5
Open the example simulation
Open New LCD Library for Proteus.DSN in Proteus to see the wiring exactly as in the tutorial. Check the controller's Program File path, then press Play.
- 6
Follow the tutorial
LCD Library for Proteus V2.0 explains every connection and setting in order; keep it open beside the files while you build.
FAQs10 questionsContact TEP
 FAQs10 questions
How do I download LCD Library for Proteus V2.0?
Wait for the 30-second guest countdown on this page, then press the download button; the file comes straight from our storage. Members who are logged in skip the wait. If the browser opens the file instead of saving it, use its Save as option. The download link is made for you when the countdown ends and works for 15 minutes; a saved or shared link stops working, so share this page instead.
What is inside the archive?
LCD Library for Proteus V2.0 comes as a ZIP archive of 6 files (43.6 KB, 303.9 KB unpacked) holding Proteus library files, a Proteus simulation and an Arduino sketch. Open the File Structure tab for the full list of 6 files.
What should I do if the download does not start?
Check the browser's download list first; an ad blocker or a company firewall can also hold it back, so try another browser or network. If the file arrives incomplete, download it again. For an installation problem, read the Install tab or tell us in the comments with your software version and the exact error message.
Is this file free?
Yes. Every file in the TEP Download Center is free for learning, personal and student projects. If you share it, link back to this page or the tutorial so others find the latest version.
How do I check that the file arrived complete?
Compare its SHA-256 with the one on this page, 98f8724bae0009a44fb846fdb8a39fb83f0650ffbe0731de209746a04c9cba6f. In PowerShell run Get-FileHash "lcd-library-for-proteus-v20.zip"; on macOS or Linux run shasum -a 256 "lcd-library-for-proteus-v20.zip". The same value means the file is exactly the one in our storage; a different one means the download broke off, so download it again.
Do I need WinRAR to open the ZIP file?
No. Windows, macOS and Linux open ZIP archives on their own (Extract All, or double-click). WinRAR and 7-Zip work too. Extract the whole archive before using the files.
Where do I put the LIB and IDX files?
Both files go into the LIBRARY folder of your Proteus installation (Proteus 8: C:\Program Files (x86)\Labcenter Electronics\Proteus 8 Professional\LIBRARY; Proteus 7 has the same folder under its own name). Restart Proteus afterwards and search for the component with P.
Which Proteus version does the library need?
The tutorial names the Proteus version the library was made and tested with. Most TEP libraries work in Proteus 7 and Proteus 8; if the component does not appear after a restart, check that both the LIB and the IDX file were copied and that Proteus was fully closed while copying.
Why does the component show but not simulate?
A library without a model file (DLL) gives you the symbol and the pins for drawing and PCB design; the simulation needs the matching model or a HEX file on the controller, exactly as the tutorial describes.
How do I get the HEX file into the simulation?
Compile the sketch in the Arduino IDE (Sketch → Export Compiled Binary gives you the HEX next to the sketch), then in Proteus double-click the board, set Program File to that HEX and run.
Members skip the wait. Log in or join TEP.

- 7Total downloads
- 4%Popularity
- ProteusCategory
- 0Comments
- ssyedzainnasirUploaded by
- 27 Aug 2023Uploaded at


 SHA-256
98f8724bae0009a44fb846fdb8a39fb83f0650ffbe0731de209746a04c9cba6f


 Need help with this file?
 Tags
Related Proteus
All Proteus tutorials


More LCD project files
All LCD tutorials




Comments
0