We're glad you could join us for another lesson in our comprehensive Raspberry Pi programming guide. I will show you how to install and connect the RFID card chip to your Raspberry Pi through step-by-step instructions.
Modern security systems would only be complete using radio frequency (RFID) devices. To control who can enter a facility or which rooms they can access, RFID chips and card readers are employed. The RFID card's unique identification number can be read wirelessly with a wall-mounted RFID reader. A door will only unlock and allow entry if the RFID card's unique identification number matches a list of approved cards.
It's fun to tinker with this circuit, and it may be used in many other applications, from opening locks to taking a ...
Welcome to the next tutorial of our raspberry pi 4 tutorial. In the previous tutorial, we learnt how to interface a gas sensor with a pi 4. However, in this tutorial will cover how to automate your home with a Raspberry Pi and Bluetooth Low Energy. To automate a home means to mechanize its environment, including the appliances within it. To that end, we've designed an intelligent lamp whose functionality can be adjusted from afar via a companion mobile app.
Using your smartphone, you'll be able to manage a variety of household gadgets. The following code demonstrates using a mobile device as a remote controller for a Raspberry Pi's GPIO pins. (Or another BleuIO Dongle).
Instructions Requirements
The recently introduced Raspberry Pi 4 will serve ...
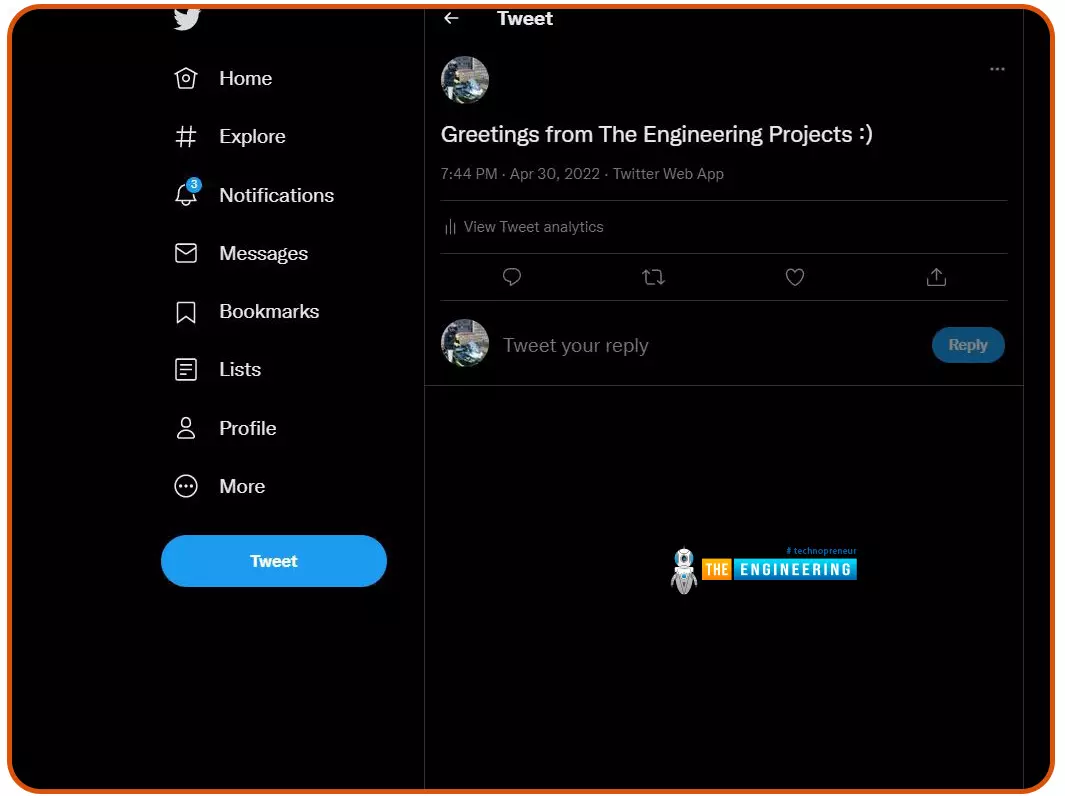
Welcome to the next tutorial of our Raspberry Pi programming course. Our previous tutorial taught us to configure our raspberry pi for voice control. We also discussed some methods of reducing vexing noises so that the voice command program understands you. However, in this lesson, we will learn how to tweet from Raspberry pi.
What will we learn?
Assume you wish to add tweeting into a Raspberry Pi software you're developing. This article will show you how to build a Twitter app, get access privilege tokens, and post a tweet. On our Raspberry Pi, we'll make a simple program that tweets the result of the uptime command. This is a made-up example, but it demonstrates what is needed to tweet from a raspberry pi.
For this session, a repo has been set up. Because we'll be referring to code wit ...
Hi Friends! Hope you’re well. In this post today, we’ll discuss What is Raspberry Pi Zero? We’ll also cover Raspberry Pi Zero Pinout, Specs, Projects & Datasheet.
Developed by Raspberry Pi Foundation, Raspberry Pi Zero is a tiny single-board computer, initially introduced to teach basic computers in schools. Later, it rose to popularity due to its low cost and open source design. Now it is widely used in robotics and embedded systems to develop IoT projects. This device is among the bestselling British single-board computers. I suggest you read this post all the way through as I’ll cover Raspberry Pi Zero in detail. Let’s get started.
What is Raspberry Pi Zero?
Raspberry Pi Zero(released in Nov 2015, by Raspberry Pi Foundation) is a sin ...
Hello readers, I hope you all are doing great. In this tutorial, we will learn how to interface the PIR sensor to detect motion with the Raspberry Pi Pico module and MicroPython programming language. Later in this tutorial, we will also discuss the interrupts and how to generate an external interrupt with a PIR sensor.
Before interfacing and programming, the PIR and Pico boards let’s first have a look at the quick introduction to the PIR sensor and its working.
Fig. 1 Raspberry Pi Pico and PIR sensor
PIR motion sensor and its working
PIR stands for Passive Infrared sensors and the PIR module we are using is HC-SR501. As the name suggests the PIR or passive infrared sensor, produces TTL (transistor transistor logic) output (that is either HIGHT o ...
to our new beginner’s course on Raspberry Pi. This course is appropriate for anyone using either a traditional Raspberry Pi board or the new Raspberry Pi 400 board that includes an integrated keyboard and display. Learning how to code, building robots, and doing plenty of other strange and exciting things are all possible with this low-cost computer setup. The Raspberry Pi can do everything a computer can do, from surfing the web to viewing movies and music, and playing video games.
Raspberry Pi is much more than a modern computer. It`s created to educate young people on how to program in languages such as Scratch and Python, and it comes with all of the major programming languages pre-installed. The world is in desperate need of programmers now ...
Welcome to the next tutorial of our Raspberry Pi programming course. Our previous tutorial taught us how to use a raspberry pi as a DNS server. We also looked at the benefit of this DNS server. This tutorial will teach us to set up Raspberry pi as a VPN server.
This is an excellent method for increasing your network security and getting access to your local area network from the world wide web, but setting up your VPN server might be a challenge. Pi VPN uses a guided install to turn your Raspberry into a low-cost, high-performance VPN server.
What is Pi VPN?
It is an OpenVPN server optimized for all Raspberry platforms above pi 2. It allows you to access your home network over the internet safely and securely. Smart devices and your network can ...
Hello readers, I hope you all are doing great. This is the second tutorial of the Raspberry Pi programming series. In our previous tutorial, we discussed the basic features and hardware architecture of Raspberry Pi Pico.
In this tutorial, we will discuss the various available development environments for programming the Raspberry Pi Pico. Later, in this tutorial, we will also discuss the installation of Visual Studio Code for Pi Pico programming.
Fig. Raspberry Pi Pico
RP2040 supports multiple programming languages like C/C++, Circuit python, and MicroPython cross-platform development environments. Raspberry Pi Pico module consists of a built-in UF2 bootloader enabling programs to be loaded by drag and drop and floating point routines are bake ...
Introduction
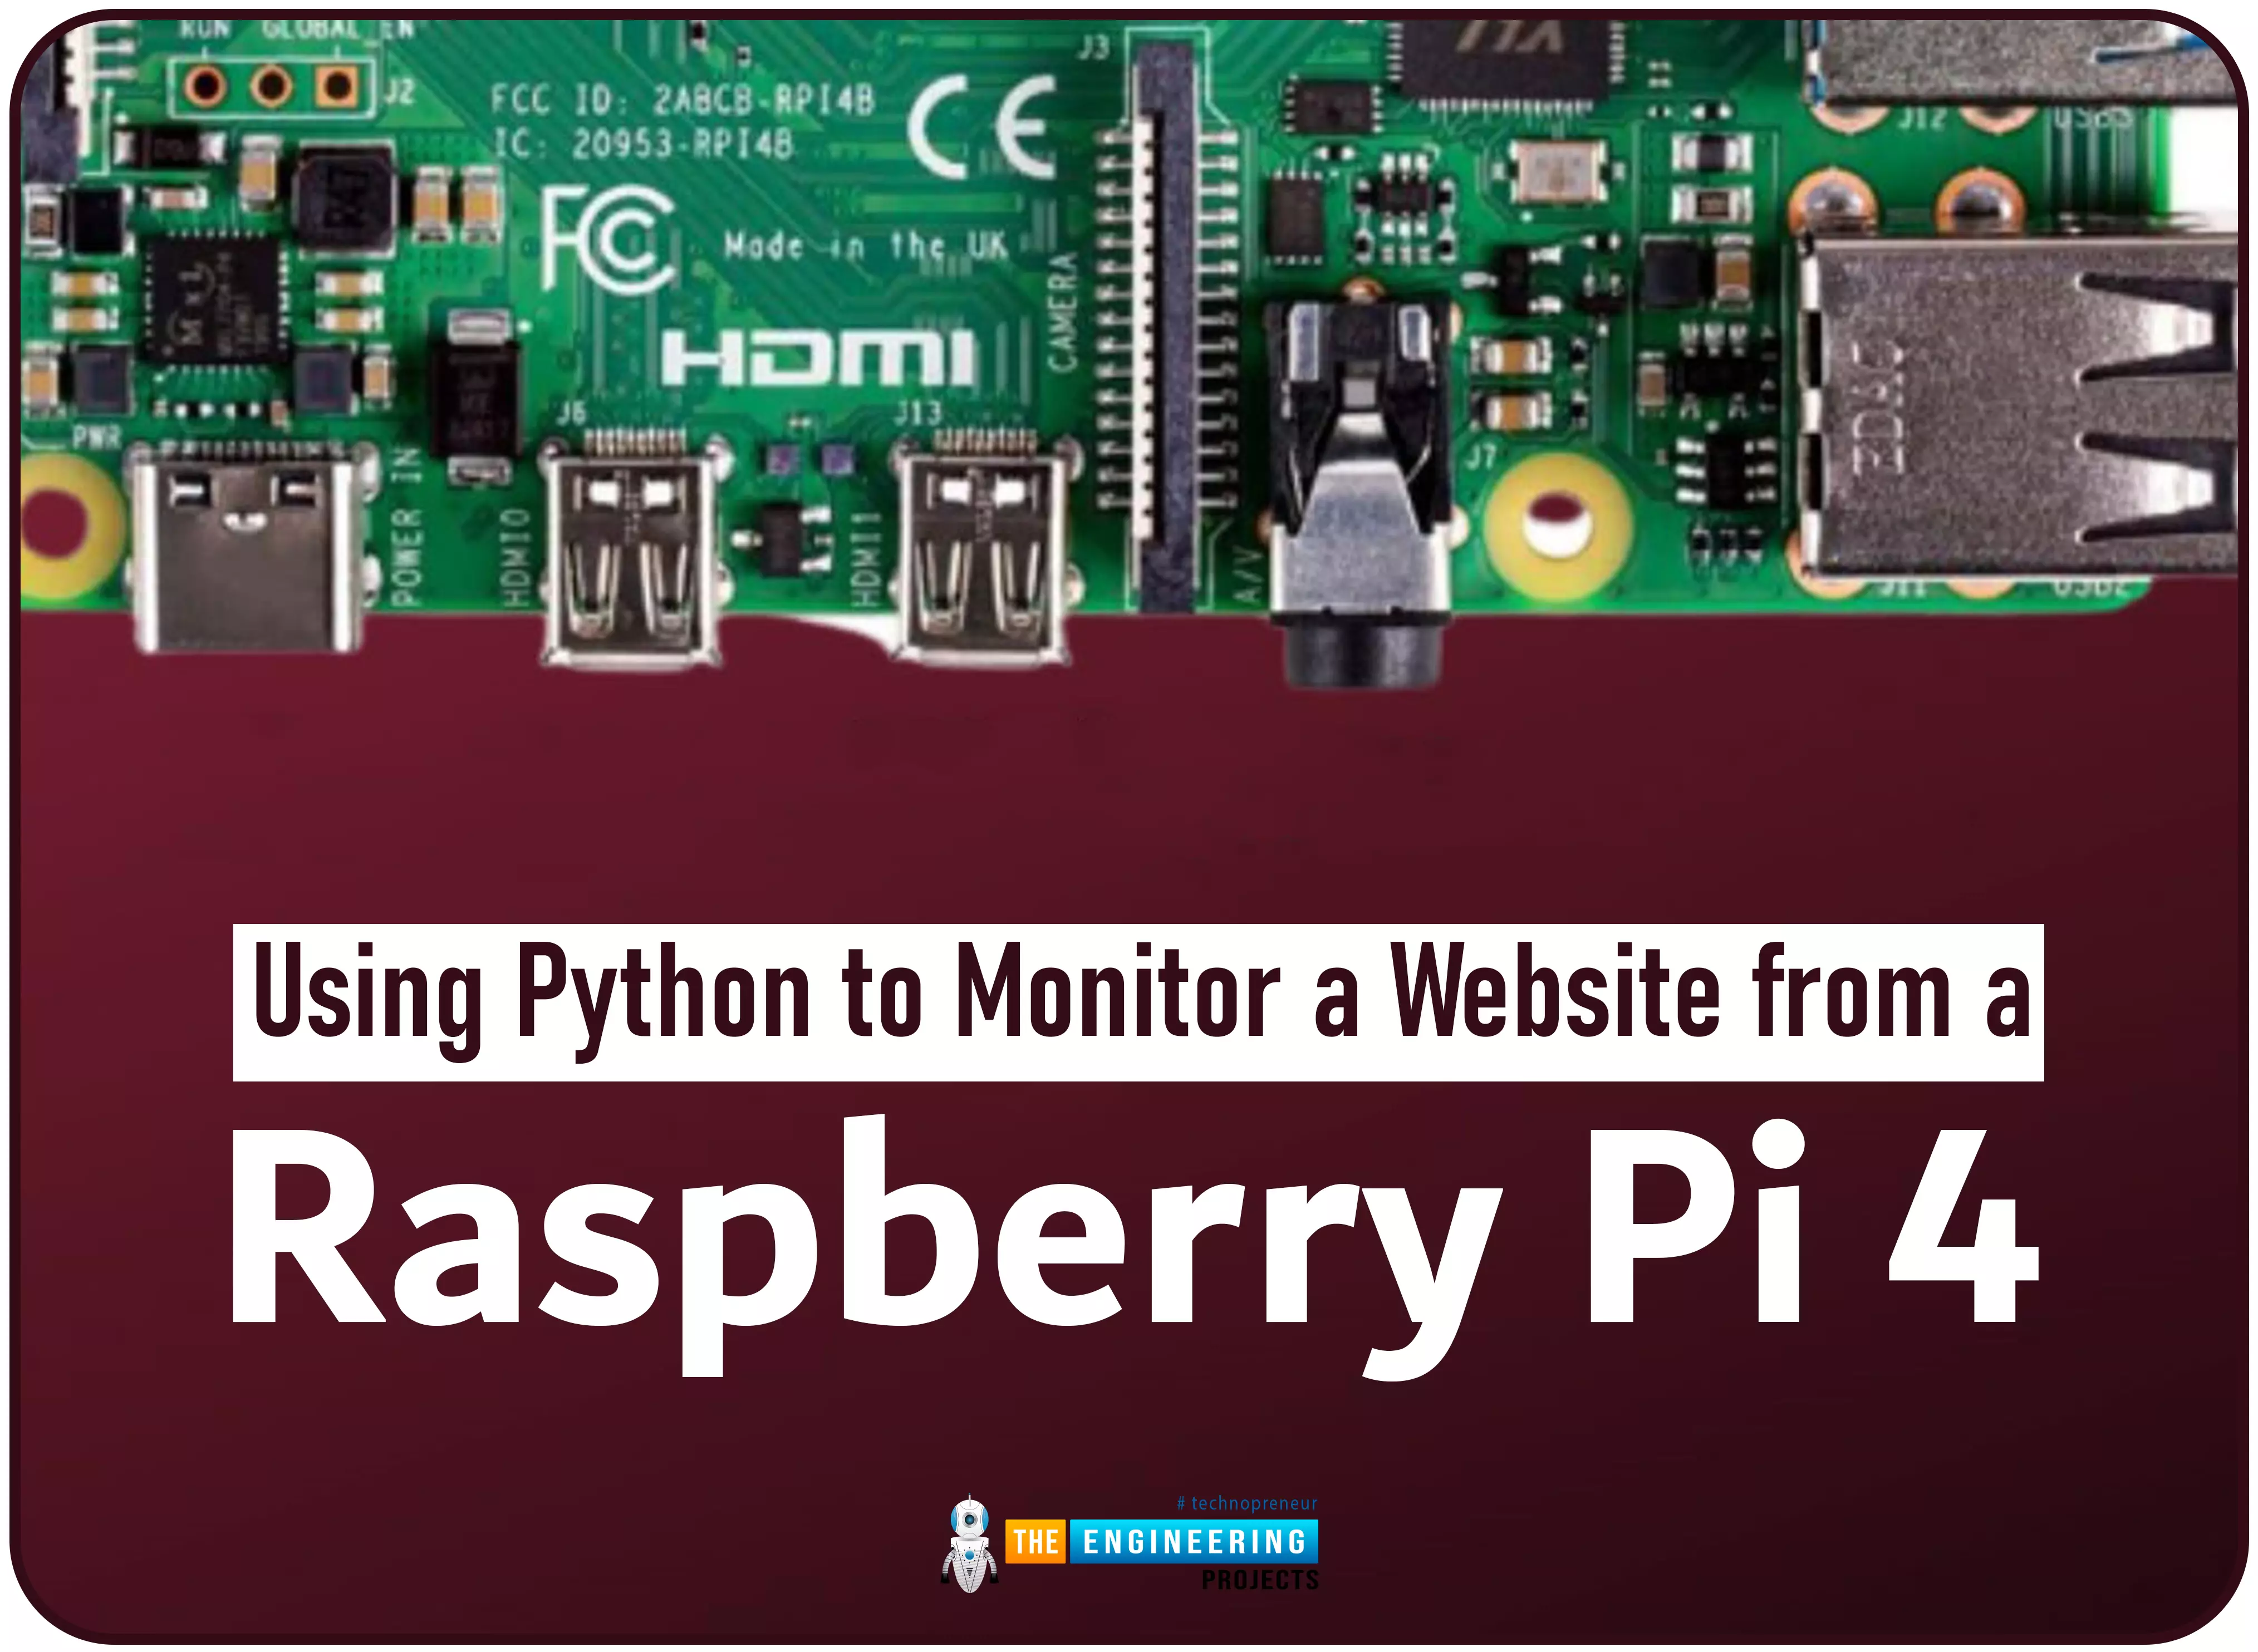
Welcome to the next tutorial in our raspberry pi programming. In the previous tutorial, we learned how we could run Xbox cloud on our pi 4. We found that we can run any game easily without lag or having raspberry pi shut down, proving that pi 4 is quite a powerful minicomputer. However, this tutorial will demonstrate how to use Python on raspberry to monitor websites. This Python program will execute on Pi 4 and watch over a website, alerting you whenever it changes or goes down. This is accomplished by keeping a straightforward webpage duplicate locally and monitoring for updates. This webpage monitor is straightforward, so it should work well on pi Zero. Throughout this tutorial, we will demonstrate how to develop your custom code to monitor a webpage. With this information ...
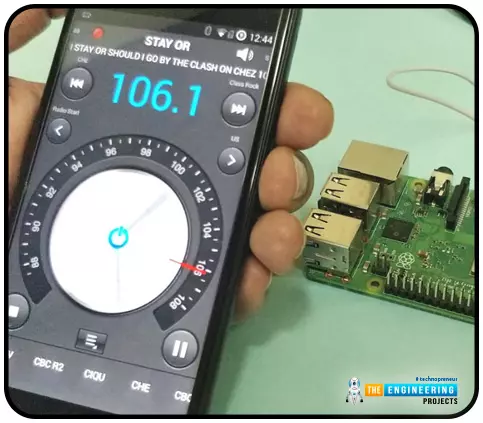
Throughout our lives, we've relied on Radio and tv stations to keep us engaged. While we're on the subject of contradictions, it's also fair to say that these Stations can become tedious at times due to the RJ rambling on about nothing or annoying advertisements, and this may have left you wondering why you can't own a Radio station to broadcast your data over short distances.
Almost any electronics technician uses coils and other hardware to make an FM transmitter, although the tuning process is time-consuming and difficult. Setting up your FM station and going live in your neighborhood shouldn't take more than 30 minutes using an RPi. If you use the right antenna, you must be able to transmit to your school or community within 50 meters. Wow, th ...