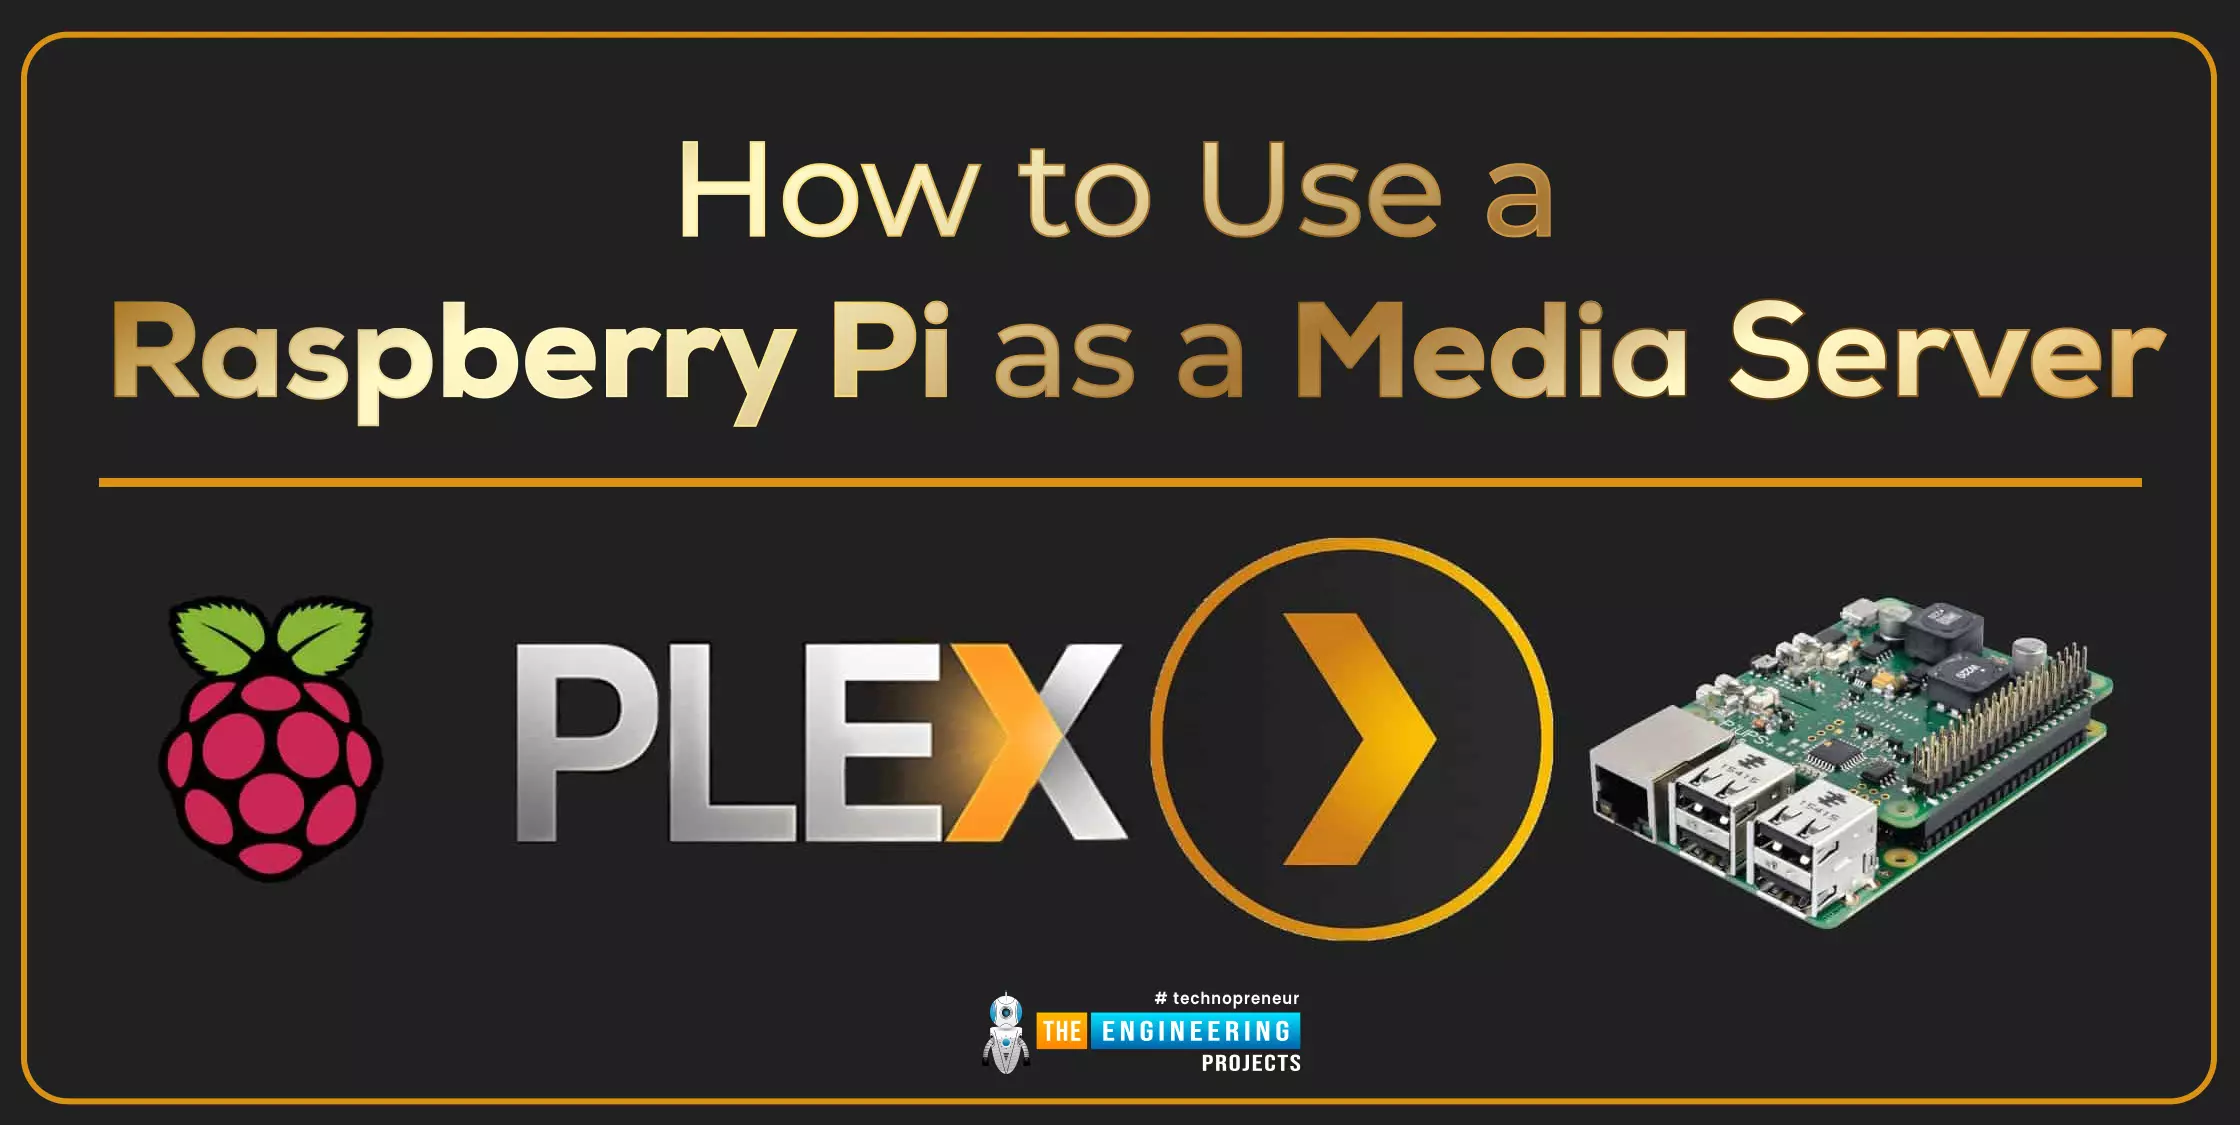
Welcome to the next tutorial of our Raspberry Pi programming course. Our previous tutorial taught us to set up a webserver in raspberry pi. We also looked at configuring addclient and deploying apps to our repositories. This tutorial will teach us to set up a free media server on Raspberry Pi.
Using a Raspberry Pi as a multimedia server requires:
An operating system and miniDLNA program installed on your Raspberry Pi,
You can attach various cleanly formatted and fragmented hard disks to your Raspberry Pi for storing and streaming media files.
A basic understanding of how to use a computer, Client-server architecture skills, familiarity with Unix terminal and Secure shell, and a passion for computing and the media are a must!
Even if you ...
Thank you for joining us for yet another session of this series on Raspberry Pi programming. In the preceding tutorial, we integrated a real-time clock with our raspberry pi four and used it to build a digital clock. However, In this tutorial, we will construct your personal Twitter bot using Tweepy, a Py framework for querying the Twitter application programming interface.
You will construct a Response to mentions robot that will post a response to everybody's tweet mentioning it with a certain keyword.
The response will be a photo we will make and put any text over it. This message is a quote you will acquire from a 3rd application programming interface. Finally, we will look at the benefits and drawbacks of bots.
This is what it looks like:
...
Hello friends, I hope you all are having fun. Welcome to the 10th tutorial of our Raspberry Pi programming course. In the last chapter,
PWM was utilized to regulate the DC motor's speed and direction
with a motor driver L293D. In this chapter, we'll advance our skills with PWM and use it to control a stepper motor using the same motor driver L293D.Here's the video demonstration of this project:Let's get started:
Components RequiredHere's the list of components, which we will use to control the speed and direction of Raspberry Pi 4:
Raspberry Pi 4.Stepper Motor.
Motor Driver IC(L293D).
Jumper wires.
9V Battery.
Breadboard.
The Raspberry Pi with desktop is required for this project. An SSH connection can be made, or the RPi can ...
Hi Friends! Hope you’re well. In this post today, we’ll discuss What is Raspberry Pi Zero? We’ll also cover Raspberry Pi Zero Pinout, Specs, Projects & Datasheet.
Developed by Raspberry Pi Foundation, Raspberry Pi Zero is a tiny single-board computer, initially introduced to teach basic computers in schools. Later, it rose to popularity due to its low cost and open source design. Now it is widely used in robotics and embedded systems to develop IoT projects. This device is among the bestselling British single-board computers. I suggest you read this post all the way through as I’ll cover Raspberry Pi Zero in detail. Let’s get started.
What is Raspberry Pi Zero?
Raspberry Pi Zero(released in Nov 2015, by Raspberry Pi Foundation) is a sin ...
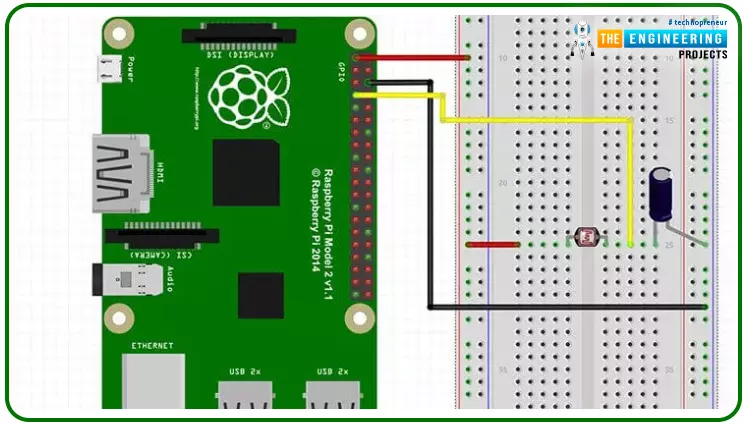
Hello friends, I hope you all are doing great. Today, we are going to start Section-III of our Raspberry Pi 4 Programming Course. In this section, we will interface different Embedded Sensors with Raspberry Pi 4. Today's our first lecture in Section-III, so I am going to interface a simple LDR sensor with RPi4.
So, let's get started:
Components Required:
The following items are required to finish this Raspberry Pi
photoresistor module guide. You don't need a breadboard to accomplish
this, but having one would be helpful.Raspberry pi 4BreadboardPhotoresistor LDRJumper wires1uF Capacitor
What is a photoresist?
It is a common practice to employ photoresistors to determine the presence or absence of visible light or to quantify the amount of ...
Thank you for being here for today's tutorial of our in-depth Raspberry Pi programming tutorial. The previous tutorial demonstrated the proper wiring of the photoresistor sensor to the GPIO pins. Finally, we learned how it might be included in a Python script for data collection and analysis needs. We also looked at the functions of each component in the circuit. However, I'll walk you through installing a Pi 4 Print Server in this guide. While installing the program is straightforward, setting it up so that a Windows network can locate the print server requires a little more effort. Rather than spending hundreds of dollars upgrading to a laser printer, you may easily upgrade your current USB printer to laser quality by installing a print server.
Because of this software, you no longer ha ...
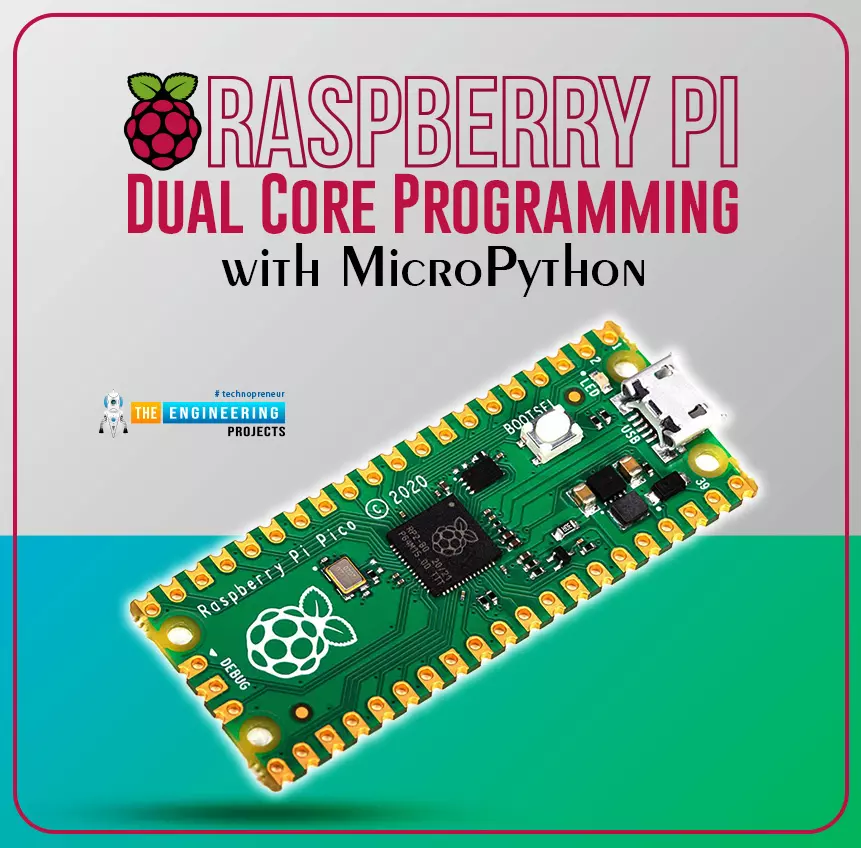
Hello readers, I hope your all are doing great. We know that a Raspberry Pi Pico module comes with multiple inbuilt features for example onboard memory, processing units, GPIOs or General Purpose Input Outputs (used to control and receive inputs from various electronic peripherals) etc.
In our previous tutorials, we discussed how to access GPIO pins of the Raspberry Pi Pico module for both input as well as output operations.
In this tutorial, we are going to discuss another important feature of the Raspberry Pi Pico module (RP2040) which is Dual Core Processor. The Pico board features with 133MHz ARM Cortex-M0+, Dual Core Processor. This dual-core feature makes the Pico module capable of multiple thread execution or multithreading.
Now before writing the MicroPython program let’s first un ...
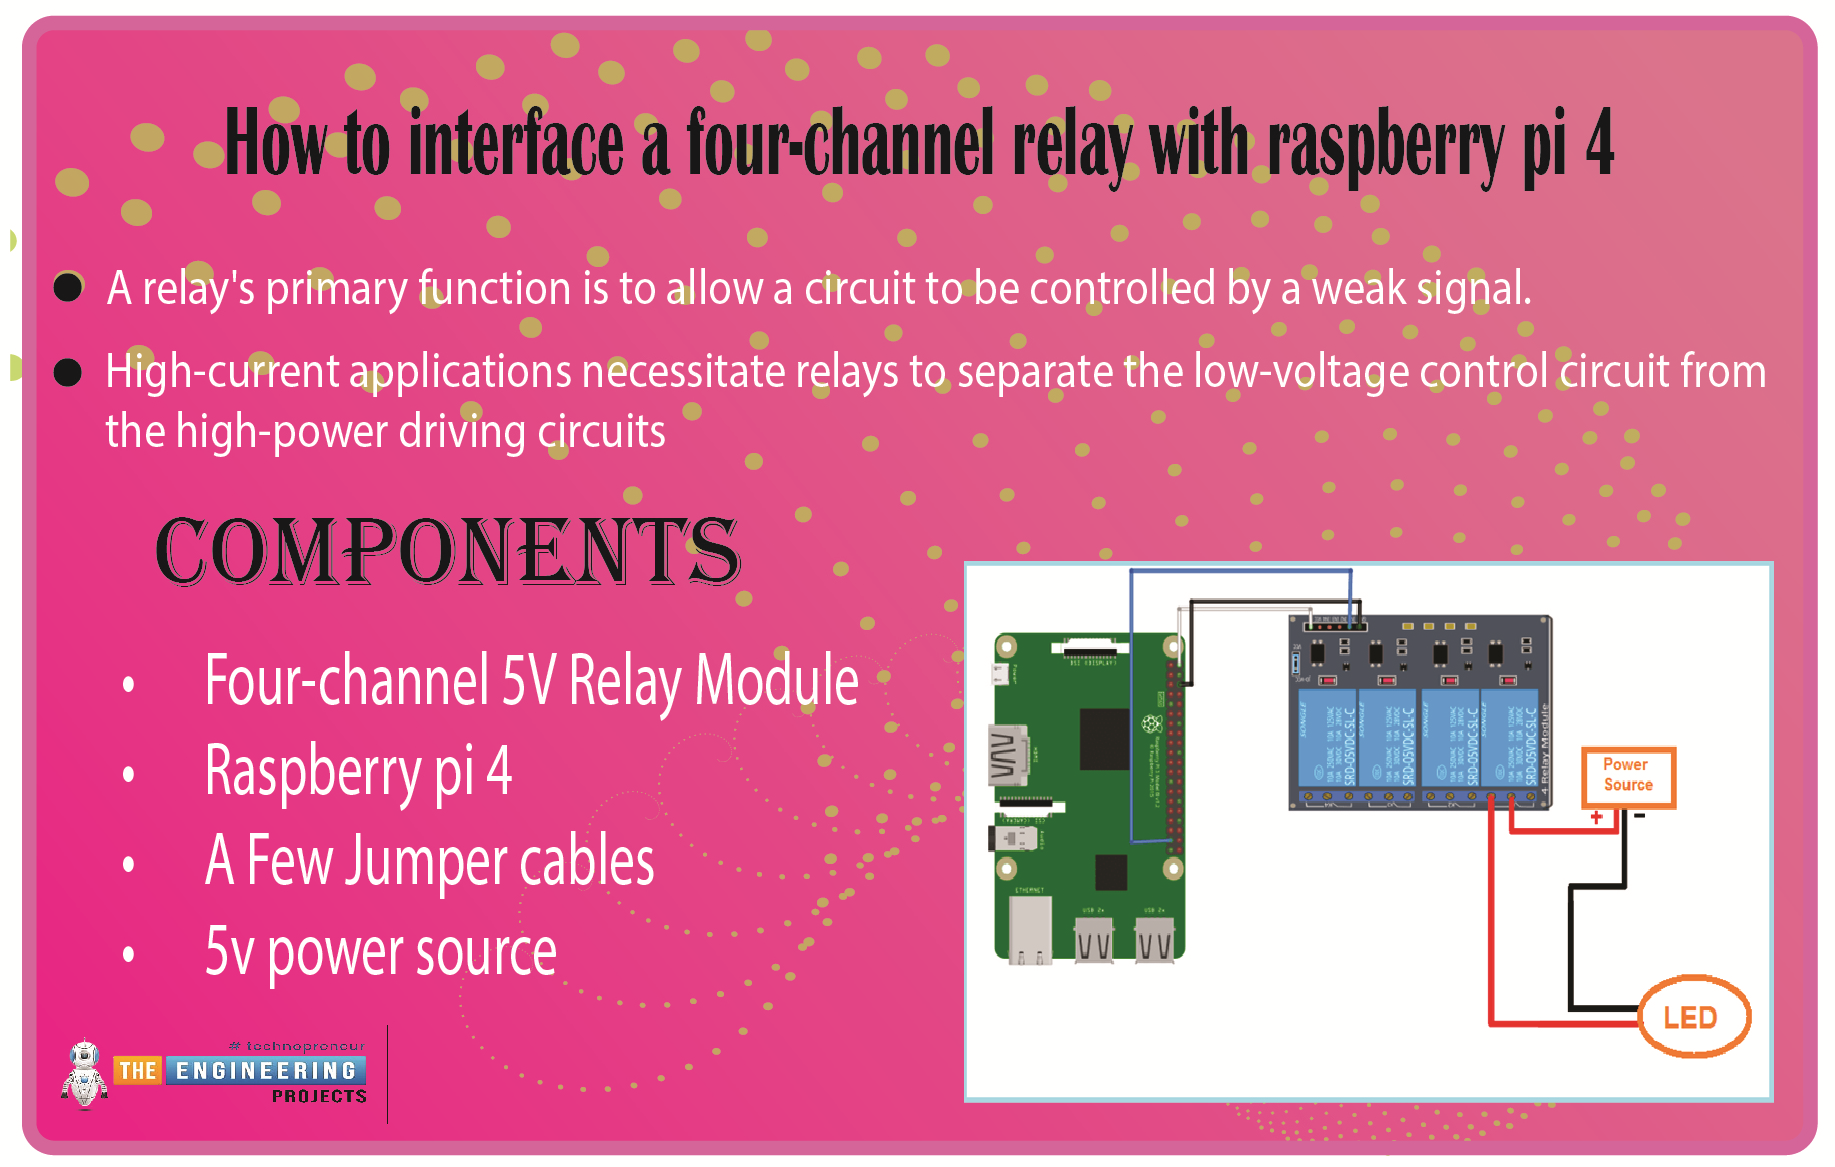
We learned in the previous tutorial how to connect a joystick to a Raspberry Pi 4 using an mcp3008 and an op-amp IC, the LM324A. For each of the interface methods we studied, we created a python script allowing us to interact with the circuit. This tutorial will show you how to connect a 4-channel relay module with a Raspberry Pi to carry out switching.
A relay's primary function is to allow a circuit to be controlled by a weak signal. High-current applications necessitate relays to separate the low-voltage control circuit from the high-power driving circuits. Because of this, understanding it is crucial for those interested in industrial or household automation.
If you've been tinkering with a raspberry pi for a while, consider the various ways ...
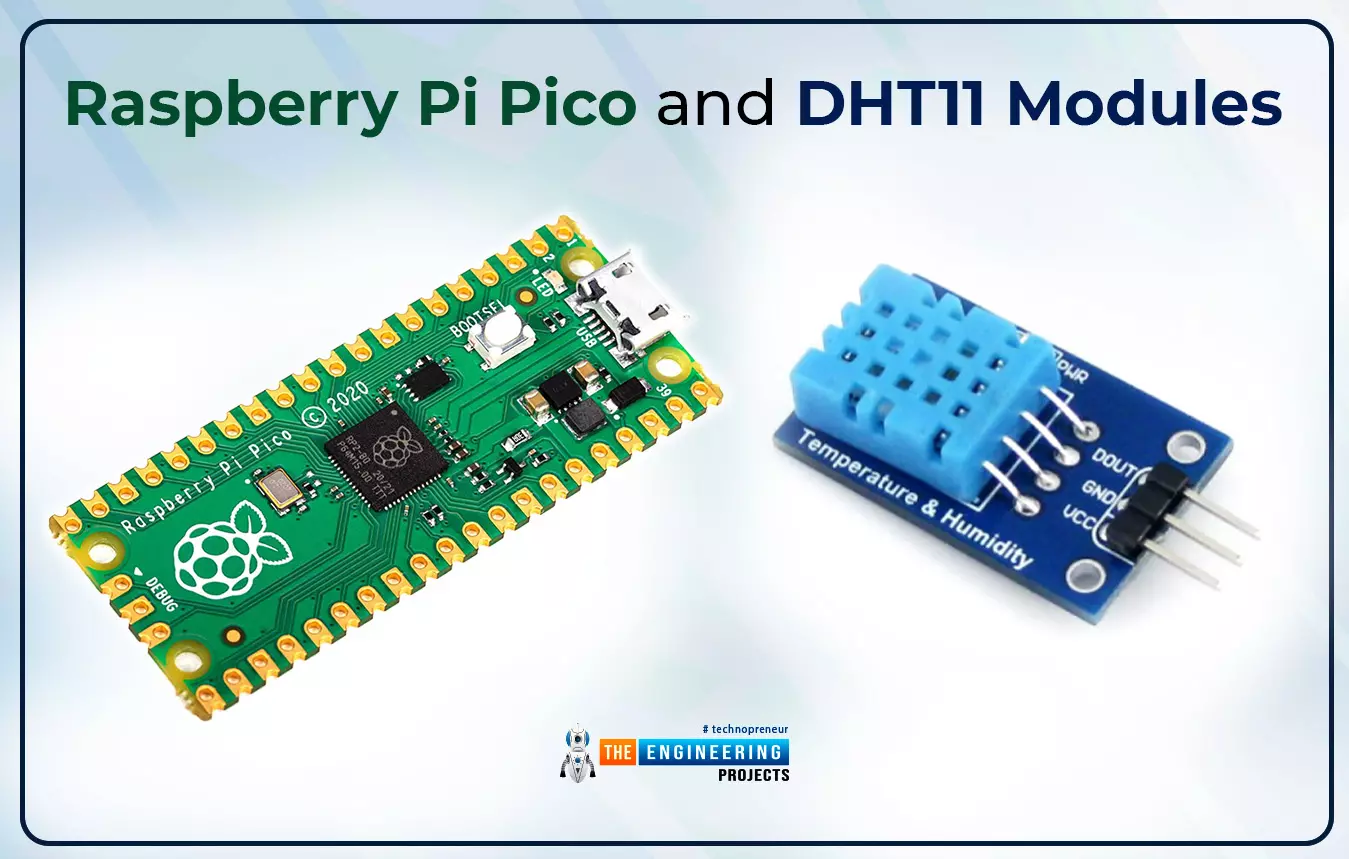
Hello readers, I hope you all are enjoying our Raspberry Pi Pico programming series. In our previous tutorials, we learned how to access Raspberry Pi Pico’s GPIO pins for both input as well as output operations. For demonstration, we used LED as an output component and a push button as an input component.
Now let’s learn how to interface sensor modules with the Raspberry Pi Pico module. So, in this tutorial, we will learn how to interface the DHT11 sensor with the Raspberry Pi Pico module and fetch the observed data (from its surrounding) using the MicroPython programming language.
Before writing the code for interfacing and fetching the data from the respective sensor, let’s first have a look at the working operation, features and properties of the DHT sensor.
...
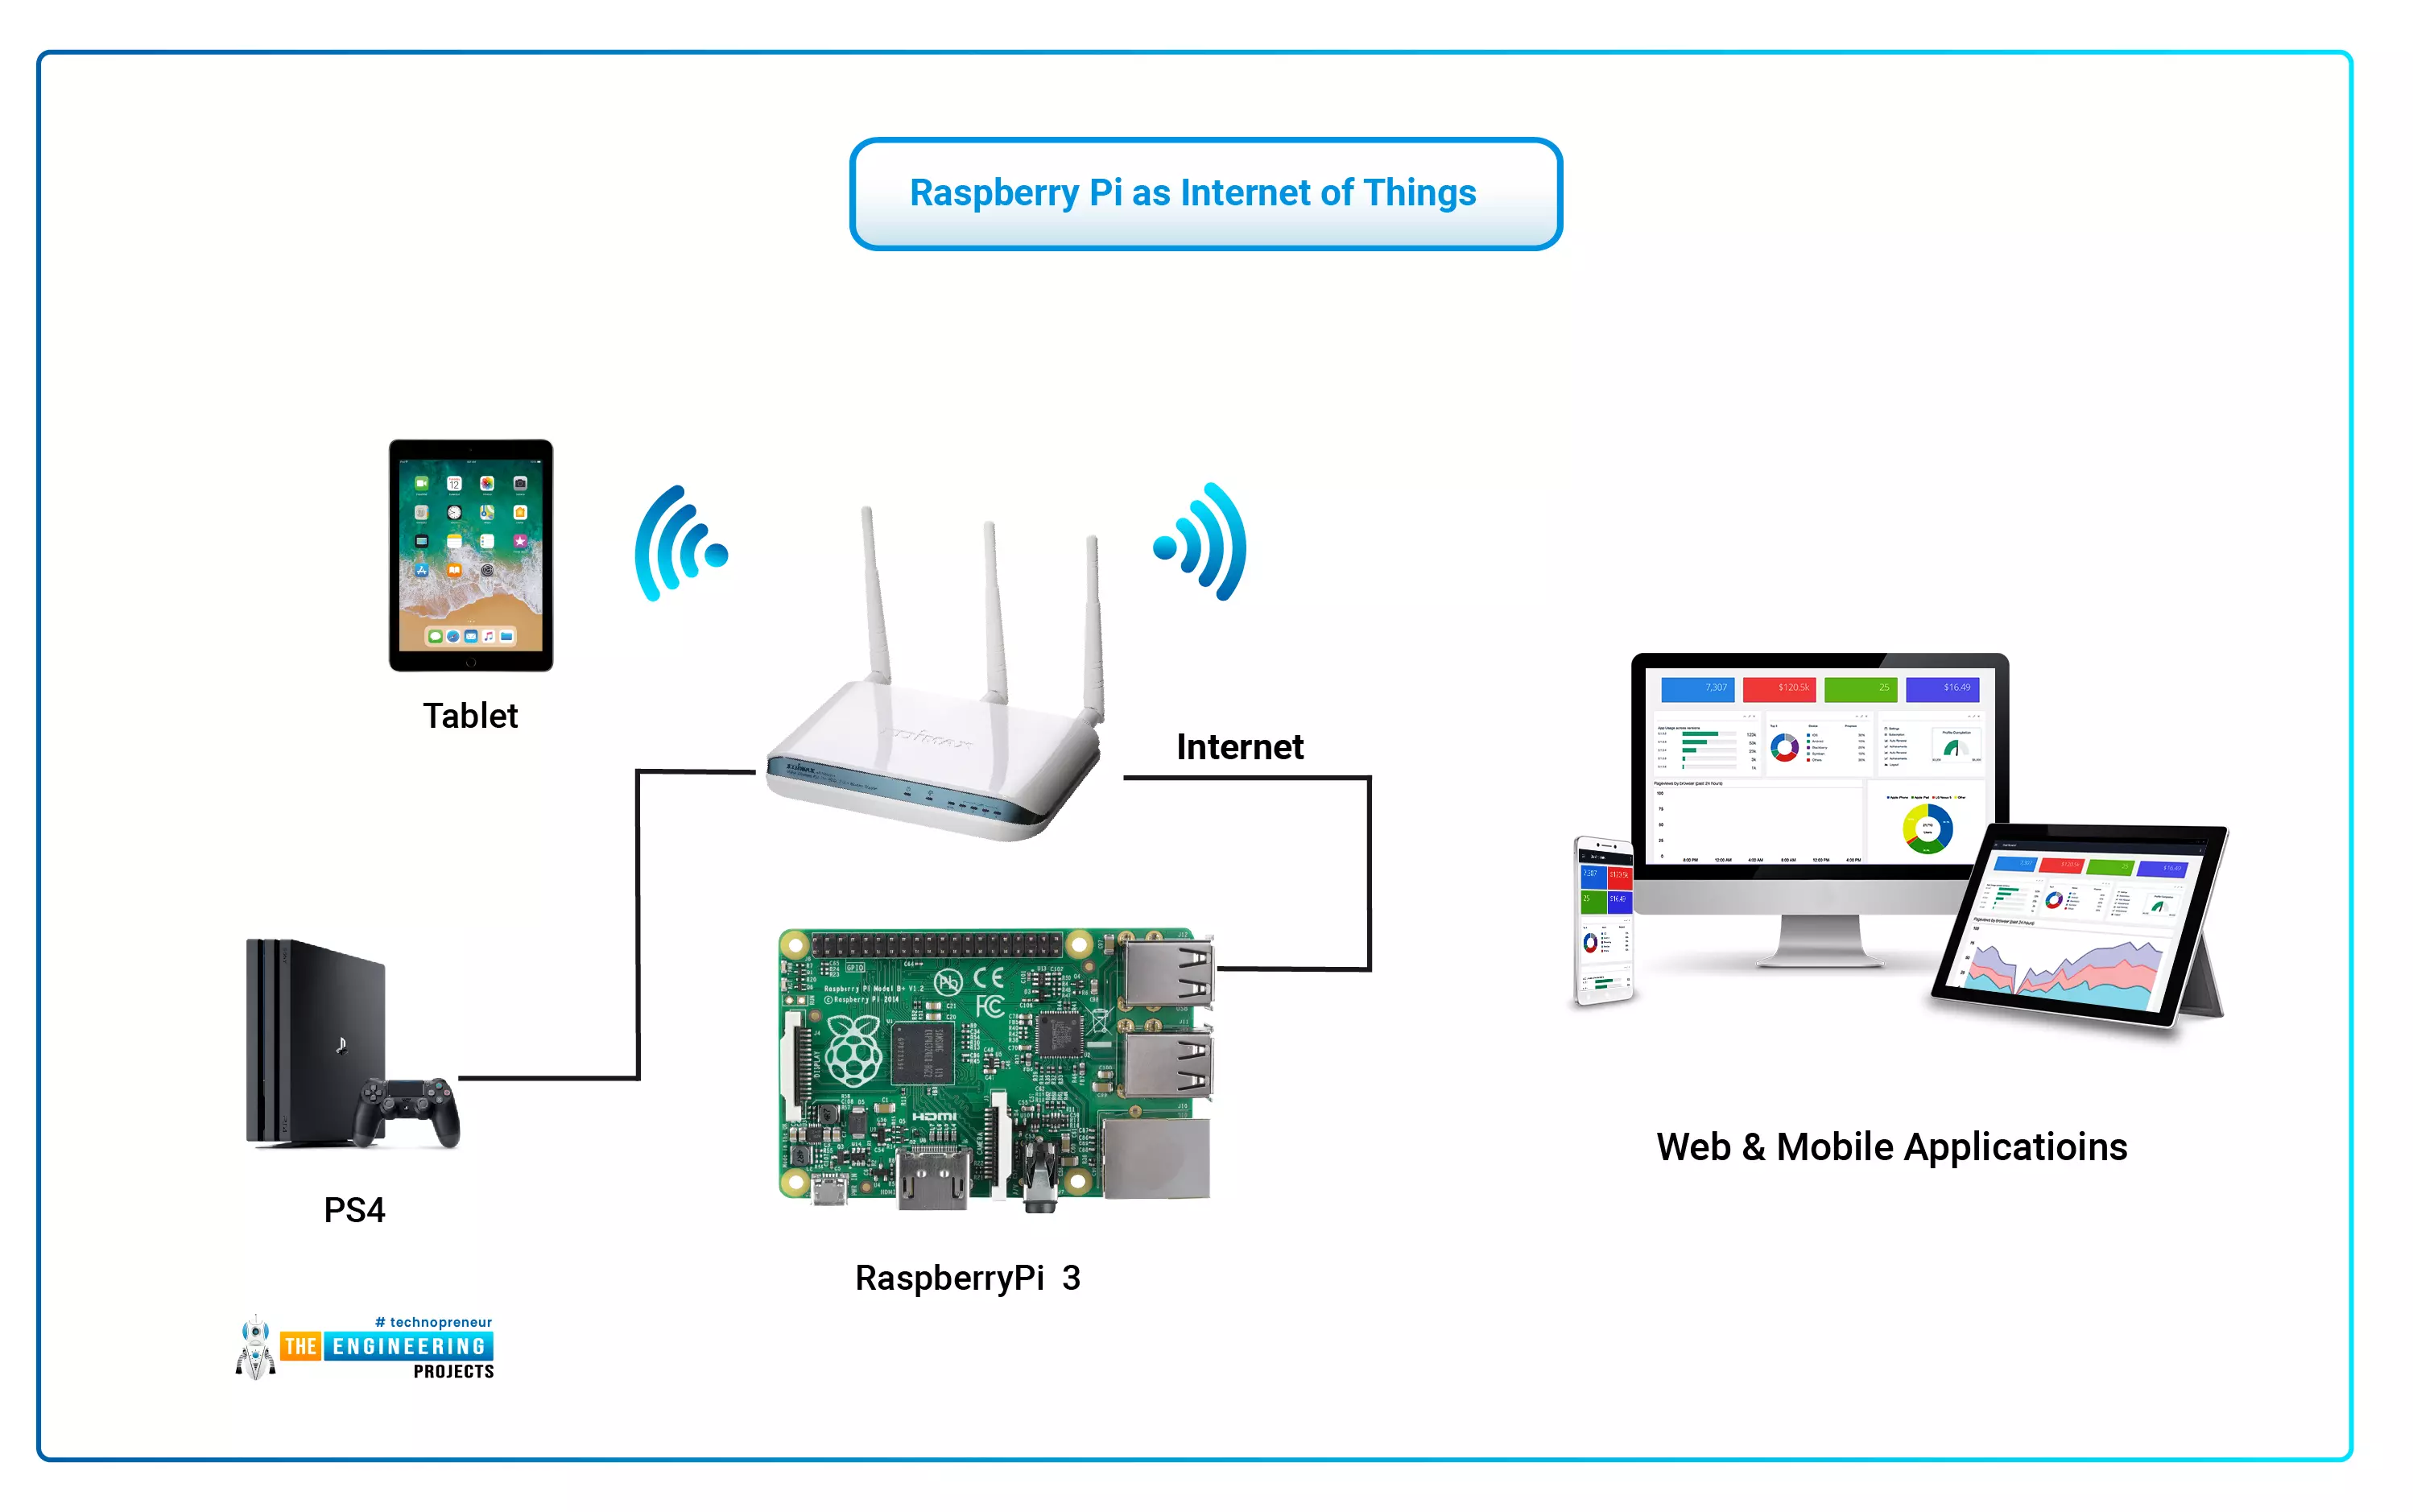
The Internet of Things (IoT) philosophy may be viewed as a highly dynamic and radically dispersed networked system comprised of a huge number of identifiable smart devices. These objects may communicate and interact with one another, as well as with end-users and other network entities. As the Internet of Things era begins, the usage of small, inexpensive, and flexible computer hardware that allows end-user programming becomes more prevalent. The Raspberry Pi, a fully configurable and programmable tiny computer board, is one of them discussed in this article. Although there are certain limitations, the Raspberry Pi remains a low-cost computer that has been used effectively in a wide range of IoT vision research applications despite its few shortcomings.
...