Hello friends, hope you all are healthy, wealthy and wise. Today's topic is about the control of stepper motor. In the last post we have seen How to control DC motor in Proteus, and now we are gonna see How to design a Stepper Motor Drive Circuit in Proteus ISIS. Stepper motors are usually of two types and the main difference between the two is in the number of wires used to control them. Mostly stepper motors use 6 wires to control them but few of them also have 4 wires to control them. Today we will have a look on the 6 wired stepper motor.
In stepper motor, there are electromagnets which gets polarized when we supply voltage to them and depolarized when we remove the voltage. These electromagnets act as a stater and when one side get magnet ...
Hello friends, today I am going to post the next lecture of Proteus Tutorial. I am receiving quite a positive response about this Proteus tutorial. In the previous post, we have seen How to use Virtual Terminal in Proteus and today I am going to explain How to use Oscilloscope in Proteus ISIS. This oscilloscope is just the same which you have seen in your electronic or electrical labs. Oscilloscope is basically used to monitor signals or waveforms. Particularly when you are not much aware of the circuit and you need a little debugging then you use oscilloscope.
In oscilloscopes, we can visualize the electrical properties of waveforms, like we can check whats the frequency of electrical signal, what's its voltage or current. Digital oscillosco ...
Hello everyone, I hope you all are doing great. In today's tutorial, we will have a look at How to use Virtual Terminal in Proteus ISIS. It's our 5th tutorial in Proteus Series. I will first explain what is virtual terminal and then we will have a look at its uses and performance in Proteus ISIS.
Virtual Terminal is an important tool available in Proteus and it comes quite in handy while working on serial modules i.e. GSM, GPS, XBee etc. So, let's get started with Virtual Terminal in Proteus.
What is Virtual Terminal ?
Virtual Terminal is a tool in Proteus, which is used to view data coming from Serial Port (DB9) and also used to send the data to Serial Port. In windows XP, there's a built in tool named Hy ...
No.
Proteus Tutorials
Give Your Suggestions !!!
1.
Getting Started With Proteus
2.
Circuit Designing of LCD with PIC on Proteus ISIS
3.
Knowing Components Available in Proteus
4.
How To Use Virtual Terminal in Proteus ISIS
5.
How To Use Oscilloscope in Proteus ISIS
6.
DC Motor Drive Circuit in Proteus ISIS
7.
Stepper Motor Drive Circuit in Proteus ISIS
8.
Servo Motor Drive Circuit in Proteus ISIS
9.
Component Designing in Proteus ISIS
10.
PCB Designing in Proteus ARES
Hello friends, hope you all are fine and enjoying good health. In this tutorial, my actual plan was to cover the mostly used components in Proteus like to give users an overview of component selection as there are many components in Proteus whic ...
Hello friends, hope you all are fine and enjoying good health. Today I am posting the next part of Proteus tutorial which is Interfacing of LCD with PIC Microcontroller. . In the previous post of this tutorial, we have seen the basics of Proteus and discussed various functions of Proteus ISIS. If you are new to Proteus then I would recommend that before starting this tutorial, you should first read the first part so that you get the better idea of Proteus as I wont go in detail in today's post. Today, we will first design a circuit of LCD with PIC on Proteus ISIS which includes PIC Microcontroller and then we will see how to burn the microcontroller in Proteus and at the end we will run our circuit and will display some text on the LCD. It will ...
Hello friends, I hope you all are fine and having fun with your lives. In today's post we are gonna see Interfacing of EasyVR with Arduino UNO. In the previous post, we have seen Getting Started with EasyVR Commander. It was quite simple and if you follow the steps carefully you wont stuck anywhere but still if you into some trouble i am here.
Now this tutorial is quite a quick and important one as it contains the real code using which we will control our robot. After adding the voice commands, now close the EasyVR Commander and open the Arduino Software. Connect the arduino board with computer and double check that your jumper J12 in on position SW. You should also read Training Error: Recognition Failed in EasyVR, if you got such error while ...
In the previous post we have seen the project description of Voice Recognition Project using EasyVR shield. Today we will have a look at Getting started with EasyVR commander. EasyVR shield is a module which is used for voice recognition. First of all, we save our commands in the EasyVR shield and then we use these commands to control anything. In this project, I need to control the robot with voice commands like when someone says FORWARD then the robot start moving in forward direction.
Now first of all what I need to do is to save this FORWARD voice in the shield, which we will see today how to save the command in the shield and after that I will show you the Interfacing of EasyVR shield with Arduino UNO. So that when I say Forward the motor sta ...
Hello friends, today's post is, as the name suggests, about the Voice Recognition using EasyVR Shield. Voice recognition is quite a difficult task and usually done on software like MATLAB, but what if someone needs a stand alone project, a kind of autonomous voice recognition project, which doesn't use computer.
EasyVR is the solution for such projects. I recently did one project on this module named as Voice Recognition using EasyVR Shield and it worked really cool so I thought to share this new technology with you guys. I couldn't write the next part of Proteus tutorial, actually firstly I was busy in this project and then I thought to share this one as its quite exciting one. After completing this project, I will come back to Proteus tutorial.
...
Hello friends, I hope you all are fine and having fun. In today's tutorial, I will provide you a Complete Guide on Proteus ISIS & ARES. I will start from very basics & will gradually move towards complex projects. I have already shared a lot of tutorials on Proteus software on my blog, I will add their links in today's tutorial as well, in the projects section.
If you guys have any problem anywhere, ask in comments and I will try my best to resolve your issues and also subscribe to our newsletter so that you get these burning tutorials rite in your mail box. I will continuously update this list of tutorials so that we have all tutorials at one place.
Course Content of Proteus Guide
I have divided this tutorial in few sections and you have ...
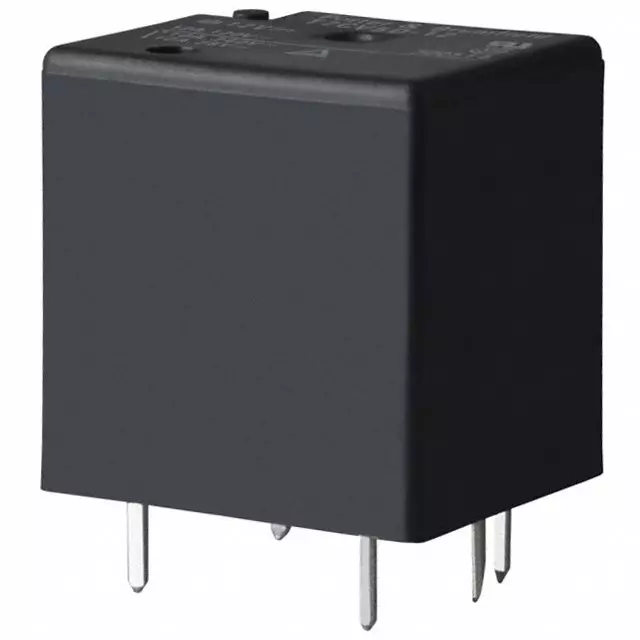
Hello friends, I hope you all are doing great. In today's tutorial, I am going to explain the Relay Interfacing with Microcontroller using ULN2003A. In the previous lecture, we have discussed the detailed Introduction to Relay along with its working. Now we are going to practically interface the relay with a microcontroller to design an automatic switch. Relay is a key component in almost every electronic circuit. It can be
used as a switch and can also be used as a voltage regulator.The microcontroller I am going to use here is PIC18F4552 but you can use any other Microcontroller. You just need to change the syntax of coding but the logic will remain the same. Here, I am using ULN2003A to control the relay and from this relay, we can control anything.So, let's get started:
Relay Inte ...