Hey Guys! Hope you are doing well. I always take pleasure to keep you updated with valuable information related to information and technology. Today, I'll discuss the detailed Introduction to ULN2803 which is a relay driver that comes with a high-voltage and high-current Darlington transistor array. In order to obtain higher current capability, the Darlington pairs are connected in a parallel configuration. The component is incorporated with eight NPN Darlington pairs, featuring high-voltage outputs with common-cathode clamp diodes that are directly related to switching inductive loads. Each Darlington pair features a decent amount of collector-current rating i.e. around 500 mA. You must have a look at ULN2003 which is almost similar to this IC but comes with 16 pins and can handle 7 relay ...
Hey Guys! Welcome you onboard. Today, I'll discuss an important topic titled "Introduction to PWM" . I will try to cover everything related to PWM i.e. PWM Definition, PWM generation, why we need PWM signals? how it is used in a variety of applications ranging from motors, heating systems, hydraulics, control valves, pumps etc. One important thing to mention here is "PWM can be applied on both AC and DC electrical signals". So, let's get started: What is PWM (Pulse Width Modulation)? As we all know, there are two main types of electrical signals i.e. AC and DC. Both of these signals are used as a power source for different types of electrical appliances. Now if we have a look at these electrical appliances, they operate at different voltage levels and may also need variable voltage supply( ...
Hi Fellas! I am back to give you a daily dose of valuable information. Today, I'll give you a detailed Introduction to IRF3205 . It is an N-Channel HEXFET Power MOSFET that comes in a TO-220AB package and operates on 55V and 110A. It is mainly used for dynamic dv/dt rating and consumer full bridge applications. Additionally, it falls under the category of ultra LOW on-resistance devices based on Advanced Process Technology, making it a building block of the electronic applications where fast switching is a major concern. In this post, I'll cover each and everything related to this transistor, its main features, working, pinout, and applications. Let's get down to the nitty-gritty of this tiny component. Introduction to IRF3205 IRF3205 is an N-Channel HEXFET Power MOSFET that is mainly base ...
Hi Friends! Hope you are doing well. We welcome you on board. Today, I'll highlight and explain the details on the Introduction to PIC16F84a. It is an 18-pin PIC microcontroller, introduced by Microchip Technology, that comes with serial programming algorithm. It contains one 8-bit timer and 13 I/O bidirectional pins. Microcontrollers have always been a great choice for experts since their inception long while ago. They are widely used for the embedded system, industrial automation, and robotics as they contain an onboard chip that requires no external components for making it work like an automatic system and reduces the space required for the development of the project. In this tutorial, I'll discuss each and everything related to PIC16F84a, so you don't have to wrestle your mind for bro ...
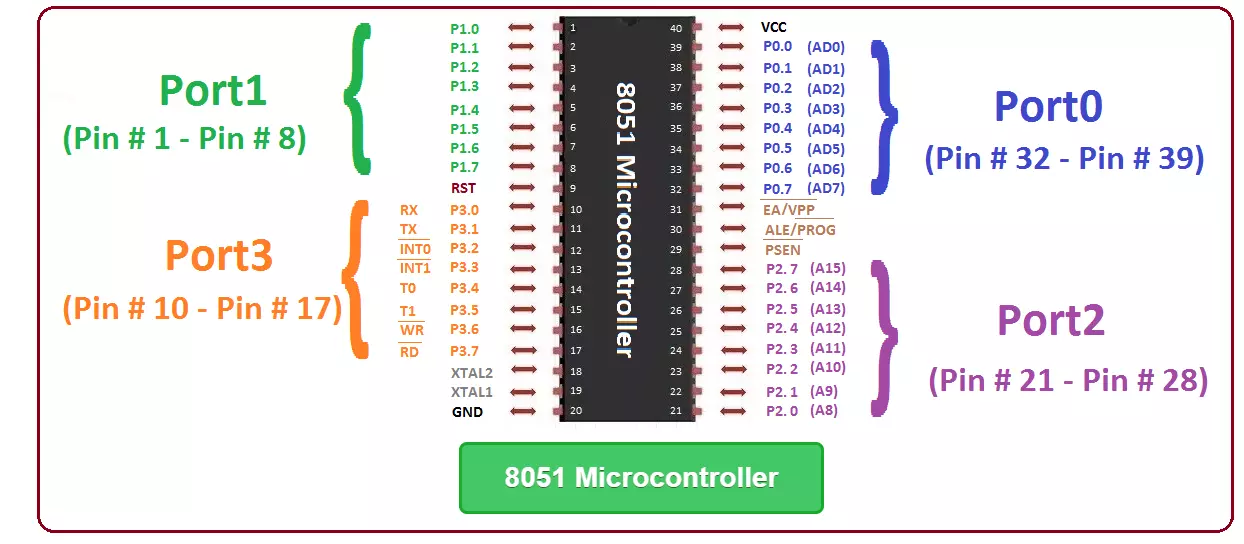
Hello Friends! Hope you are doing great. I am back to give you a daily dose of valuable information so you can excel and grow in your relevant field and keep coming back for what we have to offer. Today, I am going to unlock the details on the Introduction to 8051 Microcontroller. This is an 8-bit Microcontroller developed by Intel in the 1980s. It is considered as a small system on an integrated chip that comes with CPU, I/O ports, timers, counters, RAM and ROM. The Microcontroller is a one step forward to a microprocessor. Both Microcontrollers and microprocessor work in a similar way with some exceptions. Microcottler comes with everything required to run an embedded system like CPU, I/O ports and inbuilt peripherals like timers, counters, and interrupts. While processor comes with the ...
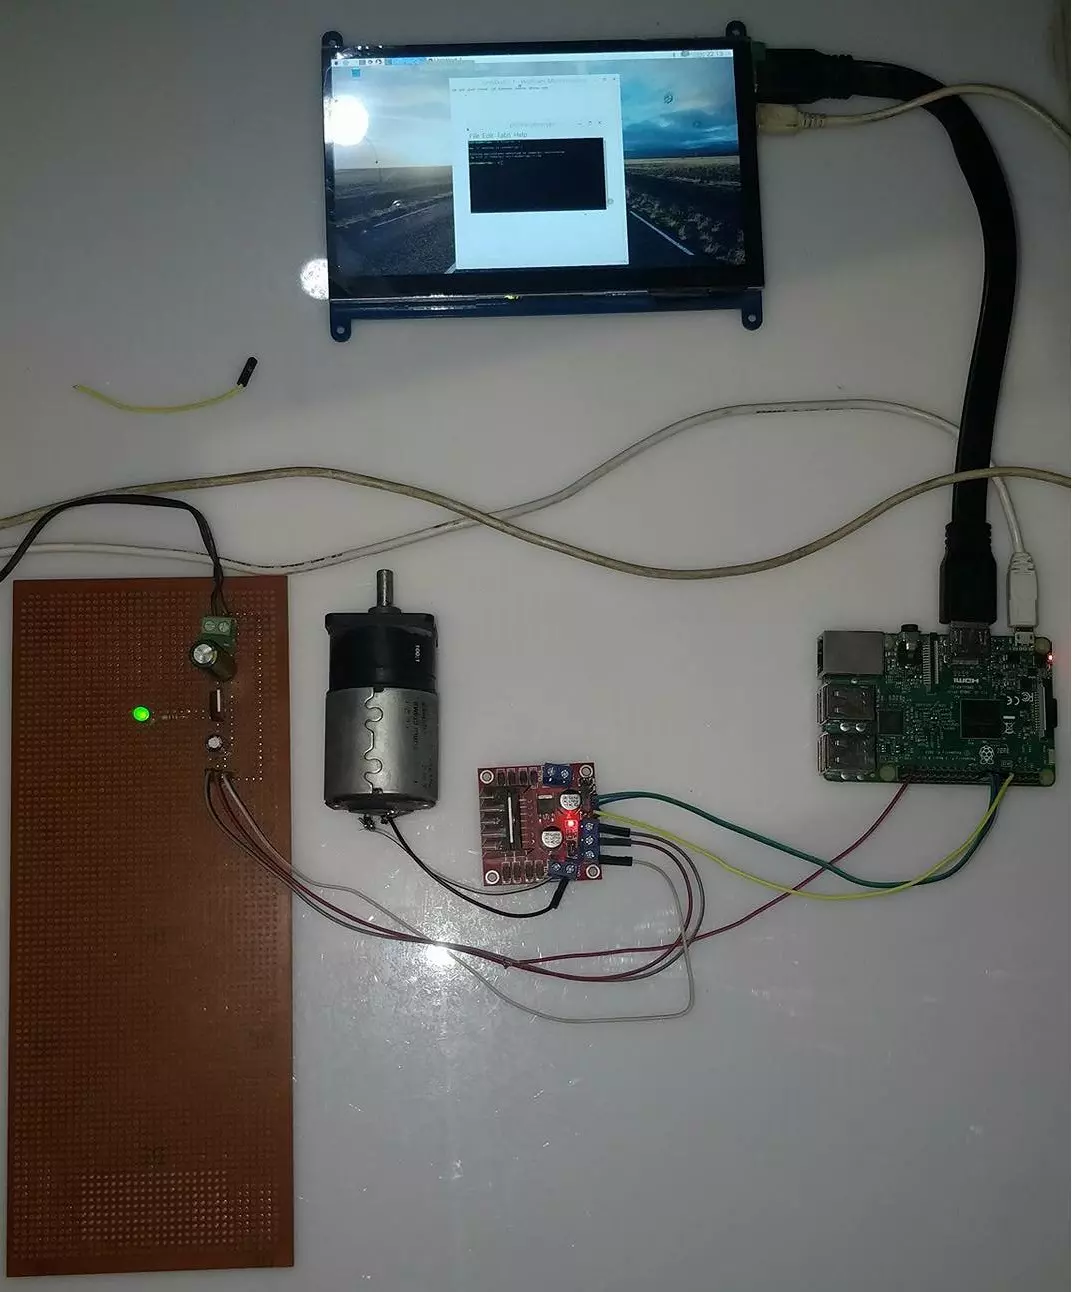
Hello friends, I hope you all are doing great. In today's tutorial, I am going to show you How to Control DC Motor with Raspberry Pi 3. We will control both the speed and direction of DC Motor. I hope you have read the previous tutorial on How to Create a GUI in Raspberry Pi 3 as we are gonna create a small GUI in this tutorial as well and then we are gonna control our DC Motor with Buttons on GUI. Libraries Raspberry Pi 3 and L298 Simulation Libraries Raspberry Pi 3: Raspberry Pi 3 Library for Proteus V1.0 (August 2023) L298 motor driver: L298 Motor Driver Library for Proteus V1.0 (September 2017) Other Raspberry Pi boards: Pico · Pico W · Pico 2 W · Pi Model B · Pi 1 B+ · Pi 2 Model B · Pi 3 Model B · Pi 3 Model B+ · Pi 3 Model A+ · Pi 4 Model B · Pi 5 · Pi Zero W · Pi Zero 2 W · Pi 400 ...
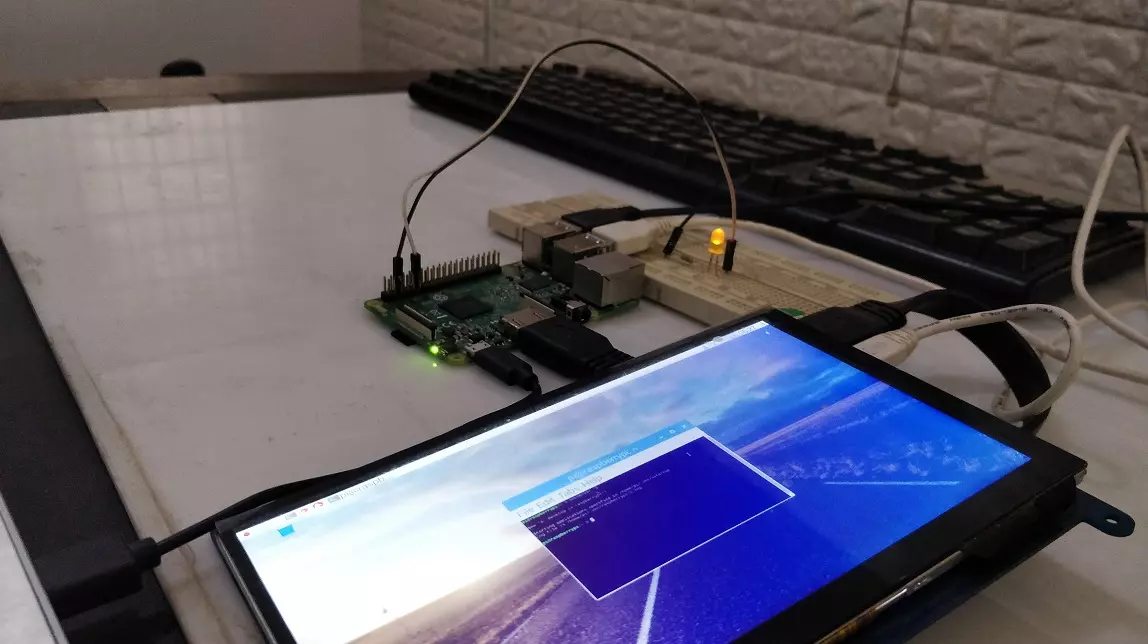
Hello friends, I hope you all are doing great. In today's tutorial, I am going to explain How to Create PWM in Raspberry Pi 3. In our previous tutorial, we have seen How to Create GUI in Raspberry Pi 3, & we have also controlled an LED from the GUI Buttons. So, I am gonna take that project and will add PWM code in it. So, I would recommend you to first have a look at LED Blinking with Raspberry Pi 3 in which we have designed this simple project and then check How to Create GUI in Raspberry Pi 3, where we have controlled that LED digitally with GUI. But today, we are gonna control the intensity of this LED by creating a PWM Pulse in Raspberry Pi 3. Along with that, we are also gonna have a look at How to use Scale in Raspberry Pi 3. I will add a new scale in the same GUI and when we change ...
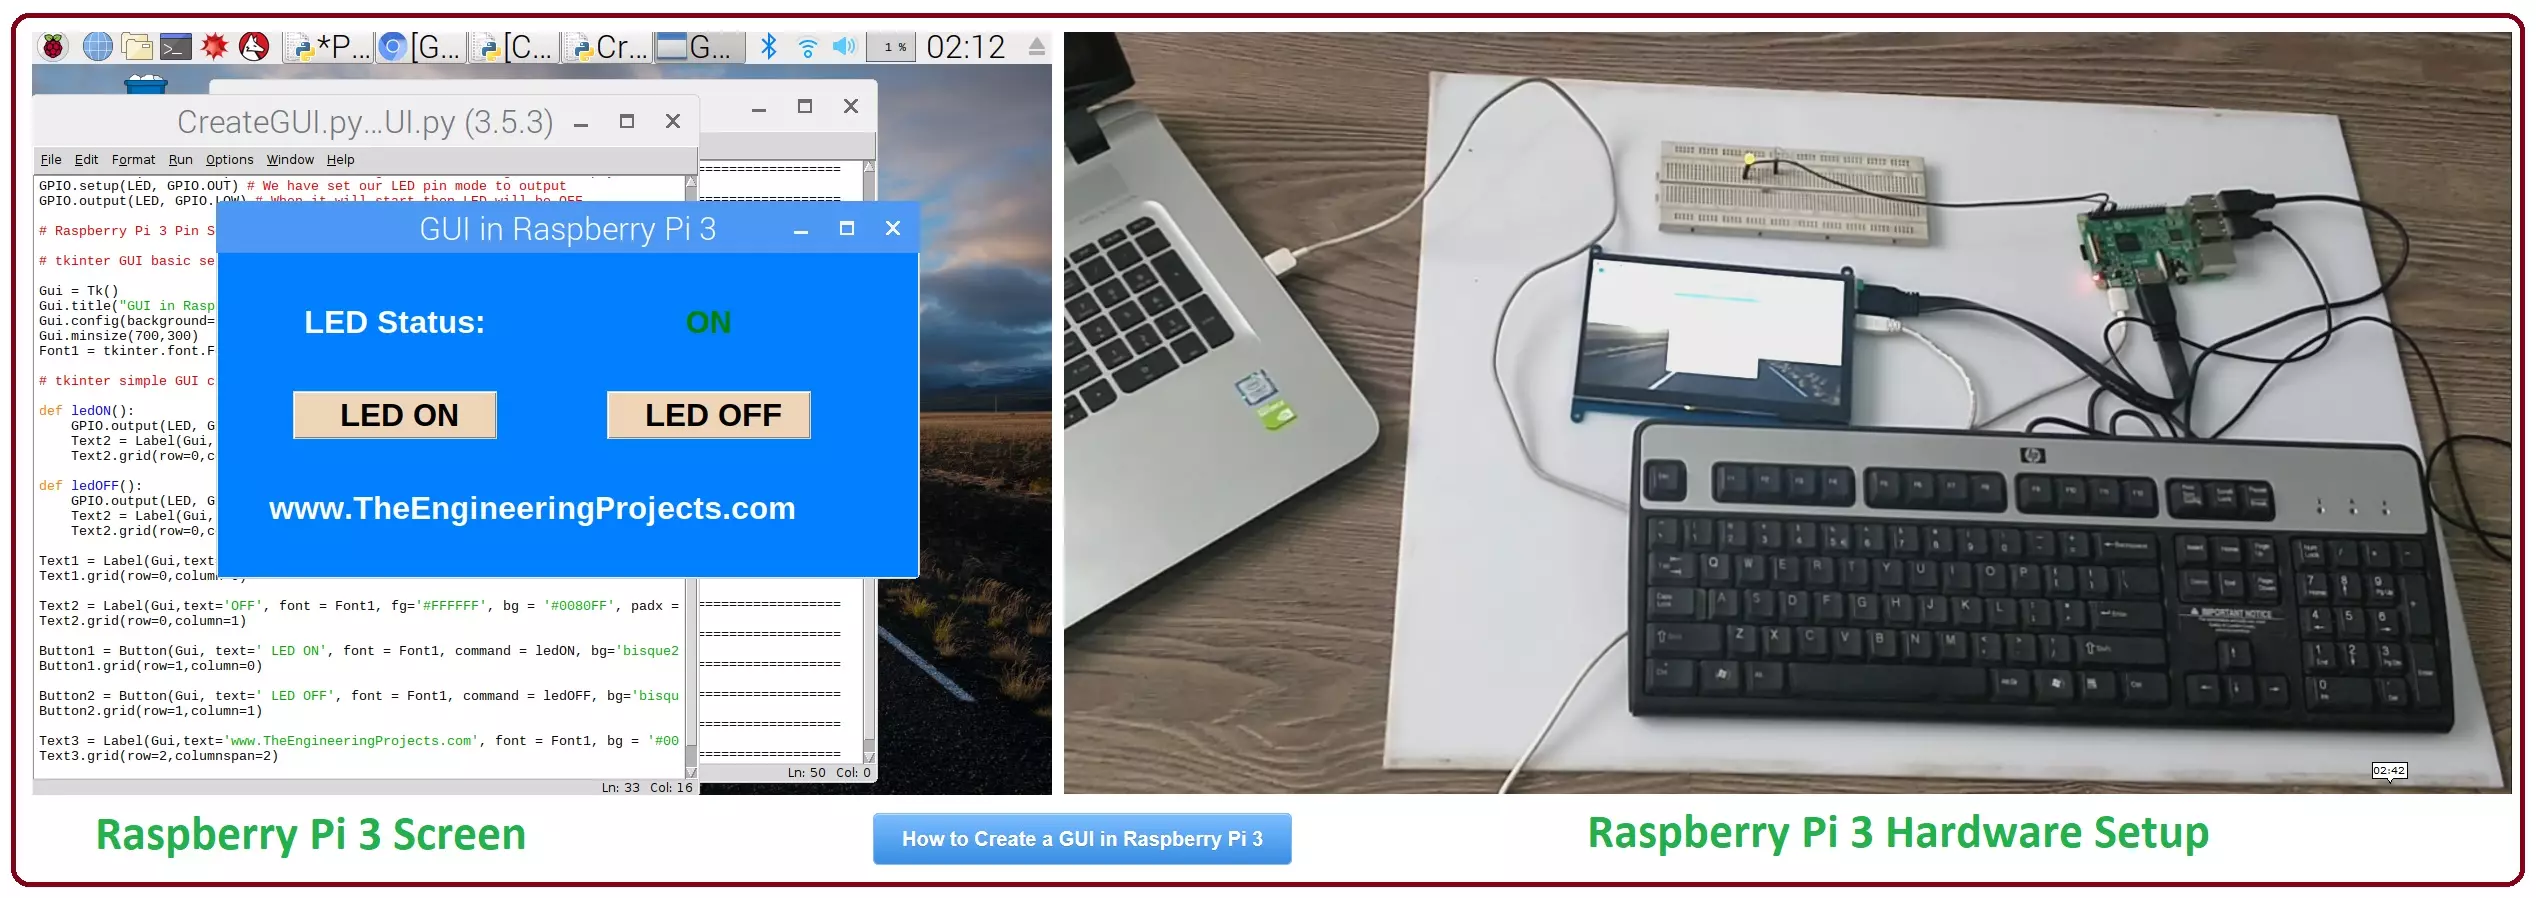
Hello friends, I hope you all are doing great. In today's tutorial, I am going to show you How to Create a GUI in Raspberry Pi 3. There are many different third party libraries available and the one I am going to use is tkinter. I have tried these libraries and I liked it the most so that's why I'm gonna use it in my future Raspberry Pi 3 Projects. In our previous tutorial on Raspberry Pi 3, we have had a look at LED Blinking using Raspberry Pi 3 . So, today I am gonna work on the same project and we will add a GUI in it. GUI is an abbreviation of Graphical User Interface and it is used to give a presentable form to your project. We will add some buttons on our GUI and we will turn ON or OFF our LED using buttons. It's quite a basic tutorial but its essential to cover before working on big ...
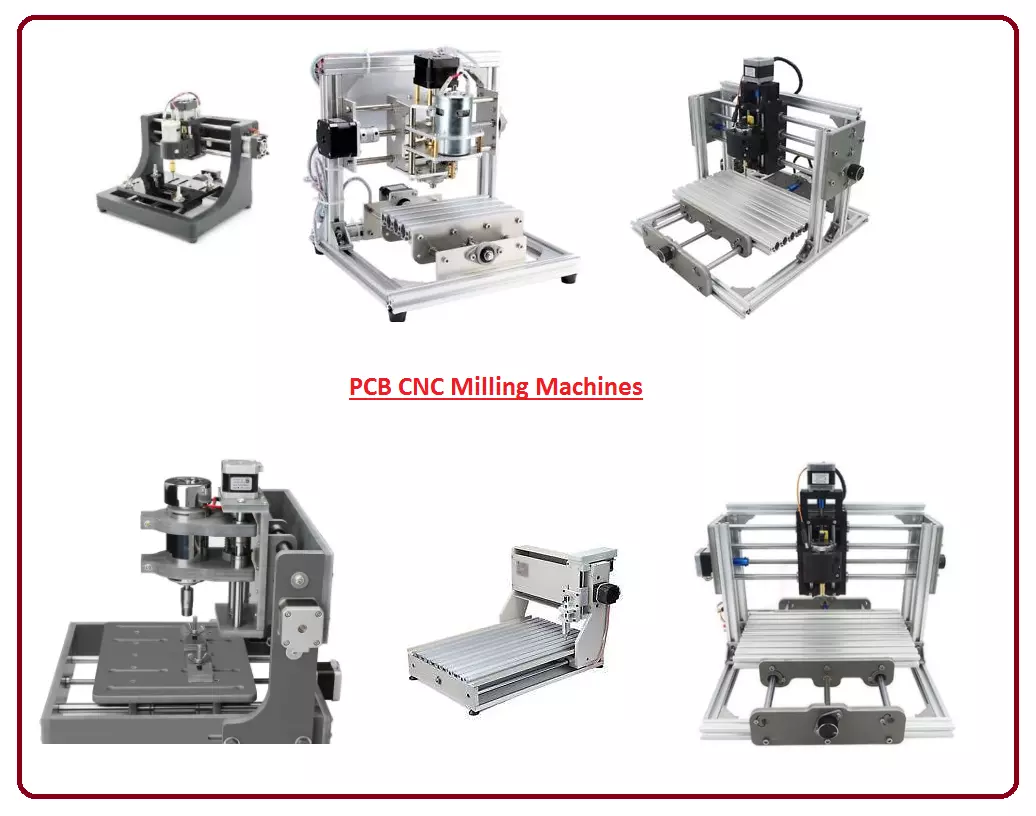
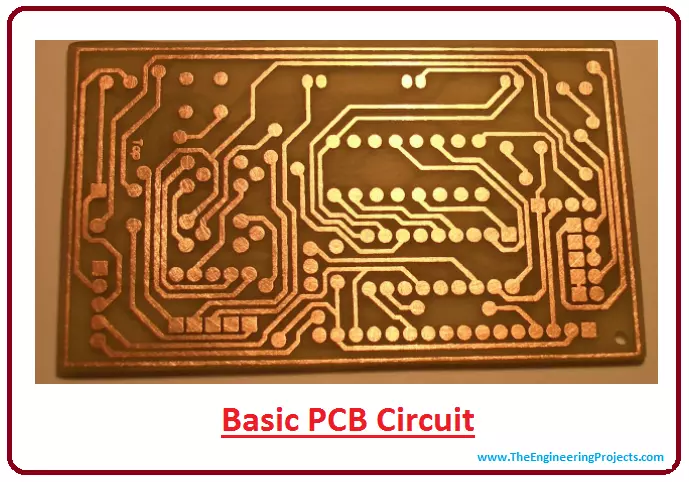
Hey Guys! I hope you are enjoying your life and getting most out of it. We always welcome you to our site for getting useful information so you can excel and grow in your relevant field. Today, I am going to discuss How to make PCB using CNC Milling machine . If you are involved in the electronics field you will definitely come across designing your own PCB. Making PCB by old method using film and photosensitive method became obsolete. Professional looked for more robust and quick solution that helped in getting rid of the hassle of end to end wiring and fear of lose connection. This was the start of Printed Circuit Board. Let's discuss each and everything related to making PCB using CNC Milling machine. How to make PCB using CNC Milling Machine Technology has been evolved in an amazing wa ...
Hello everyone, I hope you all are doing great. Today, I am going to start a new tutorial series on Printed Circuit Boards, abbreviated as PCB. It's going to be a quite lengthy series so I have divided it into multiple chapters. We will start from the basics and will gradually move towards complex concepts. In this series, we will cover everything related to PCB i.e. PCB Types, materials used in PCB designing, online software and tools to design PCB layouts, online PCB Fabrication Houses to manufacture PCB etc. So, stay tuned to this series, if you want to be a PCB expert. As today's our first chapter in this series, so we will discuss the basics of PCB i.e. What is PCB? History of PCB? How its evolved from simple boards to complex designs? What makes it useful in the latest technology? et ...