Hello readers, I hope you are all doing great. In this tutorial, we are going to discuss the OTA web updater on the ESP32.
We already covered the fundamentals of OTA programming in ESP32, in our previous tutorial where we used the Arduino IDE to upload OTA code into the ESP32 module using the network port.
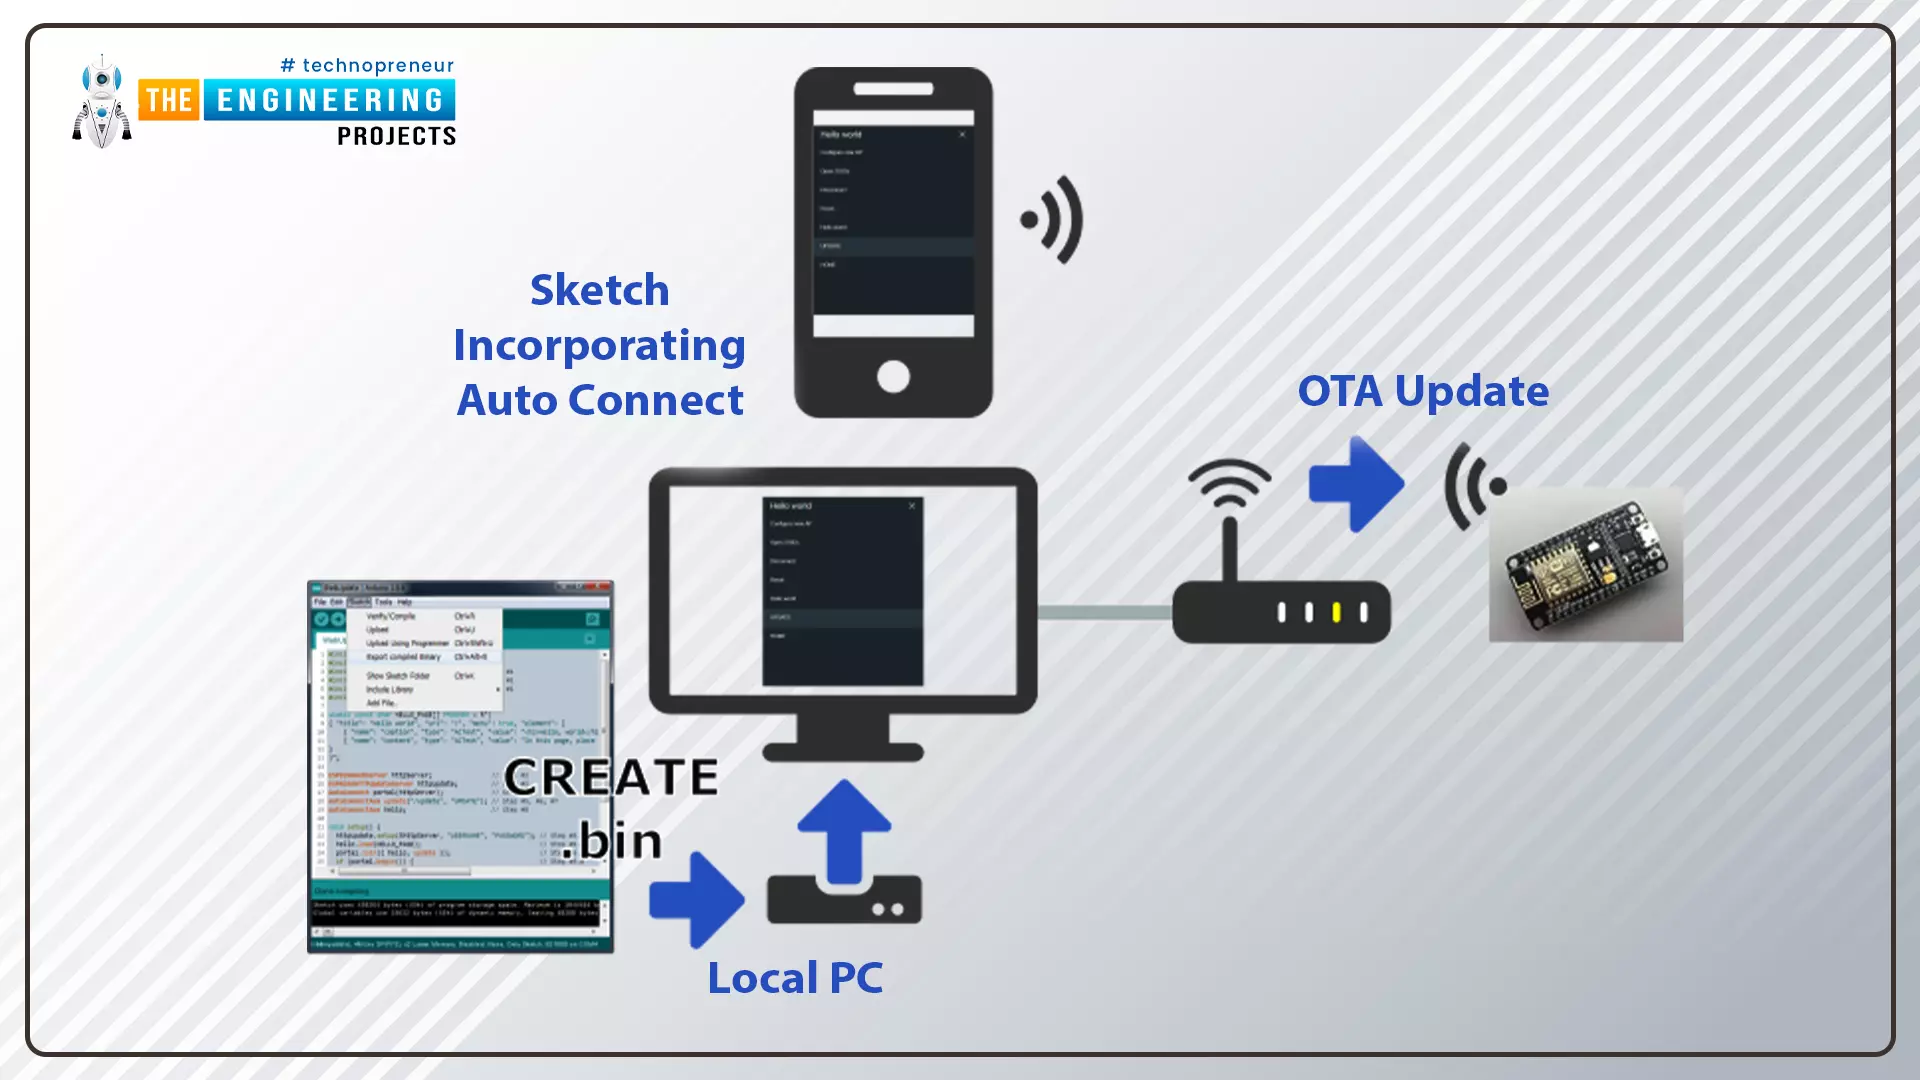
In the OTA web updater, you need to create a web server page for OTA programming.
[caption id="attachment_166886" align="aligncenter" width="1920"]
ESP32 OTA web updater[/caption]
Fig.1 ESP32 OTA web updater
Over the Air Web Updater
"Over-the-air" refers to the ability to wirelessly download an application, configuration, or firmware to internet-enabled devices, also known as IoT. (OTA). It functions similarly to our computers, laptops, tab ...
Hello readers, hope you all are doing great. In this tutorial, we will discuss another ESP32 protocol that is Web Socket and we will also explain how to create a web server using web socket protocol with ESP32. So, we will have a look at What is a web socket server, How web socket protocol is different from HTTP protocol, What is handshaking in networking, Three-way handshaking, Web socket application, Creating web socket server using ESP32 module etc. Let's get started:
What is a web socket protocol?
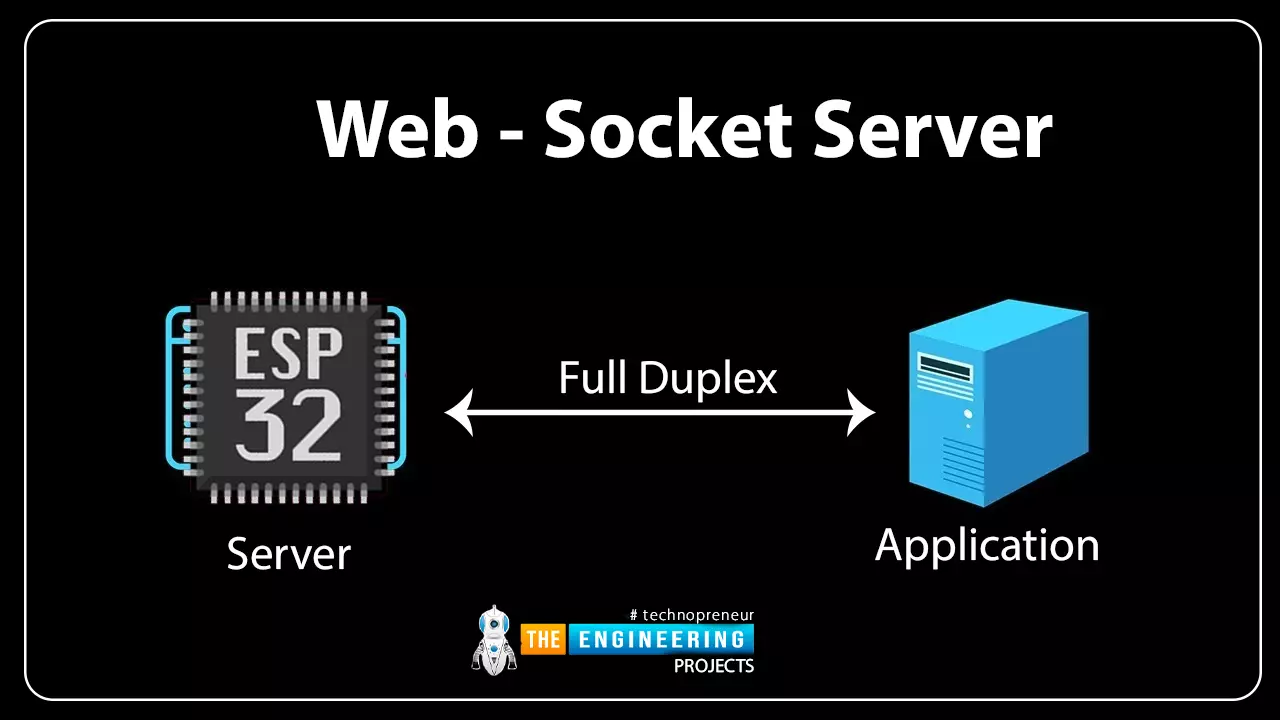
Fig 1 Web-socket server
A Web Socket is a full-duplex (both the server and the client can send and receive data at the same time) computer communication protocol. Web socket protocol, like HTTP (hypertext transfer protocol), also works in server an ...
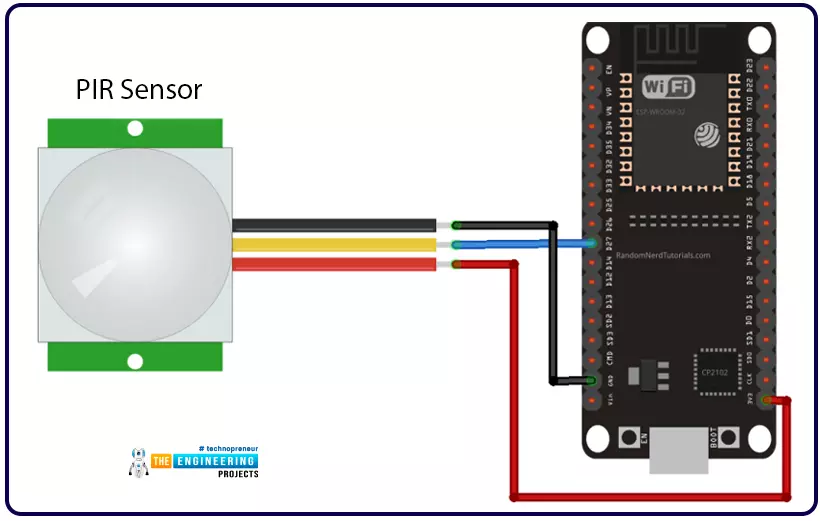
Hello readers, we hope you all are doing great. Welcome to the 4th lecture of Section 5(ESP32 Sensor) in the ESP32 Programming Series. So far, we have discussed the ESP32 built-in sensors in this section. Today, we are going to interface an external embedded sensor(i.e. PIR Sensor) with the ESP32 Microcontroller board. At the start, we will discuss the basics of a PIR Sensor(HC-SR501) i.e. its pinout and working. After that, we will design a simple project to detect the motion with a PIR sensor and ESP32. Finally, we will display the motion detection results on the ESP32 WebServer.
We will use ESP32 interrupts to detect the motion. Interrupts are used when a microcontroller needs to continuously monitor an event while executing other tasks at the same time. We have already posted a tuto ...
Hello everyone, I hope you're all doing well. In the previous lecture(Chapter 0: ESP32 Pinout), we discussed the ESP32 features & specs in detail. Today, we are officially starting this ESP32 Programming Series. In this ESP32 Programming Series, we will start with basic concepts and
will gradually move towards complex topics. I will try to keep this
ESP32 series as simple as I can. But still, if you encounter any issues,
please ask in the comments, will try to resolve the issues as soon as
possible.As ESP32 has numerous features & applications, so I have divided this series into different sections. I have named the 1st section "ESP32 IDEs". In this section, we will discuss different IDEs used to program ESP32 boards. In each Chapter of this section, we will install one of t ...
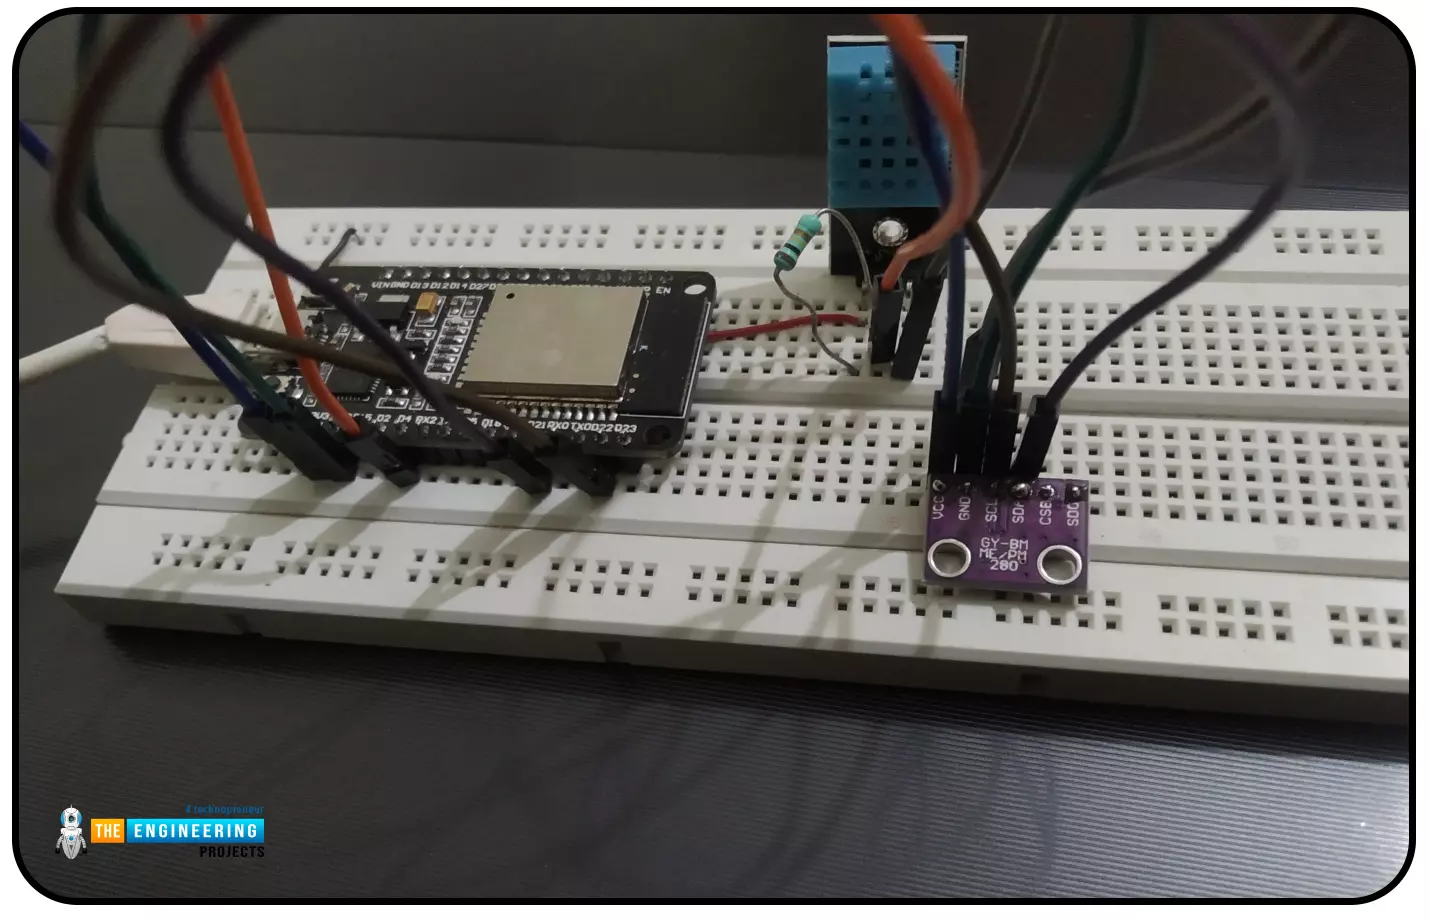
Abstract: This paper is written to represent a web-server based real-time weather monitoring system implemented using the ESP32 module. The system is designed to measure the weather conditions like temperature, pressure, humidity etc, in its vicinity. This system continuously provides real-time data (weather conditions) over limited or controlled areas, for example, agriculture fields, homes or a particular room, industries etc. Although we have satellites for weather monitoring but to perform research over a particular area, the data observed should be highly accurate which is not possible with satellites. To implement an IoT network we need to use a webserver to continuously store and display the real-time data which can be accessed globally. ’T ...
Hello readers, I hope you all are doing well. Welcome to the Section 2 (ESP32 Features) of the ESP32 Programming Series. ESP32 is equipped with numerous built-in features and in each chapter of this Section 2, we will explore one of these ESP32 features in detail.
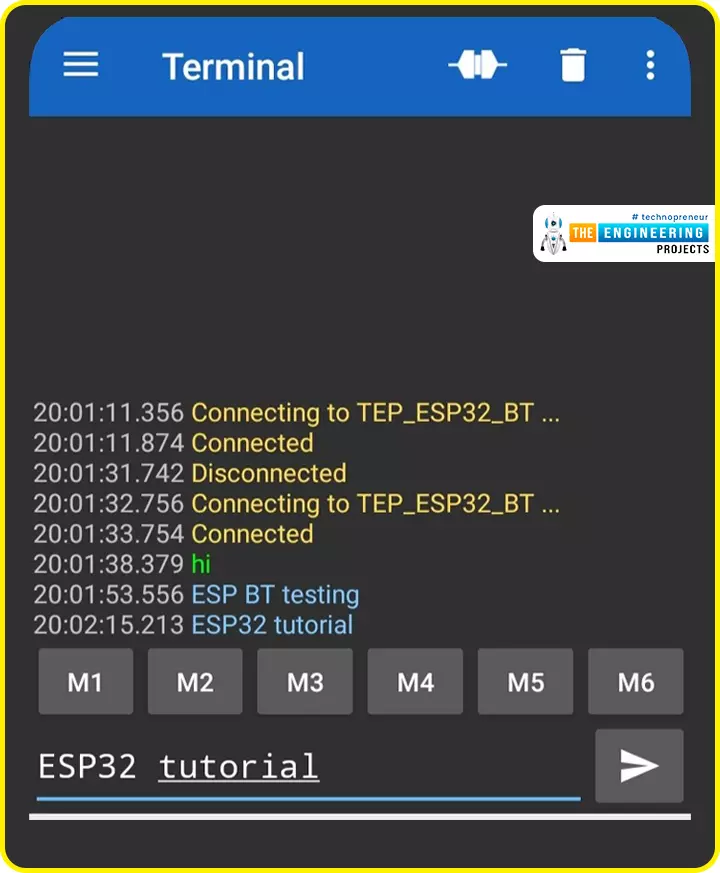
In the previous Section(Section 1: ESP32 IDEs), we installed different software IDEs to program ESP32 boards. Among these IDEs, we are going to use Arduino IDE for programming ESP32. So, I hope all of your tools are configured properly and you are ready to explore the built-in features of ESP32.Today's the 1st Chapter of Section 2, and here we will discuss How to communicate with ESP32 Bluetooth Classic from a smartphone using Arduino IDE.
Here's the video tutorial for ESP32 Bluetooth Classic:
ESP32 Wireless Features ...
ESP32 is a powerful chip for Internet of Things applications. This tutorial is also based on another ESP32 application in the field of IoT.
Hello readers, I hope you all are doing great. In the previous tutorial, we learned how to send sensor readings from ESP32 to the cloud (ThingSpeak webserver).
In this tutorial, we will learn to send HTTP POST requests from the ESP32 board to ThingSpeak and IFTTT APIs.
What is HTTP?
Fig. 1 Hypertext Transfer Protocol
HTTP stands for hypertext transfer control and it is a protocol for transferring data between a web client and a web server. Hyper text transfer protocol was invented alongside HTML (Hypertext markup language) to create the first interactive, text-based web browser: the original www or World Wid ...
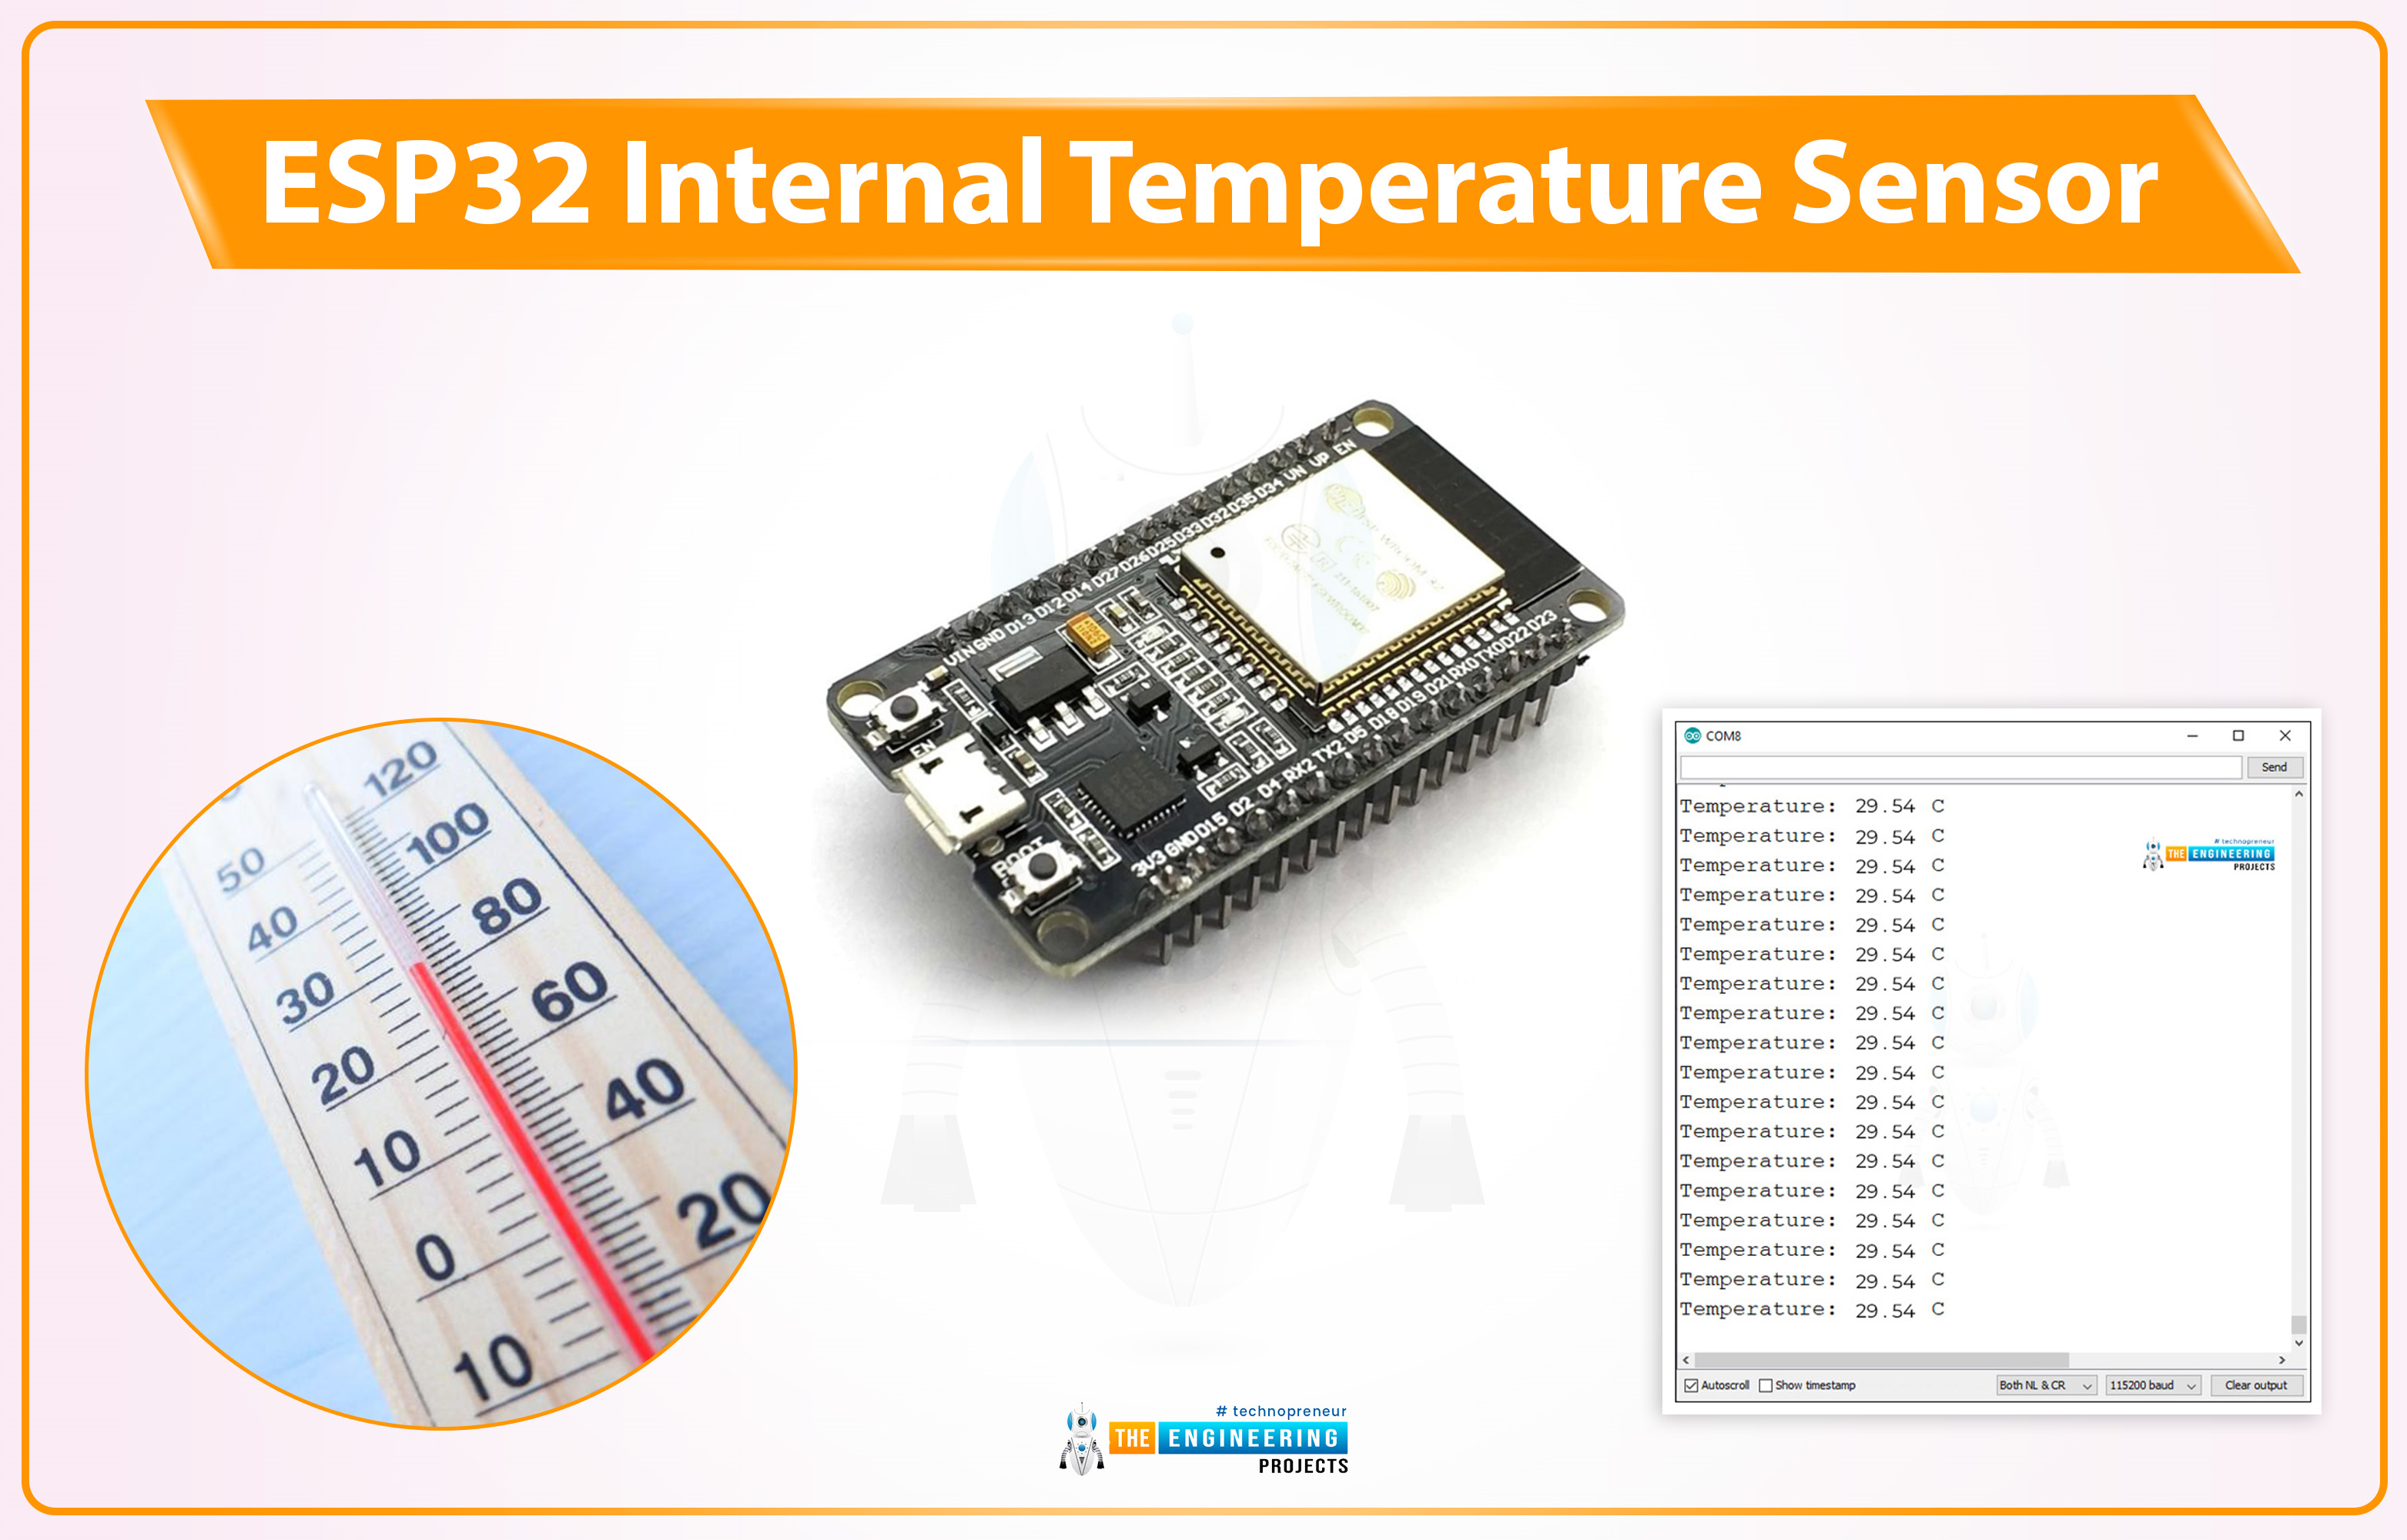
Hello friends, I hope you all are doing great. Welcome to the 3rd lecture of Section 5(ESP32 Sensors) in the ESP32 Programming Series. We have already discussed the two built-in ESP32 sensors i.e. Hall Effect Sensor and Capacitive Touch Sensor. Today, we are going to discuss the 3rd and final built-in ESP32 sensor i.e. Internal Temperature Sensor.
ESP32 Internal Temperature Sensor is used to calculate the temperature of the ESP32 core. So, we can't use it to measure the ambient temperature (the temperature of the atmosphere), for that, we need to use embedded temperature sensors i.e. DS18B20, DHT11, BMP280 etc. We will first discuss the basics of this Internal Temperature Sensor and then will design a code to monitor the change in temperature by changing the frequency of the ESP32 CPU.
...
Hello readers, I hope you all are doing great.
ESP32 is a powerful chip for Internet of Things applications. This tutorial is also based on one of the ESP32 applications in the field of IoT.
Project Overview
In this tutorial, we will learn how to update LCD display with new data or input using a web server created with ESP32.
Fig. 1
To achieve the target, we will be using an HTML (Hypertext Markup Language) form to provide web input and then update the text displayed on LCD. The values or input received from the webserver will be further stored inside a variable in the code for further use (to display on LCD).
We have already posted a tutorial on LCD (Liquid Crystal Display) interfacing with ESP32. In that tutorial, we demonstrated how to displa ...
Hello readers, hope you all are doing great. This is our 3rd tutorial in the ESP32 programming series. In our previous tutorial, we discussed the ESP32 Web server, where we created the ESP32 web server in STA mode.
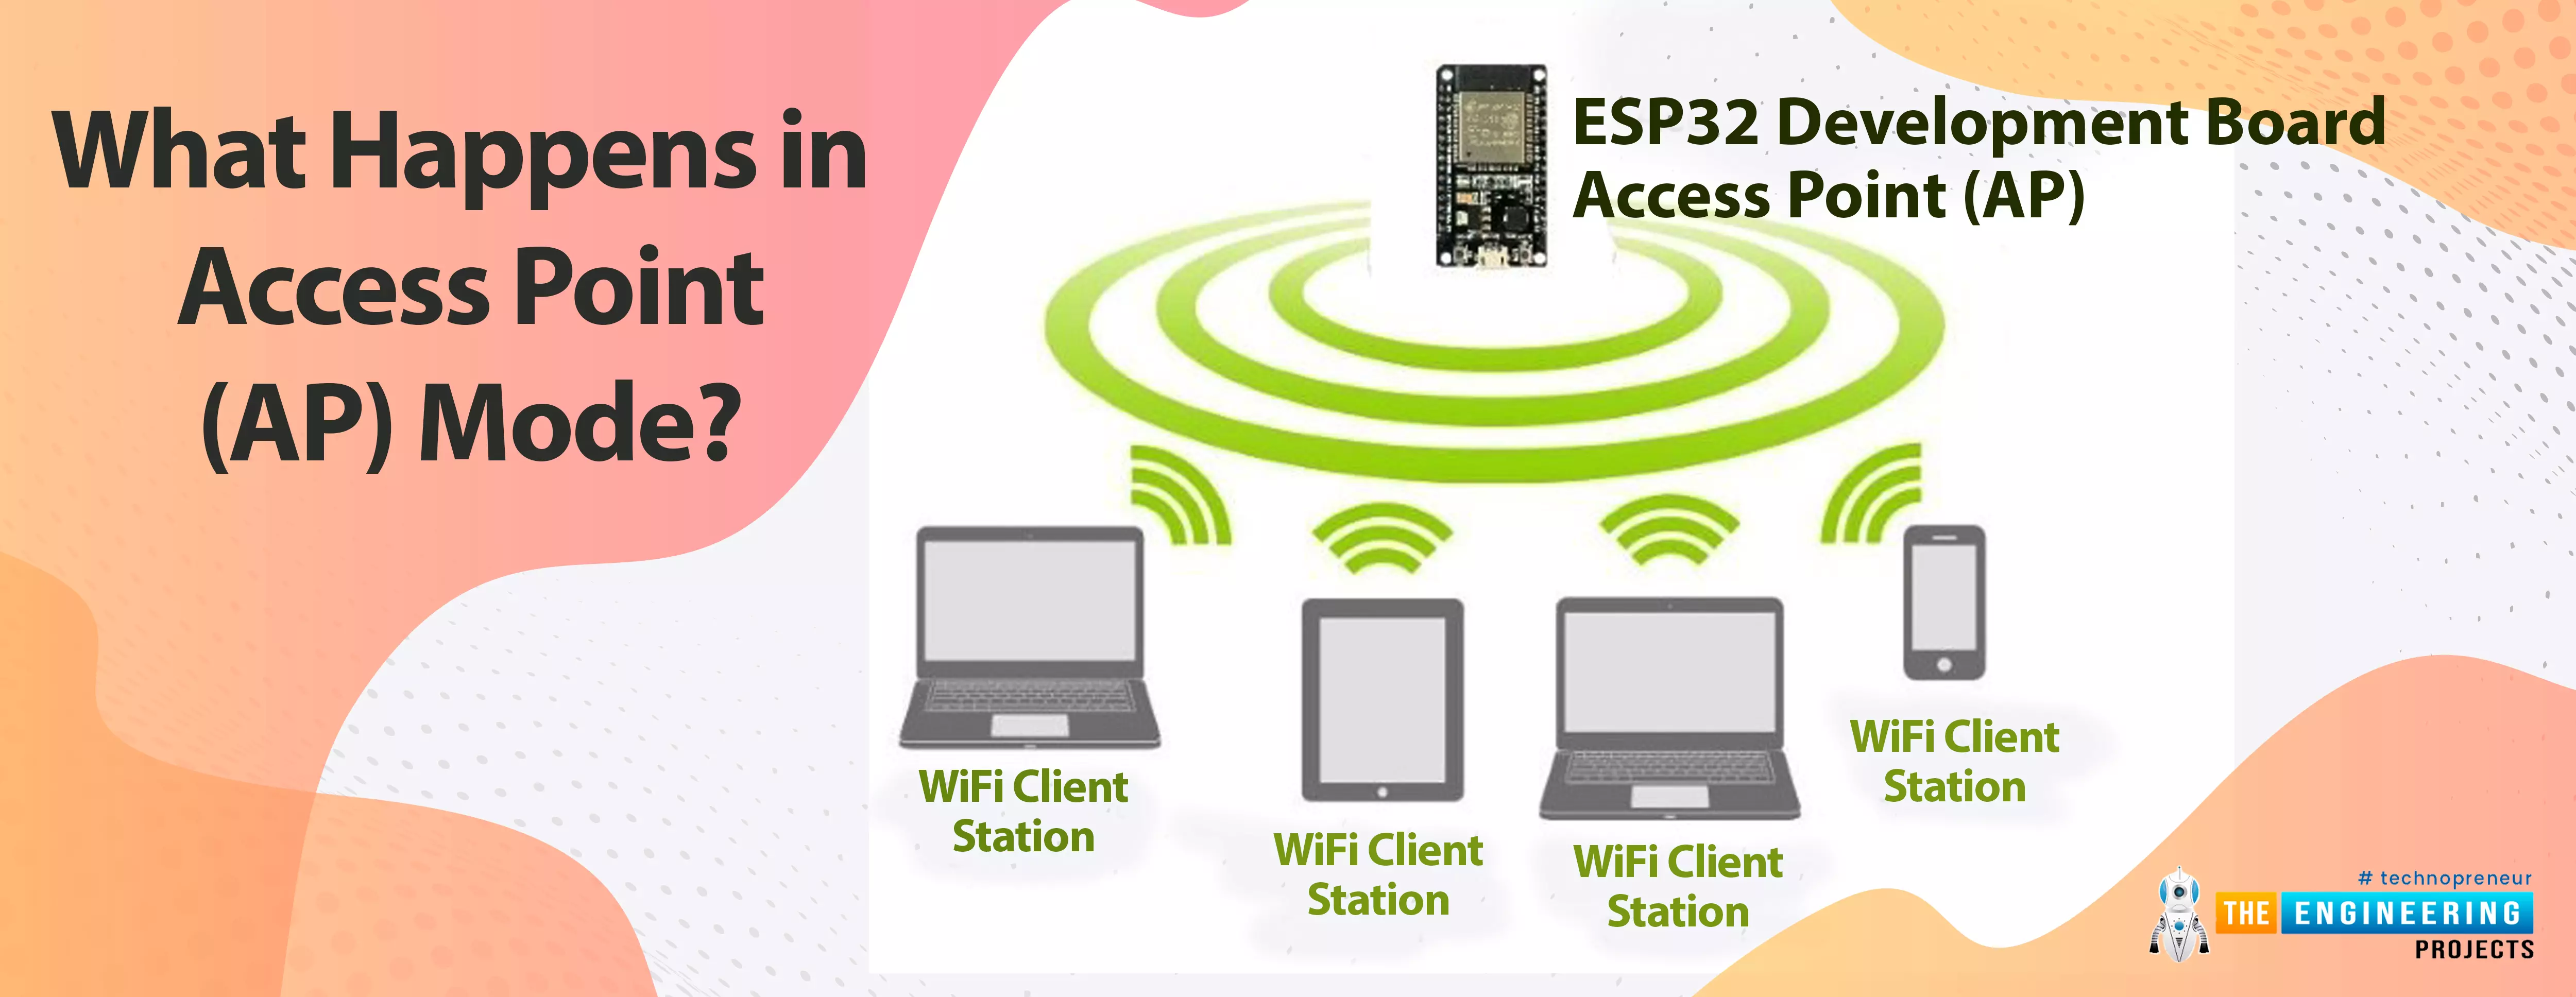
ESP32 can be operated as an access point (AP) or a Wi-Fi station (STA mode). So, in this tutorial, we will create an ESP32 web server in access point (AP) mode. Here's the video demonstration of ESP32 WebServer in Access Point Mode:
As I mentioned above, in our 2nd tutorial, we already discussed the basics of the ESP32 web server. So, in this tutorial, we will only discuss how to create the ESP32 in access point mode.
For detailed information about the basics of the ESP32 web server and how client-server communication takes place, fol ...