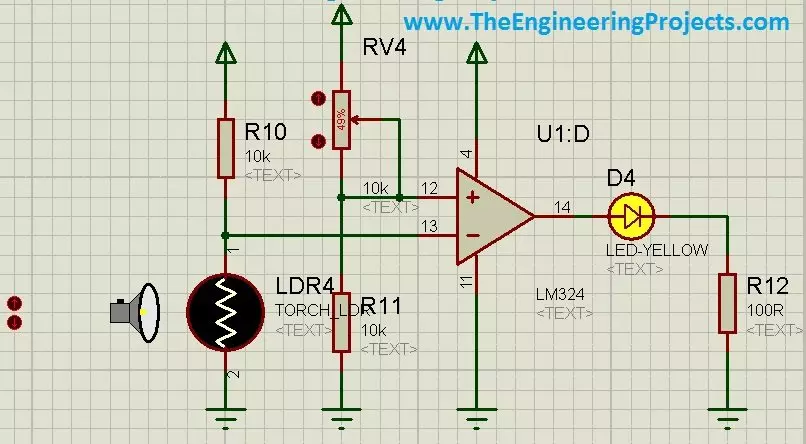
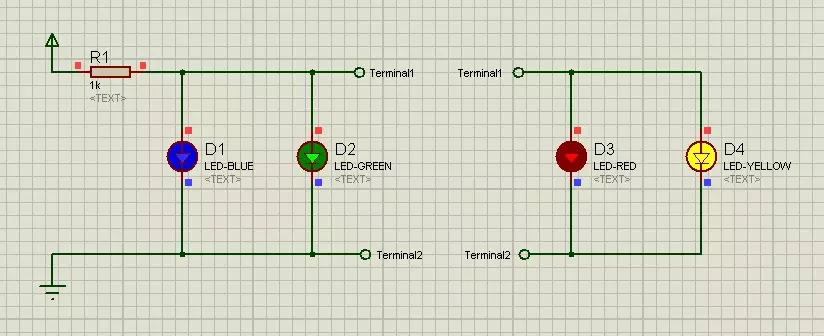
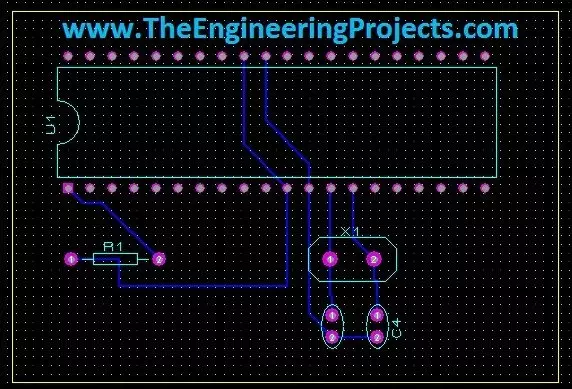
In today's post, I am gonna share how to use LDR sensor in Proteus. Proteus, as we all know, is a very handy software and is used for circuit and PCB designing. It is also used for circuit and programming testing. It is normally used by engineers in their projects and contains a vast list of built-in components. I have posted a lot of tutorials on Proteus and I have got quite a positive feedback from the reader about these tutorials. So, I thought to share another component in Proteus which is quite hidden and I haven't seen much posts on it available online.
So, in today's post, first I am gonna explain what is LDR sensor? and we will see where it is used and how it is used. After that I will design a simple circuit in Proteus in which I will tur ...
Hey learners! Welcome to another exciting electrical experiment in Proteus. At the present day, we'll perform the inversion of voltage. For this purpose, we will use the implementation of Transformer as Step-up Transformer. Prior to start, let's have the basic information about the 12V to 220V Step up inverter using Transformer in Proteus. In this tutorial, we'll learn:
What is a 12V to 220V inverter?
What is the function of the transformer in the 12V to 220V inverter?
How can we implement the Step up inverter using a Transformer in Proteus?
What are some applications of the 12V to 220V inverter?
Moreover, there will be some useful pieces of information in DID YOU KNOW sections.;
12V to 220V inverter
In electronic appliances, the circuitr ...
Hello friends, hope you all are healthy, wealthy and wise. Today's topic is about the control of stepper motor. In the last post we have seen How to control DC motor in Proteus, and now we are gonna see How to design a Stepper Motor Drive Circuit in Proteus ISIS. Stepper motors are usually of two types and the main difference between the two is in the number of wires used to control them. Mostly stepper motors use 6 wires to control them but few of them also have 4 wires to control them. Today we will have a look on the 6 wired stepper motor.
In stepper motor, there are electromagnets which gets polarized when we supply voltage to them and depolarized when we remove the voltage. These electromagnets act as a stater and when one side get magnet ...
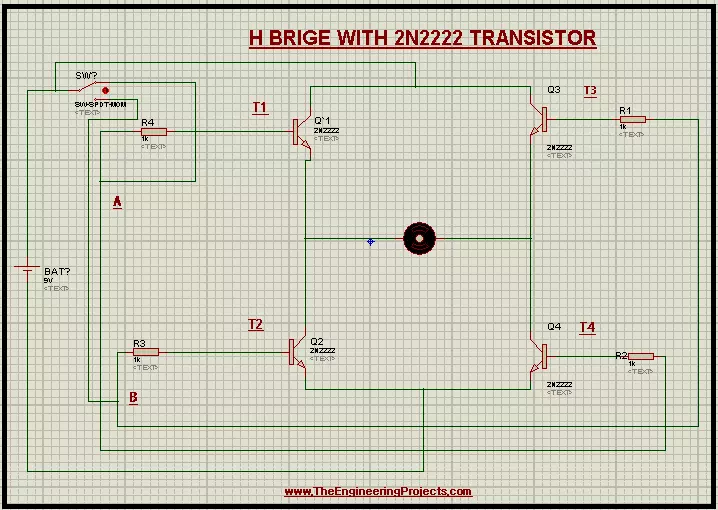
Hey Learners! Welcome to The Engineering Projects. We hope you are doing great. Our team is working on transistors and today, we'll design a circuit for using the 2N2222 Transistor. In this chapter you will learn:
What is H Bridge with 2N2222 Transistor?
How do the 2N2222 Transistor works?
What is the working of H Bridge?
How can we run the circuit of H Bridge in Proteus using 2N2222 Transistor?
By the same token, you will also learn important information about the topic in DID YOU KNOW Sections.
Introduction to H-Bridge
In electronic circuits, the direction of quantities like the flow of current, EMF, Electric field lines matter a lot. The H Bridge is used to control such motors through its specialized circuitry. The H Bridge is defined ...
Hey buddies, hope you all are fine. In our previous tutorial, we studied Half Wave Rectification and have seen that it rectifies the half wave of the AC signal. Today, we are going to study Full Wave Rectification to rectify the complete AC source. We will design the simulation of the Full Wave Rectifier in Proteus software. So, let's get started:
What is Full Wave Rectification?
A comprehensive definition of full-wave rectification is:
Full-wave rectification
is a process to convert both cycles(positive & negative) of input(sinusoidal) wave to pulsating DC
(Direct current).
We have studied in the previous lecture that Half Wave Rectifiers are used to convert only one cycle(either positive or negative) of an AC signal into a DC signal, thus dissipating the 50% energy of the o ...
Hello readers, I hope you all are doing great. In today's tutorial, I am going to share a detailed Introduction to Proteus. It's our first tutorial in Proteus series. Today's tutorial is for beginners but still I would suggest you to read it once, as I am going to explain why Proteus?
Throughout our Engineering Course, we have to design a lot of electronics or embedded circuits and it's always a best approach to simulate these circuits first on some simulation software i.e. Proteus, PSPice etc., before assembling them on actual hardware. Among these simulation software, Proteus is my favorite one so let's get started with detailed Introduction to Proteus:
Introduction to Proteus ISIS
Proteus Design Sui ...
Hello friends, I hope you all are having fun. In today's tutorial, we will have a look at Series Clippers & their types in detail, we will also implement the simulations of Series Clippers in Proteus software. In the next article, we will discuss the next two types of Clippers i.e. Shunt Clippers & Dual Clippers. Today, We are going to learn:
What is a Clipper?
What are the types of Clippers?
Series Clippers Simulations in Proteus.
So, let's get started:
What is a Clipper???
Clipper (also known as Limiter) is an electronic circuit, which clips or limits the amplitude(positive, negative or both) of an AC source wave.
Diodes are normally used for designing Clippers and such circuits are normally referred as Diode Clipping Circuits (Diode Limiting Circuits).
...
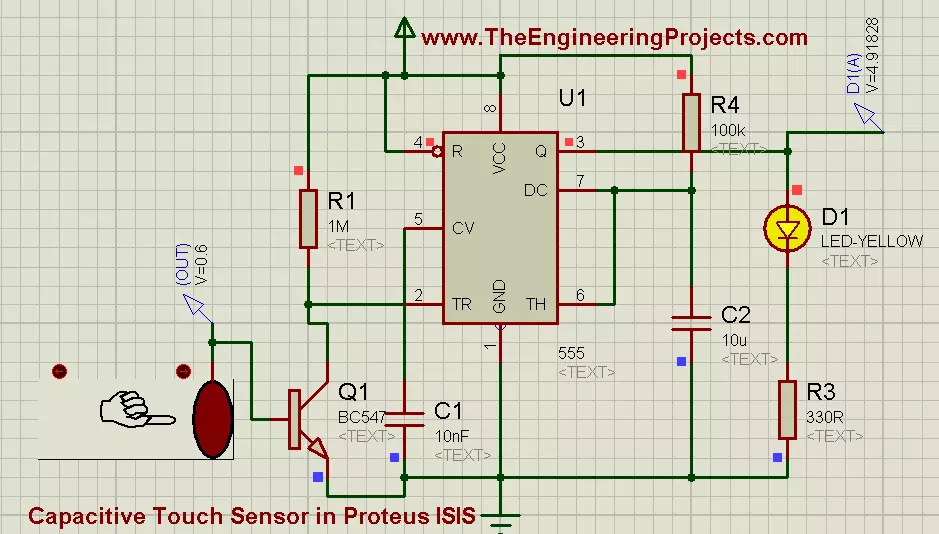
Hello friends, I hope you all are fine and enjoying. Today i am going to share my new project's tutorial which is How to use Capacitive Touch Sensor in Proteus ISIS. It is a very interesting project, and we will be using a 555 Timer while designing this project. If you recall our previous project tutorial which was Angle Control of Servo Motor using 555 Timer in Proteus ISIS, in which 555 timer was generating PWM and was controlling the rotating angle of servo motor.
Now in this project, we have a little different context and now we will be using a 555 Timer in collaboration with Capacitive Touch Sensor. First of all, lets have a little introduction of Capacitive Touch Sensor. Well, if we talk broadly then, in Electrical Engineering Capacitive Tou ...
Hello friends, hope you all are fine and having fun with your lives. Today's post is about How to increase Workspace in Proteus. It's our 3rd tutorial in Proteus series. Its quite a simple tutorial and along with this trick, I will also share few commonly used features or Proteus. Once, I was working on a simulation project in which I have to design a complete load management system in Proteus and it was quite messy as I have to include a lot of components and the area of Proteus got quite small for that and then I encountered this problem i.e. where to place the components.
You have seen in Proteus software that there's a blue rectangle which is considered as the workspace in Proteus. This area is constant and doesn't increase or decrease on its ...
Hello friends, today's the last post of this Proteus tutorial. I have tried my best to explain everything but knowledge is limitless so explore this software, play with it and you will know many new things. Today's topic is about the PCB designing in Proteus. When you install Proteus, you have seen that along with ISIS there's also another package named as Proteus ARES. This Proteus ARES is used for PCB designing. You should also check the Arduino UNO PCB Design for Proteus ARES.
In order to design the PCB in Proteus ARES, first you need to make the circuit of that PCB in Proteus ISIS. You can also make PCB directly but I recommend that use Proteus ISIS first, its quite the easy approach as you don't need to do anything in it and the software in ...