Introduction
Welcome to the next tutorial in our raspberry pi programming. In the previous tutorial, we learned how we could run Xbox cloud on our pi 4. We found that we can run any game easily without lag or having raspberry pi shut down, proving that pi 4 is quite a powerful minicomputer. However, this tutorial will demonstrate how to use Python on raspberry to monitor websites. This Python program will execute on Pi 4 and watch over a website, alerting you whenever it changes or goes down. This is accomplished by keeping a straightforward webpage duplicate locally and monitoring for updates. This webpage monitor is straightforward, so it should work well on pi Zero. Throughout this tutorial, we will demonstrate how to develop your custom code to monitor a webpage. With this information ...
Welcome to the next tutorial of our Raspberry Pi programming course. Our previous tutorial taught us to how to print from a Raspberry pi. We also discussed some libraries to create a print server in our raspberry pi. We will learn how to take screenshots on Raspberry Pi using a few different methods in this lesson. We will also look at how to take snapshots on our Raspberry Pi using SSH remotely.
Why should you read this article?
This article will assist you when working with projects that require snapshots for documenting your work, sharing, or generating tutorials.
So, let us begin.
Screenshots are said to be the essential items on the internet today. And if you have seen these screenshots in tutorial videos or even used them in regular commu ...
Thank you for joining us for yet another session of this series on Raspberry Pi programming. In the preceding tutorial, we constructed a personal Twitter bot using Tweepy, a Py framework for querying the Twitter application programming interface. We also constructed a Response to robot mentions that would post a response to everybody's tweet mentioning it with a certain keyword. However, in this tutorial, we will implement a security system using a motion sensor with an alarm. This is what it looks like:
PIR Motion Sensors can be implemented with RPi by understanding how it is connected to a Raspberry Pi. Whenever the motion sensor detects human movement, an alarm is triggered in this project and the LEDs blink. You may create a simple motion-det ...
Our next step in the Raspberry Pi training program is to get zero tiers up and run on a Raspberry Pi 4. How to utilize a Raspberry Pi to measure internet speed and store the results in Grafana or Onedrive was the topic of the last piece. During the project, you will discover how to install ZeroTier on a Raspberry Pi and get it up and running. We will also learn how to set up a firewall to secure our network.
Components
Raspberry pi 4
Power supply
Ethernet or wifi
What is zeroTier
ZeroTier is a software that provides a streamlined web-based interface for constructing virtual networks connecting various gadgets. Somewhat akin to configuring a virtual private network on a Raspberry Pi, these networks exist only in cyberspace. The process o ...
Thank you for being here for today's tutorial of our in-depth Raspberry Pi programming tutorial. The previous tutorial taught us how to install a PIR sensor on a Raspberry Pi 4 to create a motion detector. However, this tutorial will teach you how to connect a single seven-segment display to a Raspberry Pi 4. In the following sections, we will show you how to connect a Raspberry Pi to a 4-digit Seven-Segment Display Module so that the time can be shown on it.
Seven-segment displays are a simple type of Display that use eight light-emitting diodes to show off decimal numbers. It's common to find it in gadgets like digital clocks, calculators, and electronic meters that show numbers. Raspberry Pi, built around an ARM chip, is widely acknowledged as ...
Welcome to the next tutorial of our raspberry pi four programming course. Before, we saw how to connect a Raspberry Pi 4 to a relay with four independent channels. To complement the relay circuit, we programmed a python script to turn on and off a single bulb. However, in this tutorial, we'll show you how to connect a GPS module to a Raspberry Pi 4.
Raspberry Pi 4, one of the most popular embedded platforms, has made it simple for developers to obtain location data via a GPS module, allowing them to create devices with a greater reliance on precise positioning. Because of the Raspberry Pi's impressive processing capabilities, this essay focuses on the exciting prospect of creating GPS-based projects using the same inexpensive GPS chips.
Since thi ...
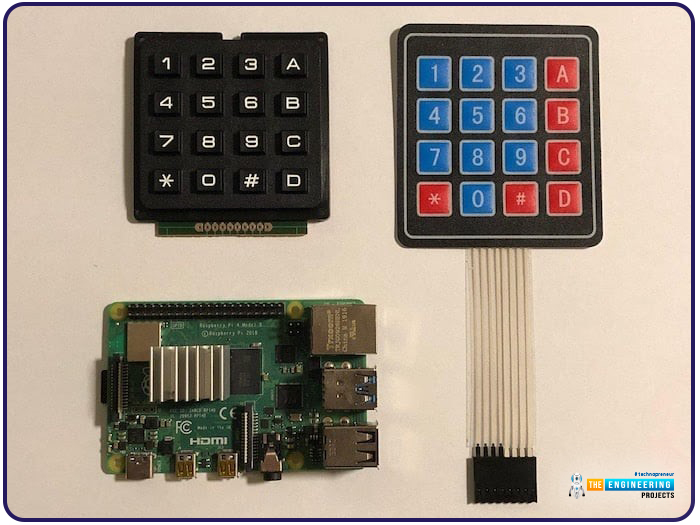
Hello friends, I hope you all are doing well. Welcome to the next tutorial of our Raspberry Pi 4 programming course. In the previous lecture, we interfaced LCD 16x2 with Raspberry Pi 4. Today, we will interface a keypad 4x4 to Raspberry Pi 4. In embedded projects, a keypad is used to get user input i.e. calculator, ATM keypad etc. Different types of Keypads are available i.e. 4x4, 4x3 etc.
So, let's get started:
Components Required
We will need the following components in our today's project:Raspberry Pi 4Keypad 4x4BreadboardConnecting Wires
Keypad 4x4
A keypad is a collection of push buttons, arranged in a matrix form.Keypad 4x3 means the keypad has 4 rows and 3 columns and 12 buttons in total. A 4 by 4 keypad membrane has 8 pins in t ...
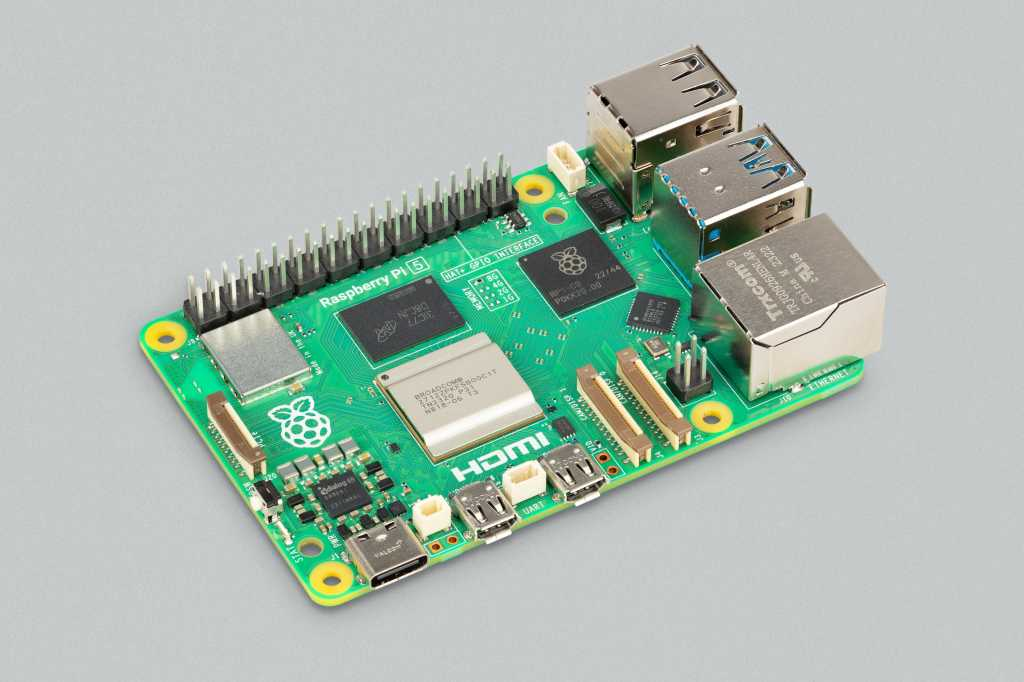
Hello everyone, I hope you all are doing great. In today's lecture, we will discuss one of the most advanced Embedded Microprocessors i.e. Raspberry Pi 5. At the time of this writing, Raspberry Pi 5 is the latest board designed in the Raspberry Pi series. Raspberry Pi 5 is designed by a UK-based charity foundation named Raspberry Pi Foundation. Initially, these boards were designed for students and hobbyists but because of their compact design and advanced features, they became popular among embedded engineers, especially for IoT Systems. Raspberry Pi boards can be used for simple tasks i.e. word processing, web browsing etc., and in the complex fields of robotics, multimedia
centers, home automation, etc.
In today's lecture, we will first dis ...
Hello friends, I hope you all are doing well. Today, I am going to share the 8th tutorial of Section-III in our Raspberry Pi Programming Series. In the previous tutorial, we interfaced the temperature sensor DS18B20 with Raspberry Pi 4. In today's guide, we'll discover another temperature sensor BMP180 and will interface it with Raspberry Pi 4.So, let's get started:
Project DescriptionIn today's tutorial, we will interface the BMP180 sensor with Raspberry Pi 4 and will display the values of temperature, barometric pressure and altitude in the Raspberry Pi Console Window.
Components Required
We will use the following components in today's project:Raspberry pi 4BMP180 sensorFemale-Female Jumper wiresBreadboard
BMP180 Air Pressure Sensor
BMP180 i ...
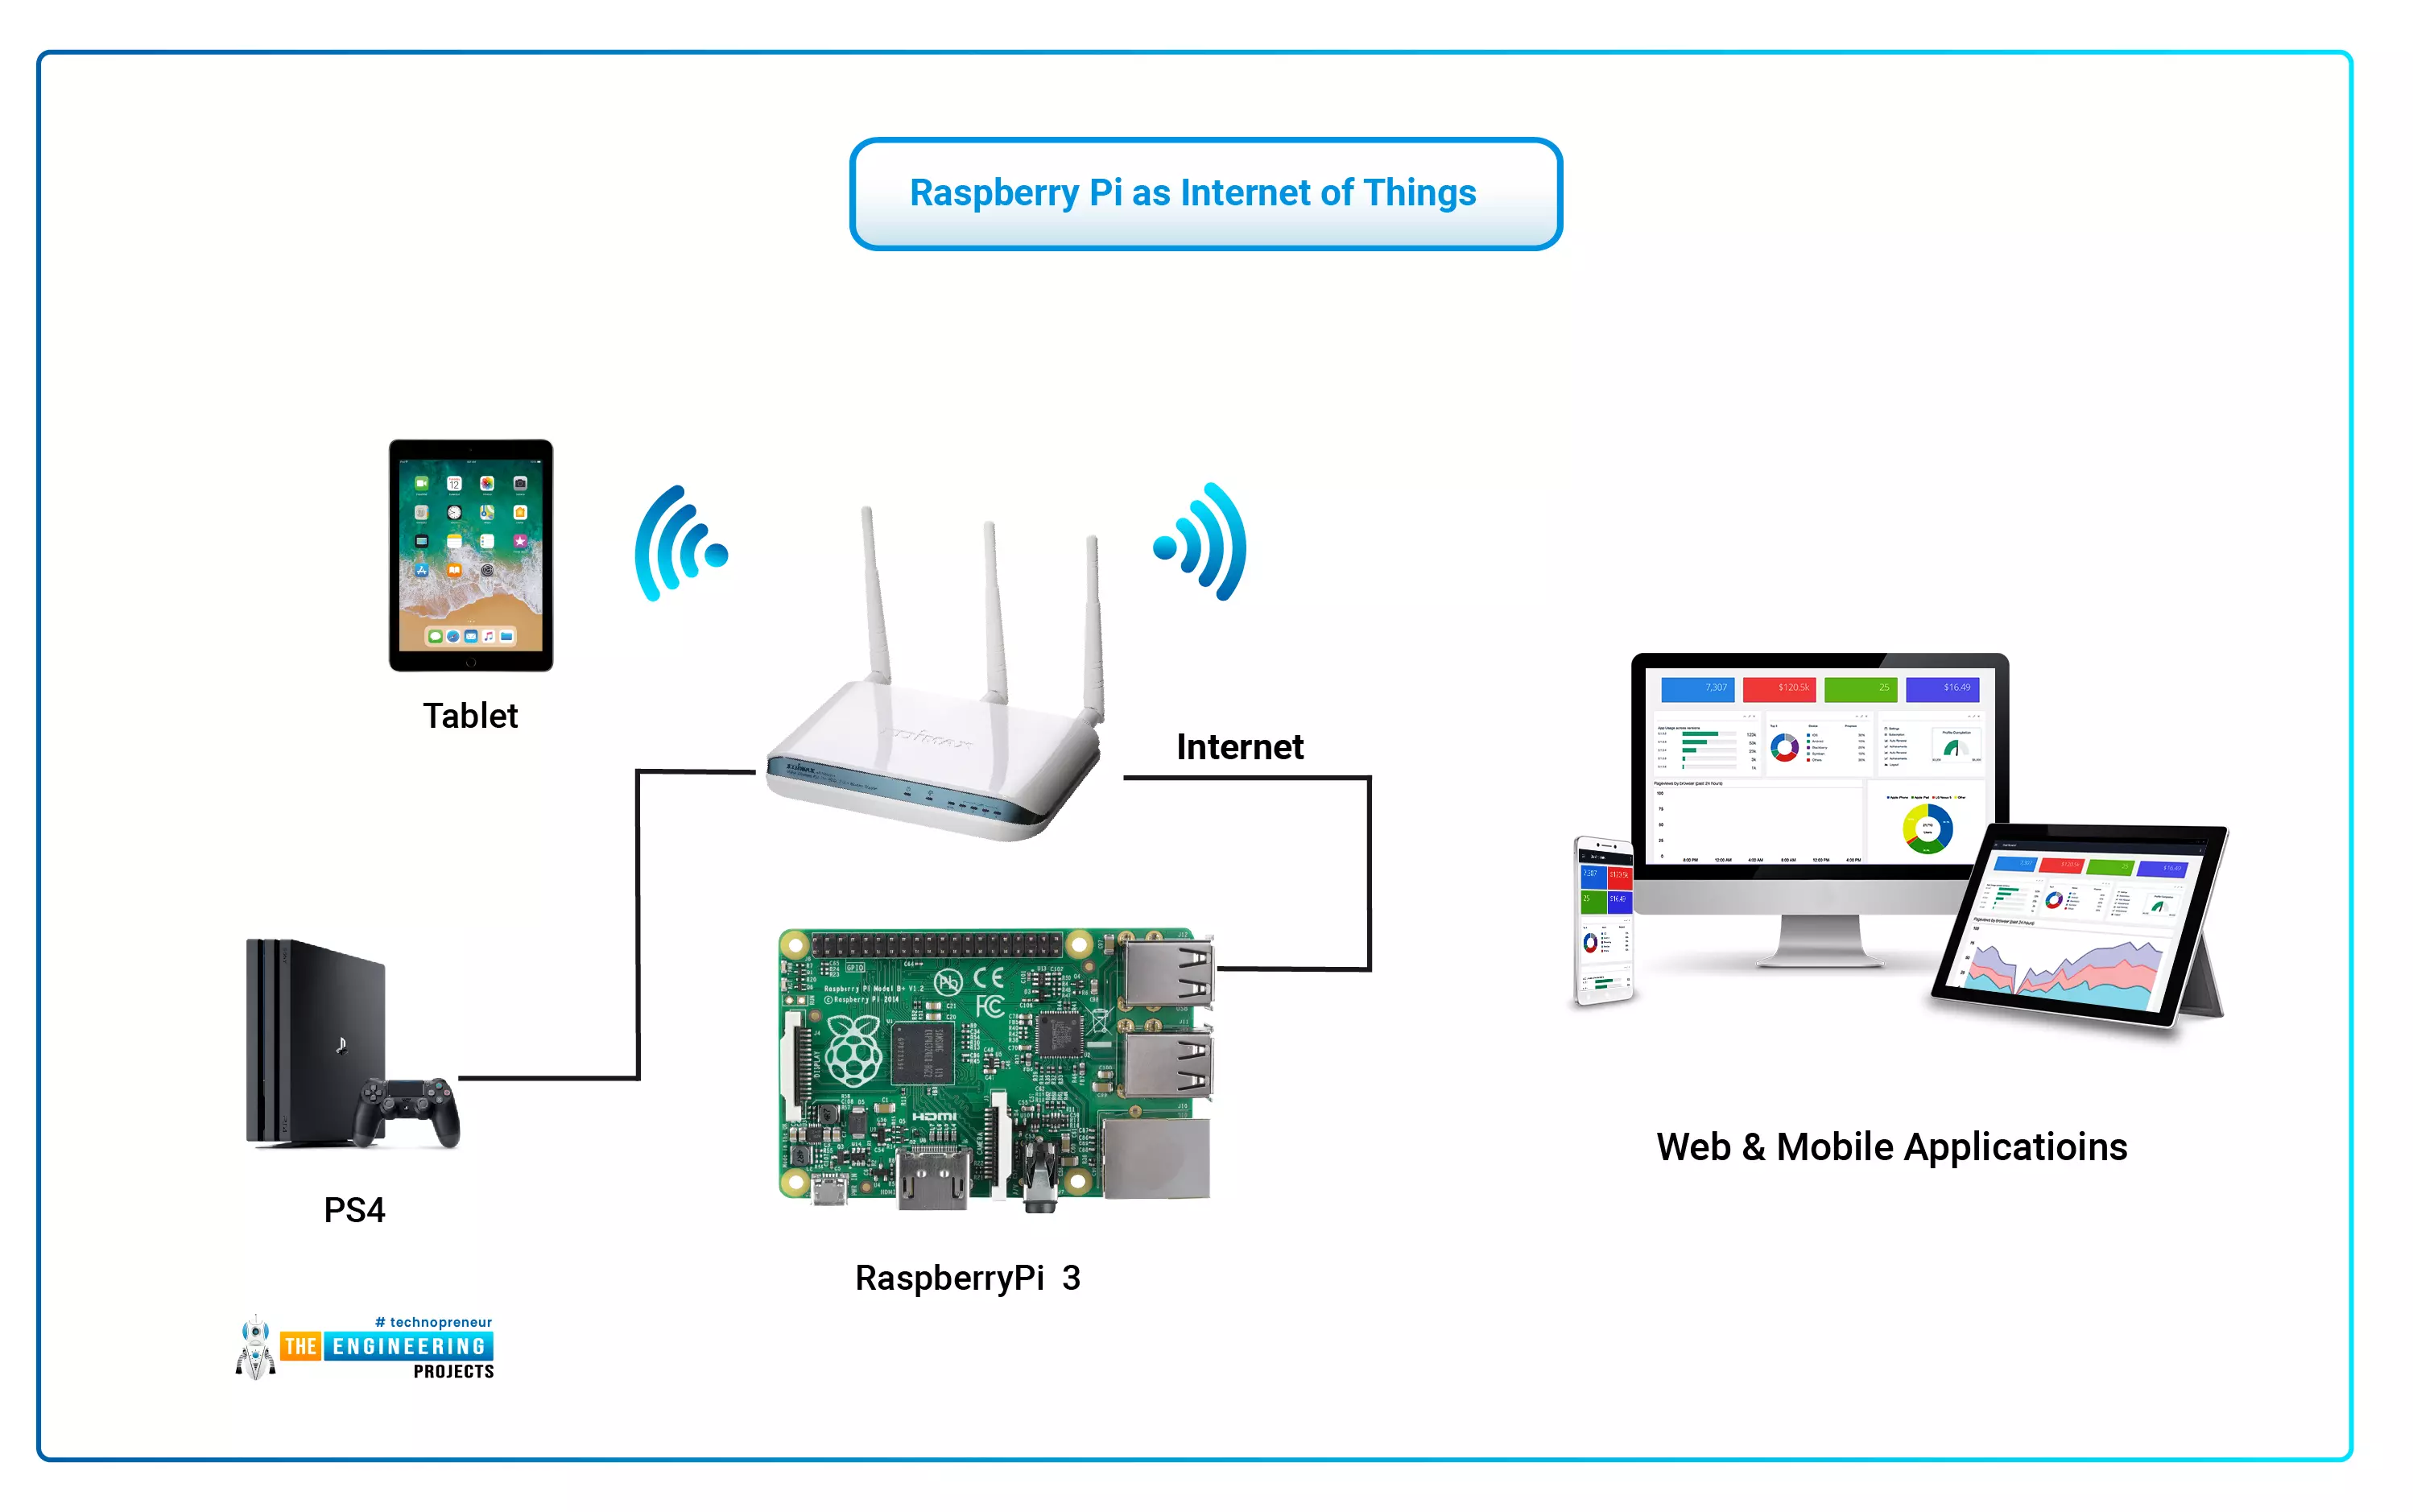
The Internet of Things (IoT) philosophy may be viewed as a highly dynamic and radically dispersed networked system comprised of a huge number of identifiable smart devices. These objects may communicate and interact with one another, as well as with end-users and other network entities. As the Internet of Things era begins, the usage of small, inexpensive, and flexible computer hardware that allows end-user programming becomes more prevalent. The Raspberry Pi, a fully configurable and programmable tiny computer board, is one of them discussed in this article. Although there are certain limitations, the Raspberry Pi remains a low-cost computer that has been used effectively in a wide range of IoT vision research applications despite its few shortcomings.
...