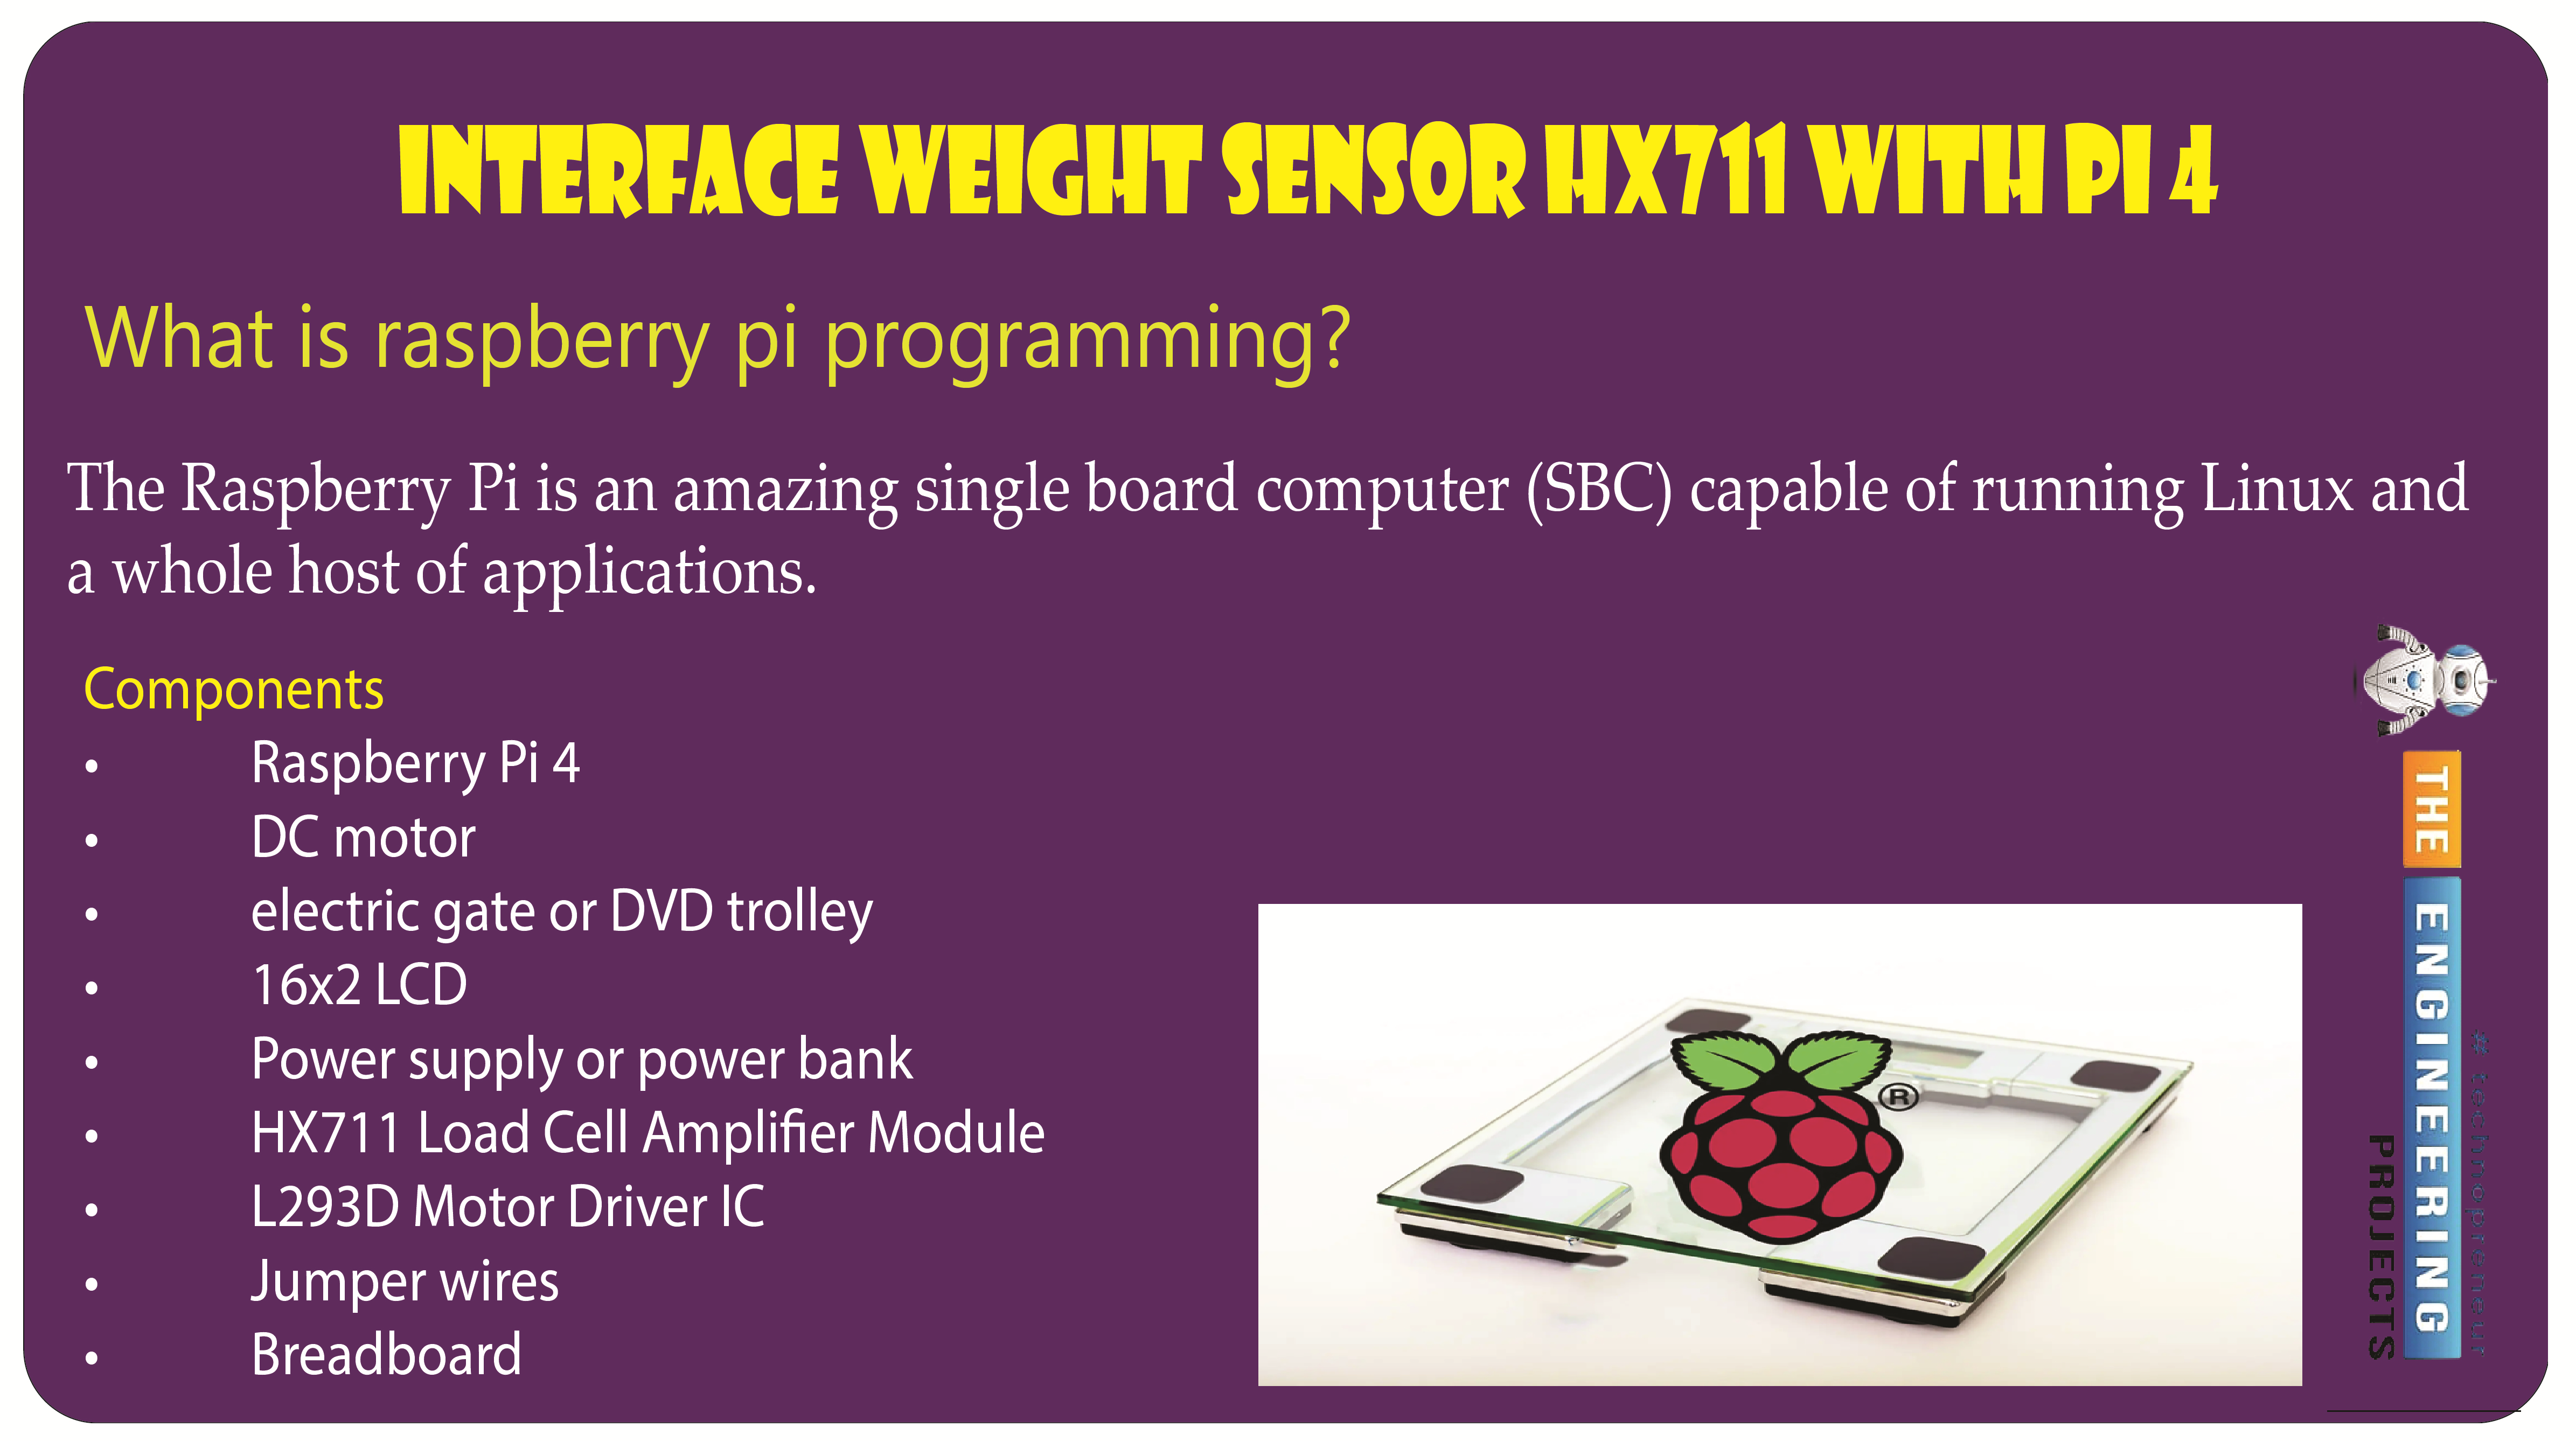
Welcome to the next tutorial of our raspberry pi programming tutorial. The previous tutorial showed us how to set up a weather station using the Internet of Things (IoT) on a Raspberry Pi 4. First, we studied how a weather station works on a fundamental level. Then we developed a Python script to collect data from the station. In contrast, we'll construct an automatic gate using a Raspberry Pi, a load cell, and an HX711 weight sensor.
These pressure-sensitive gates are common in shopping centers and showrooms; they open when someone is in the immediate vicinity and close again when the person is out of sight. Like the Automatic Gate, we just made, this one will open in response to weight or pressure and stay that way until the force is removed. If ...
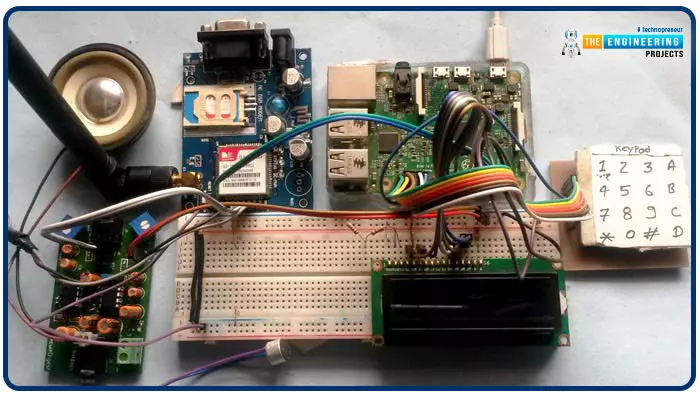
Greetings, and welcome to another tutorial in our series on the raspberry pi 4 Python programming. The previous guide covered the basics of transmitting data over the radio using the nrf24l01 chip in Pi 4. We also learned about interfacing Arduino and raspberry pi 4 and sending radio signals between the two devices. However, this tutorial will walk you through building a Raspberry Pi-based mobile phone with a microphone and speaker for making and receiving calls and reading text messages (SMS). This Project also serves as a proper GSM Module for the Raspberry Pi interface, with all the necessary Code to run the most fundamental features of any modern smartphone. First, we will understand what gsm is, its architecture and how it works, then we will learn how to program it in our pi 4; there ...
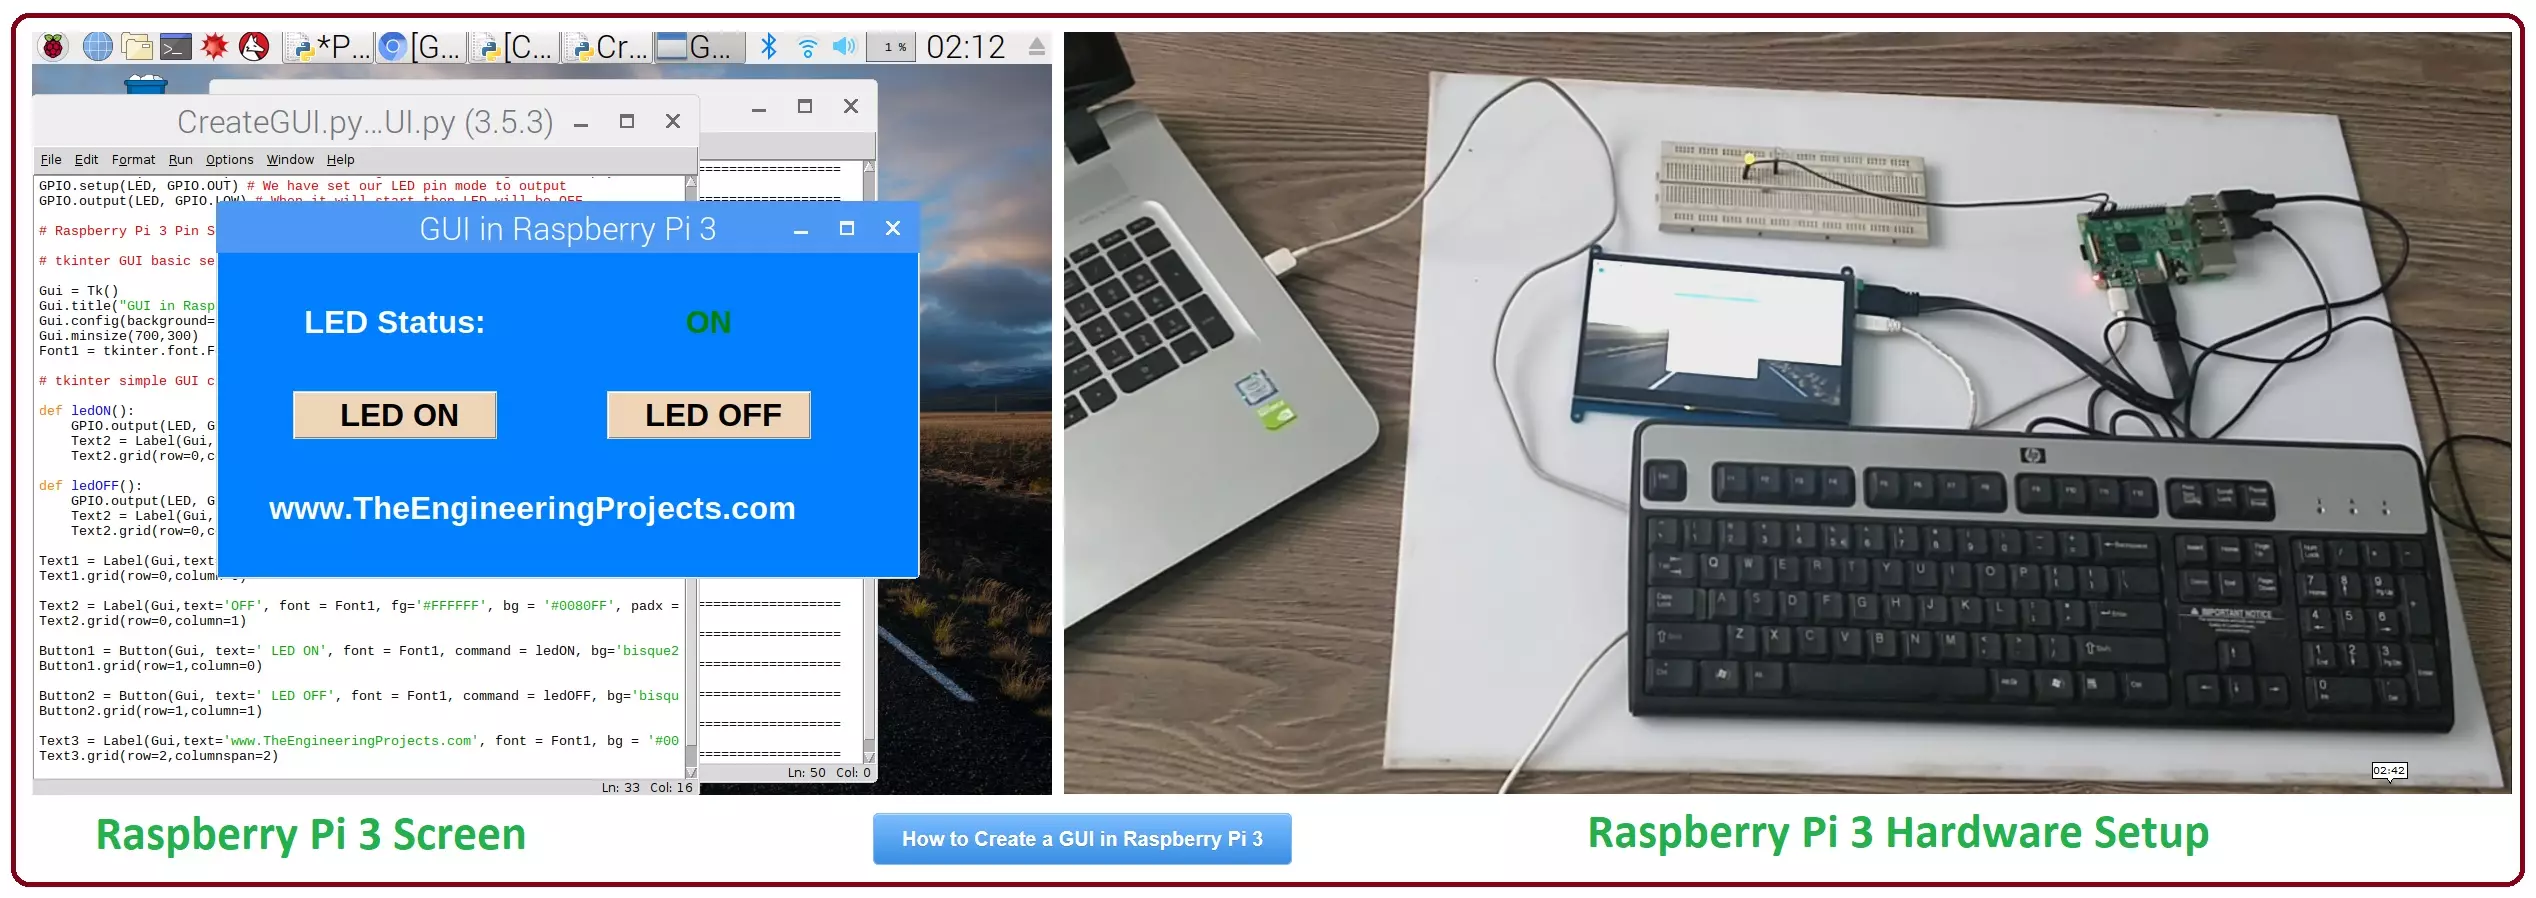
Hello friends, I hope you all are doing great. In today's tutorial, I am going to show you How to Create a GUI in Raspberry Pi 3. There are many different third party libraries available and the one I am going to use is tkinter. I have tried these libraries and I liked it the most so that's why I'm gonna use it in my future Raspberry Pi 3 Projects.
In our previous tutorial on Raspberry Pi 3, we have had a look at LED Blinking using Raspberry Pi 3. So, today I am gonna work on the same project and we will add a GUI in it. GUI is an abbreviation of Graphical User Interface and it is used to give a presentable form to your project. We will add some buttons on our GUI and we will turn ON or OFF our LED using buttons. It's quite a basic tutorial but it ...
Hello readers, I hope you all are doing great. In this tutorial, we will learn how to interface the PIR sensor to detect motion with the Raspberry Pi Pico module and MicroPython programming language. Later in this tutorial, we will also discuss the interrupts and how to generate an external interrupt with a PIR sensor.
Before interfacing and programming, the PIR and Pico boards let’s first have a look at the quick introduction to the PIR sensor and its working.
Fig. 1 Raspberry Pi Pico and PIR sensor
PIR motion sensor and its working
PIR stands for Passive Infrared sensors and the PIR module we are using is HC-SR501. As the name suggests the PIR or passive infrared sensor, produces TTL (transistor transistor logic) output (that is either HIGHT o ...
Thank you for joining us today for our in-depth Raspberry Pi programming tutorial. The previous guide covered the steps necessary to connect a fingerprint scanner to a Raspberry Pi 4. In addition, we developed a python script to complement the sensor's ability to identify fingerprints. Yet, in this guide, we'll discover how to interface a ws2812 RGB to a Raspberry Pi 4.
Bright, colorful lights are the best, and this tutorial shows you how to set up Fully Configurable WS2812B led strips to run on a Pi 4 computer as quickly and flexibly as possible. In that manner, you can have the ambiance of your home reflect your tastes.
In most cases, when people talk about a "WS2812B Strip," they mean a long piece of extensible PCB with a bunch of different RG ...
During the era of Covid-19, social distancing has proven to be an efficient method of reducing the spread of contagious viruses. It is recommended that people avoid close contact as much as possible because of the potential for disease transmission. Many public spaces, including workplaces, banks, bus terminals, train stations, etc., struggle with the issue of keeping a safe distance.
The previous guide covered the steps necessary to connect the PCF8591 ADC/DAC Analog Digital Converter Module to a Raspberry Pi 4. On our Terminal, we saw the results displayed as integers. We dug deeper into the topic, figuring out exactly how the ADC produces its output signals. In this article, however, we will use OpenCV and a Raspberry Pi to create a system that can detect when people are trying to avoi ...
Welcome to the next tutorial of our raspberry pi four programming course. Before, we saw how to connect a Raspberry Pi 4 to a relay with four independent channels. To complement the relay circuit, we programmed a python script to turn on and off a single bulb. However, in this tutorial, we'll show you how to connect a GPS module to a Raspberry Pi 4.
Raspberry Pi 4, one of the most popular embedded platforms, has made it simple for developers to obtain location data via a GPS module, allowing them to create devices with a greater reliance on precise positioning. Because of the Raspberry Pi's impressive processing capabilities, this essay focuses on the exciting prospect of creating GPS-based projects using the same inexpensive GPS chips.
Since thi ...
Hello friends, I hope you all are doing great. In today's tutorial, we are gonna have a look at How to Install Raspbian on SD Card for Raspberry Pi 3. Today, I am going to start this new tutorial series on Raspberry Pi 3. In this series, we will first cover the basic tutorials for beginners and in the second phase, we will interface raspberry Pi 3 with different sensors and modules etc. In the third phase, we will involve cloud computing and will upload different data over to web server. I will take it step by step from basics to pro. I hope you will enjoy it. You should first have a look at Introduction to Raspberry Pi 3, where I have discussed the basic overview of this board, along with what it is capable of doing. Consider it a zero tutorial o ...
Welcome to the next tutorial of our Raspberry Pi programming course. Our previous tutorial taught us to make a button-controlled "music box" that plays different sounds depending on which buttons are pressed. In this lesson, we will configure our raspberry pi for voice control.
What will you learn?
Like the Amazon Echo, voice-activated gadgets are becoming increasingly popular, but you can also construct your own with a Raspberry, a cheap USB mic, and some appropriate software. Simply speaking to your Raspberry Pi will allow you to search YouTube, view websites, activate applications, and even answer inquiries.
What will you need?
Because the Raspberry Pi lacks a soundcard or audio port, this project requires a USB microphone or a camera with a ...
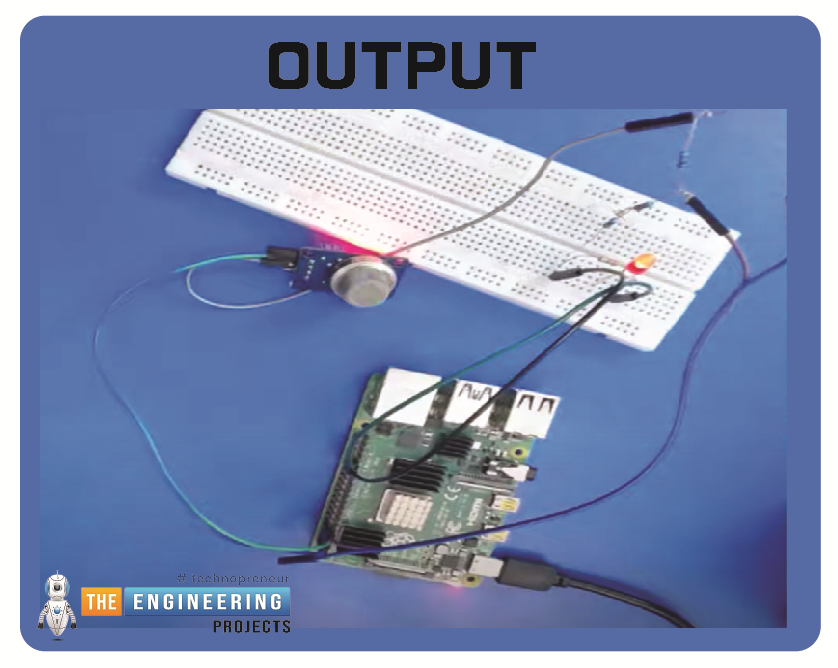
Hello friends, I hope you all are having fun. Today, I am going to share the 9th tutorial of Section-III in our Raspberry Pi 4 Programming Course. In the previous tutorial, we interfaced an air pressure sensor BMP180 with Raspberry Pi 4. In this tutorial, you'll learn how to interface an MQ-2 gas sensor with a Raspberry Pi 4. Many apartments, residences, and workplaces rely heavily on these gas sensors to detect smoke or gas and alert the appropriate personnel in an emergency. In addition to gas and smoke, this sensor is sensitive to various odorous gases.
Project DescriptionToday, we will interface a gas sensor MQ-2 with Raspberry Pi 4 and will display the values on Raspberry Pi Console Window.
Components Required
These are the components use ...