Hi Everyone! I hope you are doing great and enjoying your life. I am back to give you daily dose of information so you can grow and progress in your relevant field. Today, I am going to give you the details on the Introduction to 2n4403. It is basically PNP(Positive-negative-Positive) bipolar junction transistor where N doped layer is sandwiched between the two P doped layers. It comes in plastic TO-92 compact casing. I'll try to give you brief details about this transistor so you don't need to go anywhere for finding the information regarding this transistor. Let's get started.
Introduction to 2n4403
2n4403 is a PNP bipolar junction transistor where conduction is carried out by the movement of holes and electrons but majority charge carriers w ...
Hello Friends! I hope you are enjoying your life and having fun. Today, I am going to give you brief details on the Introduction to 6n137. It is a photocoupler that is used to transfer electrical signal with the help of light between two separated circuits. It consists of one chip photo IC and high emitting diode. It is a 8 pin device which comes in DIP package. I'll try to cover as many aspects as possible related to this photocoupler. Let's get started.
Introduction to 6n137
6n137 is a photocoupler also known as optocoupler that is used to connects the two electrically isolated circuits with the help of light.
It consists of 8 pins where inputs and outputs terminals are electrically isolated which help in controlling the large power, curren ...
Hi Folks! I welcome you on board. Happy to see you around. In this post today, I’ll detail the Introduction to TDA2030. This device incorporates a TDA2030 audio amplifier chip that produces 18 W output power with low harmonic distortion.I suggest you read this post till the end as I’ll walk you through the complete Introduction to TDA2030 covering pinout, datasheet, features, and applications.
Let’s get started.
Introduction to TDA2030
TDA2030 is a monolithic integrated circuit that comes in a Pentawatt package, mainly used as a low-frequency class AB amplifier.
The audio amplifier is a basic circuitry used to amplify the audio signal obtained through a device like a microphone.
Audio amplifiers are widely used in scores of app ...
Hello everyone! I hope you all will be absolutely fine and having fun. Today, I am going to tell you about how to design an algorithm for Servo Motor Control using Arduino. First of all I would like to tell you a bit about the servo motors. Servo motors are small devices having an output shaft. We can adjust this shaft in different angular positions by continuously sending the servo coded signal. Servo motor maintains the angular position of the shaft as long as the coded signal is present at the input. If the applied coded signal changes, angular position of the shaft of a servo motor also changes correspondingly. If you are working on Servo Motor then i would suggest you to must have look at this tutorial Servo Motor control in Proteus, as its a ...
Hey Fellas! I hope you are enjoying your life with love, care and passion. Today I'm going to give you the details on the Introduction to 1n4733a. It is a Zener Diode which works similar to normal diode with only exception, it can also conduct in reverse biased condition. Zener diodes are considered as a basic building components for many electronic circuits. I will try my best to give you the details on almost every feature of this zener diode so you don't need to go anywhere for finding the information regarding this zener diode. Let's get started.
Introduction to 1n4733a
1n4733a is a normal p-n junction diode which allows the current to flow in both directions i.e. forward direction and reverse direction.
In other words, it conducts in bot ...
Hello friends, I hope you all are fine and having fun. In today's tutorial, I am going to show you How to use Arduino Software Serial. In my previous tutorial, we have had a look at How to use Arduino Serial Write and How to use Arduino Serial Read. In both of these tutorials, we have done the hardware Serial Communication. But we all know that Arduino has just one Serial Port placed at pins 0 and 1.
So, if you are having two or more serial modules, then there's difficulty in adding two modules because we just have one hardware serial port. So, in such cases, there's a need to add one more serial port and that serial port can be created at any two pins of Arduino and is called software serial. Software Serial is also named Virtual Serial Port.
It's ...
Hello friends, I hope you all are having fun. In today's tutorial, I am going to share a new Proteus library for Raspberry Pi 2. We have already shared the Proteus Libraries of other Raspberry Pi modules i.e. Raspberry Pi 4, 3, Pico etc. and we discussed that these Pi modules won't be able to read the Python code. We have just designed the external appearance of these modules and you can use these Pi modules for circuit designing and project presentations.We have also added the Arduino firmware in these boards, which is just to provide a bit of interaction with these boards. We have given these boards an unofficial title "Arduino Pi".So, let's have a look at How to simulate Raspberry Pi in Proteus:
Raspberry Pi 2 Library for Proteus
First of all, we need to download the Proteus Library ...
Hello friends, I hope you all are doing great and having fun with your lives. In today's tutorial, I am going to share How to interface Arduino with GLCD. I am gonna design a Proteus Simulation in which I will interface Arduino GLCD together. GLCD is also called Graphical LCD so today we are gonna do some designing on the LCD. The GLCD I am going to use is ks0108 and its model in Proteus is LGM12641BS1R and I have shared the complete Simulation along with Arduino Code below for download. But I would suggest you to design it on your own so that you could get the most out of it. If you haven't worked on the LCD before then I would suggest you to read How to Interface Simple LCD with Arduino.
Moreover, I am quite happy to announce that we have starte ...
Hi Guys! I hope you’re well today. Happy to see you around. In this post today, I’ll walk you through the Introduction to LM747.LM747 is a general-purpose dual-operational amplifier IC. This chip contains two operational amplifiers on board and belongs to the LM’xx’ family where LM stands for linear monolithic. In this chip, analog components are incorporated into silicon.
I suggest you buckle up as I’ll detail the complete Introduction to LM747 covering datasheet, pinout, features, equivalents, and applications.
Let’s jump right in.
Introduction to LM747
Designed by National Semiconductor, LM747 is a general-purpose dual-operational amplifier integrated chip.
Two operational amplifiers are incorporated that share common power supply leads and a bias network.
...
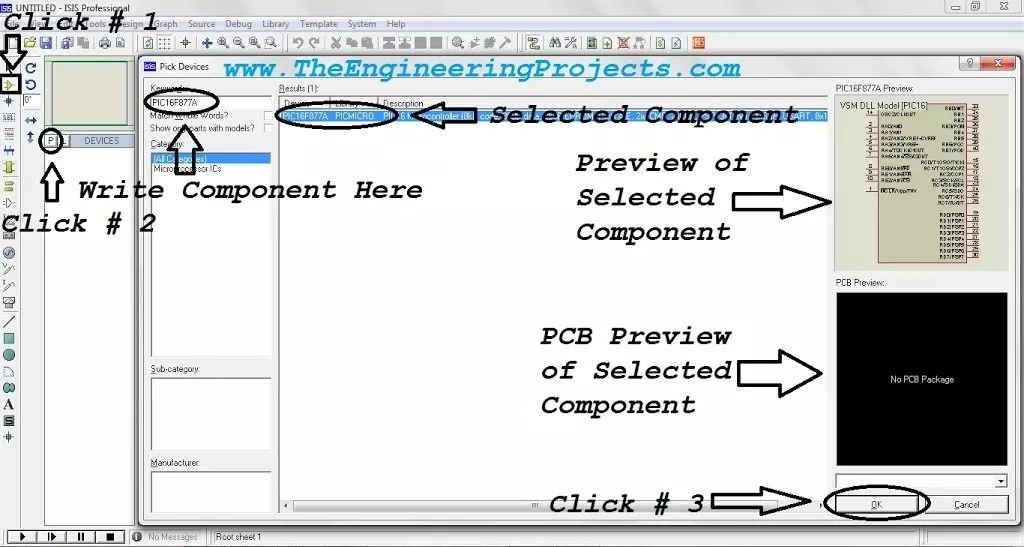
Hello readers, I hope you all are doing great. In today's tutorial, I am going to share a detailed Introduction to Proteus. It's our first tutorial in Proteus series. Today's tutorial is for beginners but still I would suggest you to read it once, as I am going to explain why Proteus?
Throughout our Engineering Course, we have to design a lot of electronics or embedded circuits and it's always a best approach to simulate these circuits first on some simulation software i.e. Proteus, PSPice etc., before assembling them on actual hardware. Among these simulation software, Proteus is my favorite one so let's get started with detailed Introduction to Proteus:
Introduction to Proteus ISIS
Proteus Design Sui ...