Hi friends and hope you are doing very well. Today we would like to take one tutorial which is very essential in the industry which is analog input processing for handling analog measurements of physical signals like temperature, humidity, pressure, distance, flow and level of liquids, etc. Typically, sensors produce two types of analog signals to represent the equivalent measured signal which is current and voltage signals. The currently produced signals would be within the range of 4-20 mAwhile voltage signals are in the range of 0-10 v. because, that output signals represent physical signals, the limits of output signals are 0 to 10 v for voltage based sensors and 4 to 20 mA for current-based sensors, these values should be scaled to represent ...
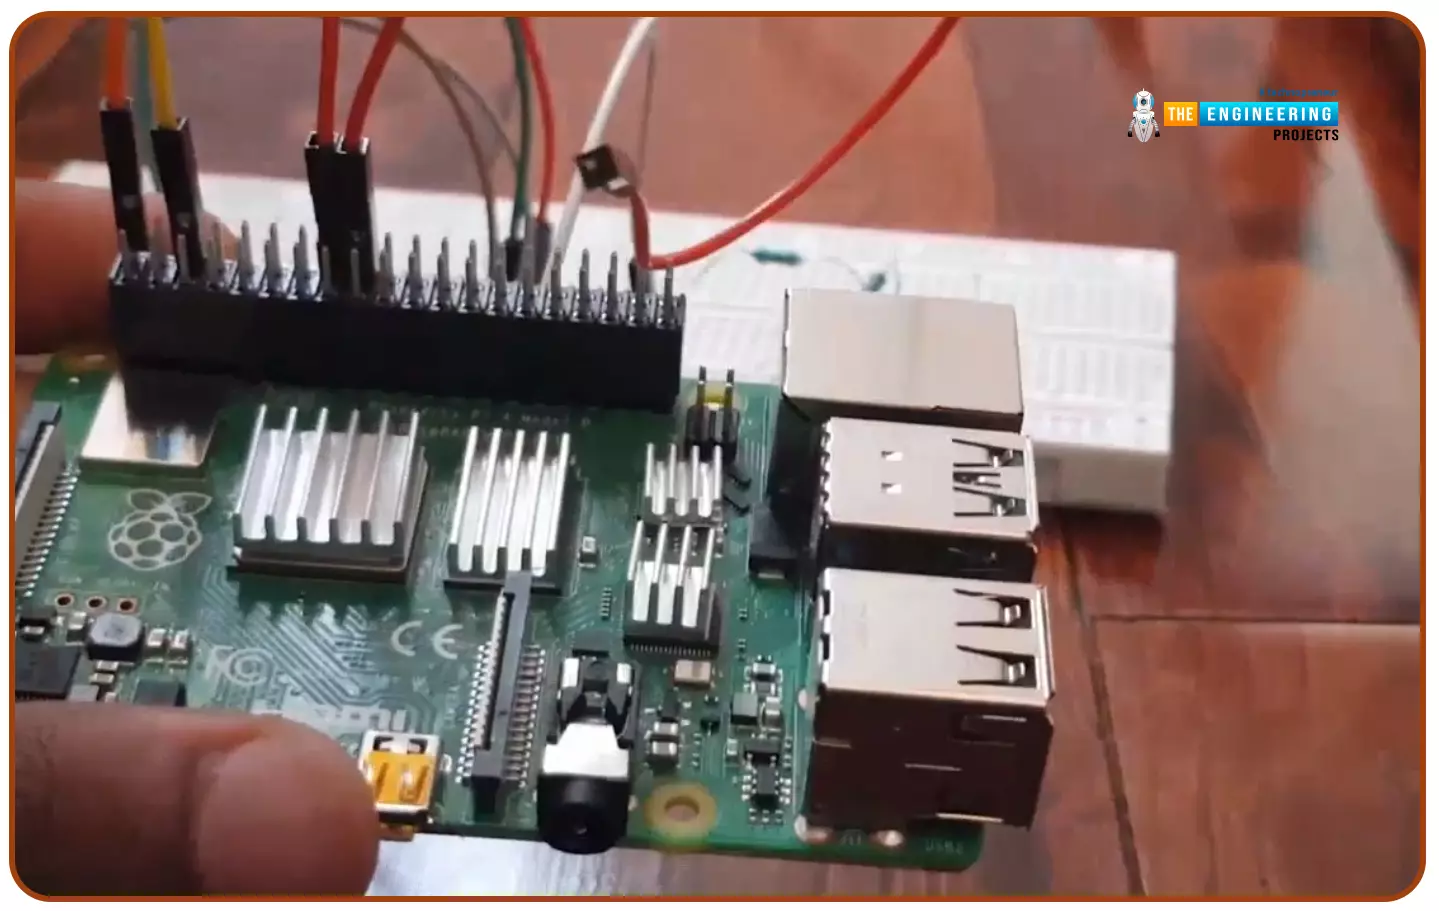
Hello friends, I hope you all are doing well. Today, I am going to share the 5th tutorial of Section-III in our Raspberry Pi Programming Course. In our previous tutorial, we have seen the interfacing of a PIR Sensor with Raspberry Pi 4. In today's tutorial, we will interface an Ultrasonic sensor with Raspberry Pi and will use Python to perform its calculations. So, let's get started:
Components:Here's the list of components, we are going to use in today's project:
Raspberry Pi 4
Ultrasonic sensor
Male-to-female jumper wires
Breadboard1k ohm resistor
2k ohm resistor
What are Ultrasonic Sensors?
An Ultrasonic Sensor consists of a transmitter and a receiver, the transmitter emits the ultrasonic wave, which after hitting some ob ...
Hello readers, I hope your all are doing great. We know that a Raspberry Pi Pico module comes with multiple inbuilt features for example onboard memory, processing units, GPIOs or General Purpose Input Outputs (used to control and receive inputs from various electronic peripherals) etc.
In our previous tutorials, we discussed how to access GPIO pins of the Raspberry Pi Pico module for both input as well as output operations.
In this tutorial, we are going to discuss another important feature of the Raspberry Pi Pico module (RP2040) which is Dual Core Processor. The Pico board features with 133MHz ARM Cortex-M0+, Dual Core Processor. This dual-core feature makes the Pico module capable of multiple thread execution or multithreading.
Now before writing the MicroPython program let’s first un ...
Hello friends, I hope you all are having fun. Welcome to the 10th tutorial of our Raspberry Pi programming course. In the last chapter,
PWM was utilized to regulate the DC motor's speed and direction
with a motor driver L293D. In this chapter, we'll advance our skills with PWM and use it to control a stepper motor using the same motor driver L293D.Here's the video demonstration of this project:Let's get started:
Components RequiredHere's the list of components, which we will use to control the speed and direction of Raspberry Pi 4:
Raspberry Pi 4.Stepper Motor.
Motor Driver IC(L293D).
Jumper wires.
9V Battery.
Breadboard.
The Raspberry Pi with desktop is required for this project. An SSH connection can be made, or the RPi can ...
Hi there! Happy to see you around. Thank you for clicking this read. In this post today, I’ll cover how cloud computing can benefit small businesses.
Cloud computing is the new normal. Many small and medium-sized businesses use cloud computing to handle and store a large amount of data. But what does cloud computing mean? Even if they are using it, some people don’t understand this term. Don’t worry. I’m here to make it clear for you.
Cloud computing is the availability of computing resources over the internet; these resources include databases, servers, storage, processing power, and more. In simple words, it’s the process of storing, hosting, managing, and processing data on third-party hardware over the internet. The common third-party service providers include AWS (Amazon Web Service) ...
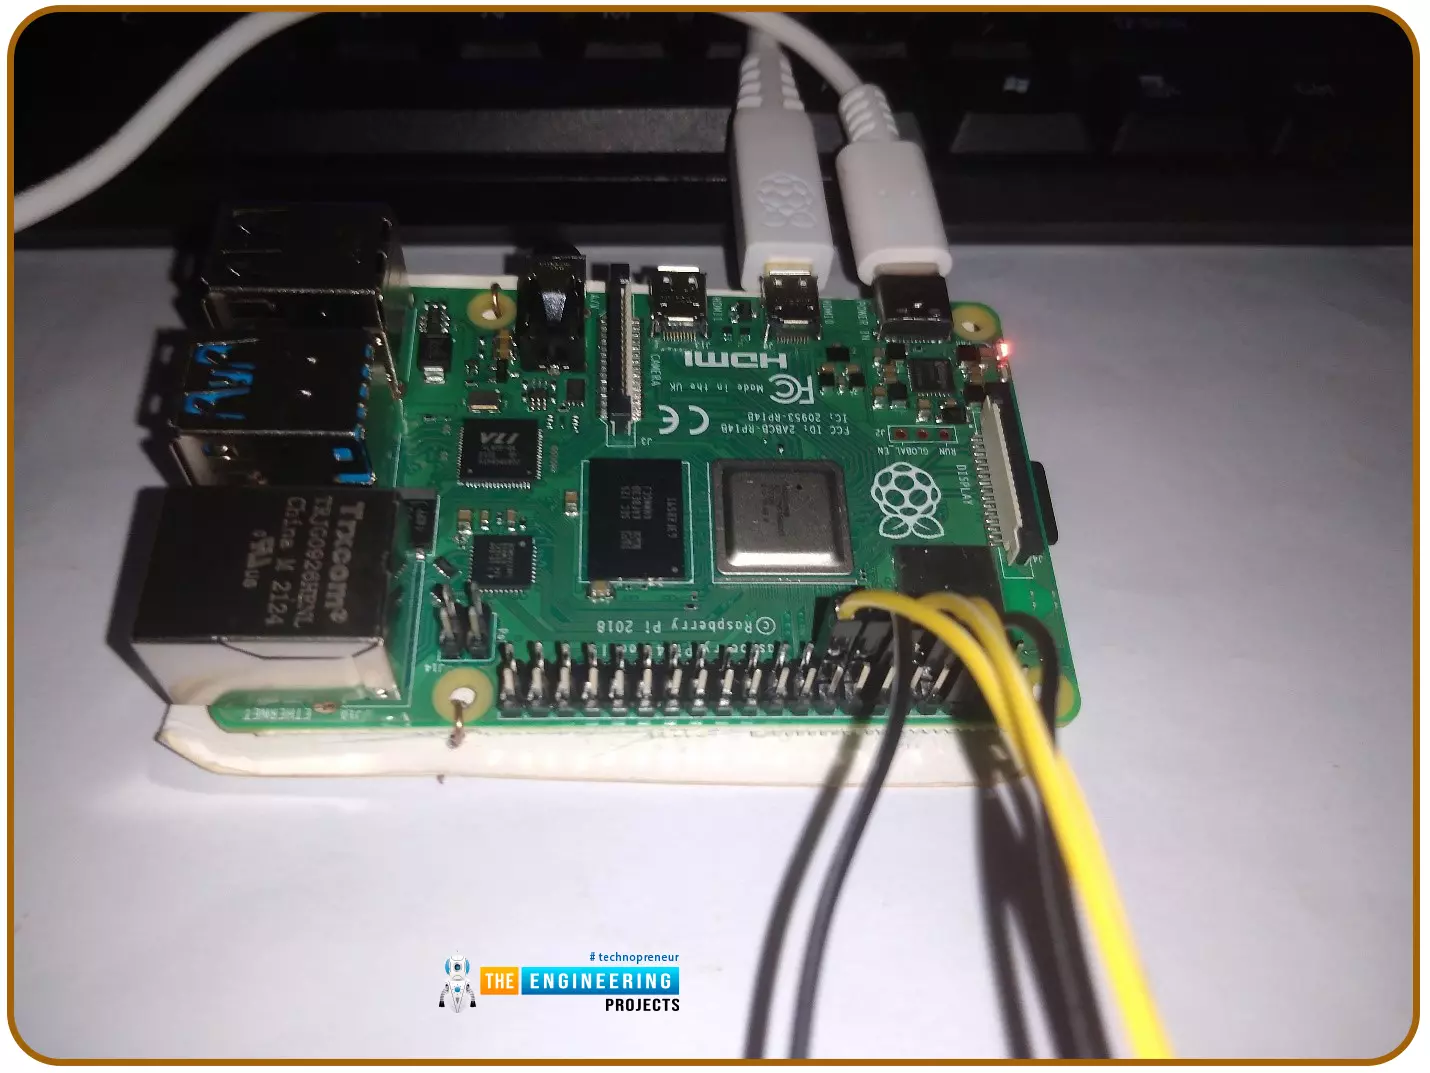
Hello friends, I hope you all are doing great. Today, we are going to share the 2nd tutorial of Section-VIII in the Raspberry Pi Programming Course. In the previous tutorial, we interfaced a Barcode Scanner with Raspberry Pi 4. In today's tutorial, we will discuss how to set up a web server in raspberry pi. So, let's get started:
Components Required
We are going to use the following components, in today's project:
Ethernet cable
MicroSD card
Keyboard
Mouse
HDMI cable
Monitor
Expand FileSystem
When configuring a Raspberry Pi, select the expand FileSystem option to ensure that all of the Micro SD storage is allocated for the operating system and modify the default Pi passwords to protect your server from attacker ...
Hello geeks, welcome to our new project. We are going to make an important project which will be very useful for us in our daily life which is a variable DC power supply. As engineers who work with electronics need different voltage ranges of DC power supply for different electronic projects and components. It becomes very clumsy and hard to manage different power supplies because of wires which are connected to it and each power supply consumes an extra power socket as well.
So in this project, we will overcome this issue and learn to make an adjustable DC power supply, in which we will get a wide range of voltages.
Software to install
We will make this project in the simulation, as it is a good practice to make any project in the simulation fir ...
Hi Everyone! Glad to have you on board. Thank you for clicking this read. In this post today, I’ll cover the Role of Cloud Computing in IoT.
Digital transformation has gained momentum in the past few years, the reason traditional technologies are becoming obsolete over time. Now organizations are incorporating modern technologies into their business model at an accelerated pace. These technologies produce the influx of data and at times it becomes very difficult to process and handle that data, thanks to cloud computing that has made the handling of data easy and effective. You don’t need traditional data centers anymore to store and process information. Everything will be taken care of remotely in the cloud with data centers.
Not to mention, this is the era of automation. Companies striv ...
Hello Folks! Glad to have you on board. Thank you for clicking this read. In this post today I’ll walk you through What is Cloud Computing?
Cloud computing is not a buzzword anymore. Even though most companies are familiar with this term, they don’t know what it does and how it works. If you’re one of them, this read is for you. In simple terms, cloud computing allows you to use computer system resources over the internet. This means you can manage your data remotely over the internet from anywhere in the world. We’ll touch this further in our article.
I suggest you read this post all the way through as I’ll cover what is cloud computing, how does it work, the types of cloud computing, the advantages of cloud computing, and the future of cloud computing.
Let’s get started.
What is Cloud ...
Hello readers, I hope you all are doing great. In this tutorial, we will learn how to interface the BMP280 sensor with the ES32 module to get temperature, pressure and altitude readings. Later, in this tutorial, we will also discuss how to upload these sensor readings to a web server.
BMP280
BMP280 or Barometric pressure sensor is a module used to measure temperature pressure and altitude. The small size and low power consumption feature of this sensor makes it feasible for battery-powered devices, GPS modules and mobile applications etc.
Fig. 1 BMP280 Sensor
The BMP280 is the product of BOSCH which is based on Bosch’s proven Piezo-resistive pressure sensor technology featured with high accuracy, long term stability, linearity and high EMC robus ...