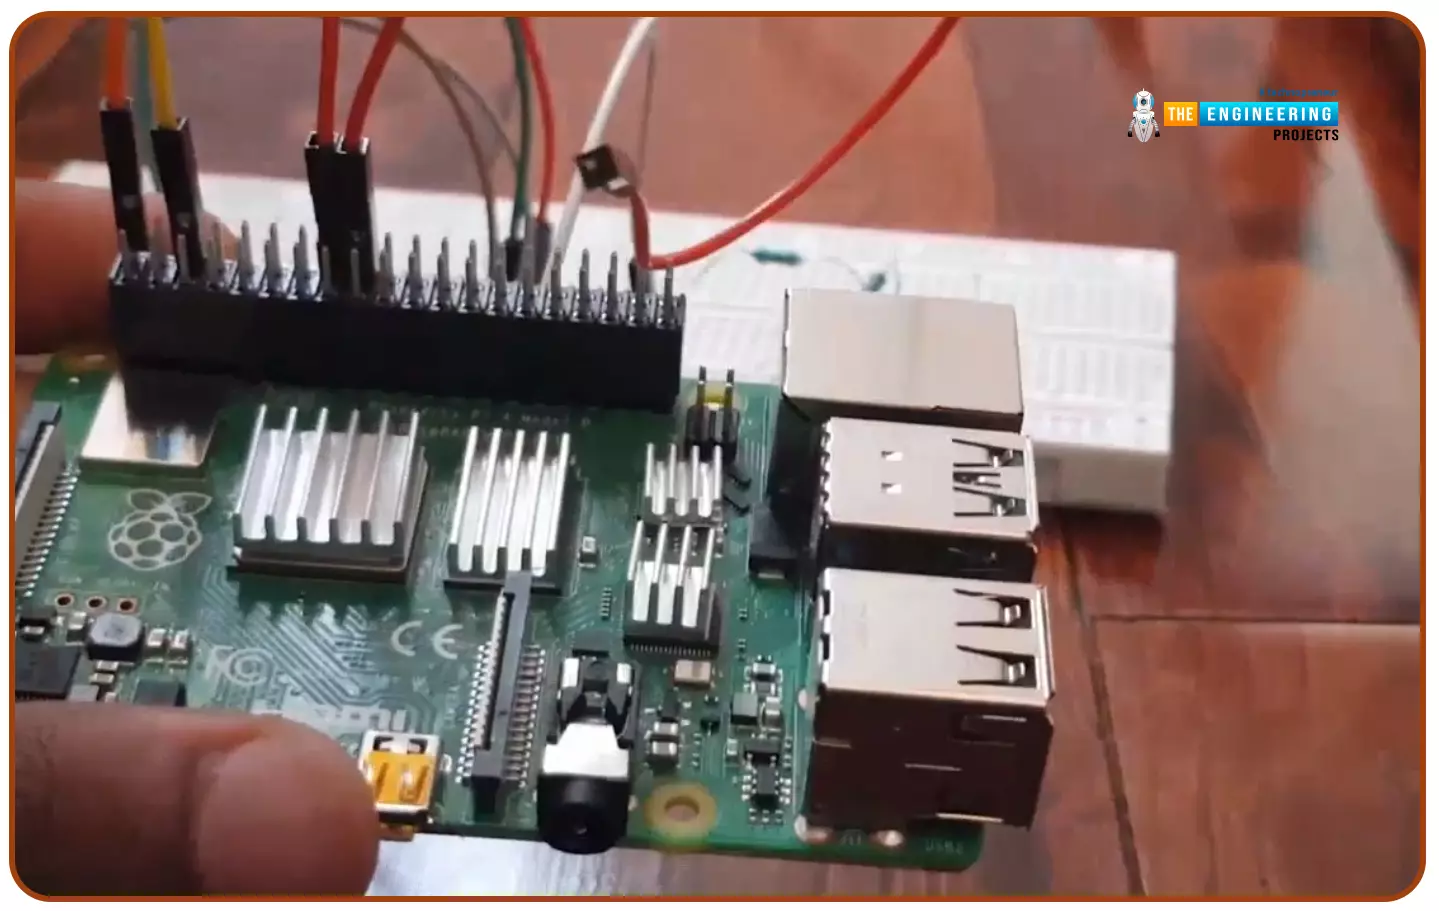
Hello friends, I hope you all are doing well. Today, I am going to share the 5th tutorial of Section-III in our Raspberry Pi Programming Course. In our previous tutorial, we have seen the interfacing of a PIR Sensor with Raspberry Pi 4. In today's tutorial, we will interface an Ultrasonic sensor with Raspberry Pi and will use Python to perform its calculations. So, let's get started:
Components:Here's the list of components, we are going to use in today's project:
Raspberry Pi 4
Ultrasonic sensor
Male-to-female jumper wires
Breadboard1k ohm resistor
2k ohm resistor
What are Ultrasonic Sensors?
An Ultrasonic Sensor consists of a transmitter and a receiver, the transmitter emits the ultrasonic wave, which after hitting some ob ...
Hello geeks, welcome to our new project. In this project, we are going to make a very interesting project which is an Up-Down counter. Most of us who have an electronics background or studied digital electronics must know the counter. Counter is a simple device which counts numbers. As per the digital electronics, there are two types of counter, the Up counter which counts in increasing order and another is Down counter which counts in decreasing order. And every counter has a reset limit, on which the counter resets to its initial value and starts the counting again. The limit of every counter depends on the bits of counter. For example, we have a 8 bit Up counter which means it will count upto 255 and afterwards it will reset and will start agai ...
Hello readers, I hope you all are doing great. This is the second tutorial of the Raspberry Pi programming series. In our previous tutorial, we discussed the basic features and hardware architecture of Raspberry Pi Pico.
In this tutorial, we will discuss the various available development environments for programming the Raspberry Pi Pico. Later, in this tutorial, we will also discuss the installation of Visual Studio Code for Pi Pico programming.
Fig. Raspberry Pi Pico
RP2040 supports multiple programming languages like C/C++, Circuit python, and MicroPython cross-platform development environments. Raspberry Pi Pico module consists of a built-in UF2 bootloader enabling programs to be loaded by drag and drop and floating point routines are bake ...
Hello Folks! Glad to have you on board. Thank you for clicking this read. In this post today I’ll walk you through What is Cloud Computing?
Cloud computing is not a buzzword anymore. Even though most companies are familiar with this term, they don’t know what it does and how it works. If you’re one of them, this read is for you. In simple terms, cloud computing allows you to use computer system resources over the internet. This means you can manage your data remotely over the internet from anywhere in the world. We’ll touch this further in our article.
I suggest you read this post all the way through as I’ll cover what is cloud computing, how does it work, the types of cloud computing, the advantages of cloud computing, and the future of cloud computing.
Let’s get started.
What is Cloud ...
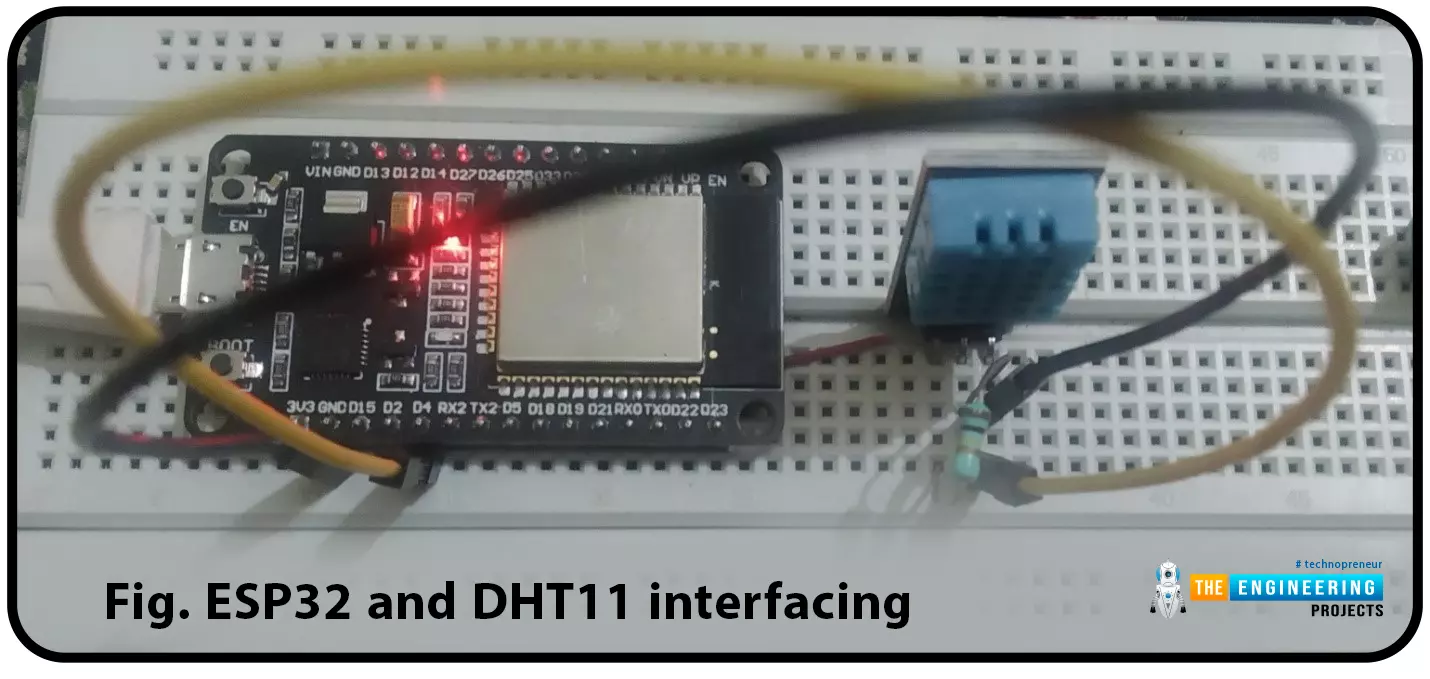
ESP32 module comes with multiple inbuilt features and peripheral interfacing capability is one of those features. ESP32 module also consists of an inbuilt temperature sensor, but that can only measure the temperature of the ESP32 core not the temperature of the surrounding environment. So it is required to use a peripheral sensor to measure the temperature of the surrounding environment like home, garden, office etc.
Hello readers. I hope you all are doing great. In this tutorial, we will learn how to interface DHT11 (temperature and humidity sensor) with the ESP32. Later in this tutorial, we will discuss how to share the sensor readings obtained from the DHT11 sensor to a web server.
Before moving towards the interfacing and programming part, let’s have a short introduction to the DHT11 ...
Hello readers, we hope you all are doing great. Welcome to the 1st lecture of Section 4 in the ESP32 Programming Series. In this section, we will interface the ESP32 module with common Embedded modules(i.e. LCD, Keypad, RTC etc.).
In today's tutorial, we will interface ESP32 with a 16x2 LCD and will display data using both Data Mode and I2C Mode. LCD is the most commonly used embedded module in IoT Projects. It is used to display different types of data i.e. sensor readings, warning messages, notifications etc.
Before going forward, let's first have a look at what is LCD and How it works:
16x2 LCD Module
LCD(Liquid Crystal Display) is a type of electronic display module that is used in a wide variety of applications and devices such as calculators, computers, mobile phones, ...
Hi friends and hope you are doing very well. Today we would like to take one tutorial which is very essential in the industry which is analog input processing for handling analog measurements of physical signals like temperature, humidity, pressure, distance, flow and level of liquids, etc. Typically, sensors produce two types of analog signals to represent the equivalent measured signal which is current and voltage signals. The currently produced signals would be within the range of 4-20 mAwhile voltage signals are in the range of 0-10 v. because, that output signals represent physical signals, the limits of output signals are 0 to 10 v for voltage based sensors and 4 to 20 mA for current-based sensors, these values should be scaled to represent ...
Hello readers, I hope you all are doing great. In this tutorial, we will learn how to interface the PIR sensor to detect motion with the Raspberry Pi Pico module and MicroPython programming language. Later in this tutorial, we will also discuss the interrupts and how to generate an external interrupt with a PIR sensor.
Before interfacing and programming, the PIR and Pico boards let’s first have a look at the quick introduction to the PIR sensor and its working.
Fig. 1 Raspberry Pi Pico and PIR sensor
PIR motion sensor and its working
PIR stands for Passive Infrared sensors and the PIR module we are using is HC-SR501. As the name suggests the PIR or passive infrared sensor, produces TTL (transistor transistor logic) output (that is either HIGHT o ...
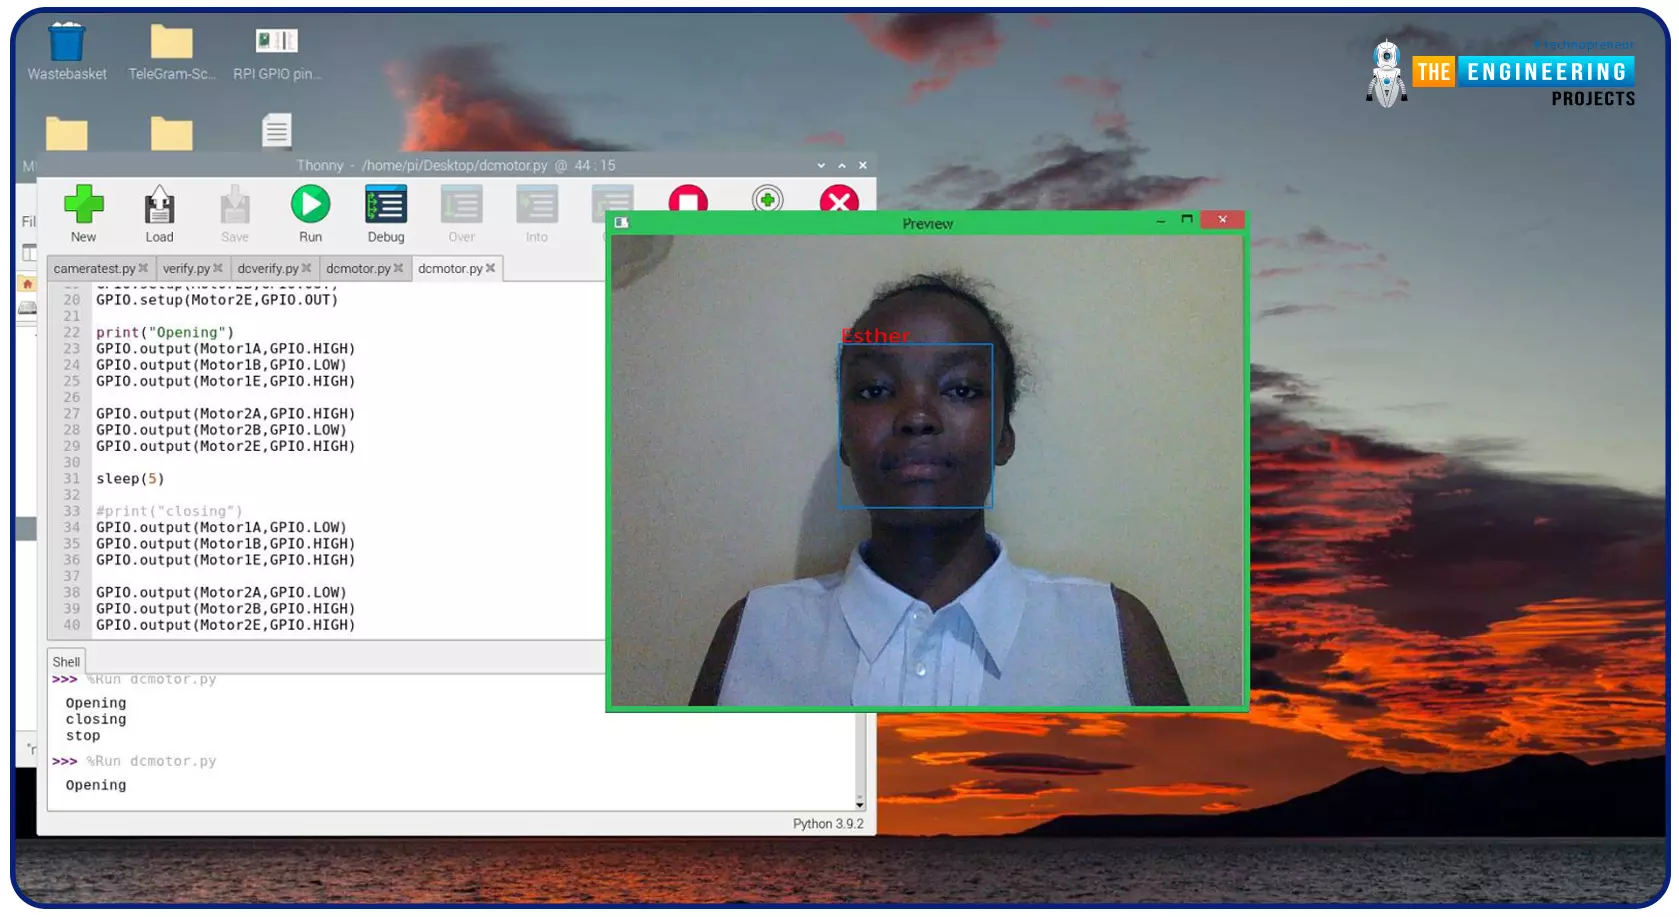
Greeting, and welcome to the next tutorial of our raspberry programming tutorial. In the previous tutorial, we learned how to build a smart attendance system using an RFID card reader, which we used to sign in students in attendance in a class. When it comes to building a face-recognition program on a Raspberry Pi, this tutorial will show you how. Two Python programs will be used in the lesson, one of which is a Training program that analyzes a collection of photographs of a certain individual and generates a dataset. (YML File). The Recognizer application uses the YML script to detect a face and afterward utters the person's name when the face is detected.
Components
Raspberry Pi
Breadboard
L293 or SN755410 motor driver chip
Jumper wir ...
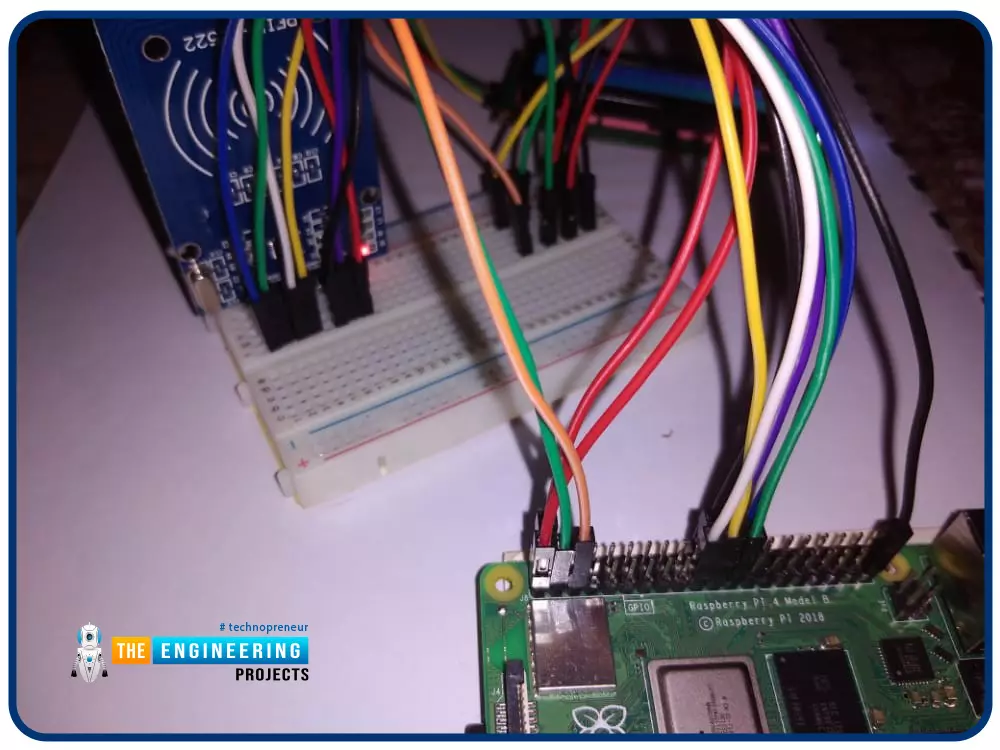
Greetings! This is the complete project of our Raspberry Pi 4 tutorials. In our previous tutorial, we learned to set up our raspberry pi as a virtual private network server. In this tutorial, we will design a smart attendance system using an RFID card reader, which we will use to sign in students in attendance in a class.
First, we will design a database for our website, then we will design the RFID circuit for scanning the student cards and displaying present students on the webpage, and finally, we will design the website that we will use to display the attendees of a class.
Components
RFID card kit
Breadboard
Jumper wires
Raspberry pi 4
I2C LCD screen
Design a database in MySQL server
Additionally, the Database server offers a DBMS ...