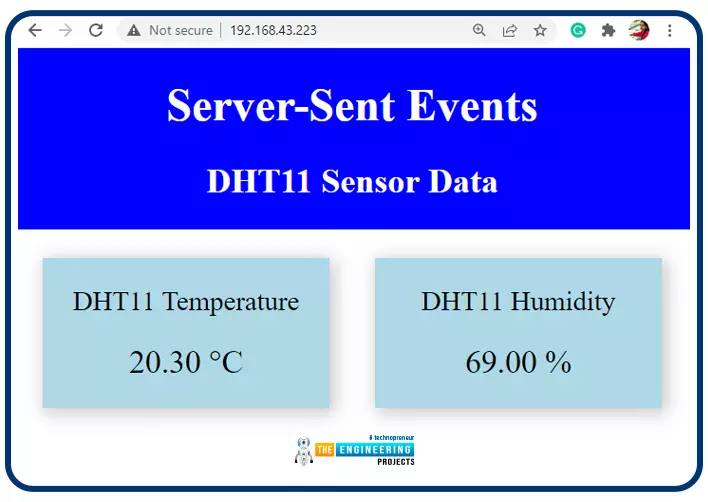
Hello readers, I hope you all are doing great. In this tutorial, we will learn how to update a webpage using Server-Sent Events and the ESP32 web server.
What is Server-Sent Events (SSE)?
It is a server push technology that enables the client devices to receive automatic updates from a server over HTTP (Hypertext Transfer Protocol) connection. SSE also describes how the server can initiate data transmission towards the client once an initial connection with the client has been established.
We have already posted a tutorial on how to implement Web socket protocol with ESP32 which is also a protocol used to notify events to a web client. Both the Server-Sent Events (SSE) and Web-Socket technologies seem to be quite similar but they are not.
The major difference between the two is that SSE ...
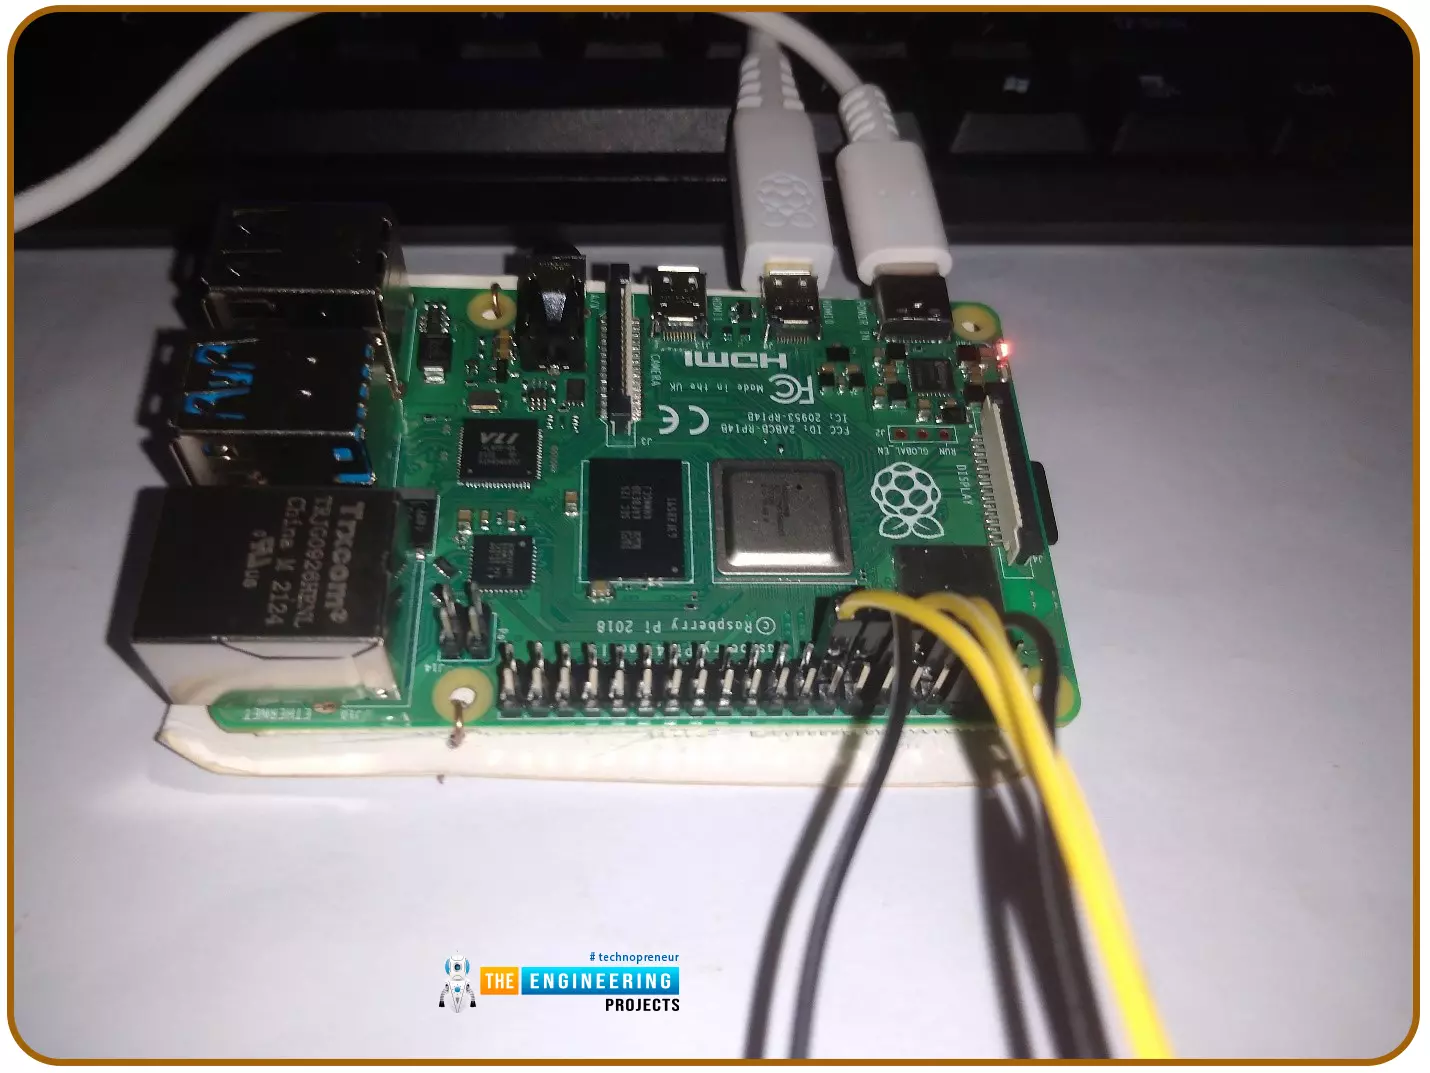
Hello friends, I hope you all are having fun. Welcome to the 10th tutorial of our Raspberry Pi programming course. In the last chapter,
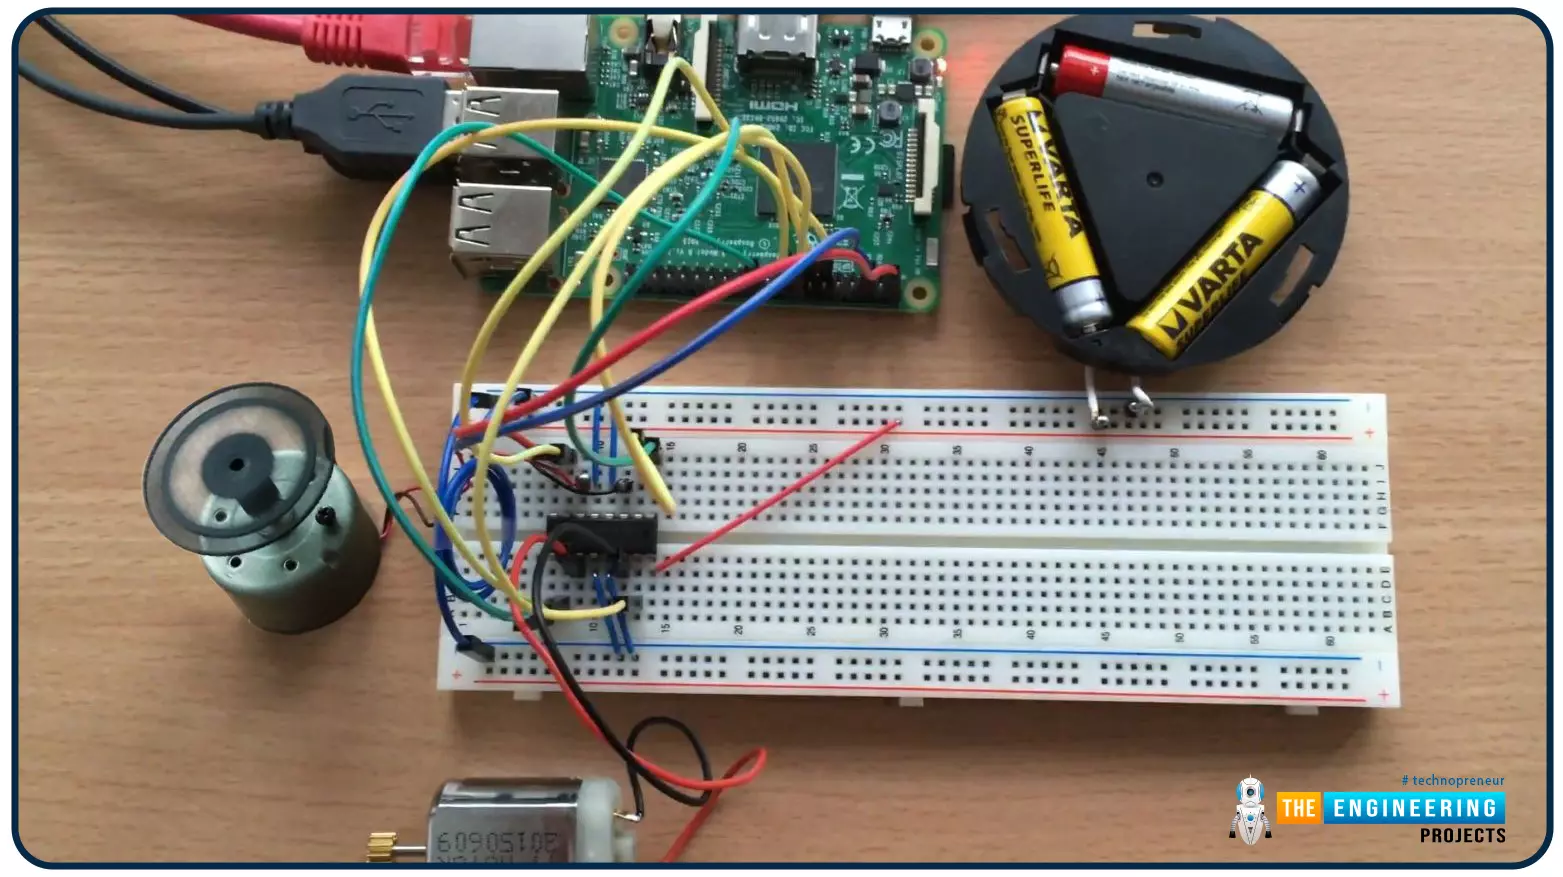
PWM was utilized to regulate the DC motor's speed and direction
with a motor driver L293D. In this chapter, we'll advance our skills with PWM and use it to control a stepper motor using the same motor driver L293D.Here's the video demonstration of this project:Let's get started:
Components RequiredHere's the list of components, which we will use to control the speed and direction of Raspberry Pi 4:
Raspberry Pi 4.Stepper Motor.
Motor Driver IC(L293D).
Jumper wires.
9V Battery.
Breadboard.
The Raspberry Pi with desktop is required for this project. An SSH connection can be made, or the RPi can ...
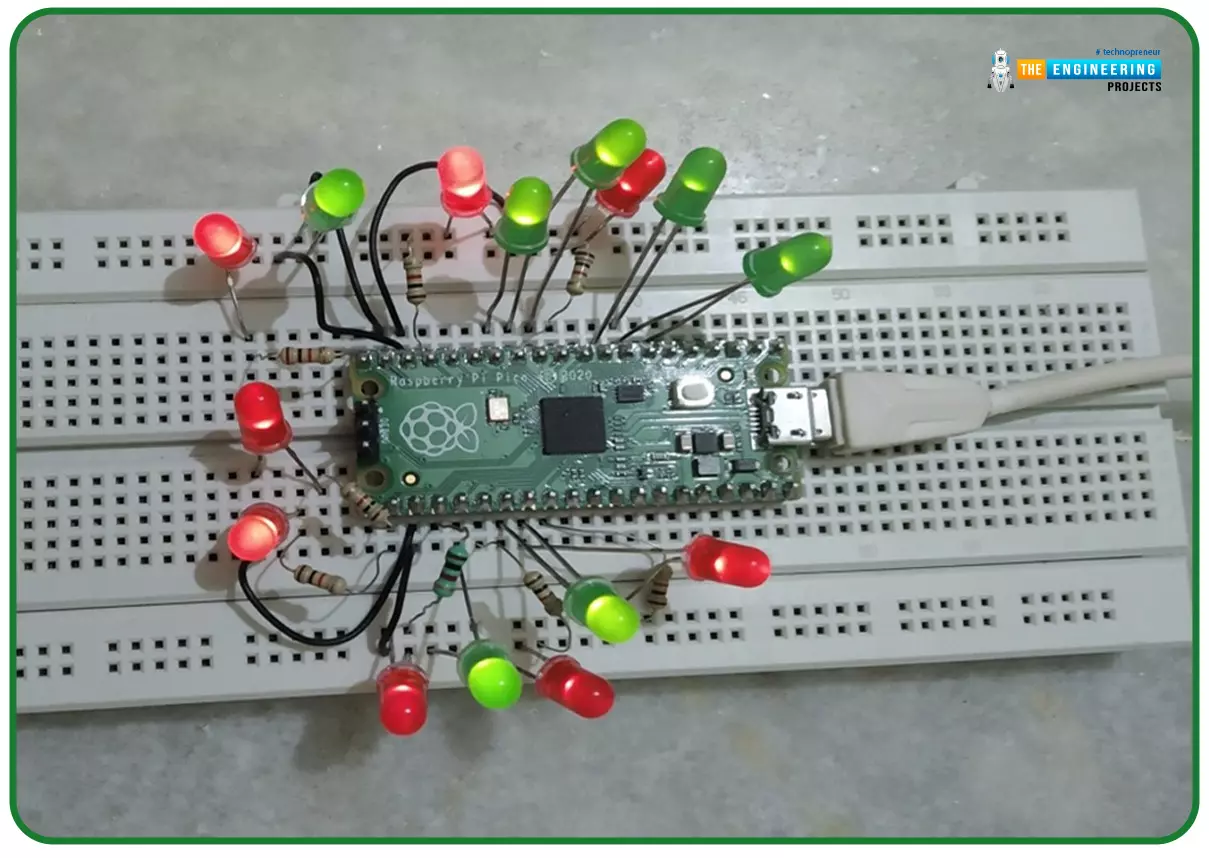
Hello readers, I hope you all are doing great. In our previous tutorial, we discussed the implementation of LED interfacing and blinking program with Raspberry Pi Pico using MicroPython programming language. So continuing with our previous tutorial, in this tutorial we will learn how to control the LED brightness using PWM (pulse width modulation technique).
As we mentioned above, in our previous tutorial we implemented the LED blinking program with a Raspberry Pi Pico board. Blinking an LED means turning ON and OFF and thus the process involves only two states that are ‘1’ (HIGH) and ‘0’ (LOW). But, sometimes it is required to change the digital output between these two (ON and OFF states) for example changing the LED brightness. PWM or Pulse Width Modulation technique is used to change ...
Hi Guys! Hope you’re well today. I welcome you on board. In this post, I’ll walk you through Introduction to Workflow Automation.
Workflow automation is a critical part to run a successful business. It is used to improve the efficiency and productivity of the business to provide a better user experience, reduce errors and increase revenue. Workflow automation is the process of automating a set of repeatable tasks to achieve a certain goal within the software or app you use.
Confused?
Don’t be.
We’ll touch on this further in the article.
Curious to know more about workflow automation, its benefits, how to choose workflow automation software, and how it can help your business?
Keep reading.
Introduction to Workflow Automation
Before we get into th ...
JLCPCB (JiaLiChuang Co. Limited) is a worldwide PCB & PCBA Fabrication enterprise. It is a leading company in high-tech manufacturing products specializing in PCB and PCBA production. With over a decade of experience in PCB manufacturing JLCPCB has made over a million customers through online ordering by the customers of PCB manufacturing and PCBA production.
JLCPCB is a professional manufacturer of large-scale manufacturing of PCBs, well equipment, strict management, and superior quality. It deals with the production of all types of PCBs, Stencils, and SMT.
In this article, we are going to discuss widely how the company operates its ordering system of the PCBs by their customers for production through the online booking process.
JLCPCB SMT ...
Hello friends, I hope you all are doing well. Welcome to the 9th tutorial of our Raspberry Pi programming course. In the last chapter, we generated a PWM signal from our Raspberry Pi to control the brightness of an LED. We also studied different functions used in Python to perform PWM. In this chapter, we'll get a bit advanced with PWM and use it to control the speed and direction of a DC motor with the help of a motor driver IC.
To control the speed & direction of the DC Motor, we will:
Design a Circuit Diagram.Write Python code.
Components RequiredWe will use the following components to control the DC motor speed:
Raspberry Pi 4.DC Motor.Motor driver IC(L293D).Breadboard.
Jumper wires.
Controlling DC Motor speed wi ...
Hello, friends today we will discuss the basic concept of chemistry it is our first tutorial series in which we will discuss:
Atom
Molecule
Ion
Molecular ion
Now in this article, we will discuss atoms. Its definitions, examples, properties, its evolutionary history, and also some important facts in the form of questions.
Atom
Definitions
A tiny particle that cannot be seen with a naked eye so-called atom.
Or
Atom is the lowest unit of matter and is often divided without the discharge of electrically charged particles.
Or
Atom is the introductory structure block of chemistry.
Examples
From molecule;
Hydrogen (H2)
It has two atoms.
Nitrogen (N3)
It has three atoms
From elements;
Helium(He)
It has two electron
Properties
We discuss different properties of atoms ...
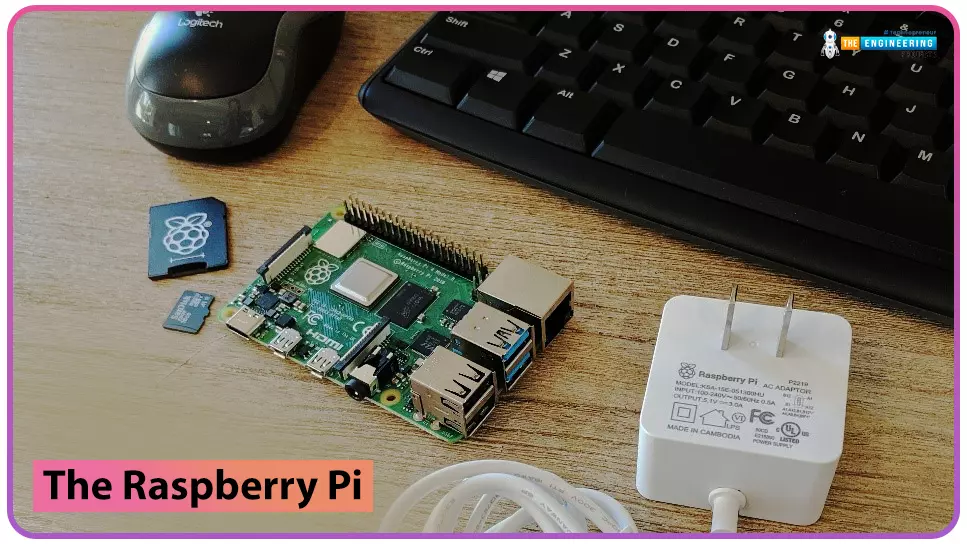
to our new beginner’s course on Raspberry Pi. This course is appropriate for anyone using either a traditional Raspberry Pi board or the new Raspberry Pi 400 board that includes an integrated keyboard and display. Learning how to code, building robots, and doing plenty of other strange and exciting things are all possible with this low-cost computer setup. The Raspberry Pi can do everything a computer can do, from surfing the web to viewing movies and music, and playing video games.
Raspberry Pi is much more than a modern computer. It`s created to educate young people on how to program in languages such as Scratch and Python, and it comes with all of the major programming languages pre-installed. The world is in desperate need of programmers now ...
ESP32 module comes with multiple inbuilt features and peripheral interfacing capability is one of those features. ESP32 module also consists of an inbuilt temperature sensor, but that can only measure the temperature of the ESP32 core not the temperature of the surrounding environment. So it is required to use a peripheral sensor to measure the temperature of the surrounding environment like home, garden, office etc.
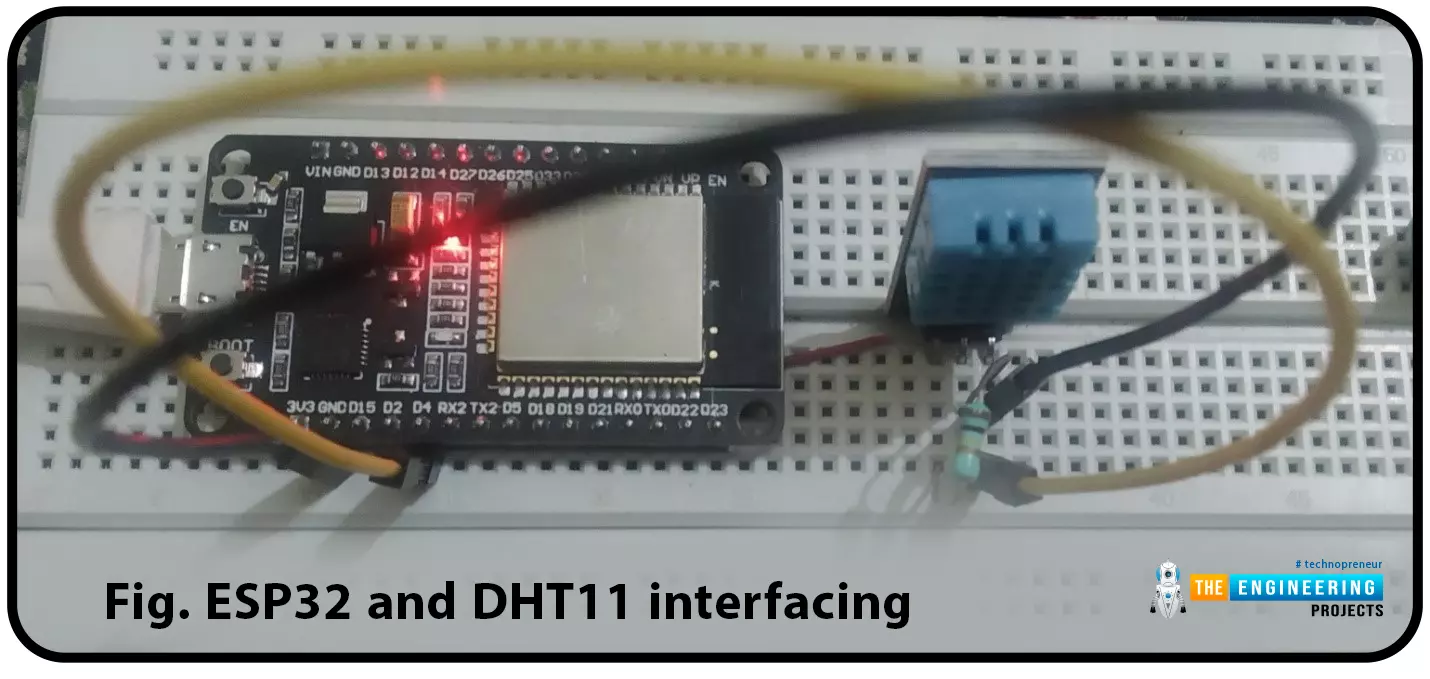
Hello readers. I hope you all are doing great. In this tutorial, we will learn how to interface DHT11 (temperature and humidity sensor) with the ESP32. Later in this tutorial, we will discuss how to share the sensor readings obtained from the DHT11 sensor to a web server.
Before moving towards the interfacing and programming part, let’s have a short introduction to the DHT11 ...
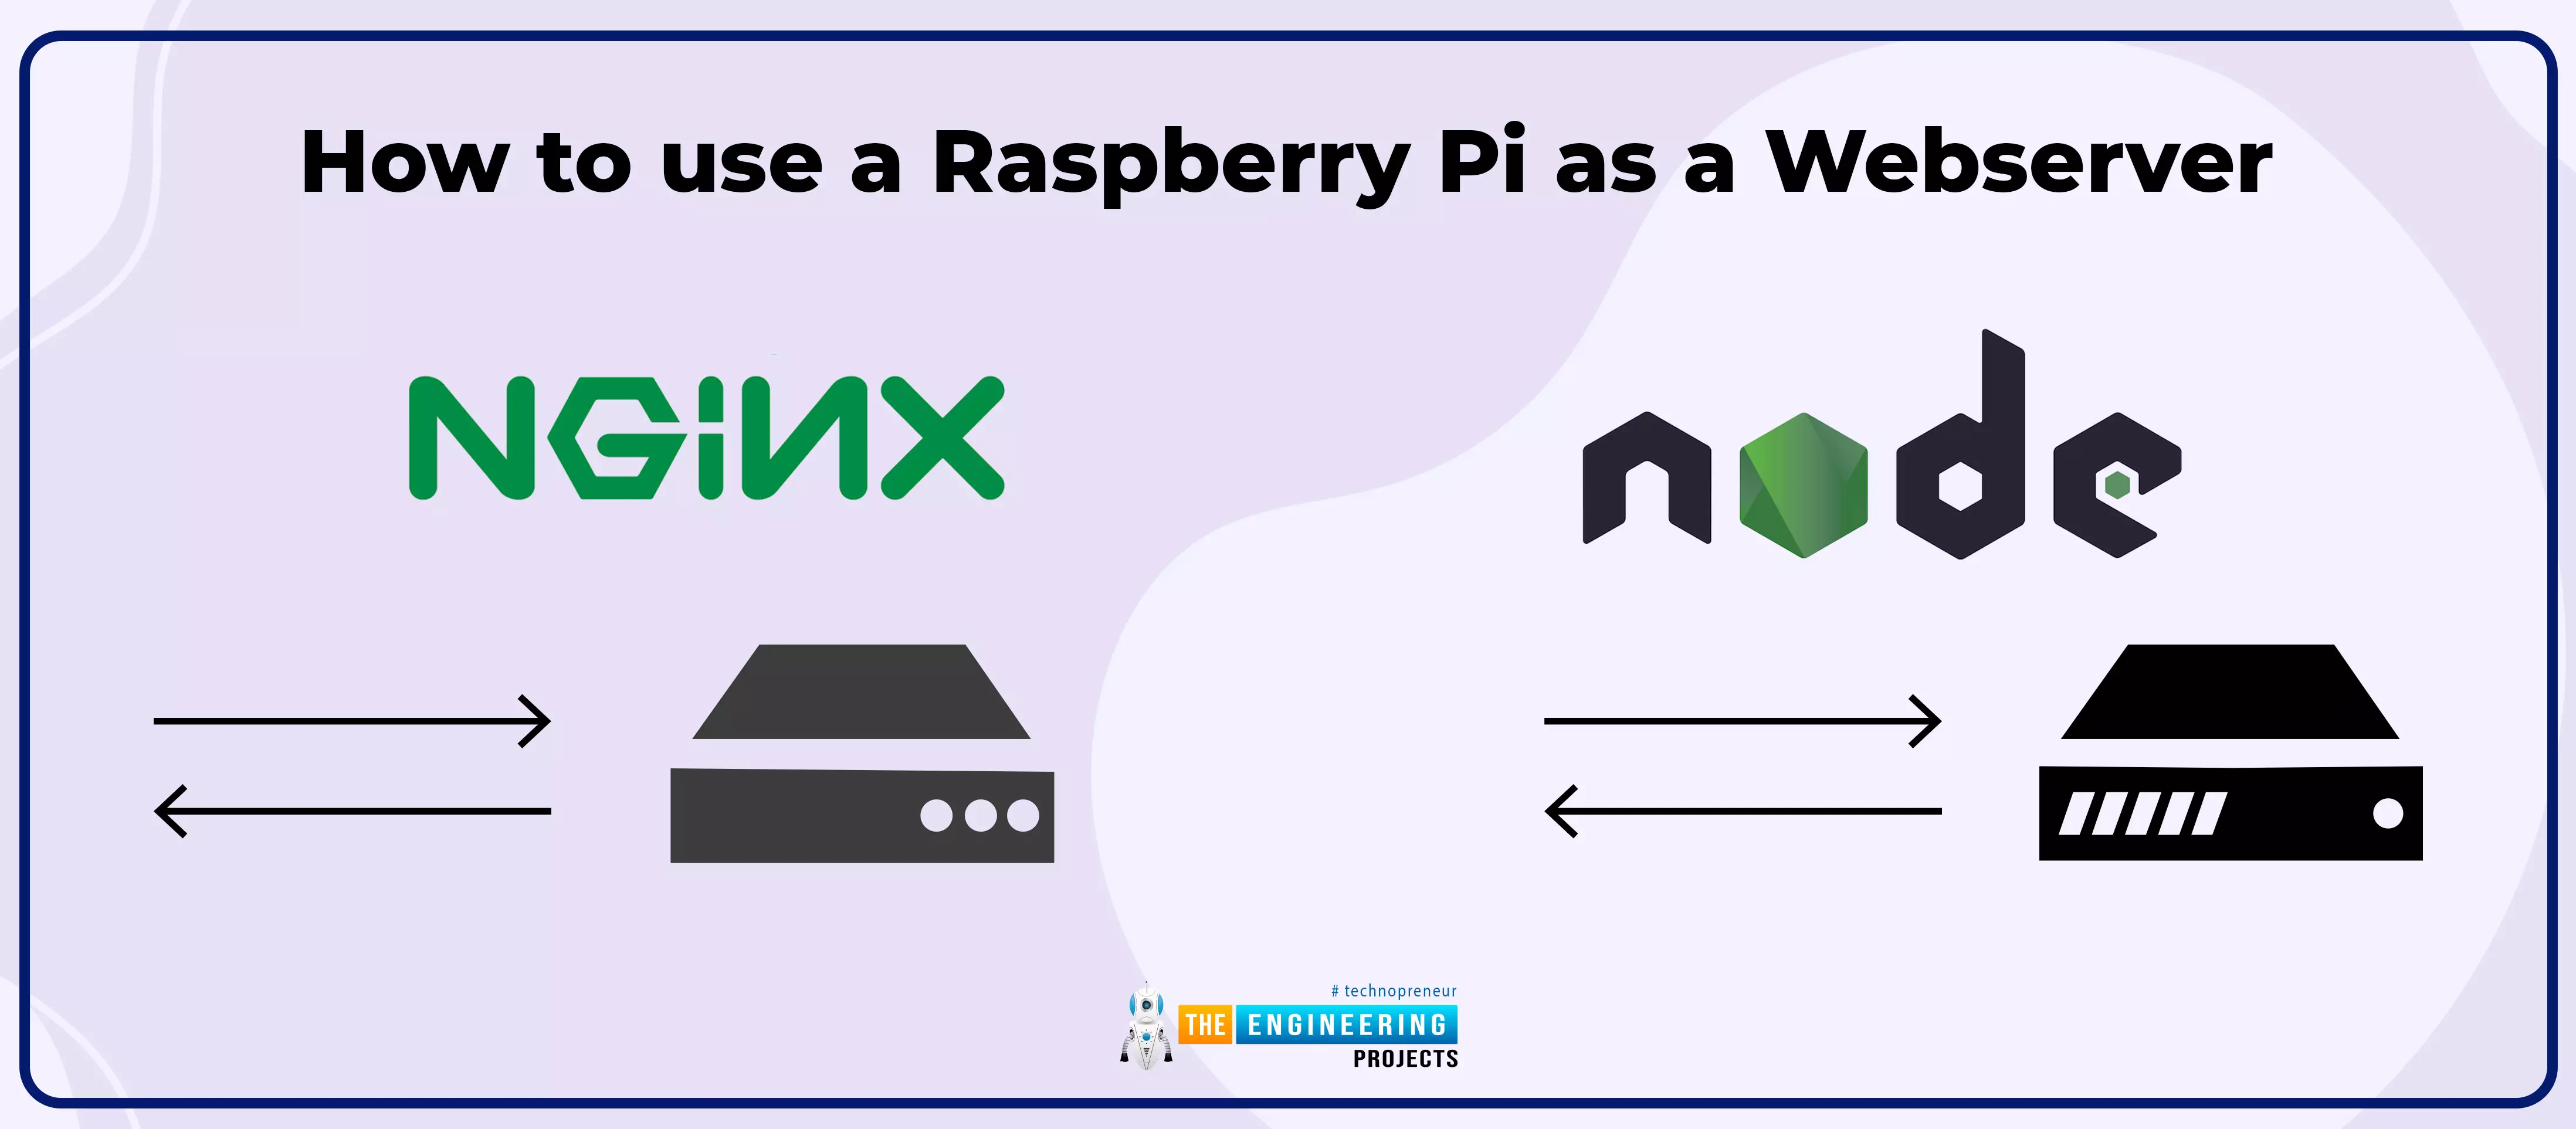
Hello friends, I hope you all are doing great. Today, we are going to share the 2nd tutorial of Section-VIII in the Raspberry Pi Programming Course. In the previous tutorial, we interfaced a Barcode Scanner with Raspberry Pi 4. In today's tutorial, we will discuss how to set up a web server in raspberry pi. So, let's get started:
Components Required
We are going to use the following components, in today's project:
Ethernet cable
MicroSD card
Keyboard
Mouse
HDMI cable
Monitor
Expand FileSystem
When configuring a Raspberry Pi, select the expand FileSystem option to ensure that all of the Micro SD storage is allocated for the operating system and modify the default Pi passwords to protect your server from attacker ...