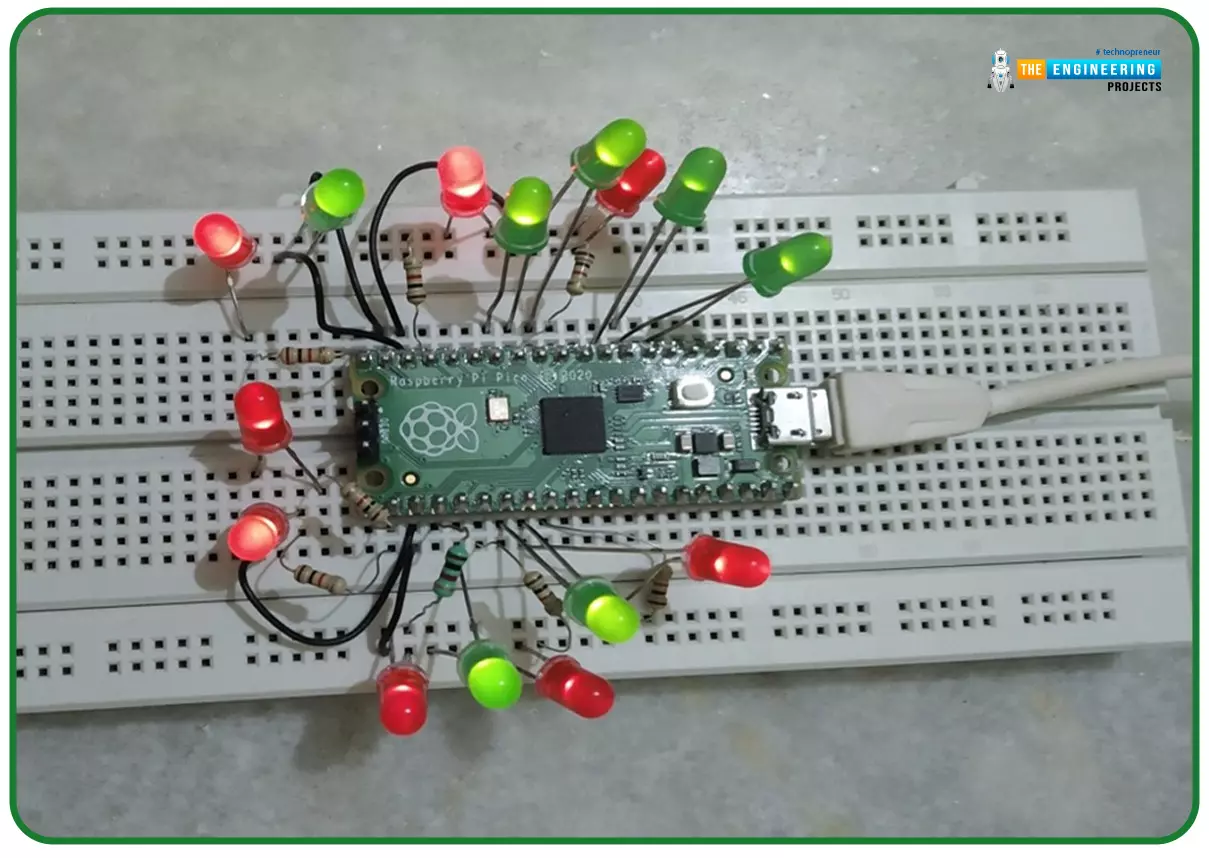
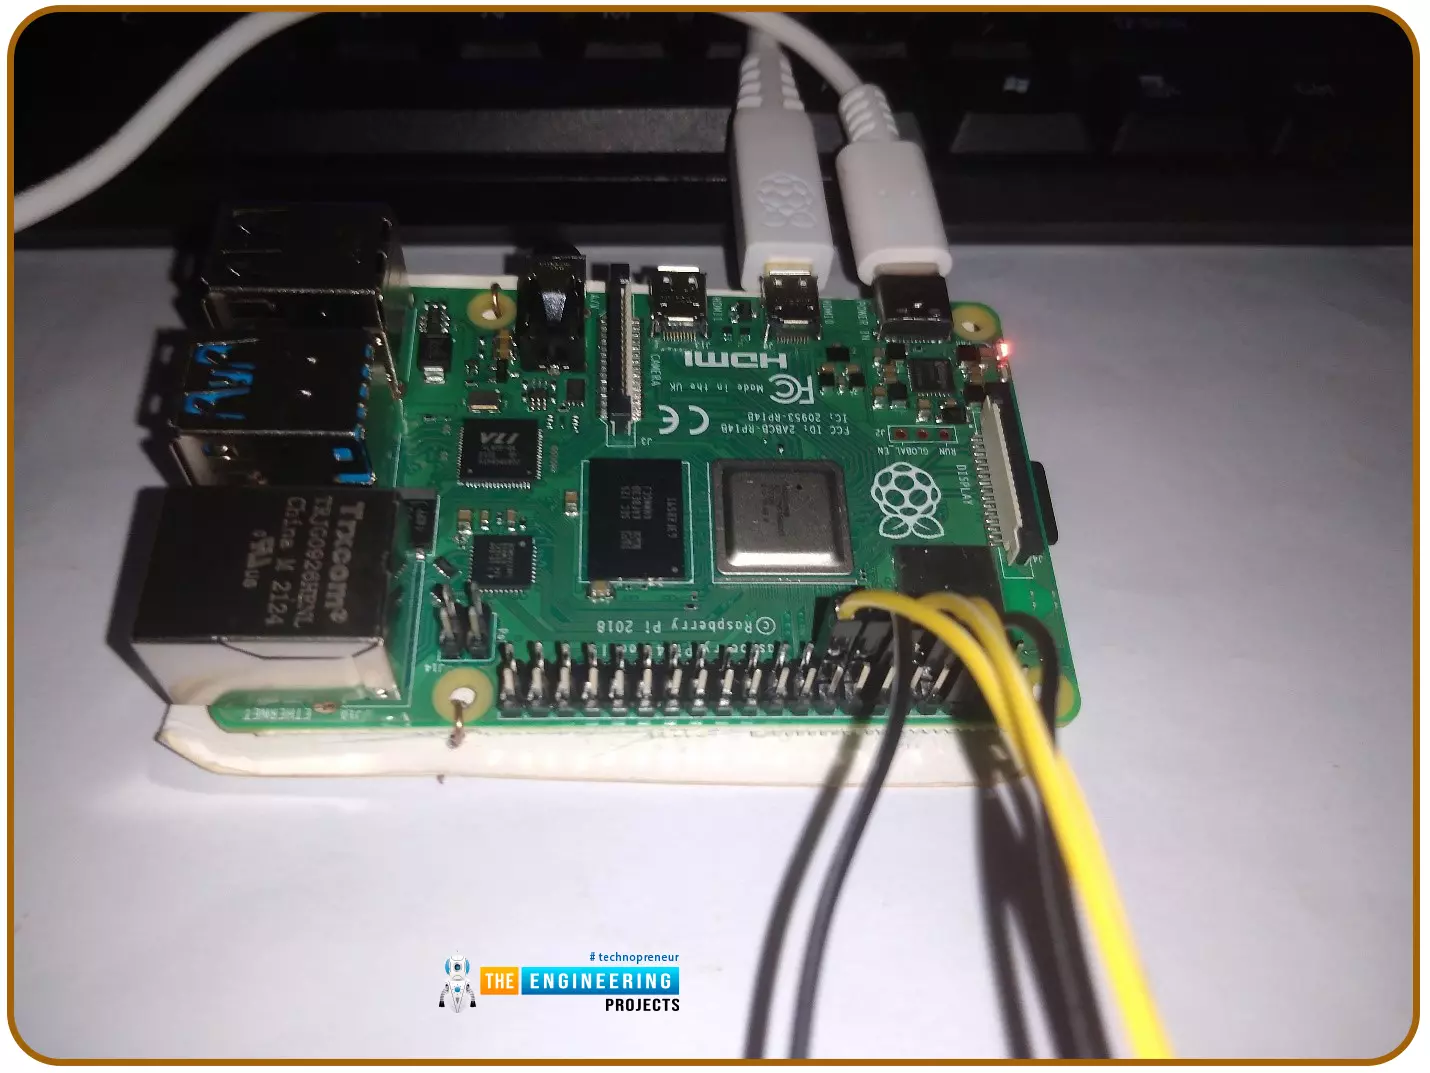
Hello readers, I hope you all are doing great. In our previous tutorial, we discussed the implementation of LED interfacing and blinking program with Raspberry Pi Pico using MicroPython programming language. So continuing with our previous tutorial, in this tutorial we will learn how to control the LED brightness using PWM (pulse width modulation technique). As we mentioned above, in our previous tutorial we implemented the LED blinking program with a Raspberry Pi Pico board. Blinking an LED means turning ON and OFF and thus the process involves only two states that are ‘1’ (HIGH) and ‘0’ (LOW). But, sometimes it is required to change the digital output between these two (ON and OFF states) for example changing the LED brightness. PWM or Pulse Width Modulation technique is used to change t ...
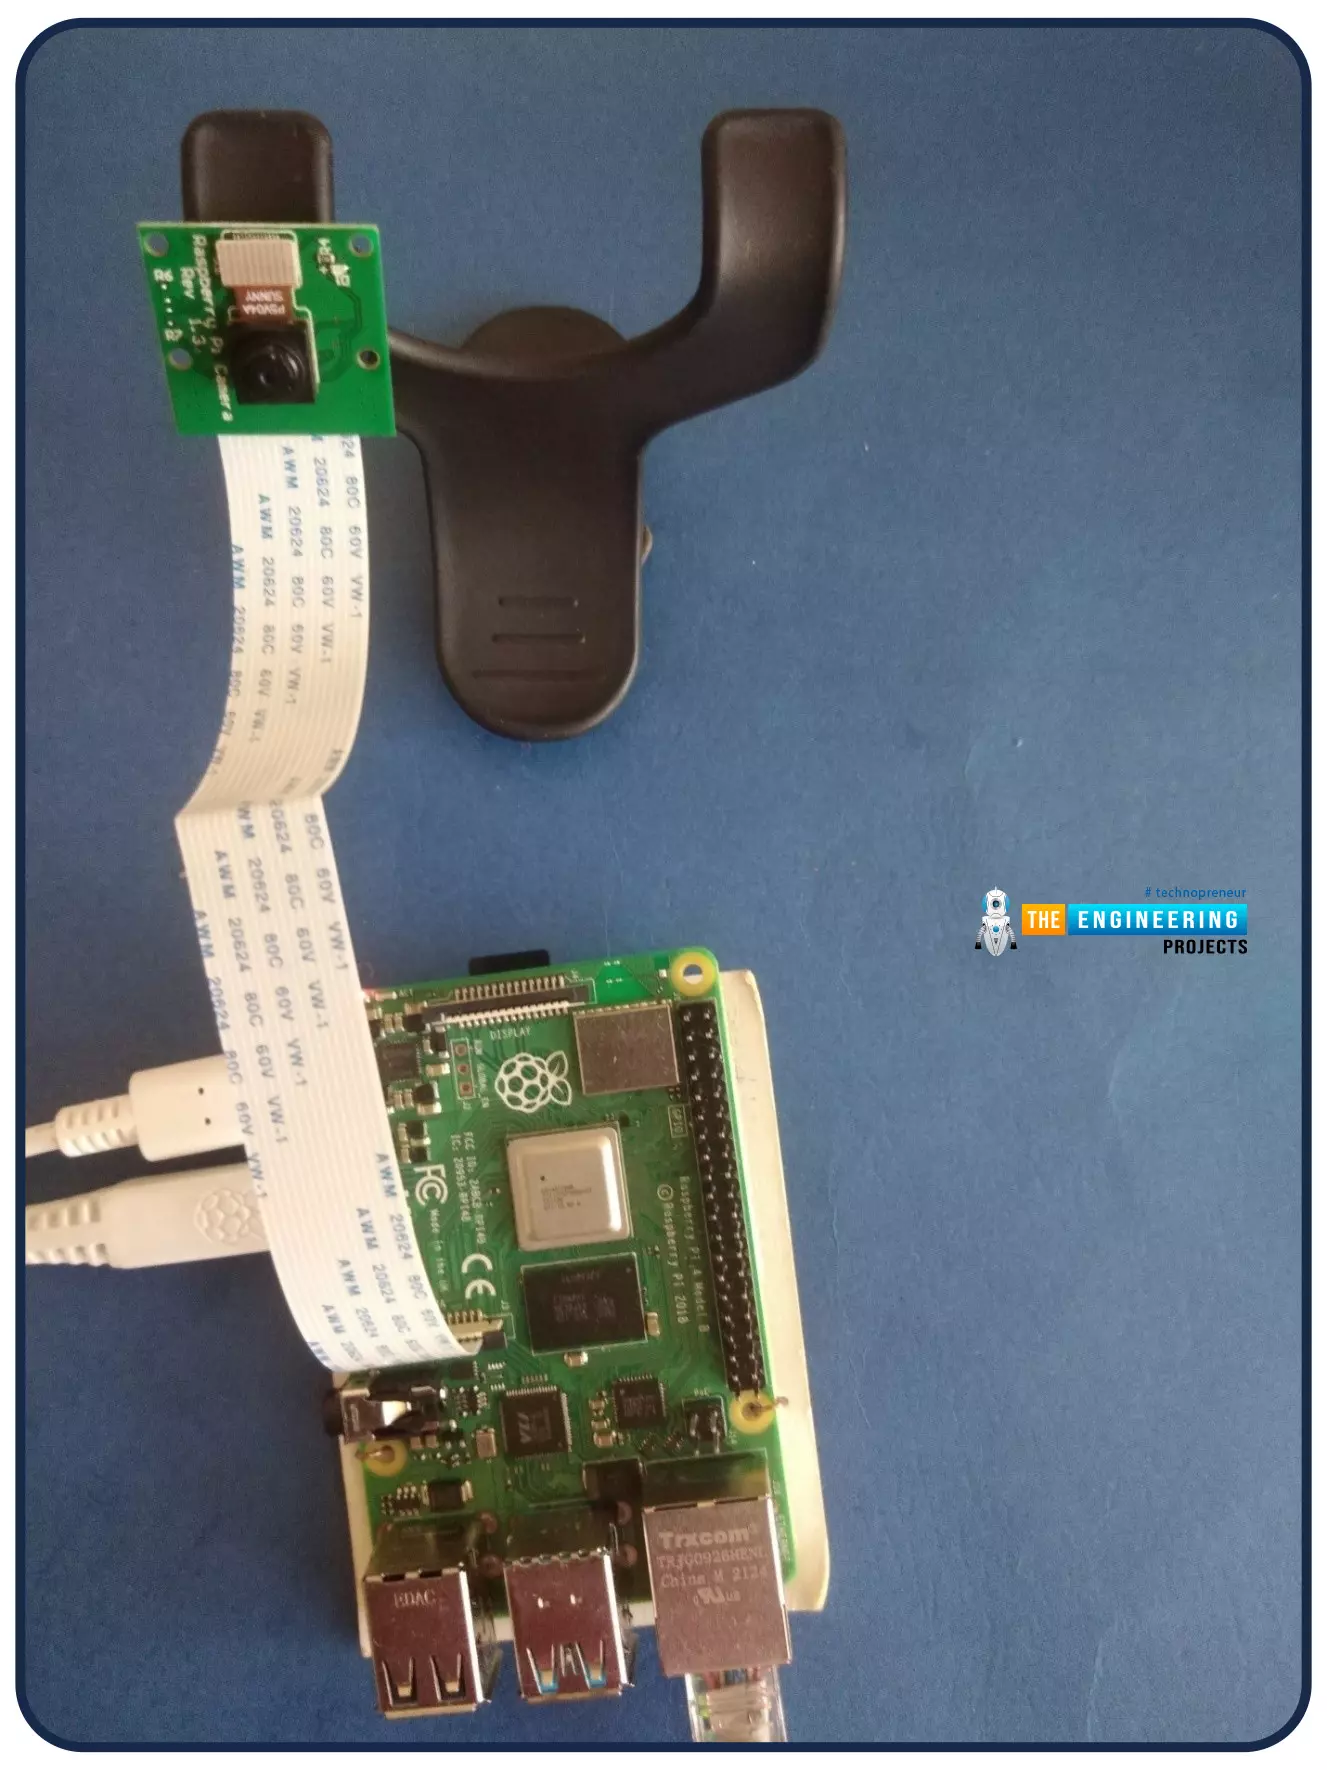
Welcome to the next tutorial of our Raspberry Pi programming course. Our previous tutorial looked at how to Interface DS18B20 with Raspberry Pi 4 . This tutorial will teach us how to create a time-lapse video with still images and understand how phototimer and FFmpeg work. What is time-lapse? When photographing something over a lengthy period, "time-lapse" comes to mind. A video can be created by mixing the still photos. Plant development may be tracked with time-lapse movies, as can the changing of the seasons. They can also be utilized as low-resolution security cameras. Components Raspberry pi 4B Pi camera Connect to the Raspberry Pi Cameras that can be used with the Raspberry Pi are a bit limited. A powered USB hub is required for most webcams that are compatible. For this post, we’ll ...
Hello readers, I hope you all are doing great. In our previous tutorials on raspberry pi Pico, we discussed the basic features, architecture, download and installation of development environments for raspberry Pi Pico programming. In this tutorial, we will learn how to access and control Raspberry Pi Pico and its GPIO pins to implement LED blinking using MicroPython. Introduction Raspberry Pi development boards are quite popular and frequently used among students and hobbyists. But the drawback of Raspberry Pi is their cost i.e., around $35-$45. So when cost of the development board is of prime importance the users prefer to use ESP8266, ESP32, Arduino, PIC etc. over Raspberry Pi. To overcome this drawback, Raspberry Pi foundations designed a new board i.e., Raspberry Pi Pico which is a co ...
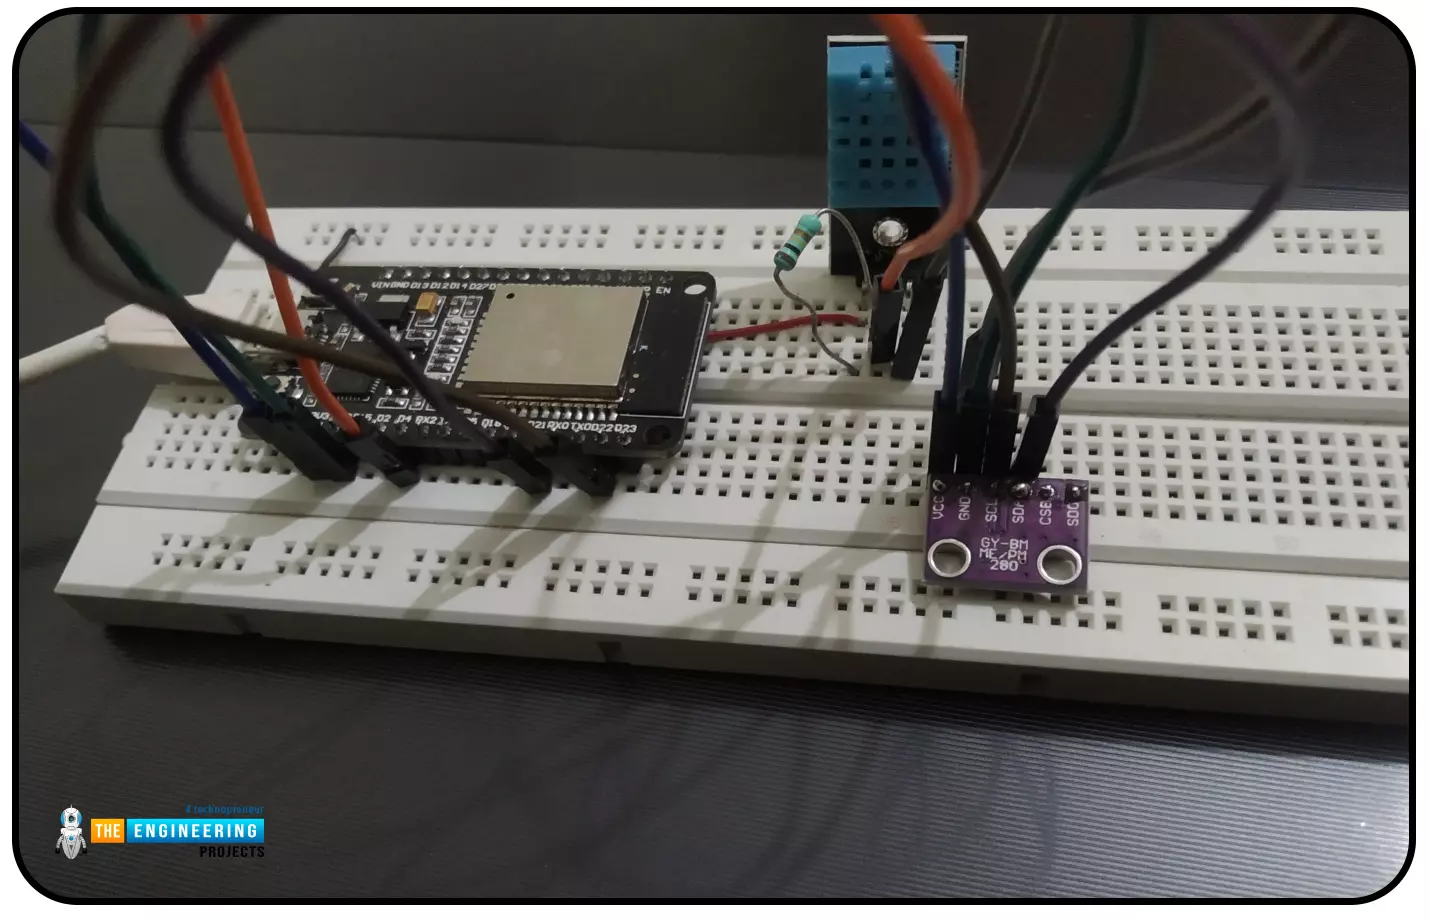
Abstract: This paper is written to represent a web-server based real-time weather monitoring system implemented using the ESP32 module. The system is designed to measure the weather conditions like temperature, pressure, humidity etc, in its vicinity. This system continuously provides real-time data (weather conditions) over limited or controlled areas, for example, agriculture fields, homes or a particular room, industries etc. Although we have satellites for weather monitoring but to perform research over a particular area, the data observed should be highly accurate which is not possible with satellites. To implement an IoT network we need to use a webserver to continuously store and display the real-time data which can be accessed globally. ’ThingSpeak’ is a web service where one can u ...
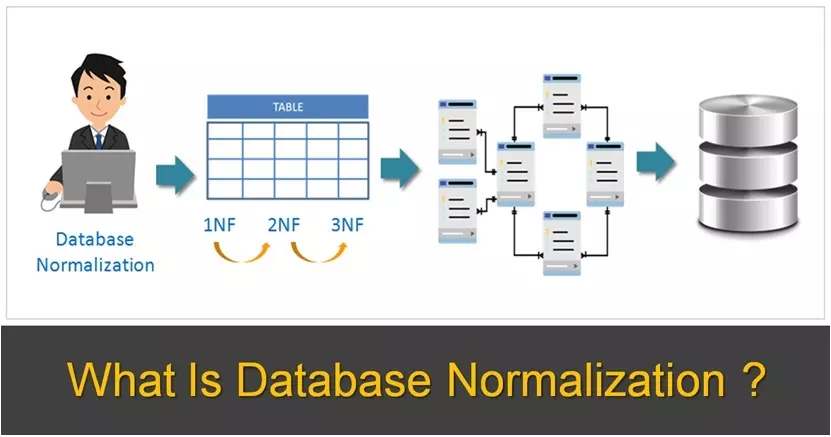
Industries from sales to healthcare rely on data to make business decisions and project key metrics. Tracking troves of customer, purchasing, and logistical data reveals trends that can boost revenue or uncover missed savings. Storing and analyzing big data is essential for process audits. For example, a company’s ongoing shipping audits explained several issues, including patterns of overcharges and delayed deliveries. A customer experience audit can yield similar findings by noting bottlenecks in the customer journey. All of these processes require the input of large sets of readable data. Businesses need a data normalization process to store and filter raw data into useful information that can inform these valuable processes. What is Data Normalization? Data normalization is an automate ...
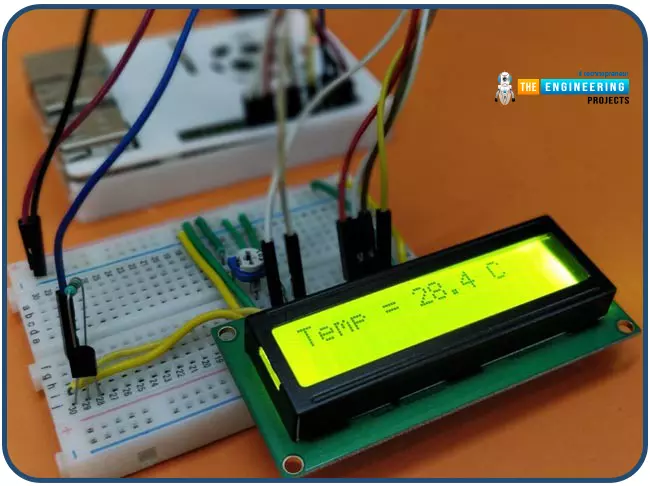
Hello friends, I hope you all are having fun. Today, we are going to share the 7th tutorial of Section-III in our Raspberry Pi Programming Course. In the last tutorial, we interfaced a DHT11 sensor with Raspberry Pi 4 . Today, we are going to interface another temperature sensor i.e. DS18B20 with Raspberry Pi 4. DS18B20 is a popular temperature sensor especially in severe/critical environments i.e. chemical plants, mines, industrial sites etc. because of its 1-wire operational technique and accurate readings up to 4 decimal digits. Project Description Today, we will interface a DS18B20 temperature sensor with Raspberry Pi 4 and will display the values on a 16x2 LCD. Let's have a look at the components required for this project: Components Required Here's the list of components: DS18B20. Ra ...
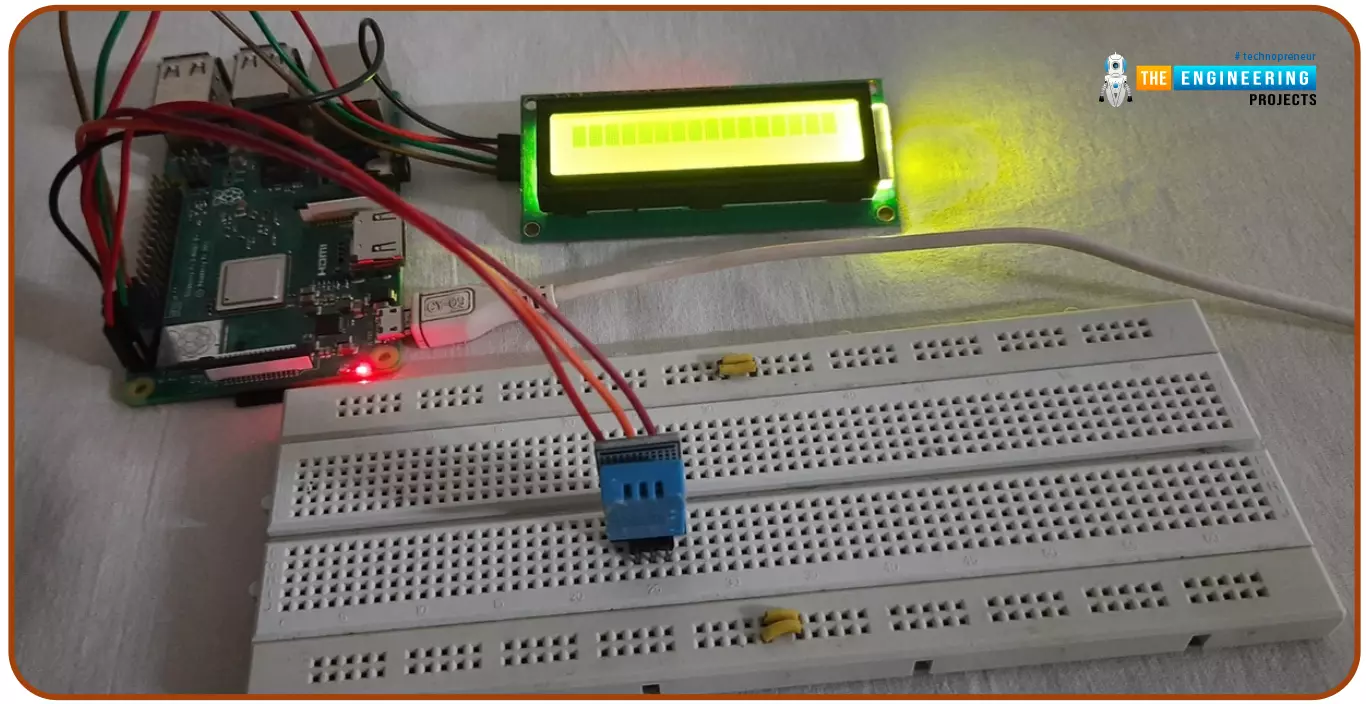
Hello friends, I hope you all are doing great. Today, I am going to share the 6th tutorial of Section-III in the Raspberry Pi Programming Course. In our previous tutorial, we have seen how to interface an Ultrasonic Sensor with Raspberry Pi 4 and used Python to perform its calculations. In today's tutorial, we'll discuss how to interface a DHT11 temperature and humidity sensor to a Raspberry Pi. So, let's get started: Components Here's the list of components, we are going to use in today's circuit: LCD display DHT11 sensor Raspberry pi Breadboard Male-to-female jumper wires What is a DHT11 sensor? DHT11 is a low-cost digital sensor, used to measure temperature and humidity in the surroundings. DHT sensor has three main components i.e. A resistive-type sensor(used to measure humidity) NTC T ...
Hello friends, I hope you all are doing well. Today, I am going to share the 5th tutorial of Section-III in our Raspberry Pi Programming Course. In our previous tutorial, we have seen the interfacing of a PIR Sensor with Raspberry Pi 4 . In today's tutorial, we will interface an Ultrasonic sensor with Raspberry Pi and will use Python to perform its calculations. So, let's get started: Components: Here's the list of components, we are going to use in today's project: Raspberry Pi 4 Ultrasonic sensor Male-to-female jumper wires Breadboard 1k ohm resistor 2k ohm resistor What are Ultrasonic Sensors? An Ultrasonic Sensor consists of a transmitter and a receiver, the transmitter emits the ultrasonic wave, which after hitting some object bounces back and receives by the ultrasonic receiver. If t ...
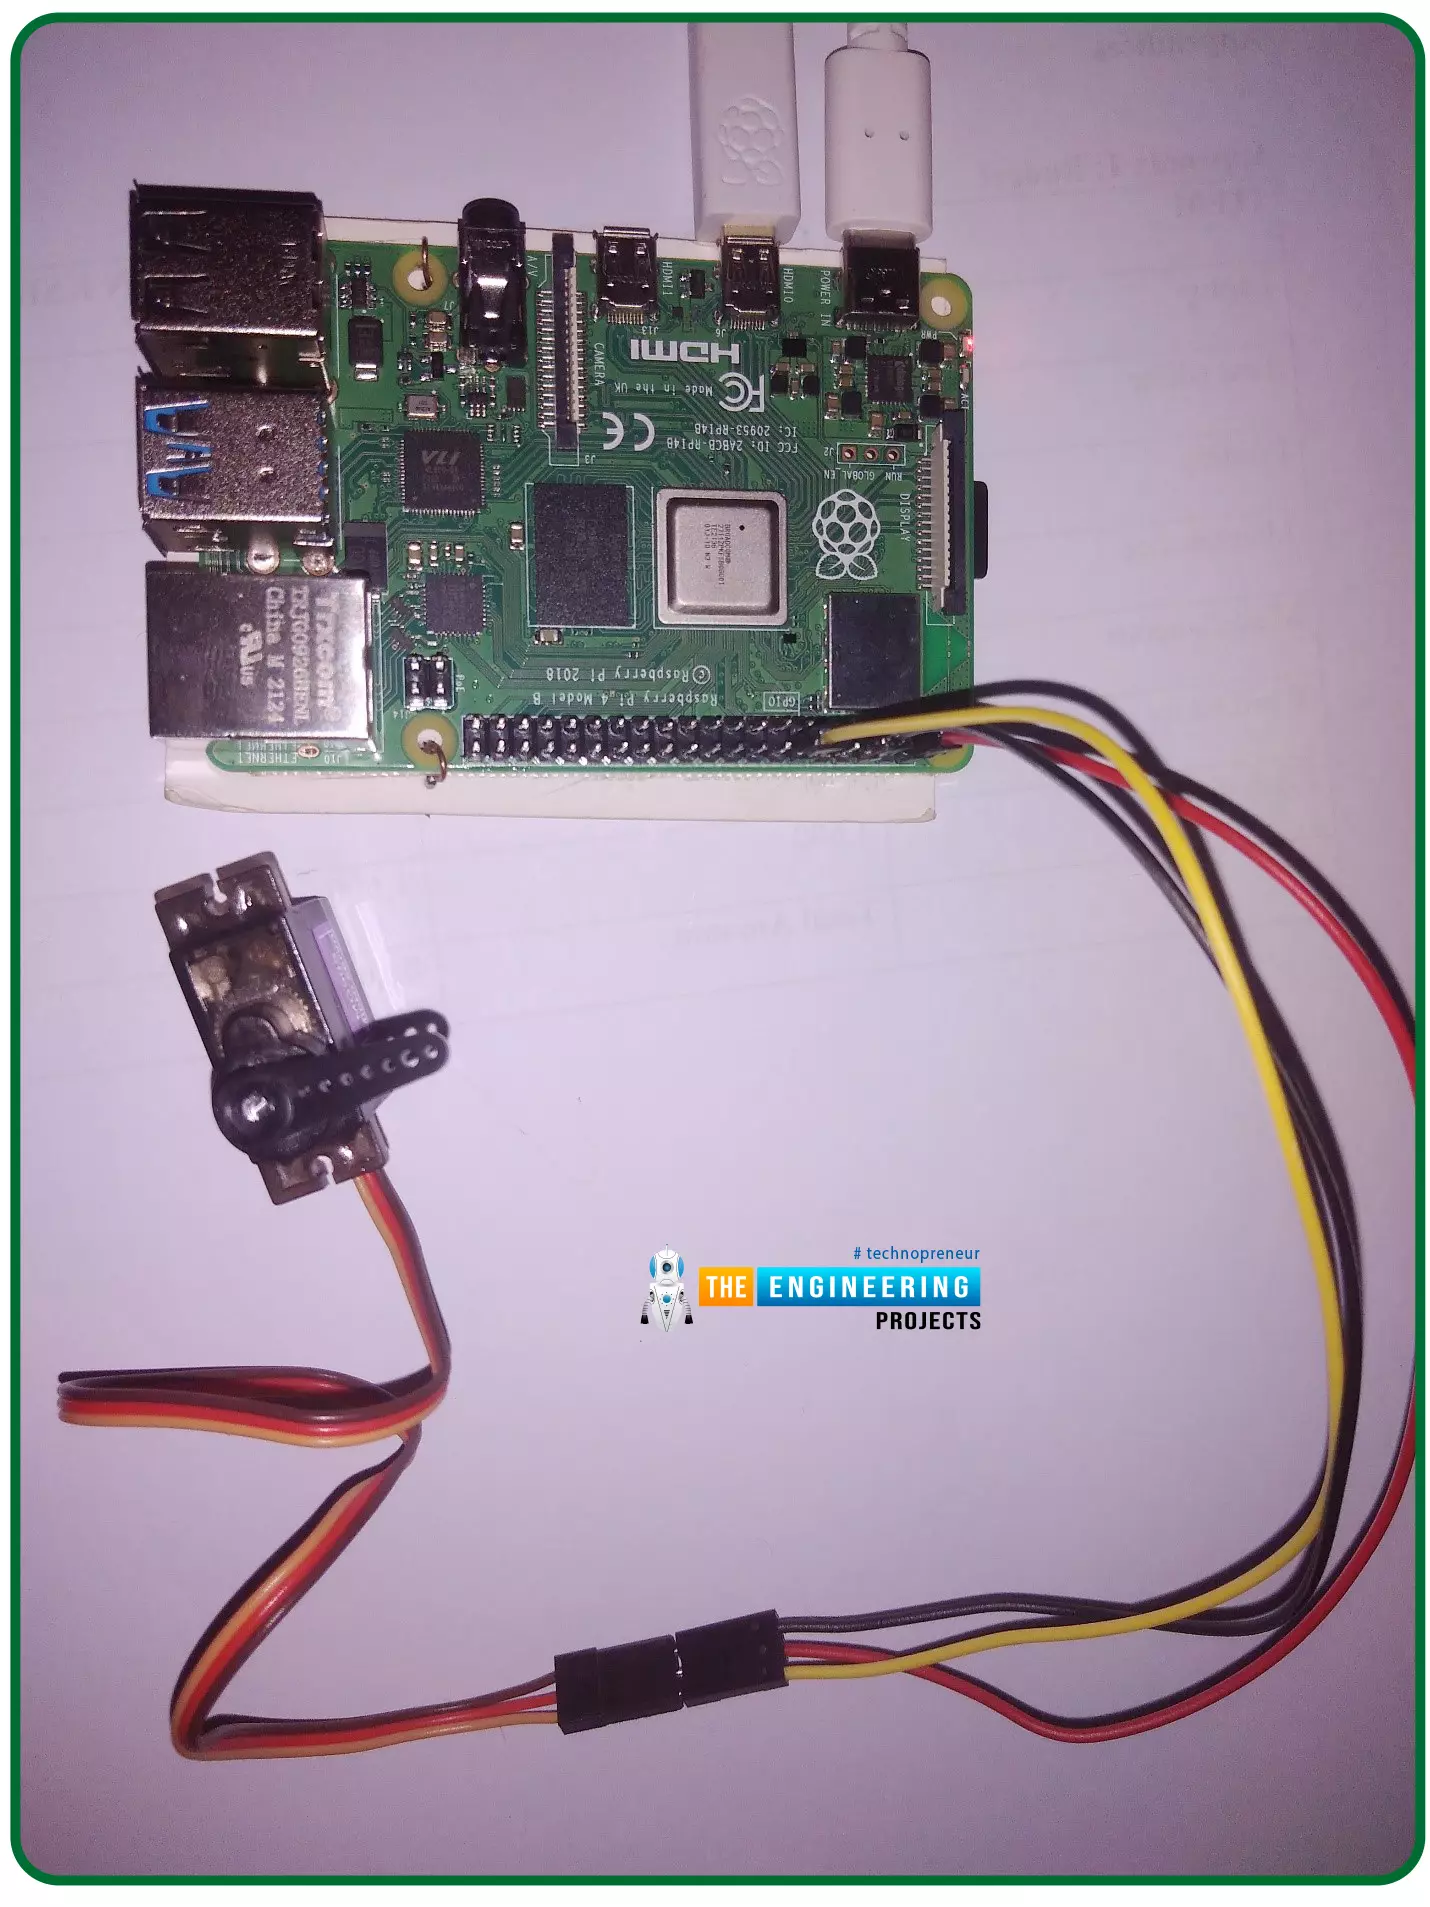
Hello friends, I hope you all are doing well. Welcome to the 11th tutorial of our Raspberry Pi programming course. In the previous chapter, we have seen how to regulate the speed of a Stepper motor with Raspberry Pi 4 . Today, we'll work on the servo motor and will control it with RPi4. So, let's get started: Components Required: We will need the following components to control Servo Motor with Raspberry Pi 4: Raspberry Pi 4. Servo Motor. Male-to-female jumper wires. What is a servo motor? A Servo Motor is a simple DC motor with a position feedback Control System and a gearbox. A Servo Motor's primary advantage is its ability to maintain its shaft's angular position at any desired angle i.e. if we want to keep our shaft at 67 degrees, we can easily achieve that with a servo motor. In most ...
Hello friends, I hope you all are having fun. Welcome to the 10th tutorial of our Raspberry Pi programming course. In the last chapter, PWM was utilized to regulate the DC motor's speed and direction with a motor driver L293D. In this chapter, we'll advance our skills with PWM and use it to control a stepper motor using the same motor driver L293D. Here's the video demonstration of this project: Let's get started: Components Required Here's the list of components, which we will use to control the speed and direction of Raspberry Pi 4: Raspberry Pi 4. Stepper Motor. Motor Driver IC(L293D). Jumper wires. 9V Battery. Breadboard. The Raspberry Pi with desktop is required for this project. An SSH connection can be made, or the RPi can be shown on an LCD screen with a keyboard, and mouse. (We di ...