Hello readers, I hope you are all doing great. Welcome to the 2nd lecture of Section 5(ESP32 Sensors) in the ESP32 Programming Series. In the previous tutorial, we discussed the built-in ESP32 Hall Effect Sensor. In this tutorial, we will discuss another inbuilt sensor of the ESP32 i.e. Capacitive Touch Sensor.
ESP32 Board has 10 built-in capacitive touch pins, which generate an electrical signal when someone touches these pins. These ESP32 touch pins are normally used to wake up the board from deep sleep mode. These touch pins are also used to replace the normal mechanical buttons with touch pads, improving the presentation of the IoT projects.
Here's the video demonstration of the ESP32 Capacitive Touch Sensor:
Before going forward, let's first understand how this touch sens ...
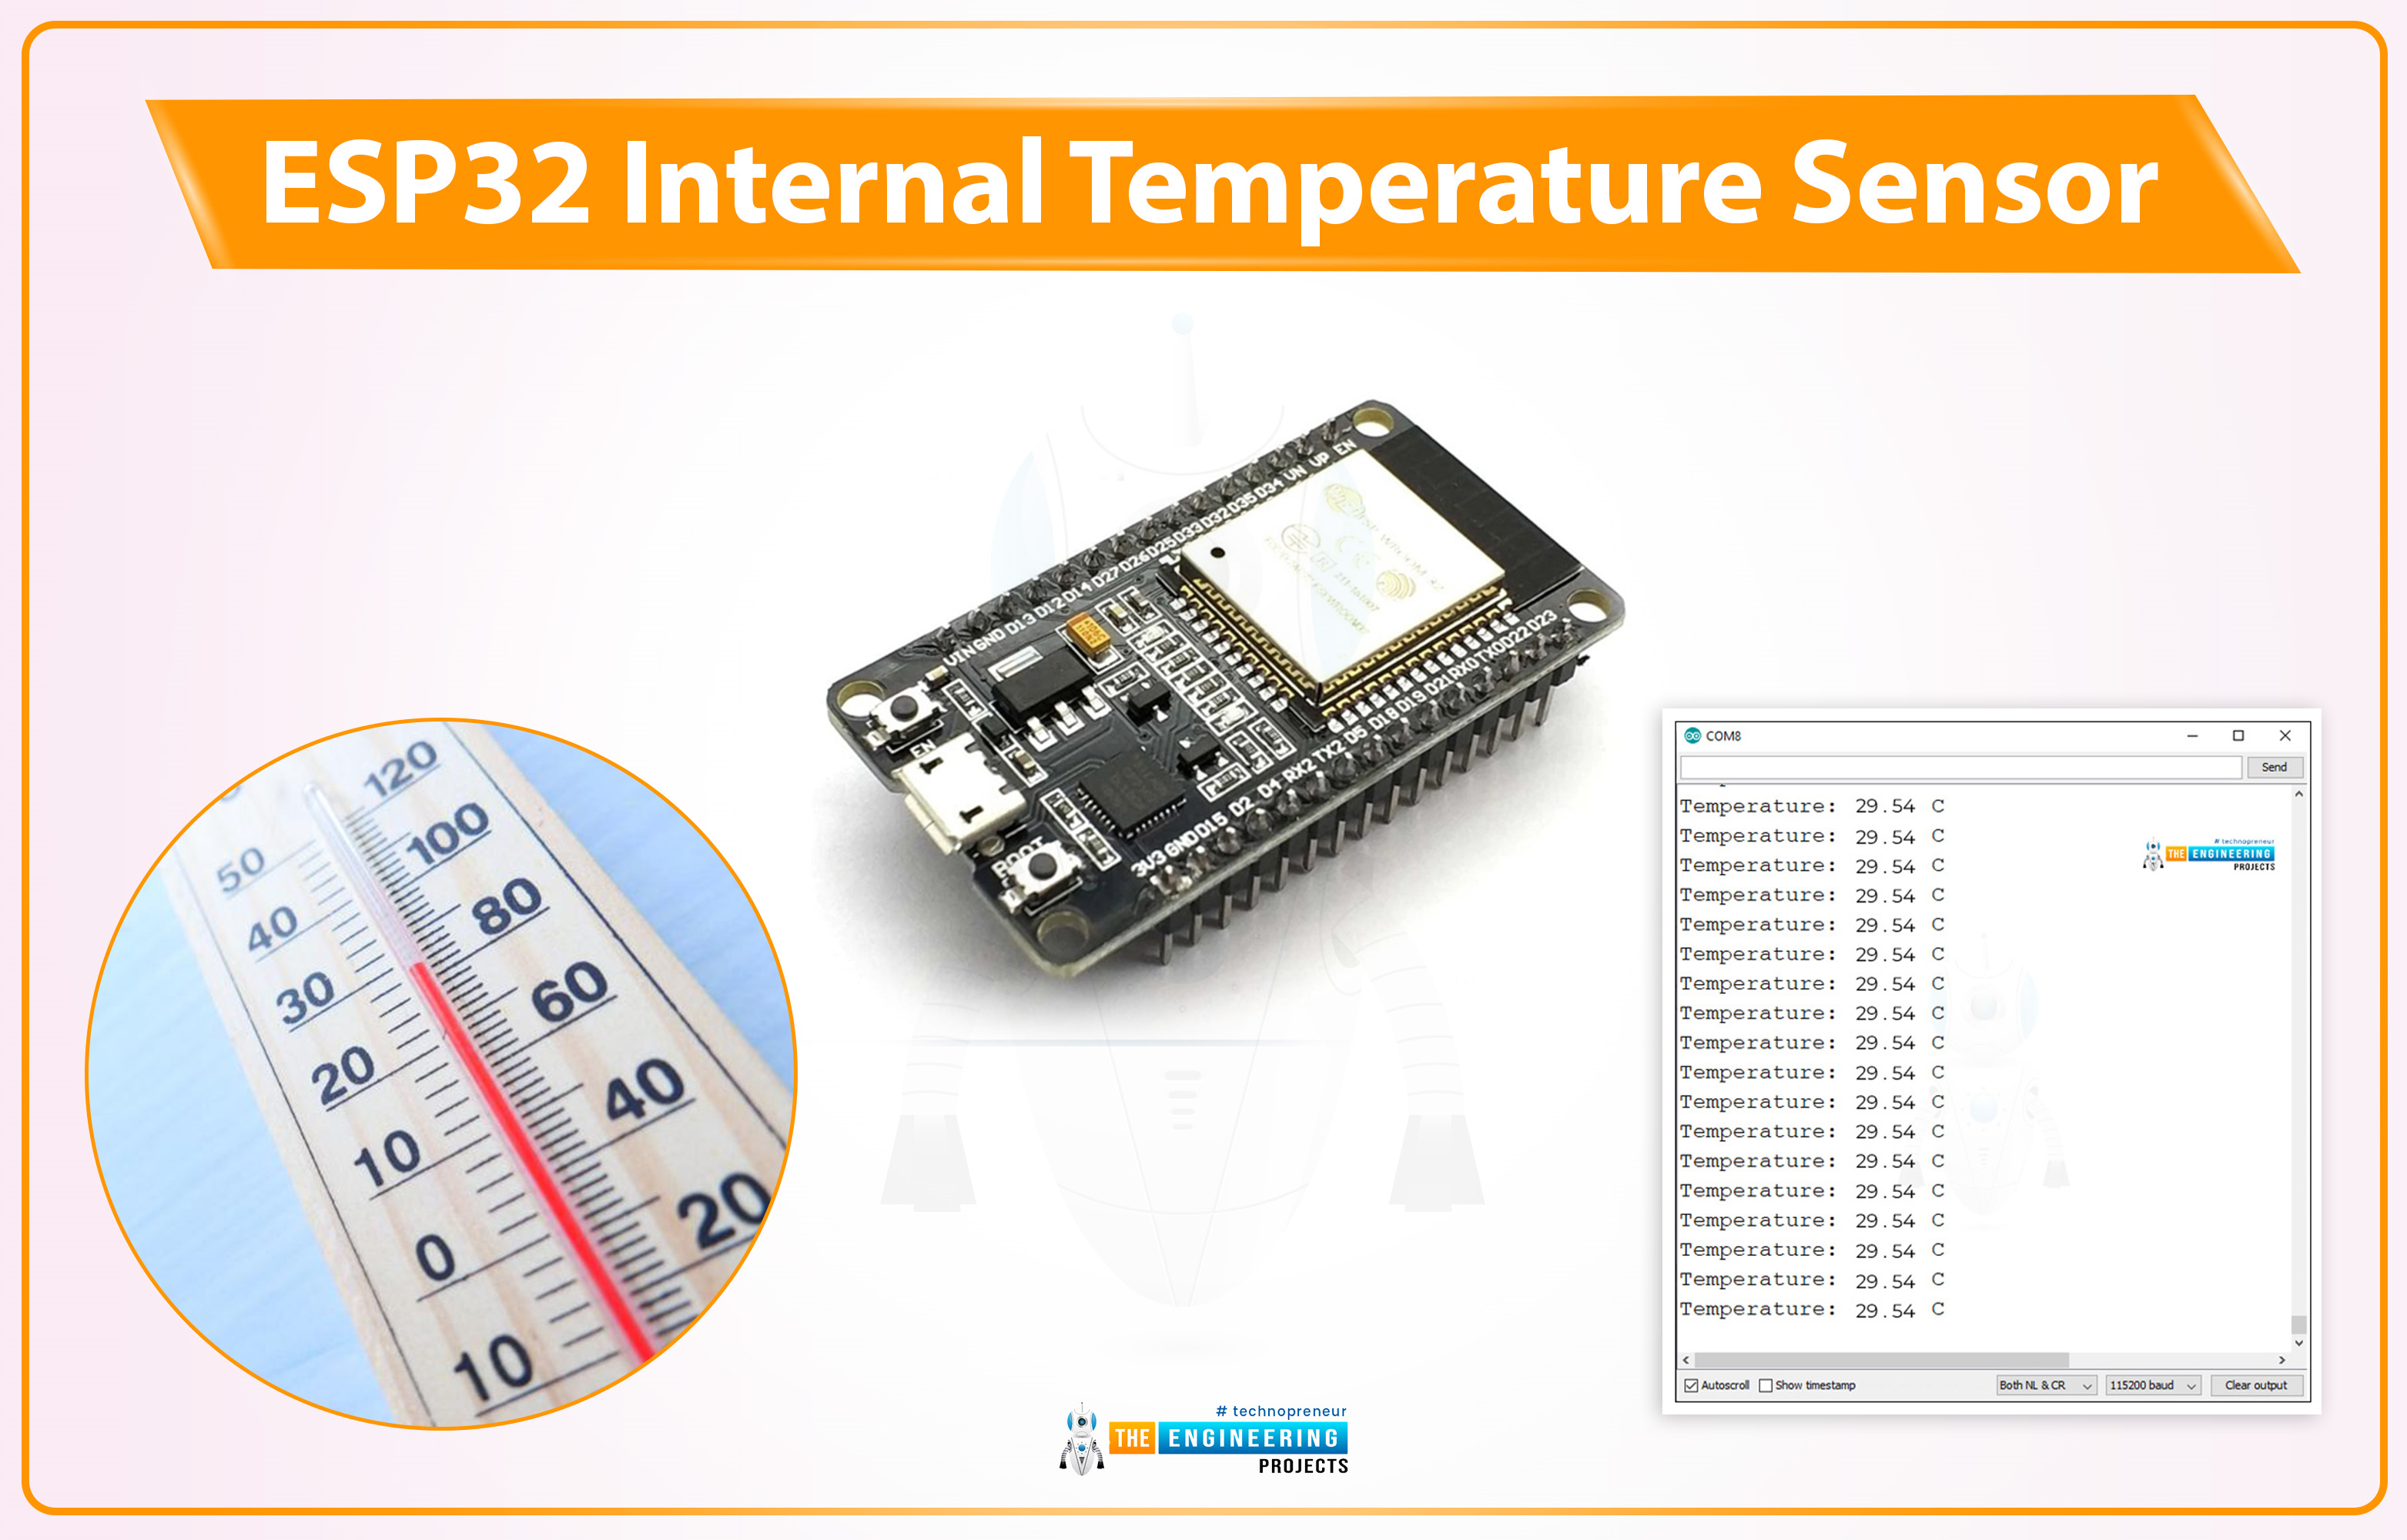
Hello friends, I hope you all are doing great. Welcome to the 3rd lecture of Section 5(ESP32 Sensors) in the ESP32 Programming Series. We have already discussed the two built-in ESP32 sensors i.e. Hall Effect Sensor and Capacitive Touch Sensor. Today, we are going to discuss the 3rd and final built-in ESP32 sensor i.e. Internal Temperature Sensor.
ESP32 Internal Temperature Sensor is used to calculate the temperature of the ESP32 core. So, we can't use it to measure the ambient temperature (the temperature of the atmosphere), for that, we need to use embedded temperature sensors i.e. DS18B20, DHT11, BMP280 etc. We will first discuss the basics of this Internal Temperature Sensor and then will design a code to monitor the change in temperature by changing the frequency of the ESP32 CPU.
...
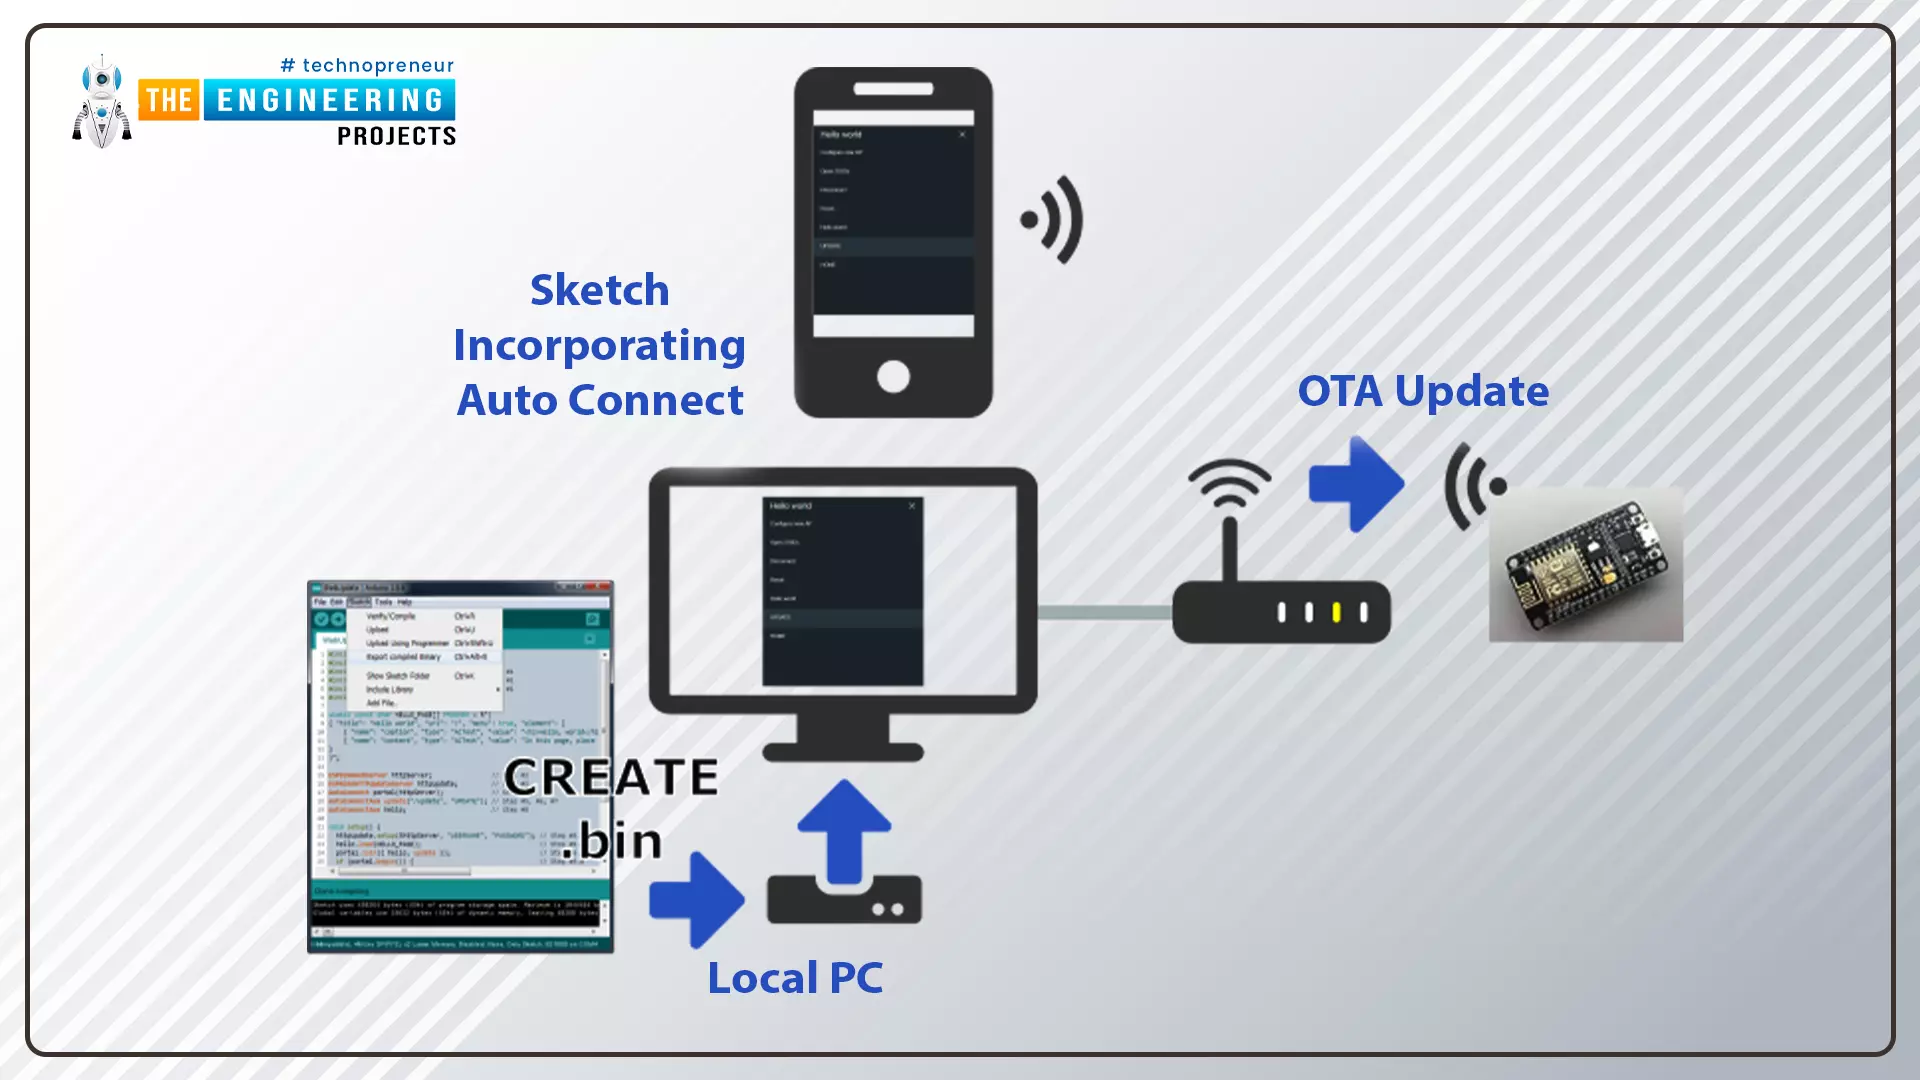
Hello readers, I hope you are all doing great. In this tutorial, we are going to discuss the OTA web updater on the ESP32.
We already covered the fundamentals of OTA programming in ESP32, in our previous tutorial where we used the Arduino IDE to upload OTA code into the ESP32 module using the network port.
In the OTA web updater, you need to create a web server page for OTA programming.
[caption id="attachment_166886" align="aligncenter" width="1920"]
ESP32 OTA web updater[/caption]
Fig.1 ESP32 OTA web updater
Over the Air Web Updater
"Over-the-air" refers to the ability to wirelessly download an application, configuration, or firmware to internet-enabled devices, also known as IoT. (OTA). It functions similarly to our computers, laptops, tab ...
Internet of Things is a system of multiple inter-related computing devices. The factor ‘thing’ in IoT is designated to an entity capable of communicating data over a network (IOT), which can be a digital machine, sensor, human being, animals etc. Each component that is included in IoT network is assigned with an unique identity called UID and the ability to communicate data over IoT network without any external human or computer intervention.
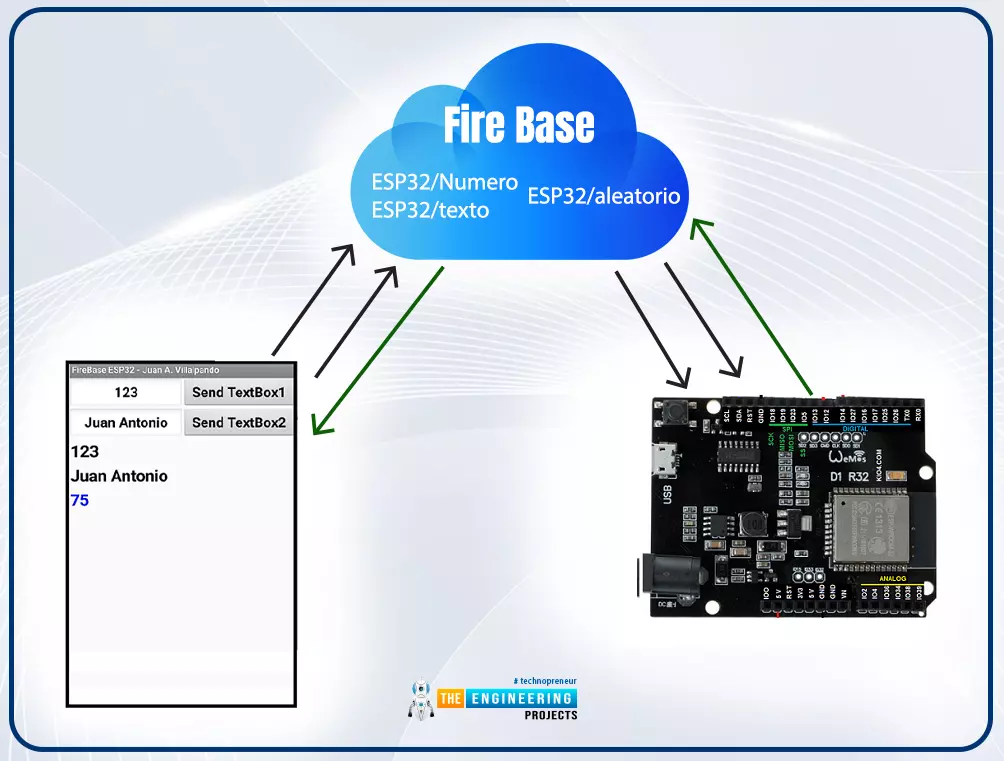
Hello readers, I hope you all are doing great. In our previous tutorial, we discussed how to upload data to Firebase Real-time Database using ESP32. In this tutorial, we will learn how to read the data stored on the Firebase Database with ESP32.
We can access the data stored in Firebase database from anywhere in the world, which makes this preferable ...
Hello readers, I hope you all are doing great. In this tutorial, we will learn how to access Firebase (a real-time database) to store and read values or data with ESP32.
It is Google’s mobile application development platform that can be used to can access, monitor and control ESP32 from anywhere in the world with its (firebase) real-time database.
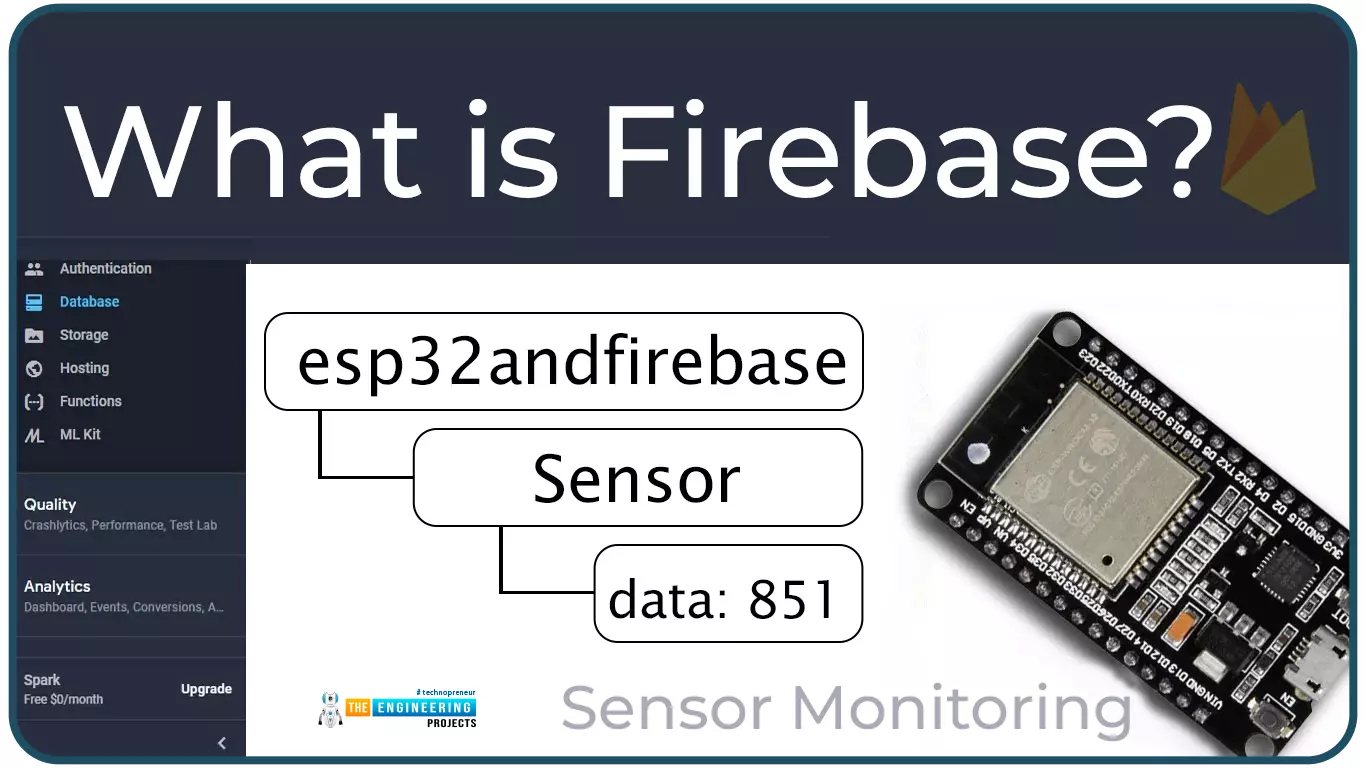
What is Firebase?
Firebase real-time database is a development platform provided by Google which included multiple services to manage and authenticate data.
Firebase is basically a mobile and web app development platform I as works great with Android APIs) that includes features like firebase cloud, real-time data and Firebase authentication etc.
As per Firebase’s official documentation (https://firebase.google.com/docs/database), whenever a us ...
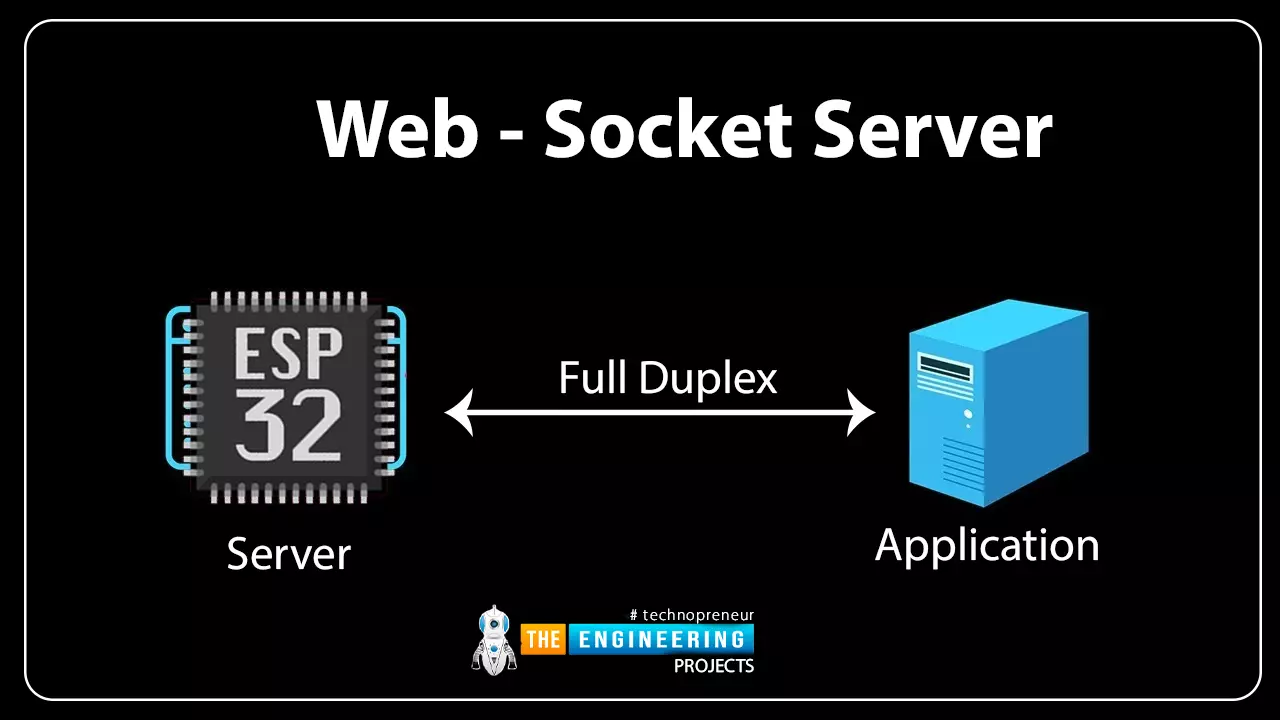
Hello readers, hope you all are doing great. In this tutorial, we will discuss another ESP32 protocol that is Web Socket and we will also explain how to create a web server using web socket protocol with ESP32. So, we will have a look at What is a web socket server, How web socket protocol is different from HTTP protocol, What is handshaking in networking, Three-way handshaking, Web socket application, Creating web socket server using ESP32 module etc. Let's get started:
What is a web socket protocol?
Fig 1 Web-socket server
A Web Socket is a full-duplex (both the server and the client can send and receive data at the same time) computer communication protocol. Web socket protocol, like HTTP (hypertext transfer protocol), also works in server an ...
ESP32 is a powerful chip for Internet of Things applications. This tutorial is also based on another ESP32 application in the field of IoT.
Hello readers, I hope you all are doing great. In the previous tutorial, we learned how to send sensor readings from ESP32 to the cloud (ThingSpeak webserver).
In this tutorial, we will learn to send HTTP POST requests from the ESP32 board to ThingSpeak and IFTTT APIs.
What is HTTP?
Fig. 1 Hypertext Transfer Protocol
HTTP stands for hypertext transfer control and it is a protocol for transferring data between a web client and a web server. Hyper text transfer protocol was invented alongside HTML (Hypertext markup language) to create the first interactive, text-based web browser: the original www or World Wid ...
The Internet of Things ( or IoT) is a network of interconnected computing devices such as digital machines, automobiles with built-in sensors, or humans with unique identifiers and the ability to communicate data over a network without human intervention.
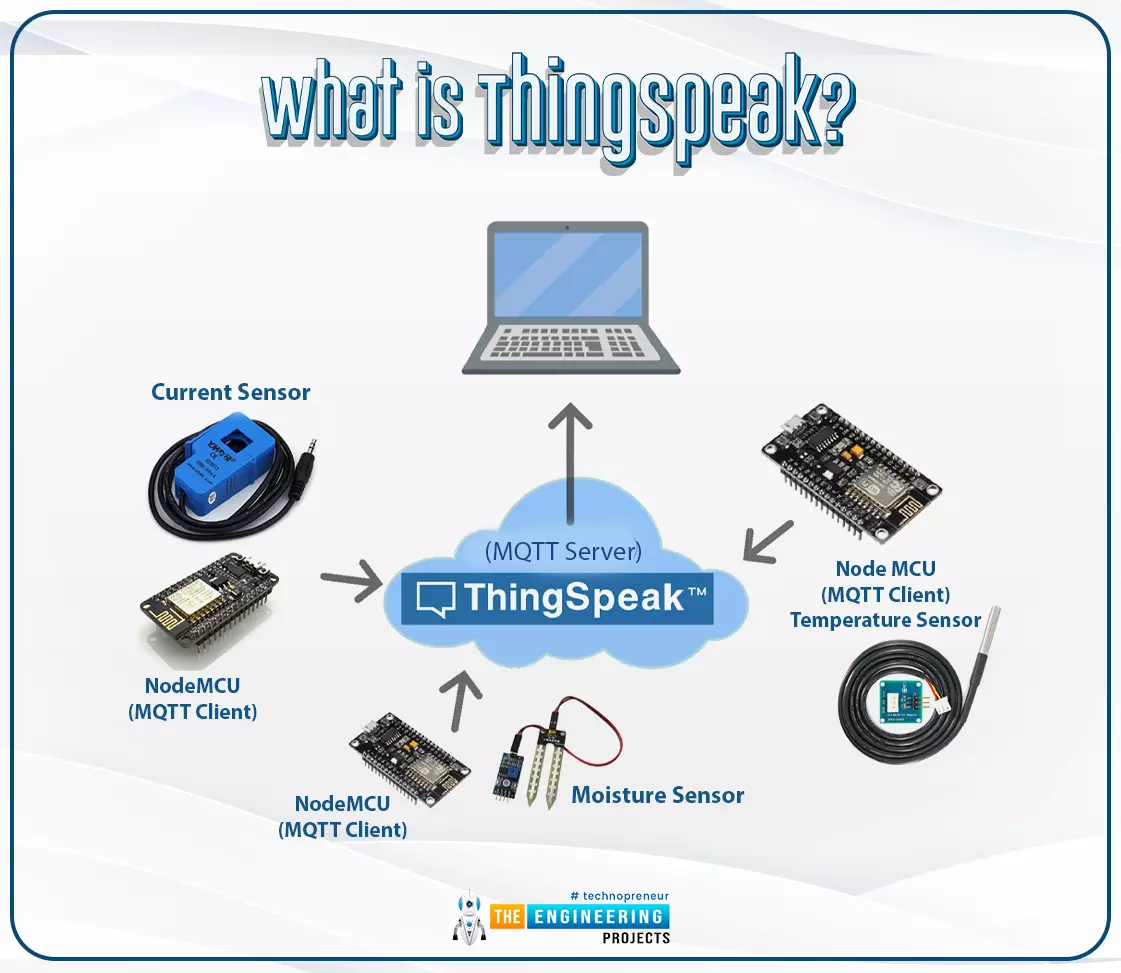
Hello readers, I hope you all are doing great. In this tutorial, we will learn how to send sensor readings from ESP32 to the ThingSpeak cloud. Here we will use the ESP32’s internal sensor like hall-effect sensor and temperature sensor to observe the data and then will share that data cloud.
What is ThingSpeak?
Fig. 1: ESP32 ThingSpeak
It is an open data platform for IoT (Internet of Things). ThingSpeak is a web service operated by MathWorks where we can send sensor readings/data to the cloud. We ...
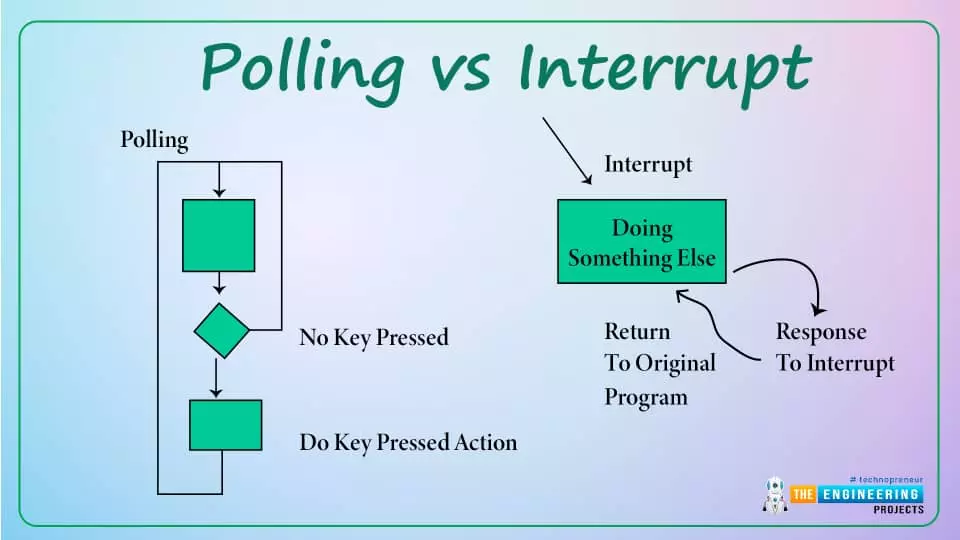
Hello readers, hope you all are doing great. Today, we will discuss interrupts and timers in ESP32 and how to handle internal as well as external interrupts. So, we will discuss What is interrupt, Polling, ESP32 interrupt, Software interrupts, Hardware Interrupts, IRS (Interrupt Service routine), Steps to execute an interrupt or how is an interrupt handled in the microcontroller, Code description for ESP32 interrupts with Arduino IDE, Code description for hardware interrupts, Why is it preferred to use timer to add delay instead of using delay() function. So, let's get started:
What is Interrupt?
Interrupts are used when a micro-controller needs to continuously monitor for an event while the same micro-controller is executing a particular task ...
Hello readers, I hope you all are doing great. In this tutorial, we will learn how to interface the BMP280 sensor with the ES32 module to get temperature, pressure and altitude readings. Later, in this tutorial, we will also discuss how to upload these sensor readings to a web server.
BMP280
BMP280 or Barometric pressure sensor is a module used to measure temperature pressure and altitude. The small size and low power consumption feature of this sensor makes it feasible for battery-powered devices, GPS modules and mobile applications etc.
Fig. 1 BMP280 Sensor
The BMP280 is the product of BOSCH which is based on Bosch’s proven Piezo-resistive pressure sensor technology featured with high accuracy, long term stability, linearity and high EMC robus ...