Hello readers, I hope you all are doing great. This is the second tutorial of the Raspberry Pi programming series. In our previous tutorial, we discussed the basic features and hardware architecture of Raspberry Pi Pico.
In this tutorial, we will discuss the various available development environments for programming the Raspberry Pi Pico. Later, in this tutorial, we will also discuss the installation of Visual Studio Code for Pi Pico programming.
Fig. Raspberry Pi Pico
RP2040 supports multiple programming languages like C/C++, Circuit python, and MicroPython cross-platform development environments. Raspberry Pi Pico module consists of a built-in UF2 bootloader enabling programs to be loaded by drag and drop and floating point routines are bake ...
Hello readers, I hope you all are doing great. In our previous tutorial, we discussed the installation procedure of Visual Studio Code for programming Raspberry Pi Pico.
We have already mentioned in our previous tutorials that RP2040 or Raspberry Pi Pico supports multiple programming languages like C/C++, Circuit python, MicroPython cross-platform development environments. Raspberry Pi Pico module consists of a built-in UF2 bootloader enabling programs to be loaded by drag and drop and floating-point routines are baked into the chip to achieve ultra-fast performance.
There are multiple development environments to program a Raspberry Pi Pico board like Visual Studio Code, Thonny Python IDE, Arduino IDE etc.
So, in this tutorial, we will learn how t ...
Hi Guys! I welcome you on board. In this post today, we’ll study What is Raspberry Pi Pico? We’ll also detail Raspberry Pi Pico Pinout, Specs, Projects & Datasheet.
Raspberry Pi Pico is a little different from other modules introduced by Raspberry Pi Foundation. This unit is similar to Arduino Nano and is called a microcontroller board that incorporates a powerful RP2040 chip. This is different from other single-board computers that fall under the Raspberry Pi series. It is not a computer but a microcontroller board.
I suggest you buckle up as I’ll explain Raspberry Pi Pico in detail.
Let’s get started.
What is Raspberry Pi Pico?
Raspberry Pi Pico is a microcontroller board (released on 21 Jan 2021) mainly developed for robotics and embe ...
Hello readers, I hope you all are doing great. In our previous tutorial, we discussed the implementation of pulse width modulation (PWM) in Raspberry Pi Pico using the MicroPyton programming example. We also implemented the LED brightness control program to demonstrate an application of the pulse width modulation technique.
In this tutorial, we are going to implement another application of pulse width modulation technique which is ‘Direction and position control of a servo motor’ with Raspberry Pi Pico module and MicroPython programming language.
Later in this tutorial, we will also discuss how to control the position of a servo motor with push buttons (to be used as control inputs) and also to use LEDs for indication purposes.
What is Servo Motor?
Before interfacing the servo motor with ...
Hello readers, I hope you all are doing great. In this tutorial, we will learn how to interface the PIR sensor to detect motion with the Raspberry Pi Pico module and MicroPython programming language. Later in this tutorial, we will also discuss the interrupts and how to generate an external interrupt with a PIR sensor.
Before interfacing and programming, the PIR and Pico boards let’s first have a look at the quick introduction to the PIR sensor and its working.
Fig. 1 Raspberry Pi Pico and PIR sensor
PIR motion sensor and its working
PIR stands for Passive Infrared sensors and the PIR module we are using is HC-SR501. As the name suggests the PIR or passive infrared sensor, produces TTL (transistor transistor logic) output (that is either HIGHT o ...
Hello readers, I hope you all are doing great. This is the first tutorial of our Raspberry Pi programming series. In this tutorial, we are going to provide a brief description of the Raspberry Pi Pico module designed and developed by the Raspberry Pi organization itself. We will also discuss various features, memory, peripherals interfacing capabilities, hardware architecture, programming techniques etc.
Before moving towards the detailed study of the Raspberry Pi Pico module, let’s first understand the traditional Raspberry Pi Computers.
What is Raspberry Pi?
Raspberry Pi is a single-board computer or a minicomputer. It was created with the goal of making computing knowledge more accessible to those who cannot afford laptops or desktop computers ...
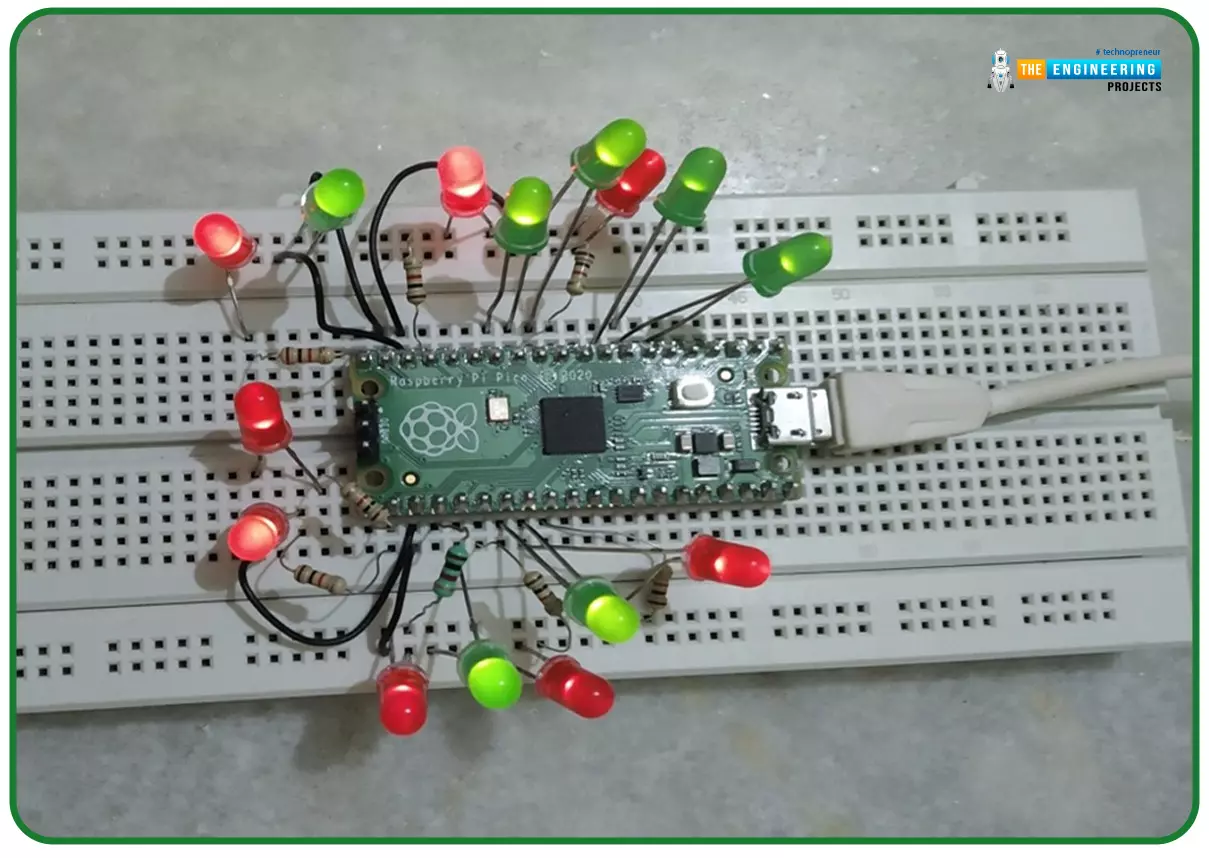
Hello readers, I hope you all are doing great. In our previous tutorials on raspberry pi Pico, we discussed the basic features, architecture, download and installation of development environments for raspberry Pi Pico programming. In this tutorial, we will learn how to access and control Raspberry Pi Pico and its GPIO pins to implement LED blinking using MicroPython.
Introduction
Raspberry Pi development boards are quite popular and frequently used among students and hobbyists. But the drawback of Raspberry Pi is their cost i.e., around $35-$45. So when cost of the development board is of prime importance the users prefer to use ESP8266, ESP32, Arduino, PIC etc. over Raspberry Pi. To overcome this drawback, Raspberry Pi foundations designed a new board i.e., Raspberry Pi Pico which is a ...
Hello readers, I hope you all are enjoying our Raspberry Pi Pico programming series. In our previous tutorials, we learned how to access Raspberry Pi Pico’s GPIO pins for both input as well as output operations. For demonstration, we used LED as an output component and a push button as an input component.
Now let’s learn how to interface sensor modules with the Raspberry Pi Pico module. So, in this tutorial, we will learn how to interface the DHT11 sensor with the Raspberry Pi Pico module and fetch the observed data (from its surrounding) using the MicroPython programming language.
Before writing the code for interfacing and fetching the data from the respective sensor, let’s first have a look at the working operation, features and properties of the DHT sensor.
...
Hello readers, I hope you all are doing great. In our previous tutorial, we discussed the implementation of LED interfacing and blinking program with Raspberry Pi Pico using MicroPython programming language. So continuing with our previous tutorial, in this tutorial we will learn how to control the LED brightness using PWM (pulse width modulation technique).
As we mentioned above, in our previous tutorial we implemented the LED blinking program with a Raspberry Pi Pico board. Blinking an LED means turning ON and OFF and thus the process involves only two states that are ‘1’ (HIGH) and ‘0’ (LOW). But, sometimes it is required to change the digital output between these two (ON and OFF states) for example changing the LED brightness. PWM or Pulse Width Modulation technique is used to change ...
Hello readers, I hope your all are doing great. We know that a Raspberry Pi Pico module comes with multiple inbuilt features for example onboard memory, processing units, GPIOs or General Purpose Input Outputs (used to control and receive inputs from various electronic peripherals) etc.
In our previous tutorials, we discussed how to access GPIO pins of the Raspberry Pi Pico module for both input as well as output operations.
In this tutorial, we are going to discuss another important feature of the Raspberry Pi Pico module (RP2040) which is Dual Core Processor. The Pico board features with 133MHz ARM Cortex-M0+, Dual Core Processor. This dual-core feature makes the Pico module capable of multiple thread execution or multithreading.
Now before writing the MicroPython program let’s first un ...