Introduction
Welcome to the next tutorial in our raspberry pi programming. In the previous tutorial, we learned how we could run Xbox cloud on our pi 4. We found that we can run any game easily without lag or having raspberry pi shut down, proving that pi 4 is quite a powerful minicomputer. However, this tutorial will demonstrate how to use Python on raspberry to monitor websites. This Python program will execute on Pi 4 and watch over a website, alerting you whenever it changes or goes down. This is accomplished by keeping a straightforward webpage duplicate locally and monitoring for updates. This webpage monitor is straightforward, so it should work well on pi Zero. Throughout this tutorial, we will demonstrate how to develop your custom code to monitor a webpage. With this information ...
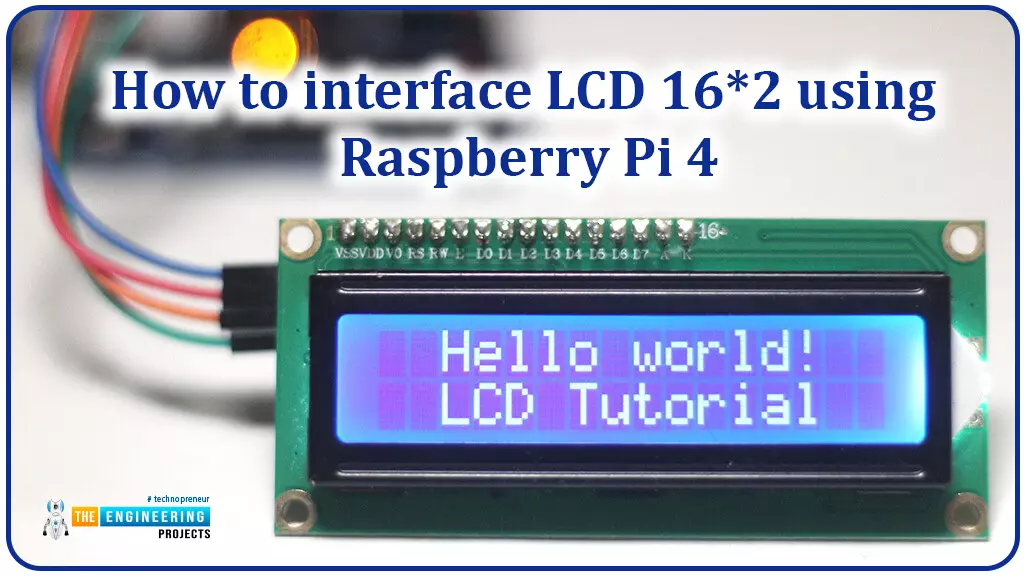
Hello friends, I hope you all are doing great. Today, I am going to share the 6th lecture in the Raspberry Pi 4 Programming series. We're glad you could join us for another lesson in our comprehensive Raspberry Pi programming guide. In today's guide, I'll show you how to interface a 16x2 LCD screen with Raspberry Pi 4.
So, let's get started:Interface LCD 16x2 with Raspberry Pi 4Today, we are going to interface a 16x2 LCD screen with Raspberry Pi 4. At first, we will print the "Hello World" text on the LCD, and in the last section, we will implement the scrolling and blinking of text on the LCD.Here's the video tutorial on LCD interfacing with Raspberry Pi 4:Components RequiredWe will need the following components for today's project:Raspberry Pi 4.M ...
Thank you for joining us for yet another session of this series on Raspberry Pi programming. In the previous tutorial, we built a motion sensor-based security system with an alarm. Additionally, we discovered how to use Twilio to notify the administrator whenever an alarm is triggered. However, in this tutorial, we'll learn how to build a stop motion film system using raspberry pi 4.
What you will make
With a Raspberry Pi, Py, and a pi-camera module to capture images, you can create a stop-motion animated video. In addition, we'll learn about the various kinds of stop motion systems and their advantages and disadvantages.
The possibilities are endless when it comes to using LEGO to create animations!
...
Hello friends, I hope you all are doing well. Today, I am going to share the 5th tutorial of Section-III in our Raspberry Pi Programming Course. In our previous tutorial, we have seen the interfacing of a PIR Sensor with Raspberry Pi 4. In today's tutorial, we will interface an Ultrasonic sensor with Raspberry Pi and will use Python to perform its calculations. So, let's get started:
Components:Here's the list of components, we are going to use in today's project:
Raspberry Pi 4
Ultrasonic sensor
Male-to-female jumper wires
Breadboard1k ohm resistor
2k ohm resistor
What are Ultrasonic Sensors?
An Ultrasonic Sensor consists of a transmitter and a receiver, the transmitter emits the ultrasonic wave, which after hitting some ob ...
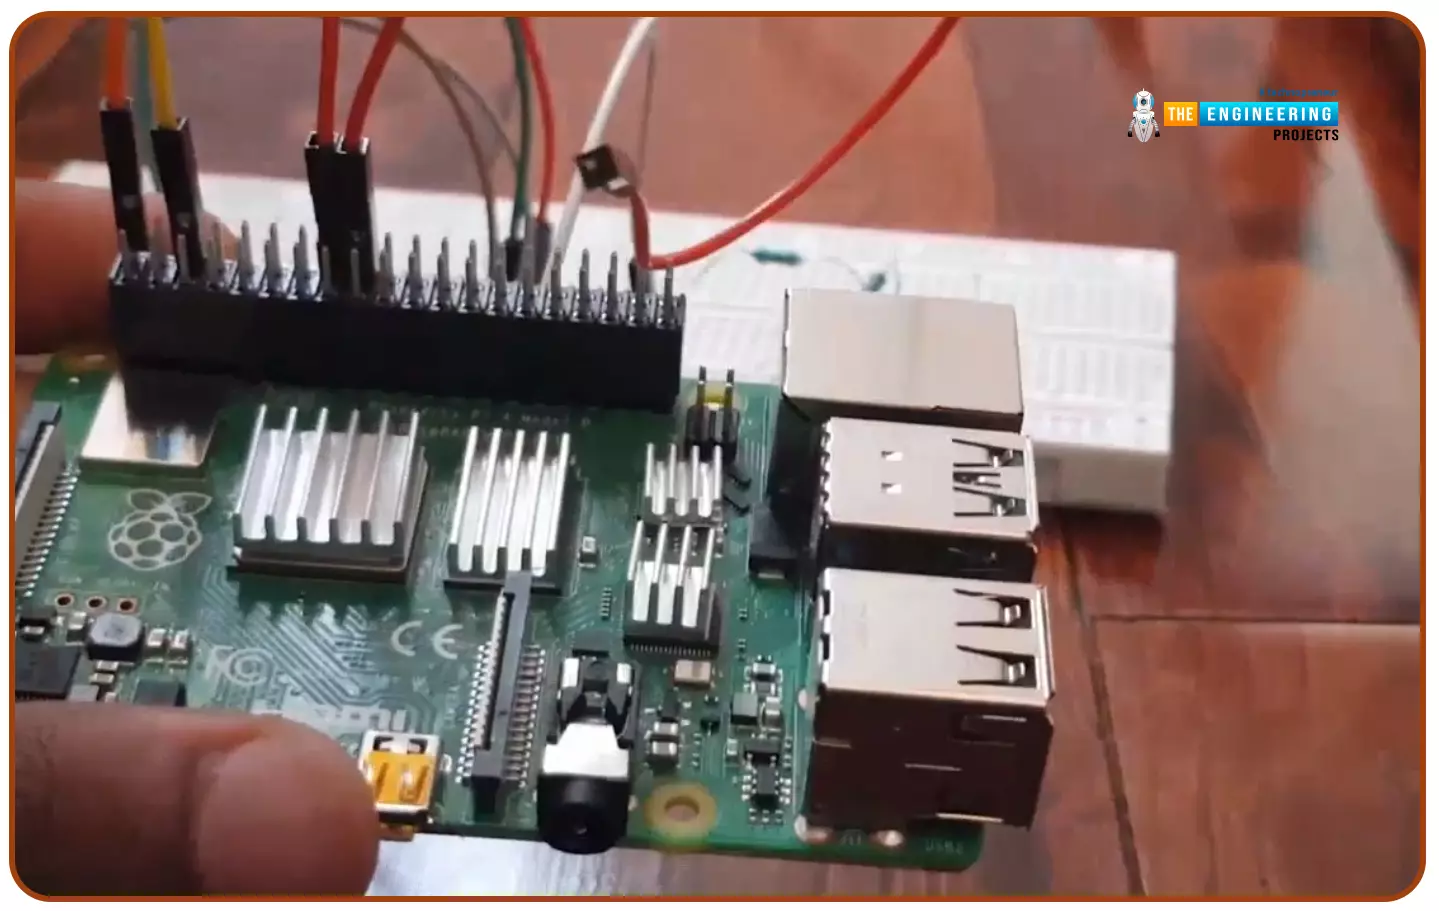
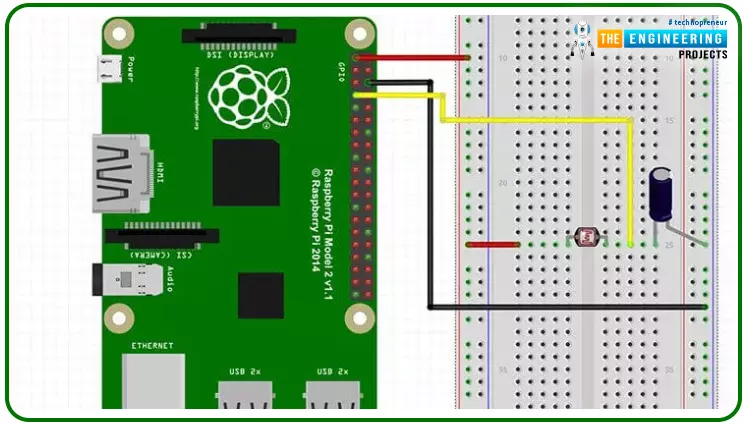
Hello friends, I hope you all are doing great. Today, we are going to start Section-III of our Raspberry Pi 4 Programming Course. In this section, we will interface different Embedded Sensors with Raspberry Pi 4. Today's our first lecture in Section-III, so I am going to interface a simple LDR sensor with RPi4.
So, let's get started:
Components Required:
The following items are required to finish this Raspberry Pi
photoresistor module guide. You don't need a breadboard to accomplish
this, but having one would be helpful.Raspberry pi 4BreadboardPhotoresistor LDRJumper wires1uF Capacitor
What is a photoresist?
It is a common practice to employ photoresistors to determine the presence or absence of visible light or to quantify the amount of ...
Following up on our Raspberry Pi programming course is the next lesson. In the previous post, we learned how to construct an FM radio using a Raspberry Pi. Analog FM broadcasting's circuit construction was also studied in detail. How to use a Raspberry Pi as an internet speed meter and save the data in Grafana or Google Drive is the subject of this article.
You can use this article if you want to keep track of how your downloads, uploads, and ping speeds change over time, and it's easy to use. In addition, you can use this to determine when your internet is at its busiest or if your internet speed has deteriorated. We'll demonstrate how to use Ookla's Internet speed test command-line interface in conjunction with Python code to create an internet speed meter.
...
Welcome to the next tutorial of our raspberry pi 4 programming course. The last guide covered connecting a Sharp infrared distance measurement sensor to a Raspberry Pi 4. Infrared (IR) sensors were demonstrated to be widely used for nearby object recognition and motion tracking. But in this session, we'll utilize Raspberry Pi 4 to create a radio-frequency (RF) remote control that can be used to operate the gadgets wirelessly. With the help of this RF remote control, we can Power On/Off the devices.
Components
Transmitter Side
RF Transmitter
HT12E IC
4 Push Buttons
750k resistor
9 Volt battery
Receiver Side
Raspberry Pi
16x2 LCD
10K POT
Breadboard
1K Resistor (Five)
33K resistor
HT12D IC
RF Receiver
LEDs (Five)
4 10K resistor
Jumper wires
RF Module
This ...
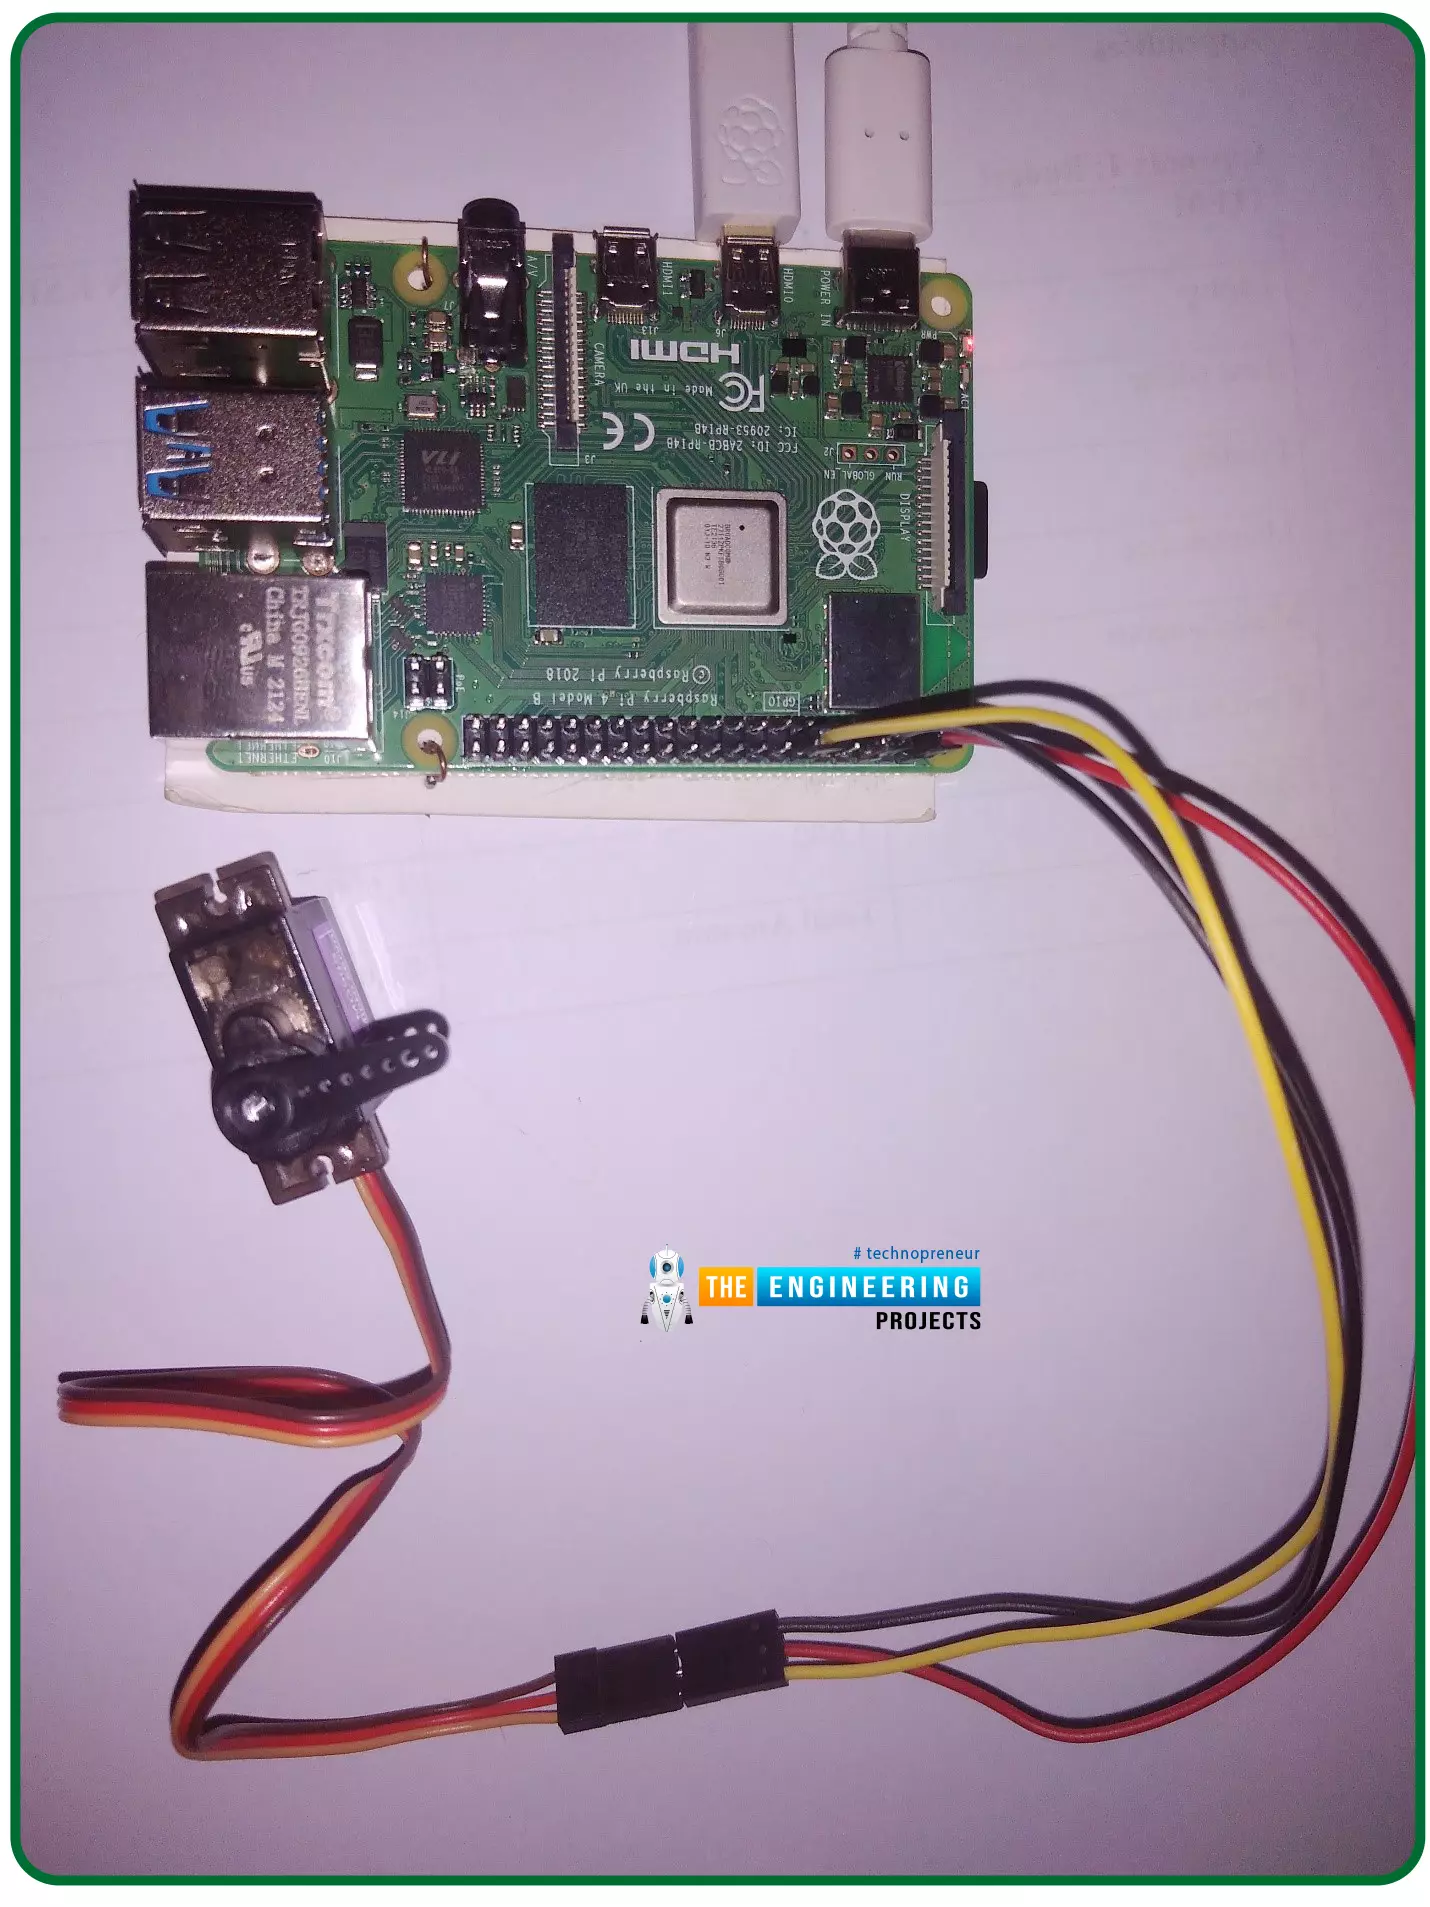
Hello friends, I hope you all are doing well. Welcome to the 11th tutorial of our Raspberry Pi programming course. In the previous chapter, we have seen how to regulate the speed of a Stepper motor with Raspberry Pi 4. Today, we'll work on the servo motor and will control it with RPi4. So, let's get started:
Components Required:We will need the following components to control Servo Motor with Raspberry Pi 4:
Raspberry Pi 4.
Servo Motor.
Male-to-female jumper wires.
What is a servo motor?
A Servo Motor is a simple DC motor with a position feedback Control System and a gearbox.A Servo Motor's primary advantage is its ability to maintain its shaft's angular position at any desired angle i.e. if we want to keep our shaft at 67 degre ...
Welcome to the next tutorial of our Raspberry Pi programming course. Our previous tutorial taught us to how to tweet from Raspberry pi. We also discussed some methods used by the tweepy library to perform some API calls in our project. We will learn how to print from a Raspberry pi in this lesson.
Let us get started
There are several benefits of having a print server. Print servers may link numerous computers to one or multiple printers, either physically or wirelessly, allowing you to access the printer with various devices and send print instructions from all the other connected computers.
It is not easy to print from an Android smartphone to a cabled printer; however, a printer server makes it simple. A print server is useful in small workpl ...
Thank you for joining us for yet another session of this series on Raspberry Pi programming. In the preceding tutorial, we constructed a personal Twitter bot using Tweepy, a Py framework for querying the Twitter application programming interface. We also constructed a Response to robot mentions that would post a response to everybody's tweet mentioning it with a certain keyword. However, in this tutorial, we will implement a security system using a motion sensor with an alarm. This is what it looks like:
PIR Motion Sensors can be implemented with RPi by understanding how it is connected to a Raspberry Pi. Whenever the motion sensor detects human movement, an alarm is triggered in this project and the LEDs blink. You may create a simple motion-det ...