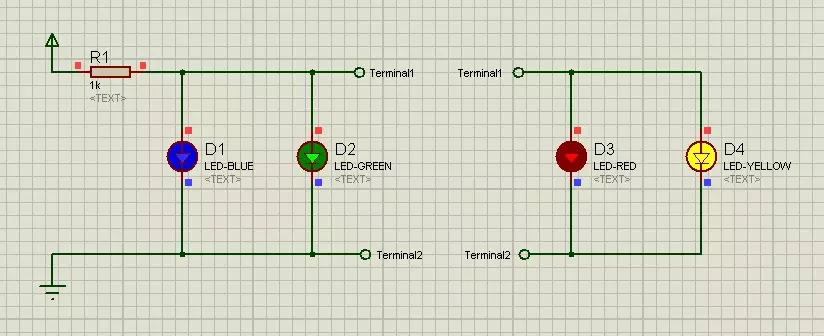
Hello friends, hope you all are fine and having fun with your lives. Today's post is about How to increase Workspace in Proteus. It's our 3rd tutorial in Proteus series. Its quite a simple tutorial and along with this trick, I will also share few commonly used features or Proteus. Once, I was working on a simulation project in which I have to design a complete load management system in Proteus and it was quite messy as I have to include a lot of components and the area of Proteus got quite small for that and then I encountered this problem i.e. where to place the components.
You have seen in Proteus software that there's a blue rectangle which is considered as the workspace in Proteus. This area is constant and doesn't increase or decrease on its ...
Hey Fellas! Hope you are getting along with life pretty well. This post is another addition in this Arduino Tutorial for Beginners series. Today, I'll discuss How to use analogWrite in Arduino? The analogWrite is mainly used to update the status of analog pins and is also used to map the analog values on the PWM (Pulse Width Modulation) pins.
You can check the article that I have posted previously on How to use analogRead in the Arduino - this command addresses the analog pins on the board and reads its status, while today's one does the exact opposite.
In this post, I'll try to break down each and everything related to analogWrite in simple steps, so you can grab the main idea pretty well. Let's jump right in.
How to use analogWrite in Arduino?
...
Hello everyone! I hope you all will be absolutely fine and having fun. Today, I am going to give you an Introduction to LM741. It belongs to the series of general purpose amplifiers. It supports larger range of input voltages. LM741 provides high gain and short circuit protection as well. Its pins configuration is very similar to UA709 and there is no need of frequency compression in LM 741.
LM741 can be used as a comparator in order to determine the levels of applied input voltages i.e. either smaller or larger input voltages are applied at its input terminal. LM741 is an op-amp IC having 8 different pins, which will be explained later in this tutorial. LM-741 has a very wide range of applications e.g. function generator, comparator, DC amplifie ...
Hi Guys! Hope you are doing well. Welcome you onboard. Today, I'll unlock the detailed Introduction to 2sa1265 which is a PNP transistor mainly used for power amplifier applications and proves to be an ideal choice for 70W high fidelity audio frequency amplifier output stage applications.
This PNP transistor falls under the category of Bipolar Junction Transistors where two charge carriers i.e. electrons and holes take part in the conduction process, however, holes are major charge carriers in the PNP transistors, unlike NPN transistors where electrons are the major charge carriers.
BJTs are different than that unipolar transistors like JFETs as former is the current controlled device and later is a voltage controlled device. Both are used in ...
Hello everyone! I hope you all will be absolutely fine and having fun. Today, I am going to give you a detailed Introduction to PC817. PC-817 is also known as an optocoupler / optoisolator. It consists of Infrared Emitting Diode (IRED). This IRED is coupled to a photo transistor optically and not electrically. It is closed in a four (4) pin package. This package is usually available in two different forms. The first one is wide lead (Pb) spacing option and the second one is SMT gullwing lead form option.
PC 817 has an internal LED and a photo transistor. The photo transistor's base becomes activate when LED throws light on it. The output obtained can be divided into two formats either common emitter or common collector. But the configuration is ...
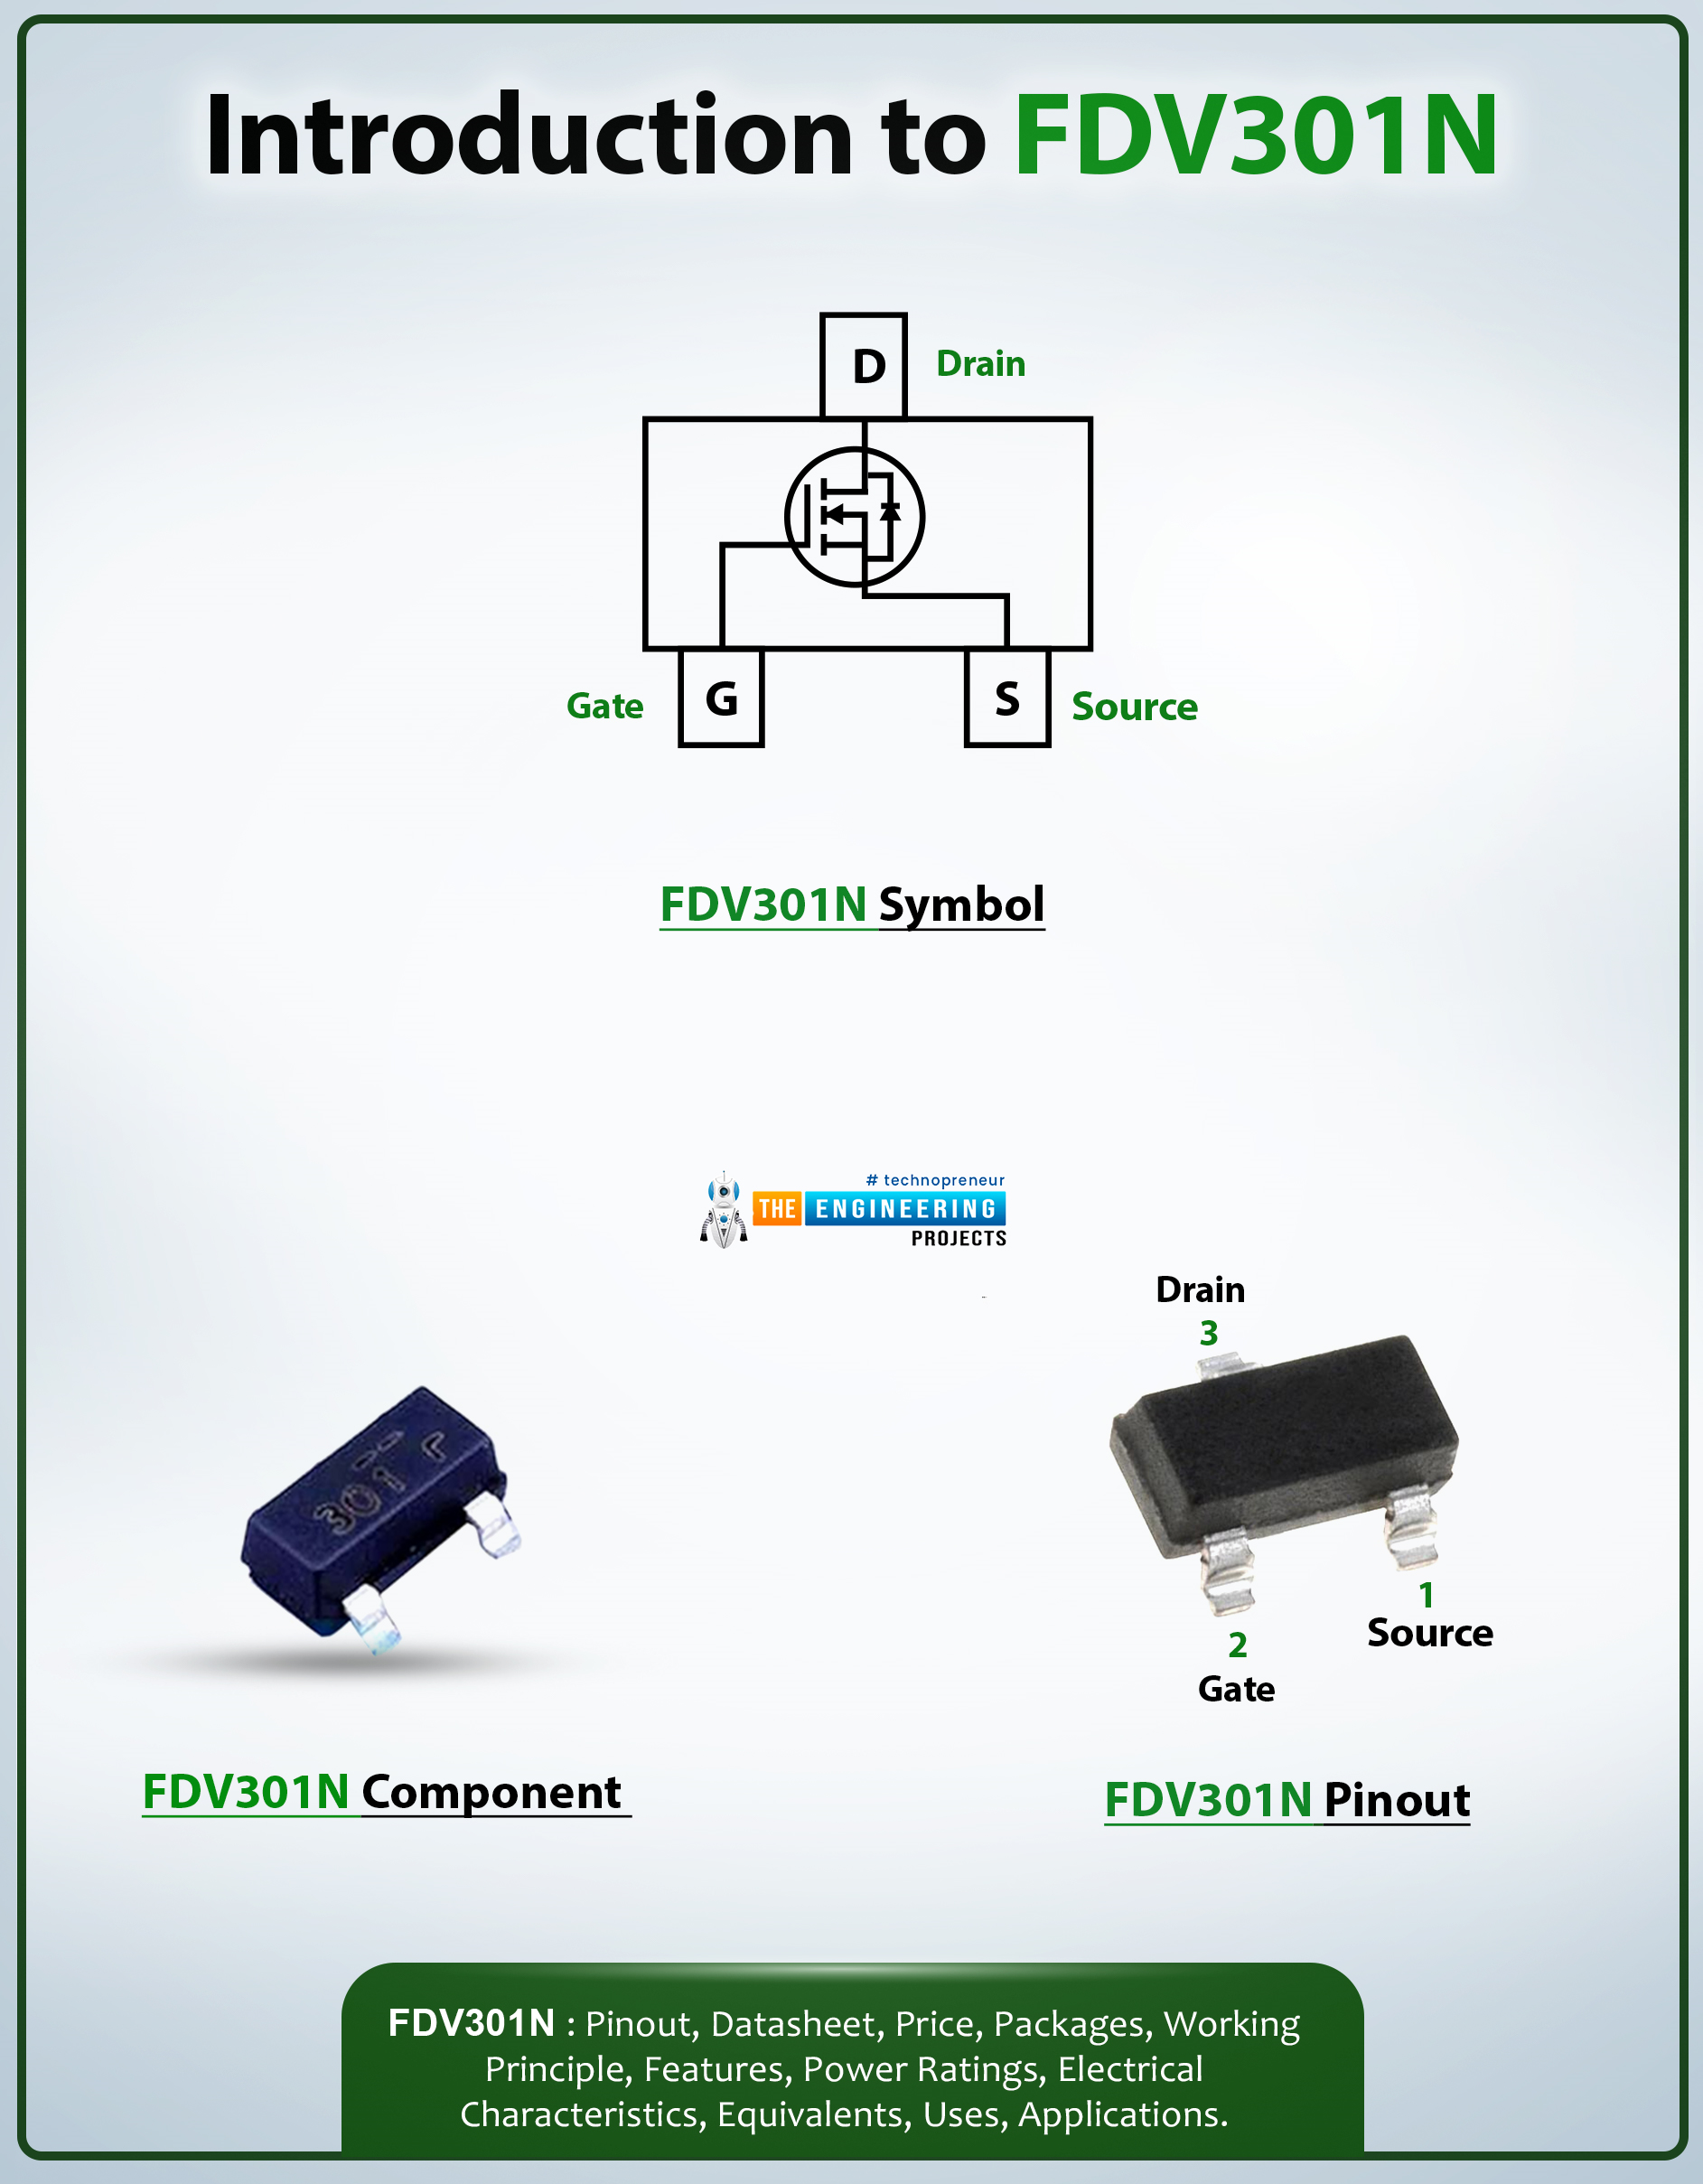
Hello Everyone! I welcome you on board. Happy to see you around. In this post today, I’ll walk you through the Introduction to FDB301N.The FDV301N is an N-channel MOSFET using Fairchild's proprietary and high cell density, DMOS technology. The cell’s high density helps to minimize the on-state resistance. This device is mainly developed for low-voltage applications. This N-channel MOSFET replaces different digital transistors and provides different bias resistor values.
I suggest you read this post all the way through as I’ll detail the complete Introduction to FDV301N covering datasheet, pinout, features and applications.
Let’s jump right in.
Introduction to FDV301N
The FDV301N is an N-channel MOSFET mainly used for switching and low-voltage applications.
It carries low on- ...
Hi Everyone! We always enjoy when you keep coming back for what we have to offer. I try my best to keep you updated with some information relating to your field so you don't feel overwhelmed and exhausted and visit our website with regular intervals. Today, I am going to uncover the detail on the Introduction to 2n3819. It is an N-Channel JFET which comes in TO-92 envelop and is widely used for general purpose amplification and analog switching. I'll give you a brief details about this JFET so you don't need to go anywhere for finding the information regarding this transistor. Let's get started.
Introduction to 2n3819
2n3819 is an N-Channel JFET(Junction Field Effect Transistor) which is mainly used for general purpose amplification and analog ...
Hello friends, today we are gonna have a look on how to interface Seven Segment with Arduino in Proteus. In my last post, I have posted an Arduino Library for Seven Segment Display, which is designed by our team and is quite basic in functionality. So, if you haven't checked that post then first of all check that one and download the Arduino Library for Seven Segment Display as I am gonna use that library in today's post. Moreover, in order to run this library you are also gonna need to download Arduino Library for Proteus, using this library you will be able to use Arduino board in Proteus so also read that post and download this library and install it in your Proteus.
Again I am mentioning that its the first library designed by our team so its i ...
Hello readers, I hope you all are doing great. Welcome to Section 5 of the ESP32 Programming Series. In this section, we are going to interface different Embedded Sensors with the ESP32 Microcontroller Board. ESP32 development board is featured with some inbuilt sensors(i.e. hall effect sensor, capacitive touch sensor) so, in the initial tutorials of this section, we will explore these built-in ESP32 sensors and in the later lectures, we will interface third-party sensors with the ESP32.
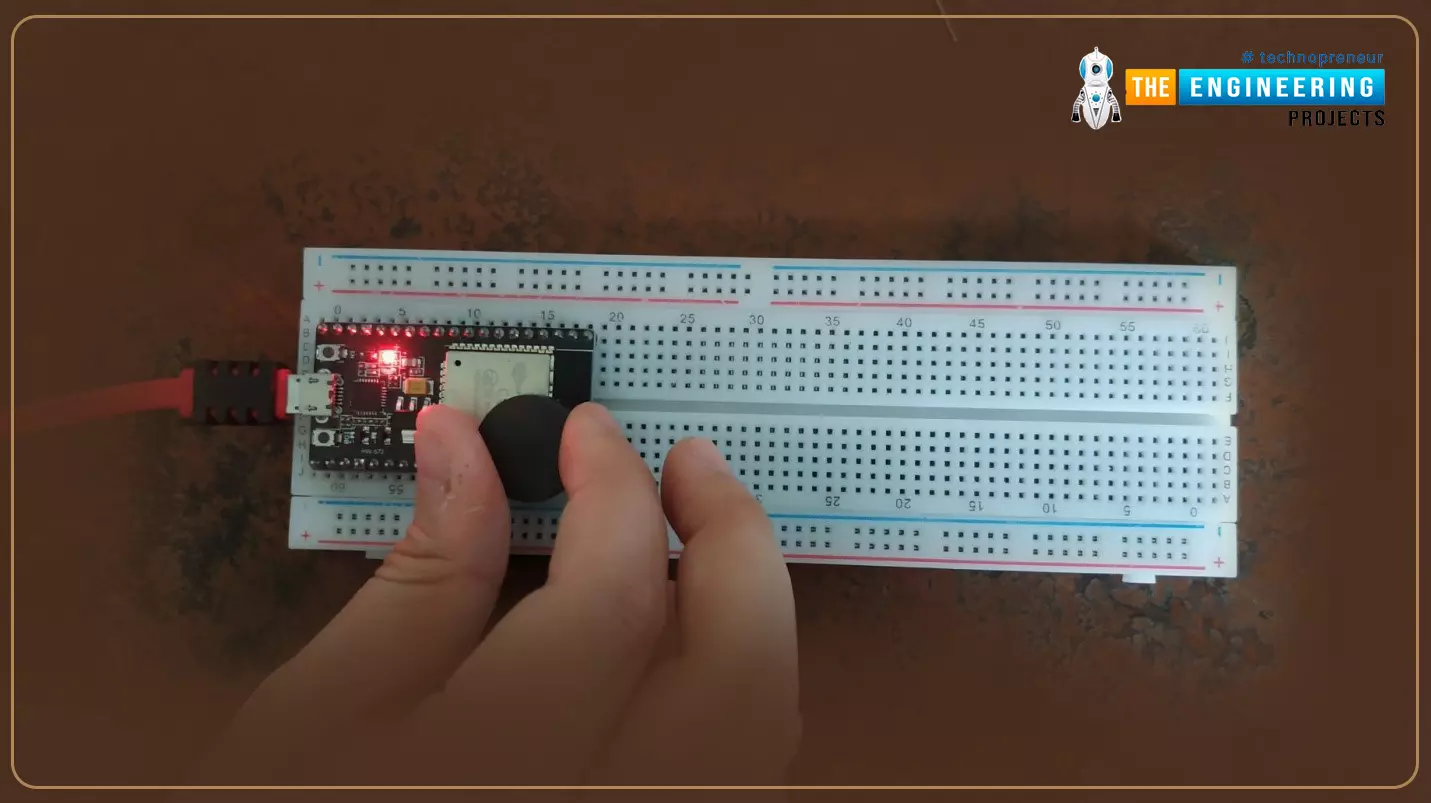
In today's lecture, we will discuss the working/operation of the ESP32 built-in Hall Effect Sensor. Hall Effect sensor is used to detect the variation in the magnetic field of its surroundings. So, let's first understand What's Hall Effect:
What is the Hall Effect?
The Hall Effect phenomenon was fir ...
Hello everyone! I hope you will be fine and having fun. Today, I am going to give a detailed Introduction to Relay. In this tutorial, we will learn the basics of relays, the working principle of relays, the types of relays and their applications in detail. A relay is a simple automatic switch that opens and closes the circuit(either electronically or mechanically) based on its input signal. A relay is an electromechanical switch that uses electromagnetism from a small current or voltage to switch higher current or voltage for different appliances. When a relay is in a Normally Open (NO) state, no current passes through it and when the relay is energized, the current starts to flow and we can say the relay is in a Normally Closed state. You should also have a look at Relay Interfacing with ...