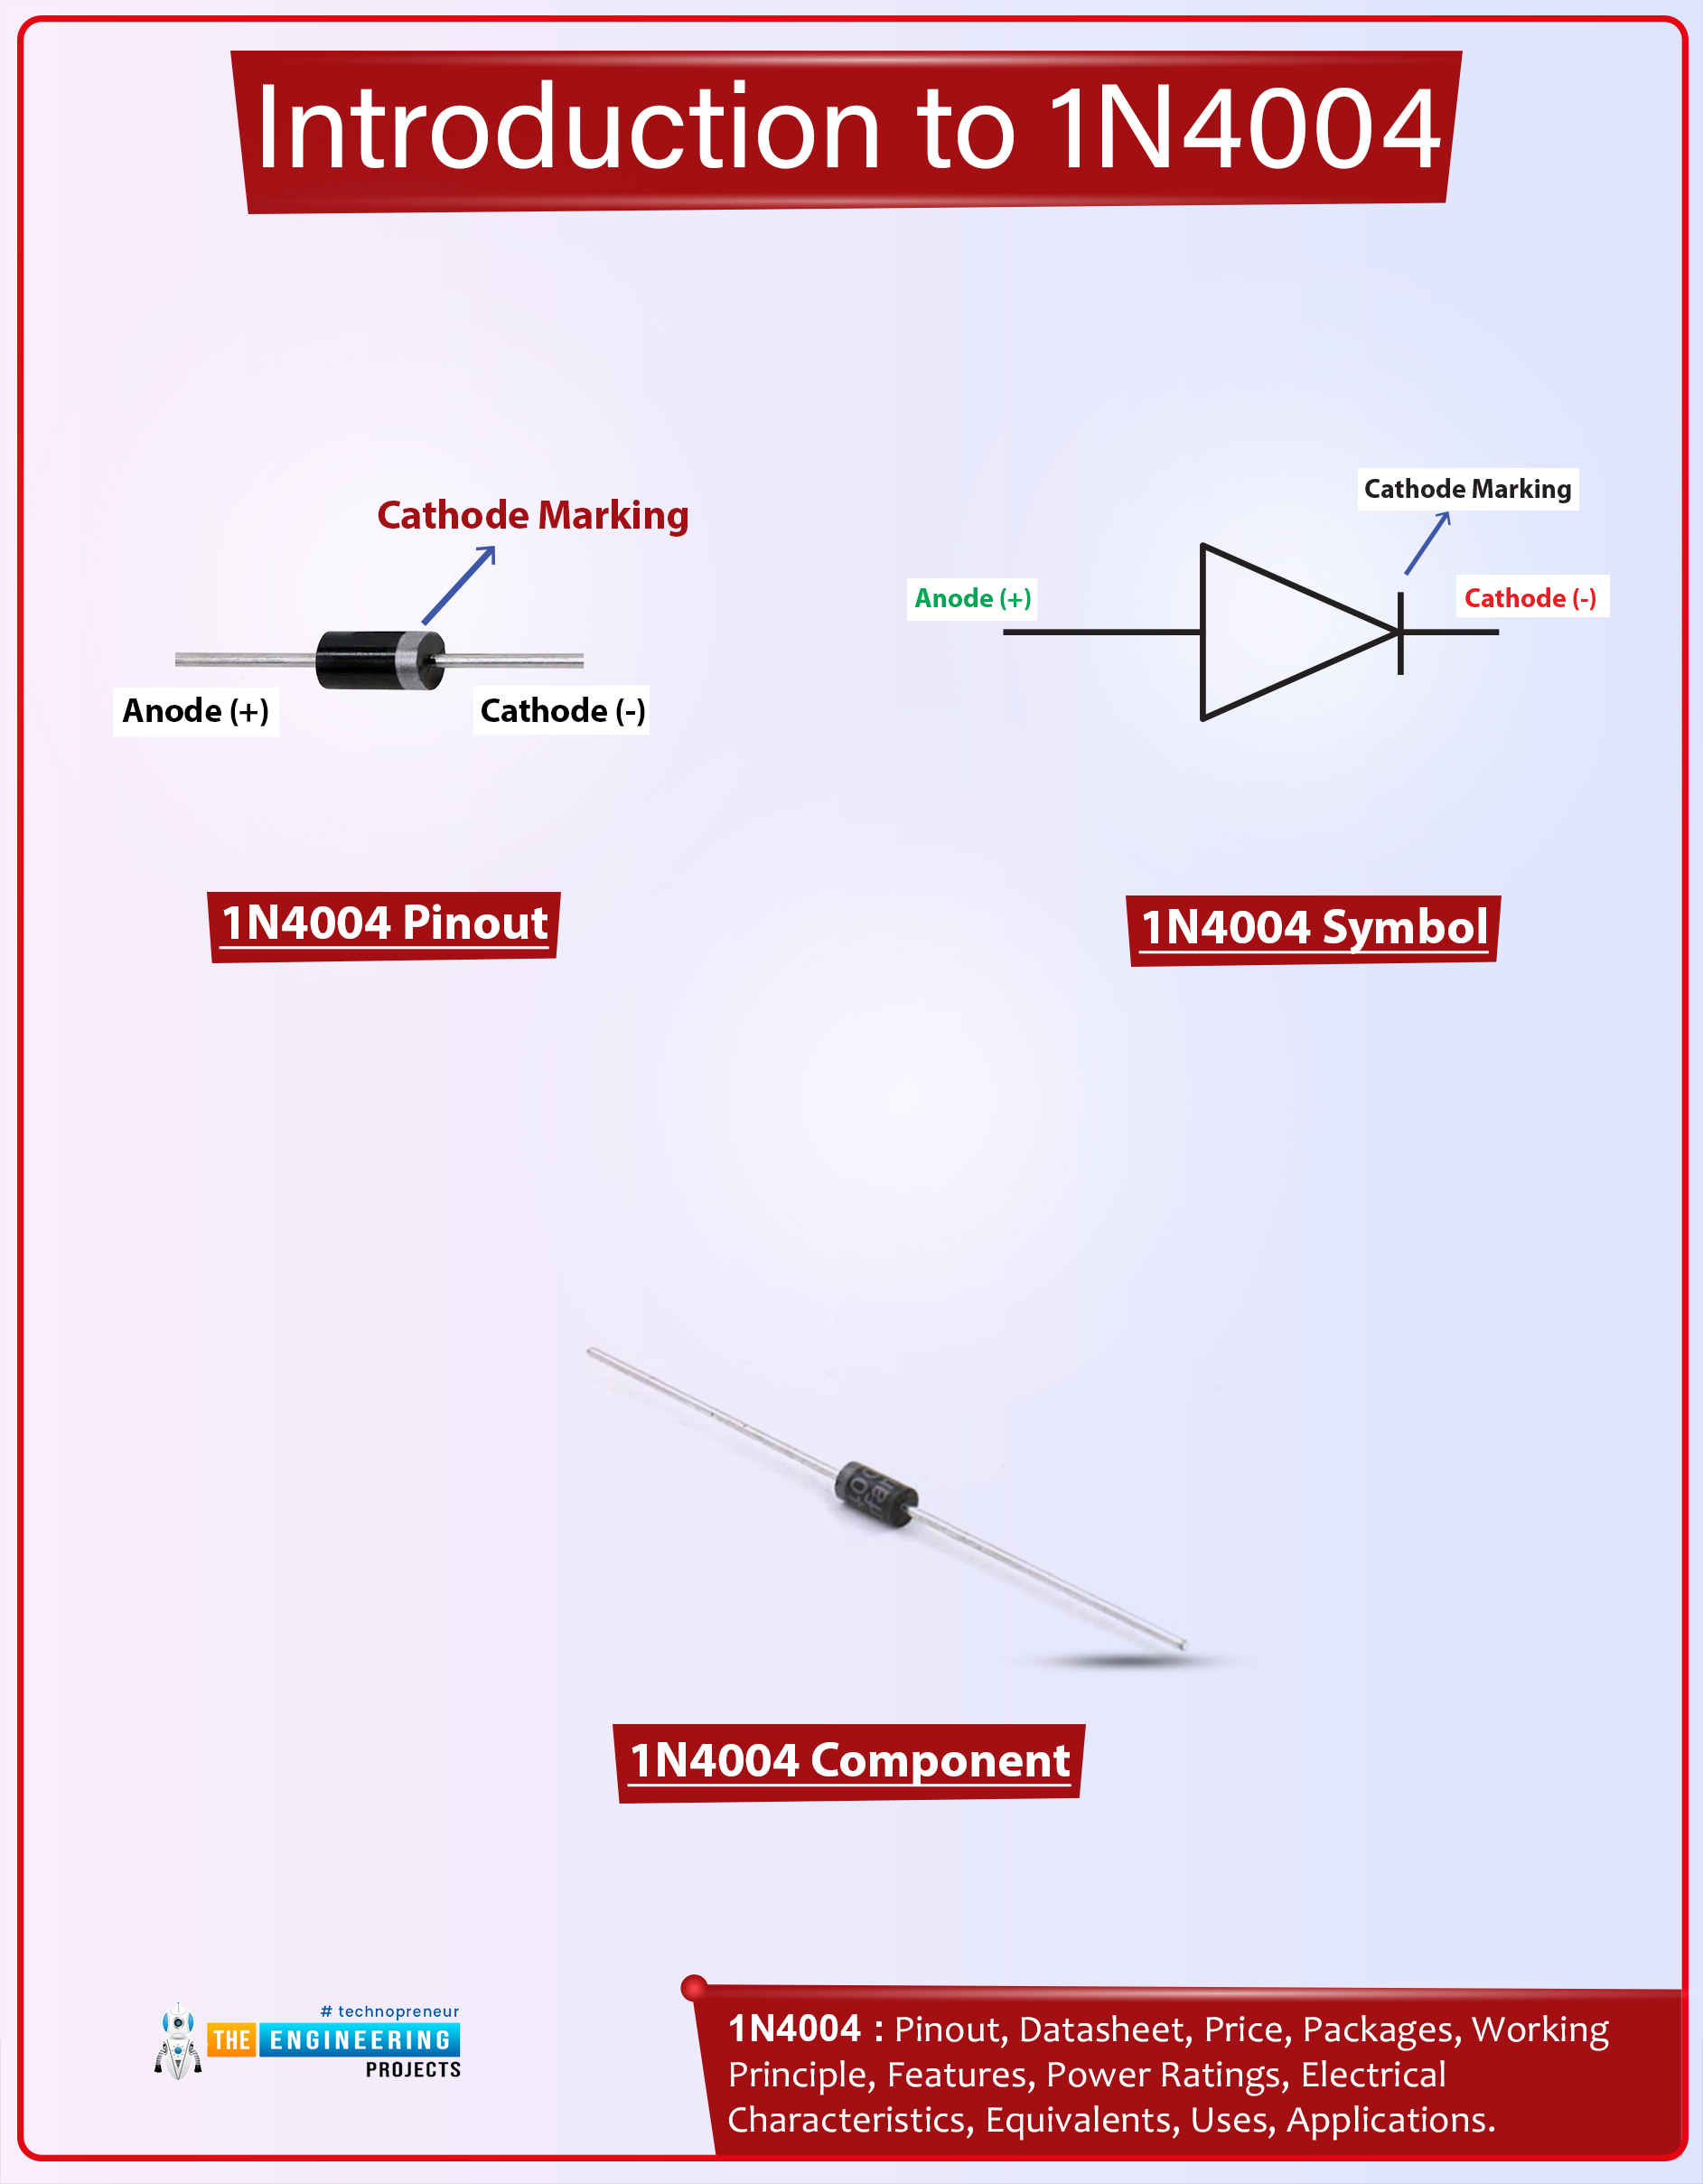
Hi Guys! I welcome you on board. Happy to see you around. In this post today, I’ll walk you through the Introduction to 1n4004.The 1n4004 is a diode that allows the current to flow in one direction only. It blocks the flow of current in the opposite direction. It comes with two terminals called anode and cathode and current always flows from the anode terminal to the cathode terminal. This device comes with a reverse peak voltage of around 400V and it can support loads under 1A.
I’d recommend reading the Introduction to 1n4007 that I’ve uploaded previously. This diode is almost similar to the device 1n4004 that I’m going to stretch in this post.
I suggest you buckle up as I’ll discuss the complete introduction to 1n4004 covering datasheet, pinout, features, equivalents, and applicati ...
Thank you for joining us for yet another session of this series on Raspberry Pi programming. In the previous tutorial, we built a motion sensor-based security system with an alarm. Additionally, we discovered how to use Twilio to notify the administrator whenever an alarm is triggered. However, in this tutorial, we'll learn how to build a stop motion film system using raspberry pi 4.
What you will make
With a Raspberry Pi, Py, and a pi-camera module to capture images, you can create a stop-motion animated video. In addition, we'll learn about the various kinds of stop motion systems and their advantages and disadvantages.
The possibilities are endless when it comes to using LEGO to create animations!
...
Hello Guys! Hope you’re well today. I welcome you on board. In this post today, I’ll walk you through the Introduction to BD136.
BD136 is a medium power general-purpose transistor mainly used for switching and audio amplification purposes. It belongs to the PNP transistor family and comes with collector current 1.5A, indicating it can drive loads under 1.5A. The amplification factor ranges from 40 to 250, which means it can amplify the input signal up to 250 times. Both collector-emitter and collector-base voltages are 45V while the emitter-base voltage is 5V, indicating only 5V is required to bias this transistor.
I suggest you read this entire post, as I’ll be detailing complete introduction to BD140 covering pinout, working principle, power r ...
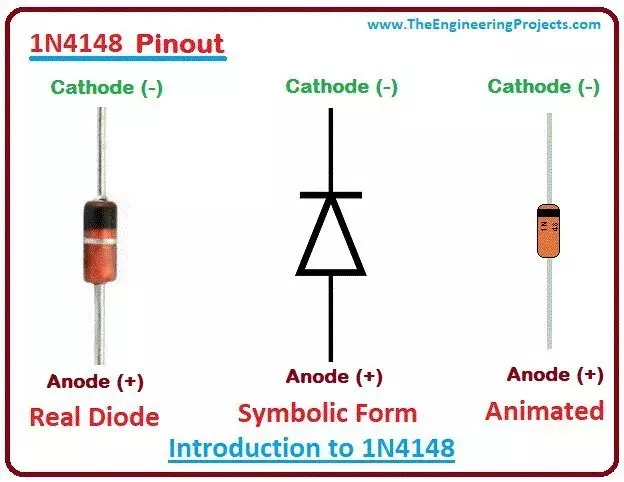
Hello everyone! I hope you will be absolutely fine and having fun. Today, I am going to give an Introduction to 1N4148. It is basically a diode used for fast switching purposes. Switching diodes are usually single P-N diodes and their functionality is similar to that of normal switch.
Below a specific voltage, switching diodes i.e. 1N4148 has high resistance. Whereas as above that specific voltage they show a low resistance. It is a most commonly used diode due to its smaller size, easy availability and low cost. Good switching diode can be chosen by its maximum reverse recovery time and its power dissipation ranging from 80mW to 1kW. Switching diodes such as 1N4148, 1N4007 etc. have very wide range of applications specially in Embedded Systems ...
Hey Everyone! We welcome you on board. We feel happy when you keep visiting us for useful information pertaining to your needs and expectations. Today, I am going to discuss the details on the Introduction to BC107. It is a low power NPN bipolar junction transistor which is mainly used for general purpose switching and amplification purpose. I'll discuss each and everything related to this transistor so you can get clear idea what is this about and what are its main applications? Let's dive in and explore its properties one by one.
Introduction to BC107
BC107 is an NPN bipolar planner low power transistor which is mainly designed for general purpose switching and amplification purpose.
It is mainly composed of three terminals named as an em ...
Hello everyone, I hope you all are fine and having fun with your lives. Today, I am going to share the next tutorial in this series of basic Arduino tutorials and it's named How to use Arduino Serial Write. In this tutorial, I have given an overview of How to use the Arduino Serial Write Command. In the previous tutorial, we have seen How to use Arduino Serial Read? in which we have read the data coming from the serial port.
While today we will have a look at how to send the data through a serial port in Arduino and for that, I am going to use the Arduino Serial Write command. It's also going to be a very simple and basic Arduino tutorial but if you are new to Arduino then you must read it completely as it will gonna help you out. I have also desig ...
Hello everyone! I hope you all will be fine and having fun. Today I am going to tell you that how can you make a simple program for Interfacing Flame Sensor with Arduino. Flame sensor is used in offices, home and at different places to detect the fire. First of all I would like to tell you about the working principle of the flame sensor. Flame sensor is a device designed for the detection of the fire and to respond it. They are usually designed for the detection of most frequently used industrial fuel e.g. diesel, gasoline, karosene, ethylene, hydrogen etc. They are designed in way to distinguish between the radiations from the sunlight and the actual flames.
There different types of flame sensors e.g. Ultraviolet (UV) detectors, Infrared (IR) f ...
Hey Geeks! Welcome to The Engineering Projects. We hope you are having a reproductive day. We know that sirens are the special sounds that are the symbol that something unusual is occurring or about to occur. You may have experienced the Siren of the Walkthrough Gates at the airport when a person having the knife or other forbidden material pass through it. Or you have heard the Siren of the ambulance and seen that all the traffic gives the way to the ambulance when they hear the special Siren of the Ambulance. The same is the case with the police Siren.
The Police sirens are the special sound and it is set with the help of 555 Timer Integrated Circuit. You will learn how can one design a Police siren using the 555 Timer circuit in this tutorial. ...
Hello everyone! I hope you all will be absolutely fine and having fun. Today I am going to given elaboration on Introduction to L293D. L 293D is basically a high current dual motor driver/controller Integrated Circuit (IC). It is able to drive load having current up to 1A at the voltage ranging from 4.5V to 36V. Motor driver usually act as current amplifier because they receive a low current signal as an input and provides high current signal at the output.
Motors usually operates on this higher current. L-293D has to builtin H-Bridge driver circuits and is able to control two DC motors at a time in both clockwise and counter clockwise direction. It has two enable pins and they should be kept high in order to control the motor. By changing the p ...
Hi Guys! Hope you’re well today. I welcome you on board. Happy to see you around. In this post today, I’ll detail the Introduction to TL084.
TL084 is a JFET input Op-Amp that carries low offset current and high input impedance. Available with better offset characteristics and high noise immunity, TL084 comes with a suitable offset voltage that makes it an ideal pick for amplifier applications.
I suggest you read this post all the way through as I’ll walk you through the complete Introduction to TL084 covering datasheet, pinout, features, and applications.
Without further ado, let’s get started.
Introduction to TL084
The TL084 is available in Quad Package which means it comes with four separate op-amps that can operate independently.
This o ...