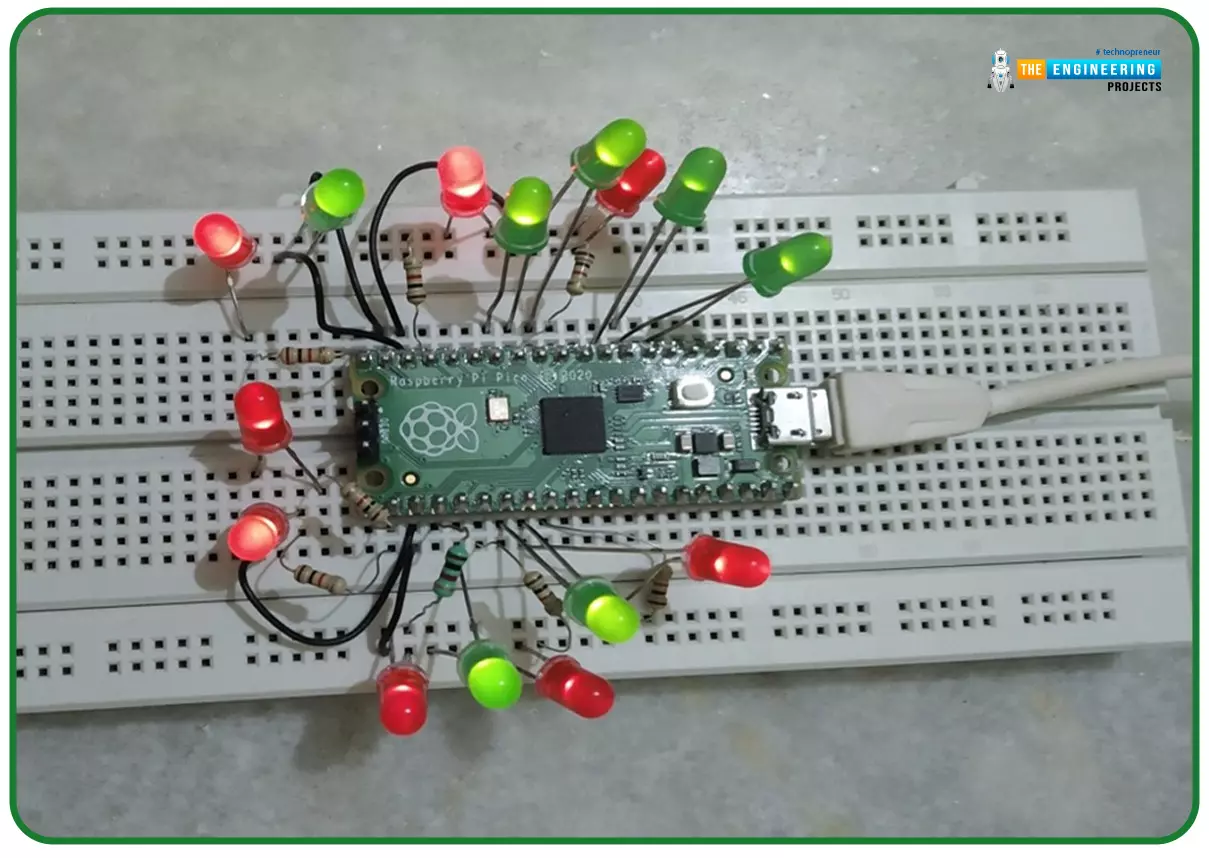
Hello readers, I hope you all are doing great. In our previous tutorial, we discussed the implementation of LED interfacing and blinking program with Raspberry Pi Pico using MicroPython programming language. So continuing with our previous tutorial, in this tutorial we will learn how to control the LED brightness using PWM (pulse width modulation technique).
As we mentioned above, in our previous tutorial we implemented the LED blinking program with a Raspberry Pi Pico board. Blinking an LED means turning ON and OFF and thus the process involves only two states that are ‘1’ (HIGH) and ‘0’ (LOW). But, sometimes it is required to change the digital output between these two (ON and OFF states) for example changing the LED brightness. PWM or Pulse Width Modulation technique is used to change ...
Welcome to the next tutorial of our Raspberry Pi programming course. Our previous tutorial taught us to configure our raspberry pi for voice control. We also discussed some methods of reducing vexing noises so that the voice command program understands you. However, in this lesson, we will learn how to tweet from Raspberry pi.
What will we learn?
Assume you wish to add tweeting into a Raspberry Pi software you're developing. This article will show you how to build a Twitter app, get access privilege tokens, and post a tweet. On our Raspberry Pi, we'll make a simple program that tweets the result of the uptime command. This is a made-up example, but it demonstrates what is needed to tweet from a raspberry pi.
For this session, a repo has been set up. Because we'll be referring to code wit ...
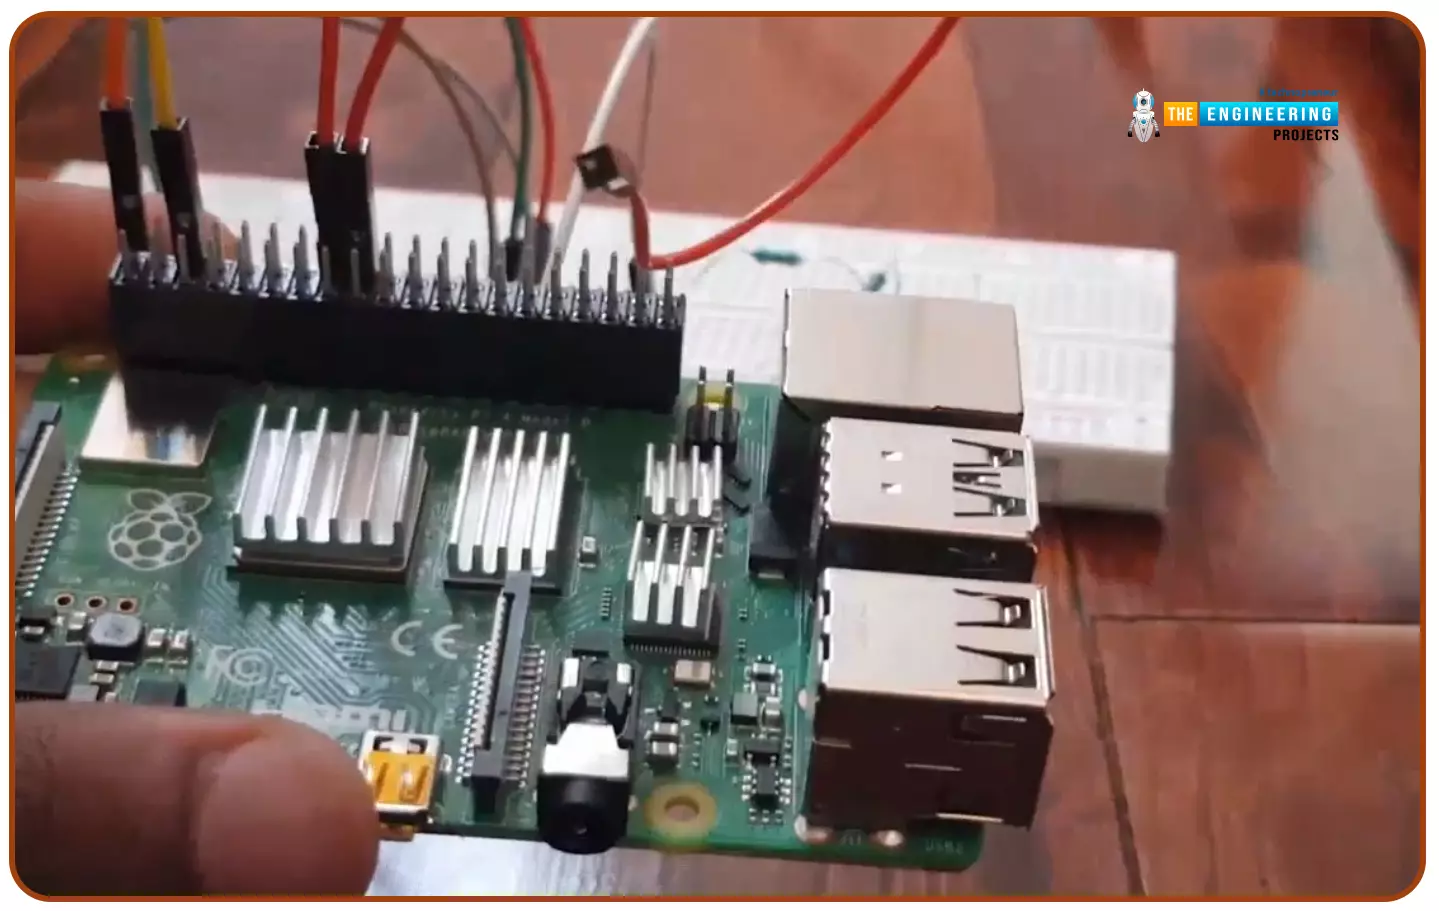
Hello friends, I hope you all are doing well. Today, I am going to share the 5th tutorial of Section-III in our Raspberry Pi Programming Course. In our previous tutorial, we have seen the interfacing of a PIR Sensor with Raspberry Pi 4. In today's tutorial, we will interface an Ultrasonic sensor with Raspberry Pi and will use Python to perform its calculations. So, let's get started:
Components:Here's the list of components, we are going to use in today's project:
Raspberry Pi 4
Ultrasonic sensor
Male-to-female jumper wires
Breadboard1k ohm resistor
2k ohm resistor
What are Ultrasonic Sensors?
An Ultrasonic Sensor consists of a transmitter and a receiver, the transmitter emits the ultrasonic wave, which after hitting some ob ...
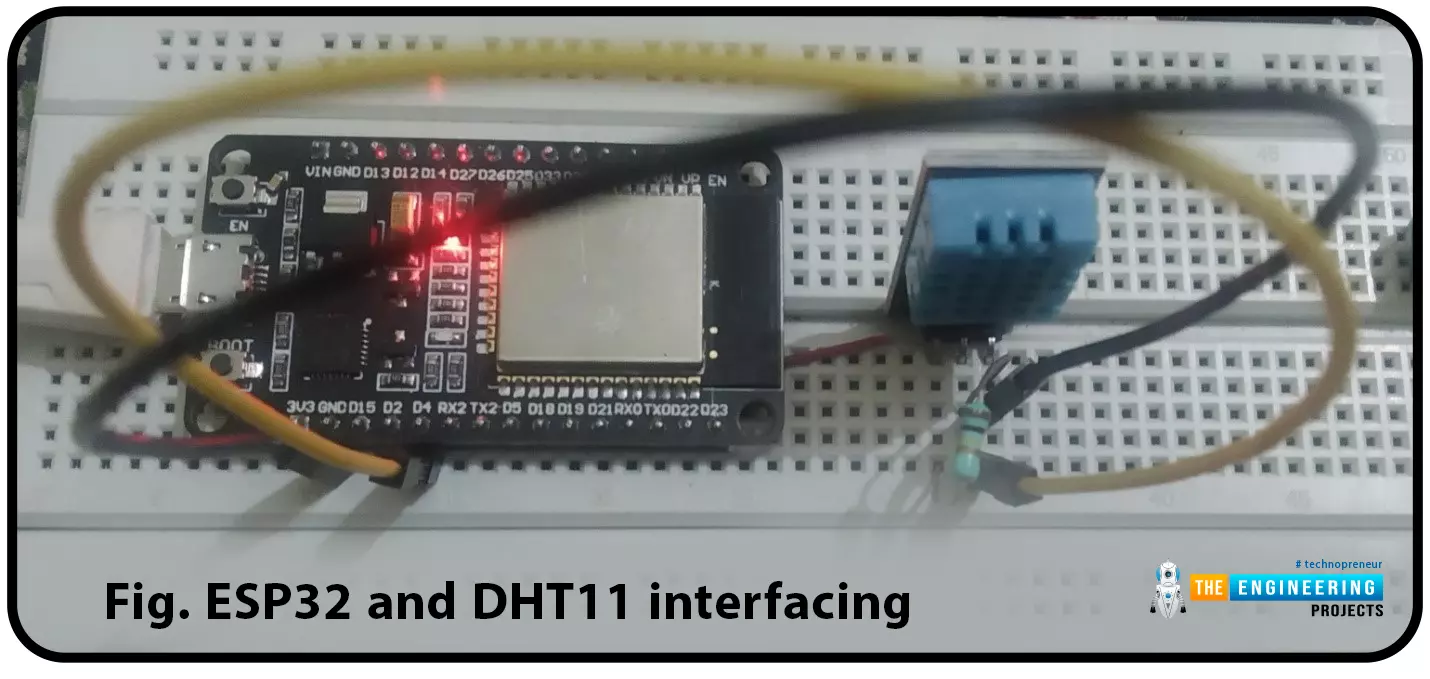
ESP32 module comes with multiple inbuilt features and peripheral interfacing capability is one of those features. ESP32 module also consists of an inbuilt temperature sensor, but that can only measure the temperature of the ESP32 core not the temperature of the surrounding environment. So it is required to use a peripheral sensor to measure the temperature of the surrounding environment like home, garden, office etc.
Hello readers. I hope you all are doing great. In this tutorial, we will learn how to interface DHT11 (temperature and humidity sensor) with the ESP32. Later in this tutorial, we will discuss how to share the sensor readings obtained from the DHT11 sensor to a web server.
Before moving towards the interfacing and programming part, let’s have a short introduction to the DHT11 ...
Hello friends, I hope you all are doing great. Today, I am going to start a new tutorial series on Raspberry Pi 4. It's our first lecture today, so I will explain the basics of Raspberry Pi boards. In this tutorial series, I will teach you each and everything about Raspberry Pi and its programming. I have designed this guide for beginners, so we will start from the very basics and will slowly move toward complex concepts. Python programming language is used in Raspberry Pi boards, so we will study Python as well. So, we will learn both programming and hardware circuit designing in this tutorial series. Let's first have a look at What is Raspberry Pi?
What is Raspberry Pi?
Raspberry Pi is a series of Single Board Computer, developed by the Raspberry Pi Foundation in England, to teach co ...
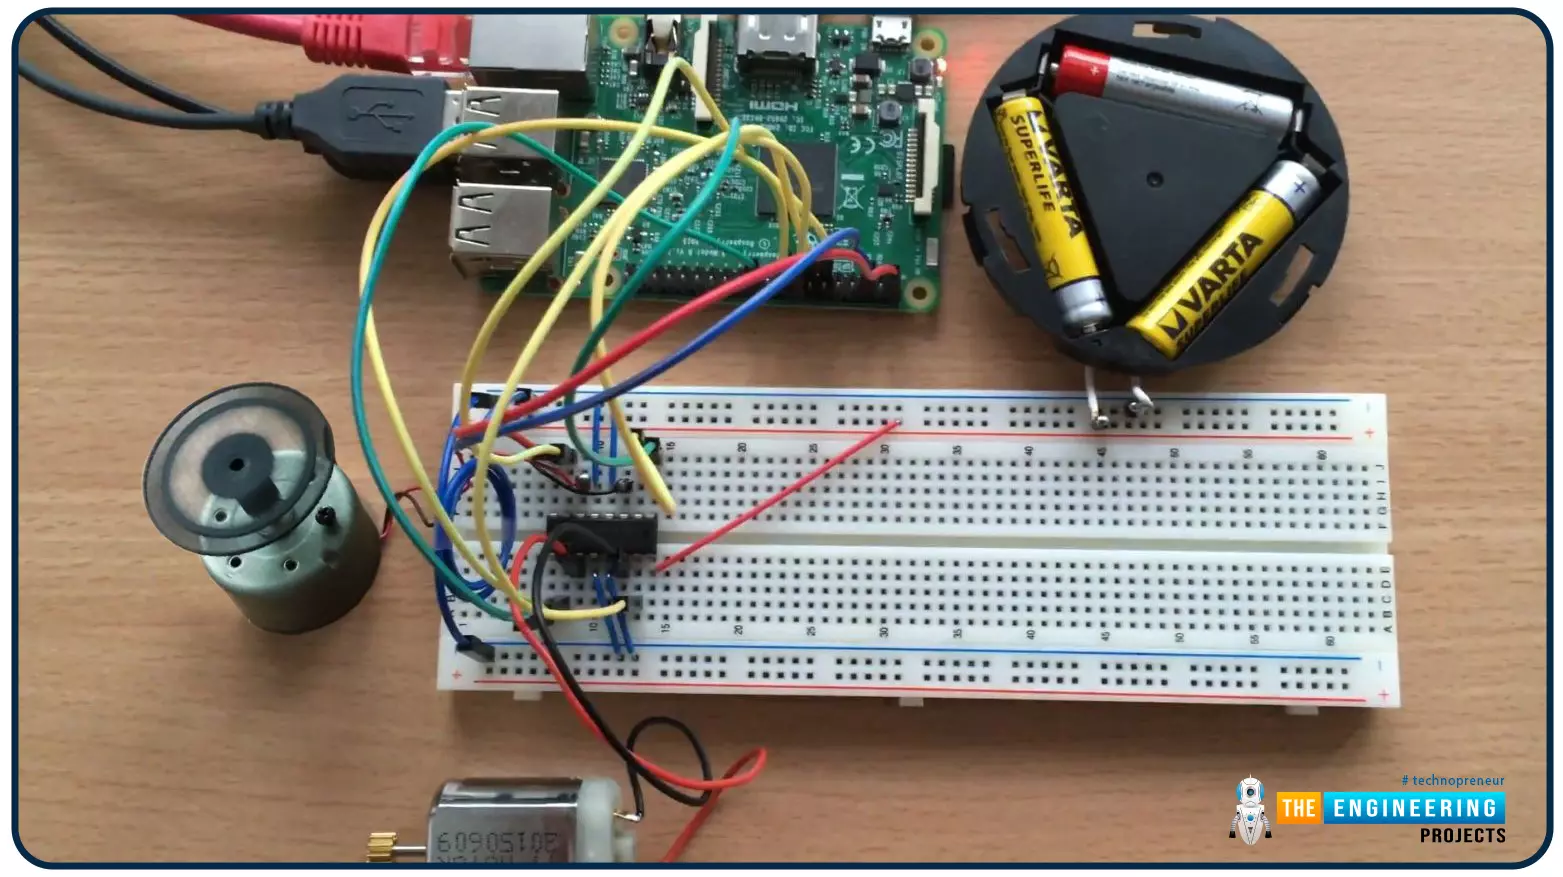
Hello friends, I hope you all are doing well. Welcome to the 9th tutorial of our Raspberry Pi programming course. In the last chapter, we generated a PWM signal from our Raspberry Pi to control the brightness of an LED. We also studied different functions used in Python to perform PWM. In this chapter, we'll get a bit advanced with PWM and use it to control the speed and direction of a DC motor with the help of a motor driver IC.
To control the speed & direction of the DC Motor, we will:
Design a Circuit Diagram.Write Python code.
Components RequiredWe will use the following components to control the DC motor speed:
Raspberry Pi 4.DC Motor.Motor driver IC(L293D).Breadboard.
Jumper wires.
Controlling DC Motor speed wi ...
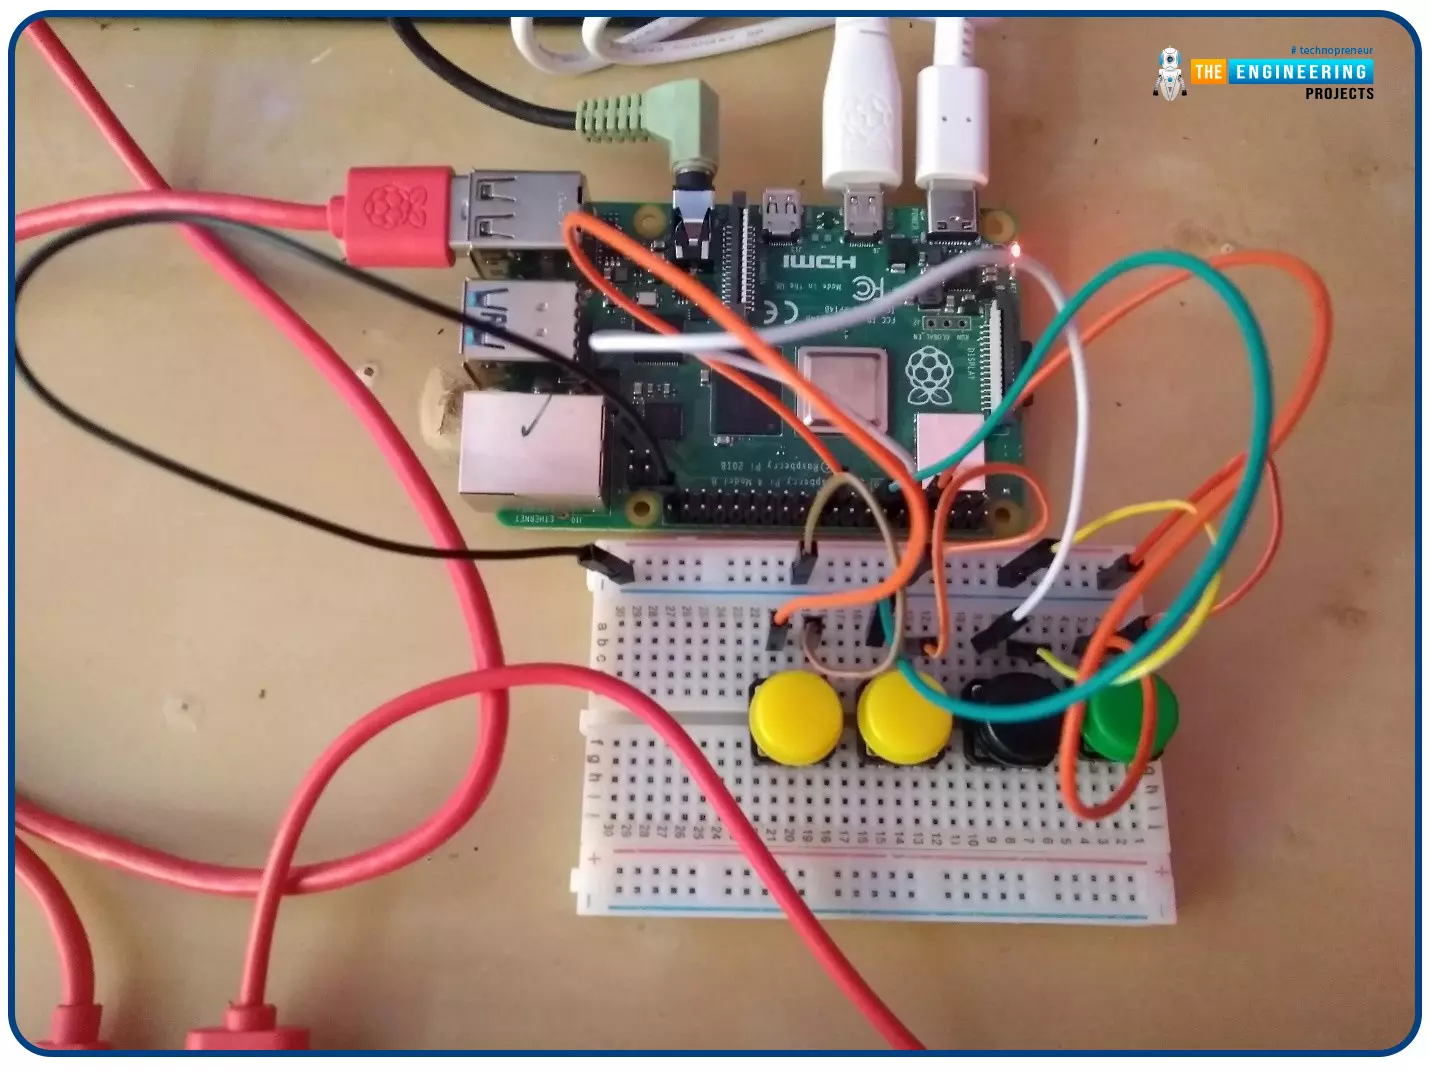
Welcome to the next tutorial of our Raspberry Pi programming course. In our previous tutorial, we learned how to create a timelapse video with still images and understand how phototimer and FFmpeg work. In this lesson, you'll make a button-controlled "music box" that plays different sounds depending on which buttons are pressed.
What you will learn
Connect button pushes to function calls using the Python gpiozero package and uses the Python dictionary data structure
Components
Raspberry Pi
Breadboard
Buttons
Jumper wires
Speaker
Set up your project
For this project, you'll need some audio samples. On Raspbian, there are many audio files; however, playing them with Python can be challenging. You can, however, transform the audio files ...
Hi friends and hope you are doing very well. Today we would like to take one tutorial which is very essential in the industry which is analog input processing for handling analog measurements of physical signals like temperature, humidity, pressure, distance, flow and level of liquids, etc. Typically, sensors produce two types of analog signals to represent the equivalent measured signal which is current and voltage signals. The currently produced signals would be within the range of 4-20 mAwhile voltage signals are in the range of 0-10 v. because, that output signals represent physical signals, the limits of output signals are 0 to 10 v for voltage based sensors and 4 to 20 mA for current-based sensors, these values should be scaled to represent ...
Hello friends, I hope you all are having fun. Welcome to the 10th tutorial of our Raspberry Pi programming course. In the last chapter,
PWM was utilized to regulate the DC motor's speed and direction
with a motor driver L293D. In this chapter, we'll advance our skills with PWM and use it to control a stepper motor using the same motor driver L293D.Here's the video demonstration of this project:Let's get started:
Components RequiredHere's the list of components, which we will use to control the speed and direction of Raspberry Pi 4:
Raspberry Pi 4.Stepper Motor.
Motor Driver IC(L293D).
Jumper wires.
9V Battery.
Breadboard.
The Raspberry Pi with desktop is required for this project. An SSH connection can be made, or the RPi can ...
This is the third tutorial in our Raspberry Pi programming course. In the previous chapter, we learned how to install Raspbian on our Raspberry Pi mini-computer. In this chapter, we'll learn how to use a VNC server to remotely control and see its desktop from our computer.
What is VNC?
Computing over a network is known as "virtual network computing," or "VNC." To remotely control another computer, you can use this screen-sharing technology, which works on all major operating systems. As a result, a remote user can interact with a computer's display (screen, keyboard, and mouse) as if they were sitting right in front of it.
VNC takes advantage of the client/server concept. Rather than installing a VNC s ...